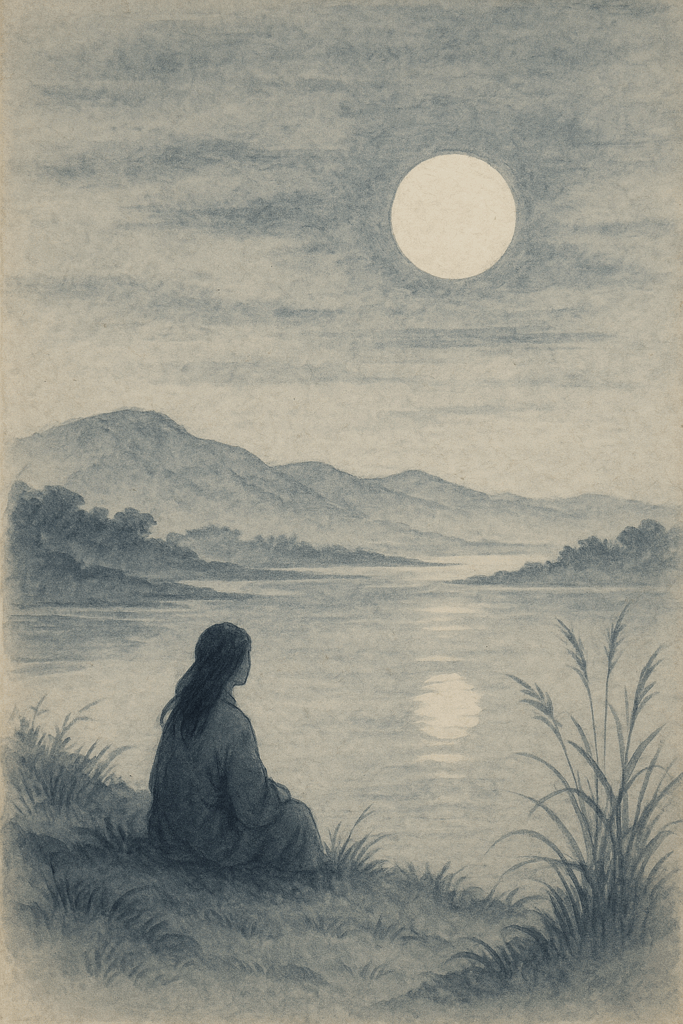
Quand tu me manques, Je regarde la Lune, Distante et silencieuse. La vois-tu qui reflète Mon affection murmurée ?
Le tanka est une autre forme de poésie japonaise, elle a une structure de 5 vers de 5-7-5-7-7 syllabes. Il s’agit également de mon premier essai dans ce genre. J’ai décidé de reprendre l’émotion et le sentiment de mon premier haïku et de l’exprimer sous forme de tanka, ce qui explique la similitude du thème. Il me reste encore à retravailler quelques vers, je souhaiterais y mettre davantage de place pour l’imagination du lecteur. Je ferai très certainement une autre version de ce tanka. J’espère qu’il vous plaira.
Traduction allemande
Tanka ist eine andere Form der japanischen Dichtung, sie hat eine Struktur von 5 Versen mit 5-7-5-7-7 Silben. Dies ist ebenfalls mein erster Versuch in dieser Art. Ich habe mich entschieden, die Emotion und das Gefühl aus meinem ersten Haïku aufzugreifen und es in Form eines Tanka auszudrücken, was die Ähnlichkeit des Themas erklärt. Ich hoffe, es gefällt Ihnen. (Danke Deepl für die Übersetzung dieser Vorstellung )
Zarte Innigkeit

Wenn ich Dich vermiss',
Lang betrachte ich den Mond,
Stille in der Fern.
Siehst Du ihn, der sie spiegelt
Meine zarte Innigkeit?
Wie übersetzt man ein Gedicht in eine andere Sprache? Das ist nicht einfach, vor allem, wenn man die Struktur des Tanka beachten will. Ich habe zuerst eine wörtliche Übersetzung gemacht und dann versucht, sie in fünf Verse zu strukturieren. Die ersten drei Verse waren recht einfach, aber die letzten beiden konnte ich nicht. Da ich keinen deutschen Muttersprachler bei mir hatte, wandte ich mich daher an eine KI. Ich bat sie, mir für die letzte Frage (die letzten beiden Verse auf Französisch) andere Strukturen vorzuschlagen, anhand ihrer Antwort konnte ich meine Aufteilung fertigstellen. Dann musste ich den Rhythmus jedes Verses einhalten (5-7-5-7-7) und für jeden Begriff eine genaue und detaillierte Definition sowie Synonyme verlangen. Mit einer KI erhält man diese Art von Informationen sehr schnell. So konnte ich meine Übersetzung so korrigieren, dass sie genau die Gefühle und Emotionen des französischen Tanka widerspiegelte. Ich bin gespannt, was mögliche Leser mit deutscher Muttersprache über diesen Tanka denken werden.
The image was generated by ChatGPT based on the Tanka. It is published like the other materials on this web site.
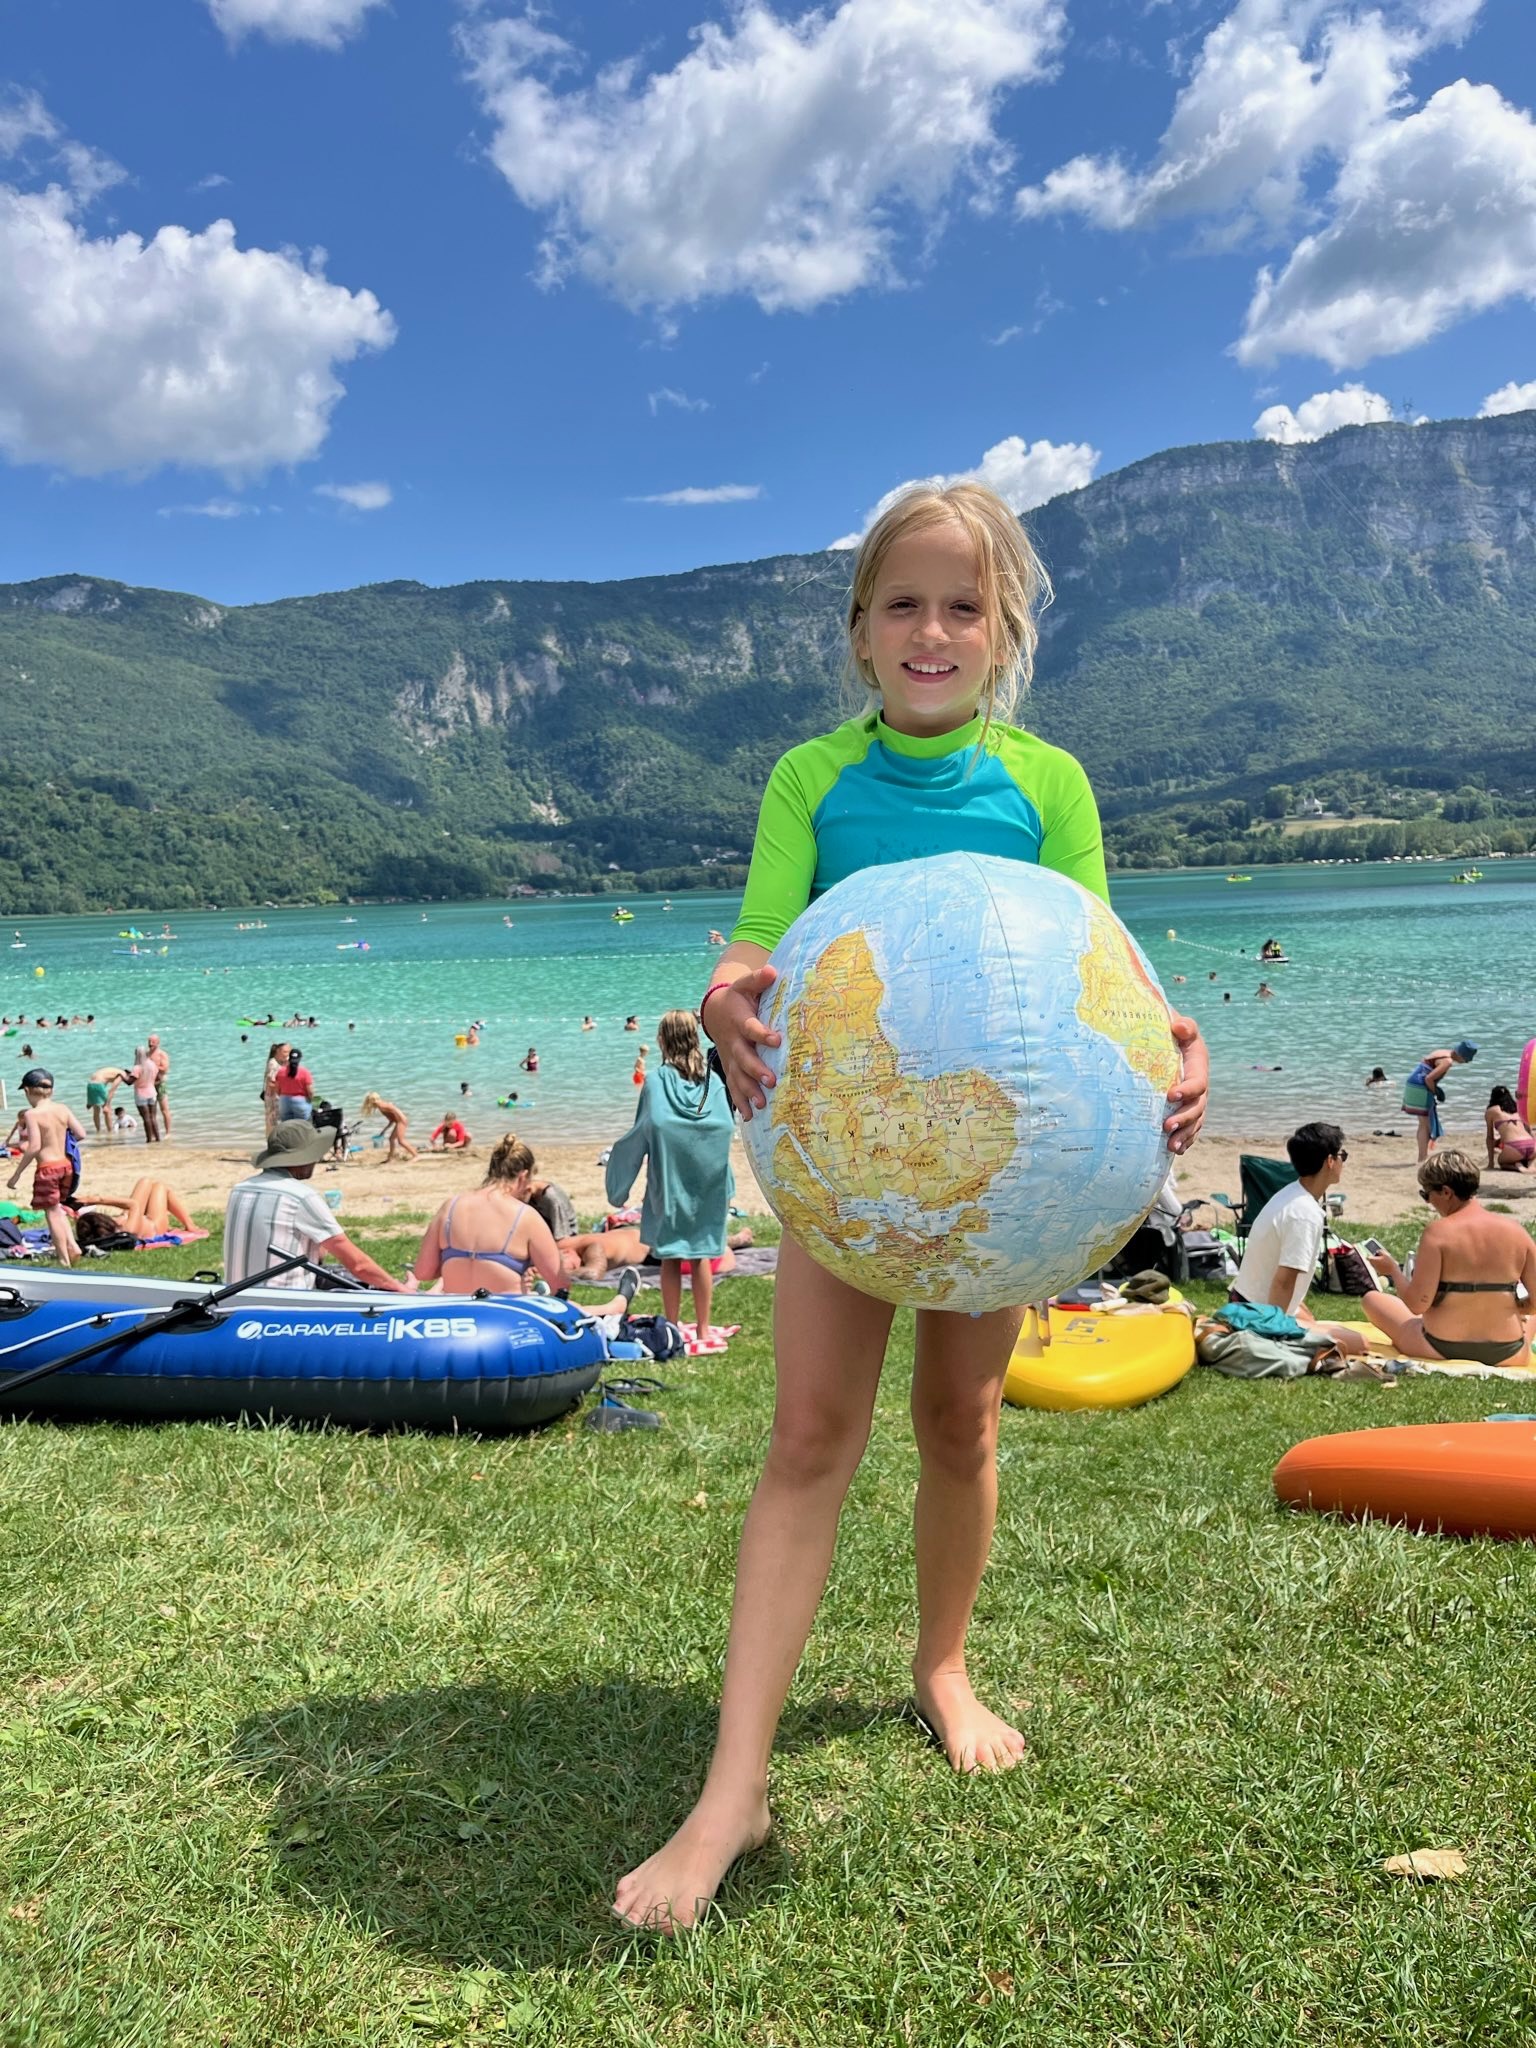
Every summer, there comes a time when you must pack the car, ignore the nagging feeling that you’ve forgotten something crucial (spoiler: we most certainly did, but I like the blissful feeling that if I would remember what, then I wouldn’t have forgotten it in the first place, or would I? 😉), and head south toward cheese, baguettes, family, and hopefully a bit of rest. This year, our plan was simple: visit family in France, give the kids a change of scenery, and perhaps steal a few moments of peace in between. What else?
Week One – Family Affairs and Slightly Grumpy Hikes
We left on a Sunday – early for us – miraculously organised the day before (wrote this one down in the family history book). Vera heroically took the wheel for most of the 10-hour drive, while JC, having tossed and turned like a seal after a meal all night, could barely manage 1-hour drives. Still, we arrived in one piece. Bravo, Vera!
Monday greeted us with classic French summer weather: greyish skies, a stubborn 22°C, and the kind of light and sporadic drizzle that makes you unsure whether to wear a raincoat or not. We opted for a walk, the adults at least. The kids were less enthused, already dreaming of lakes and ice cream.
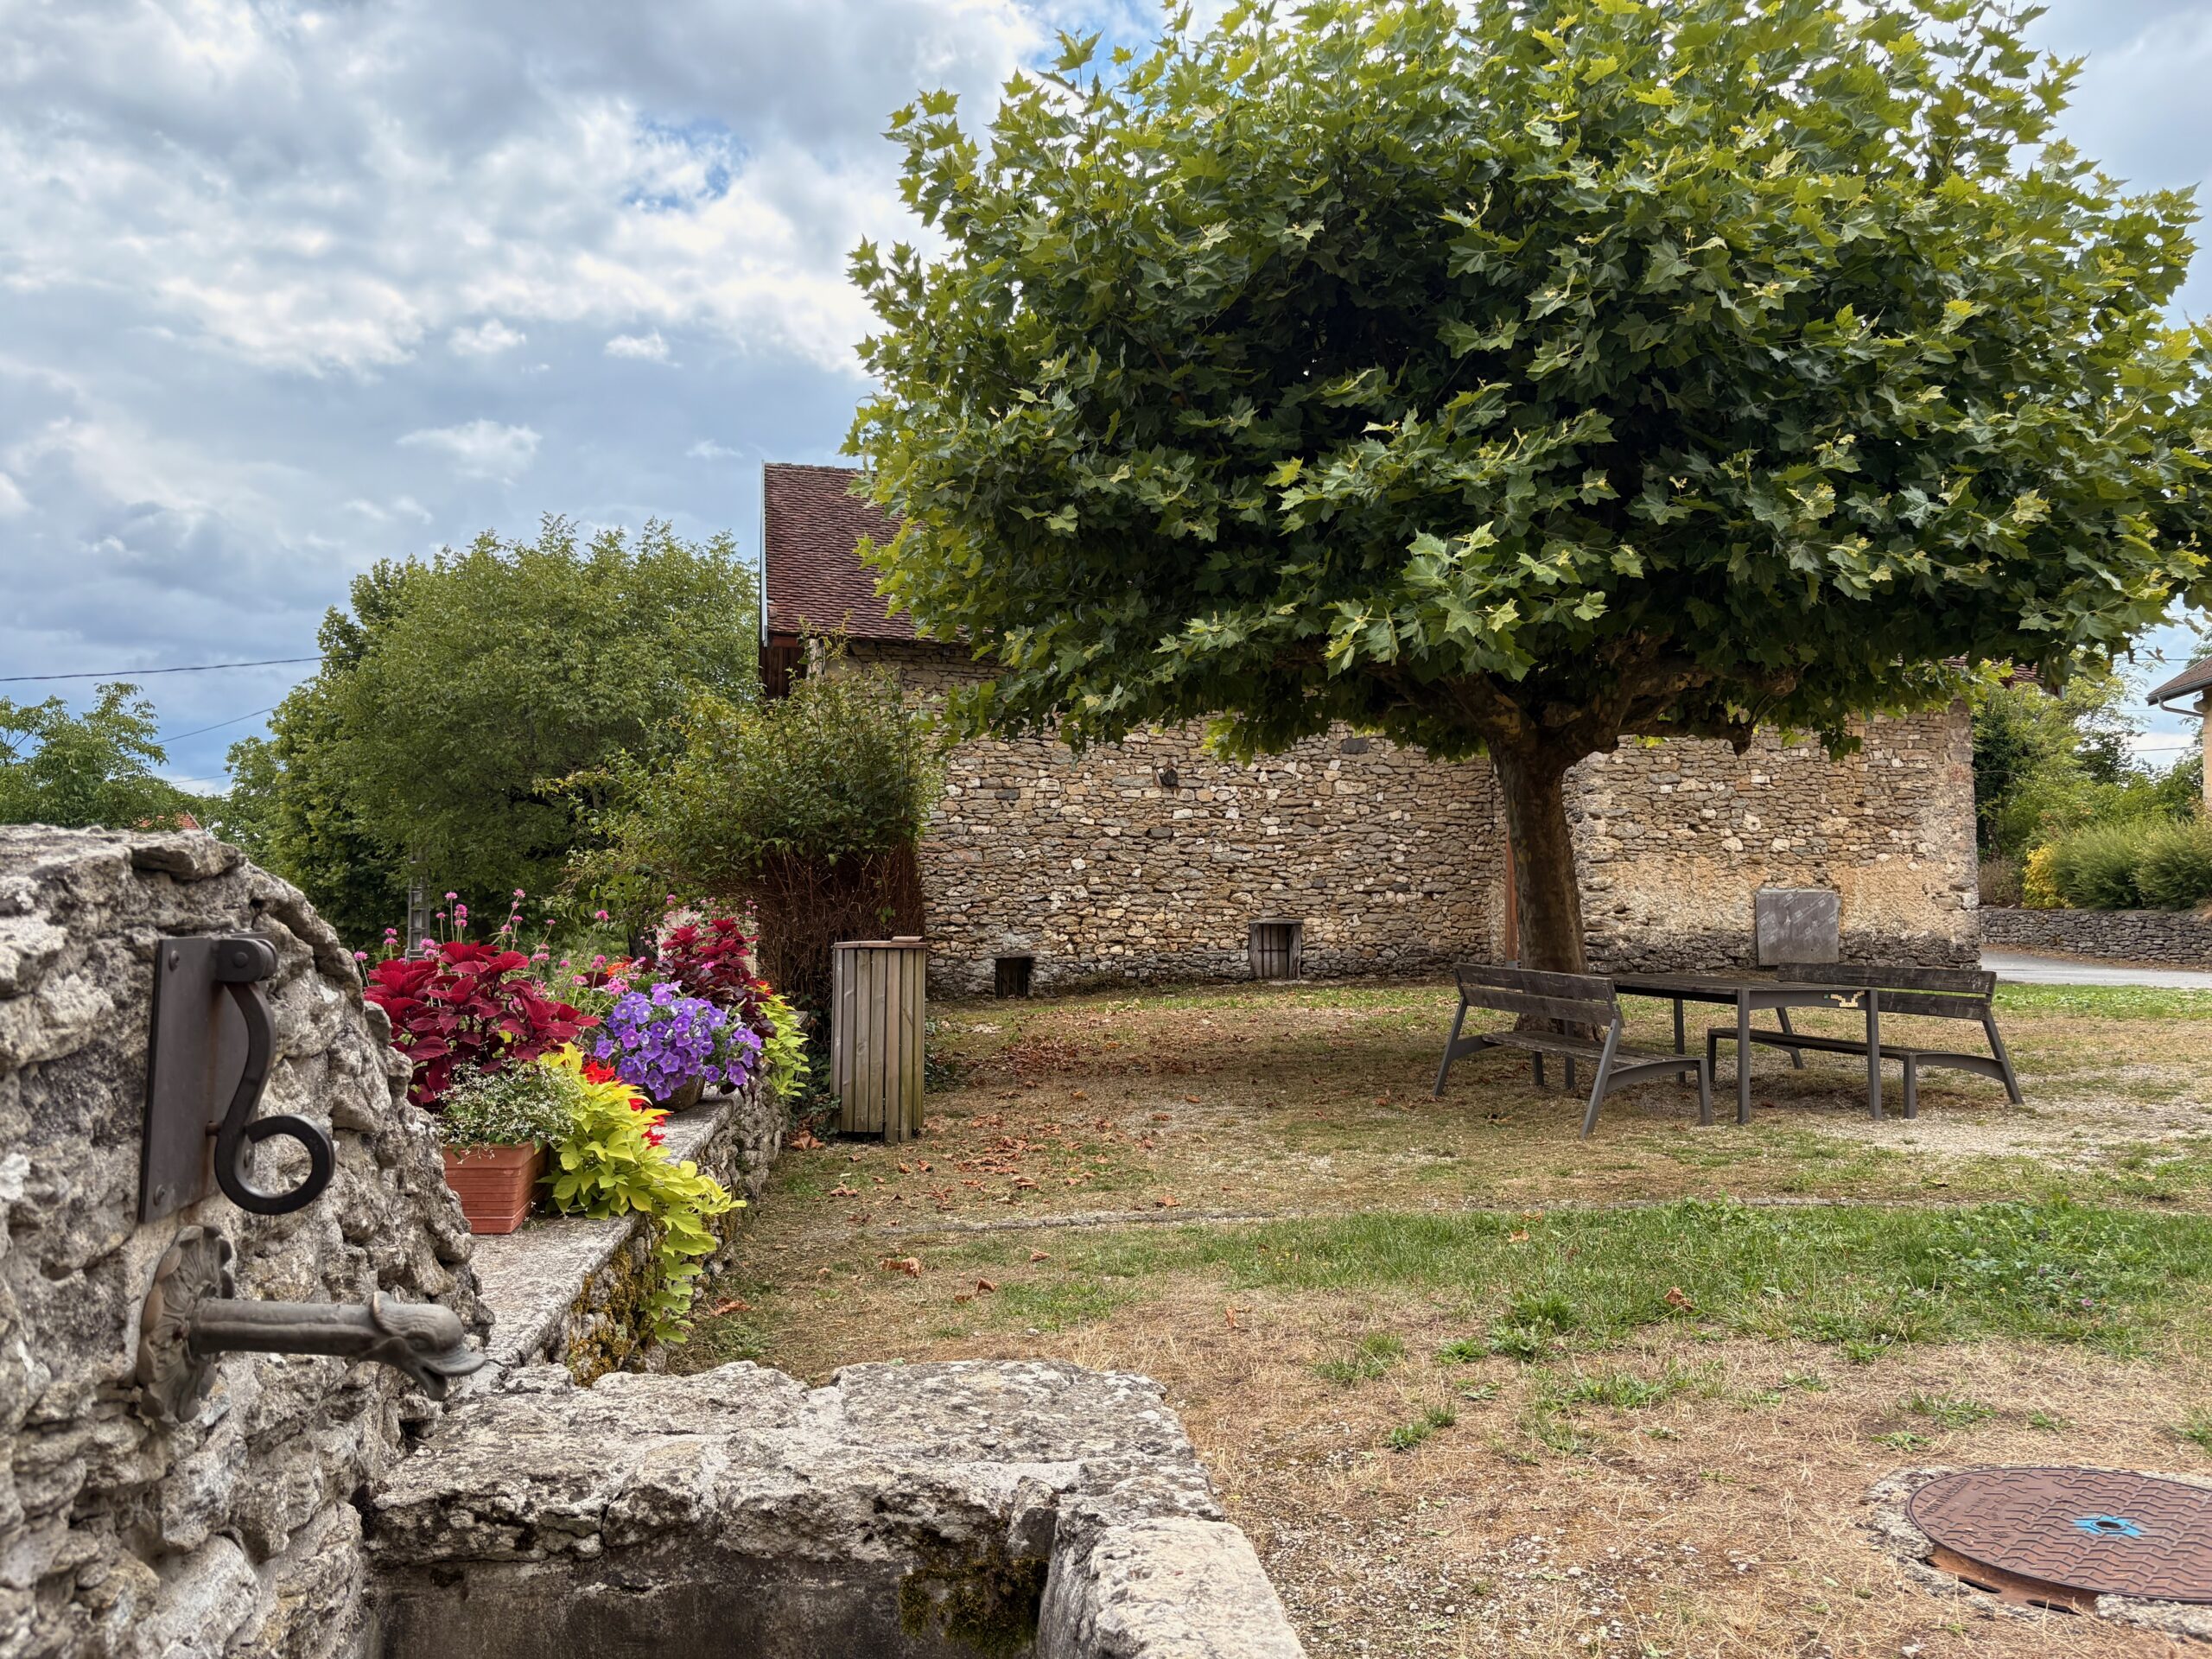
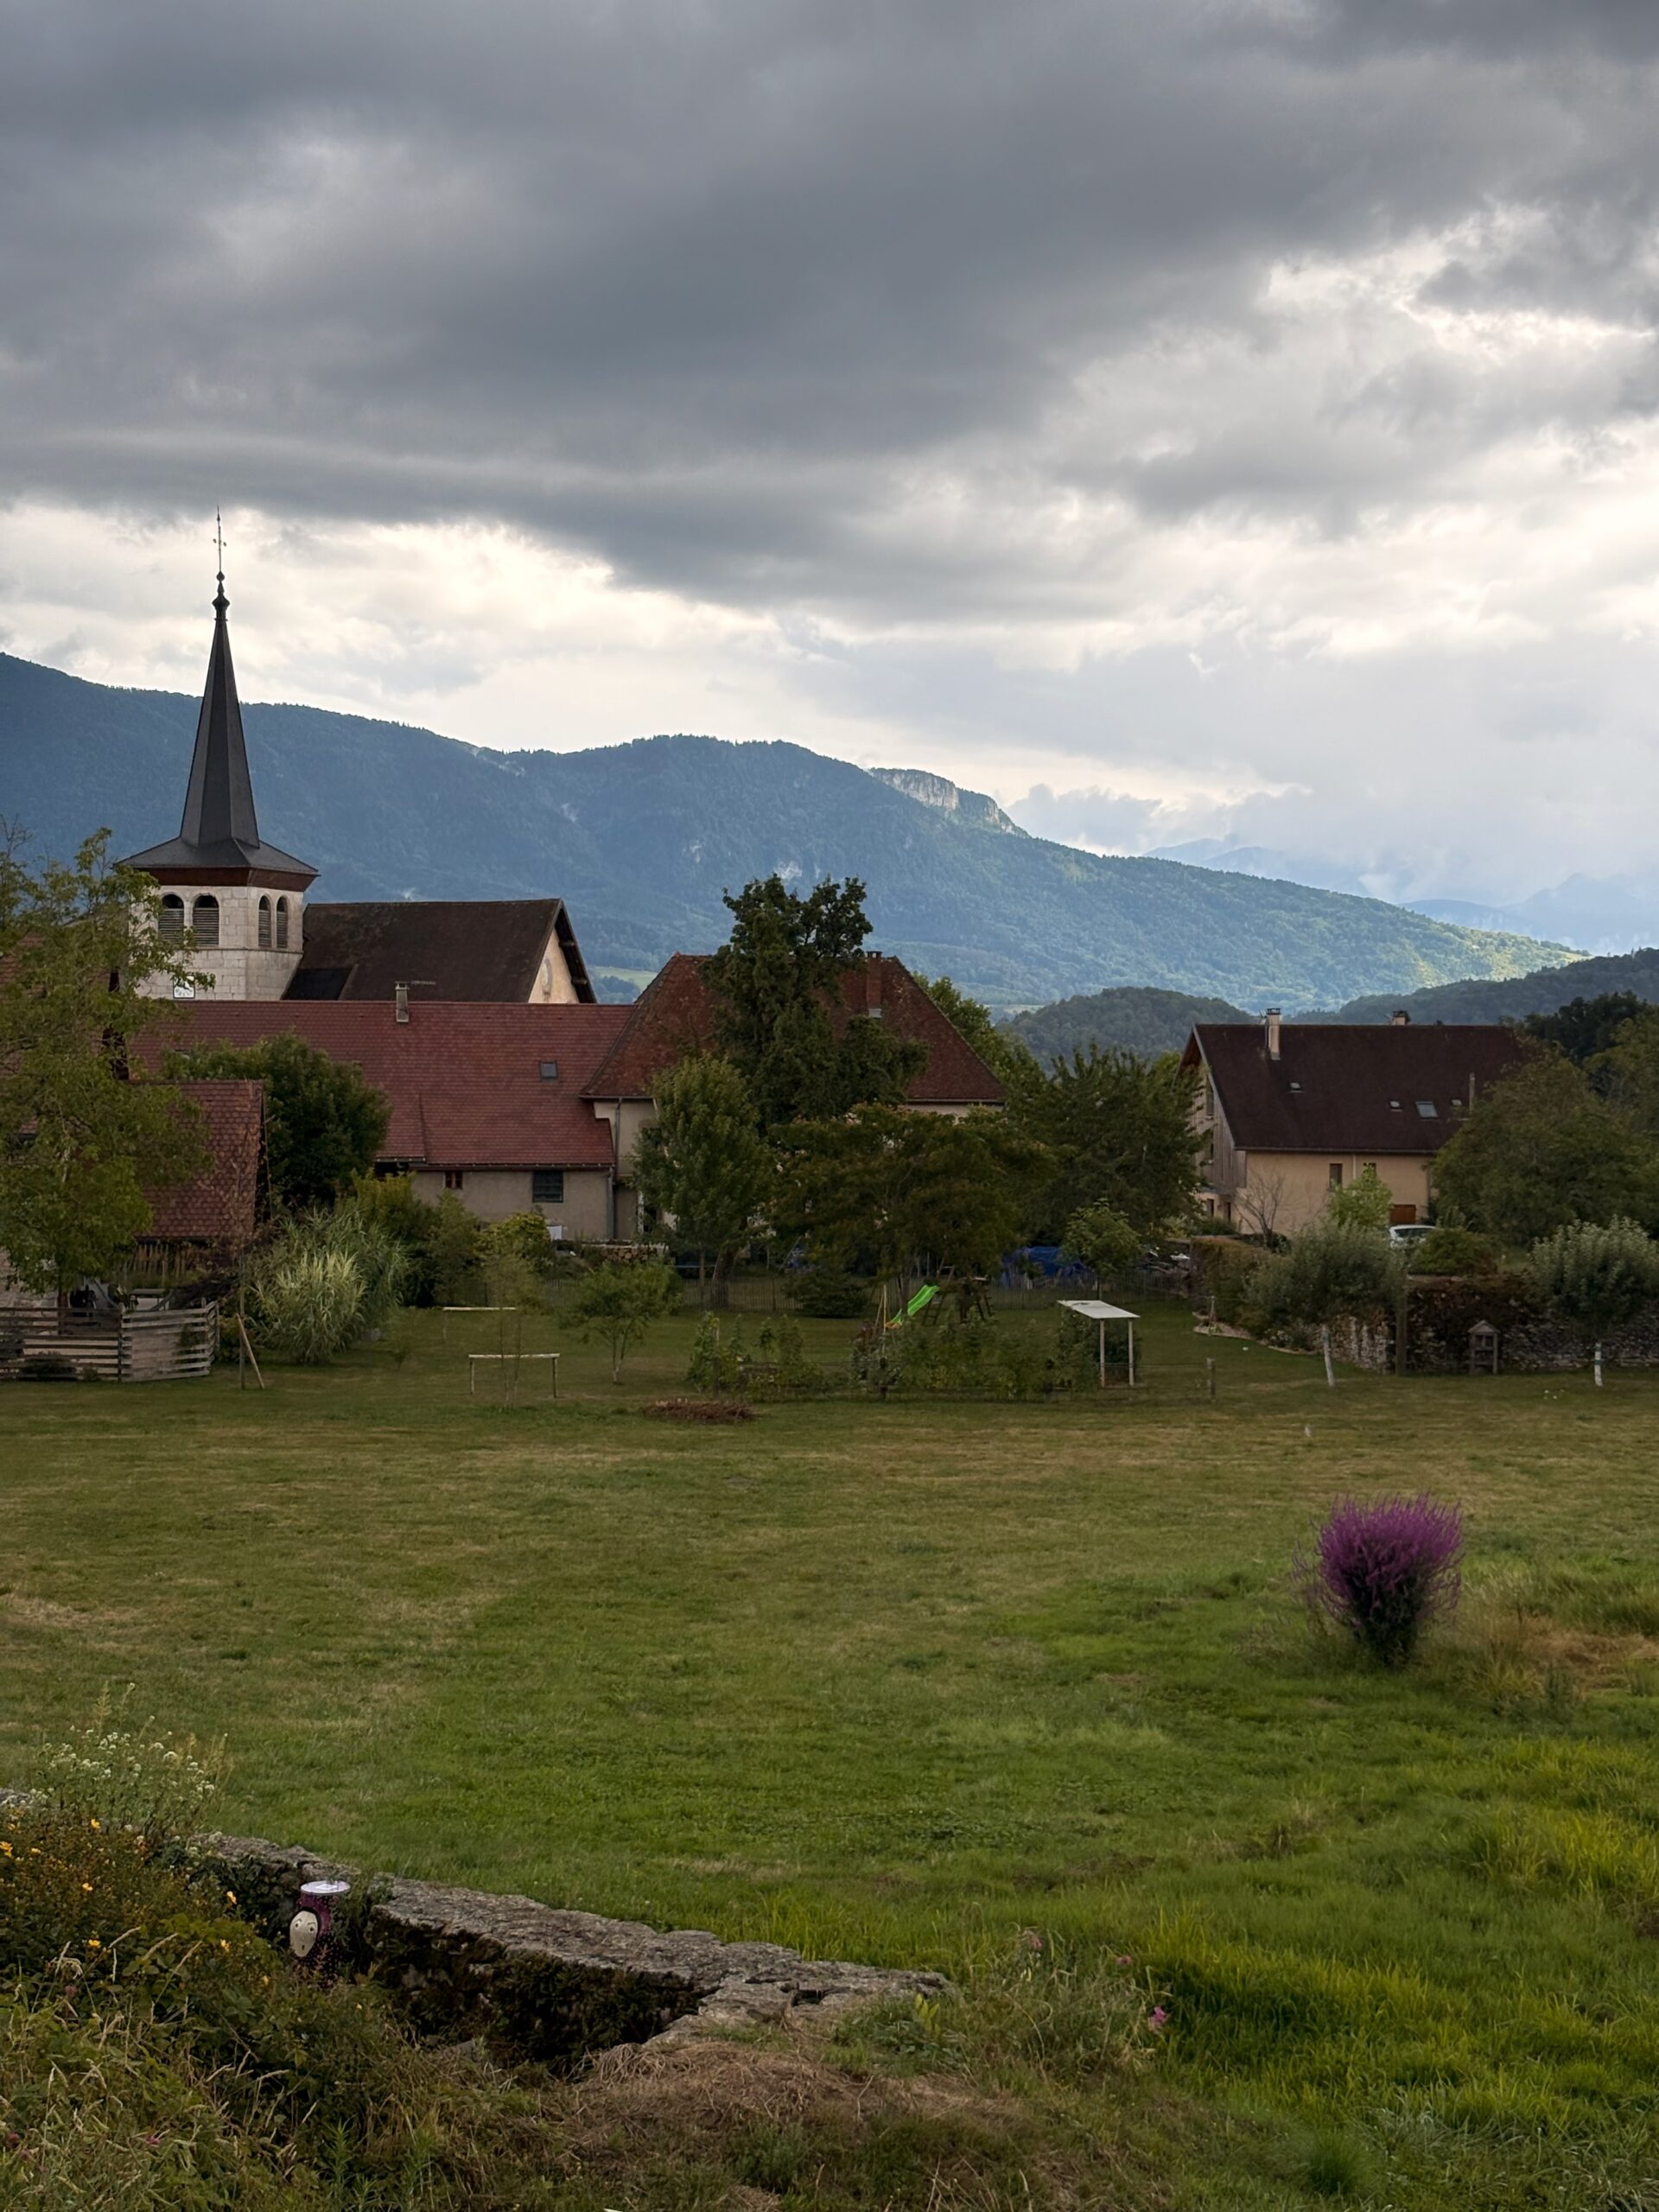
The city center of DullinView of Dullin
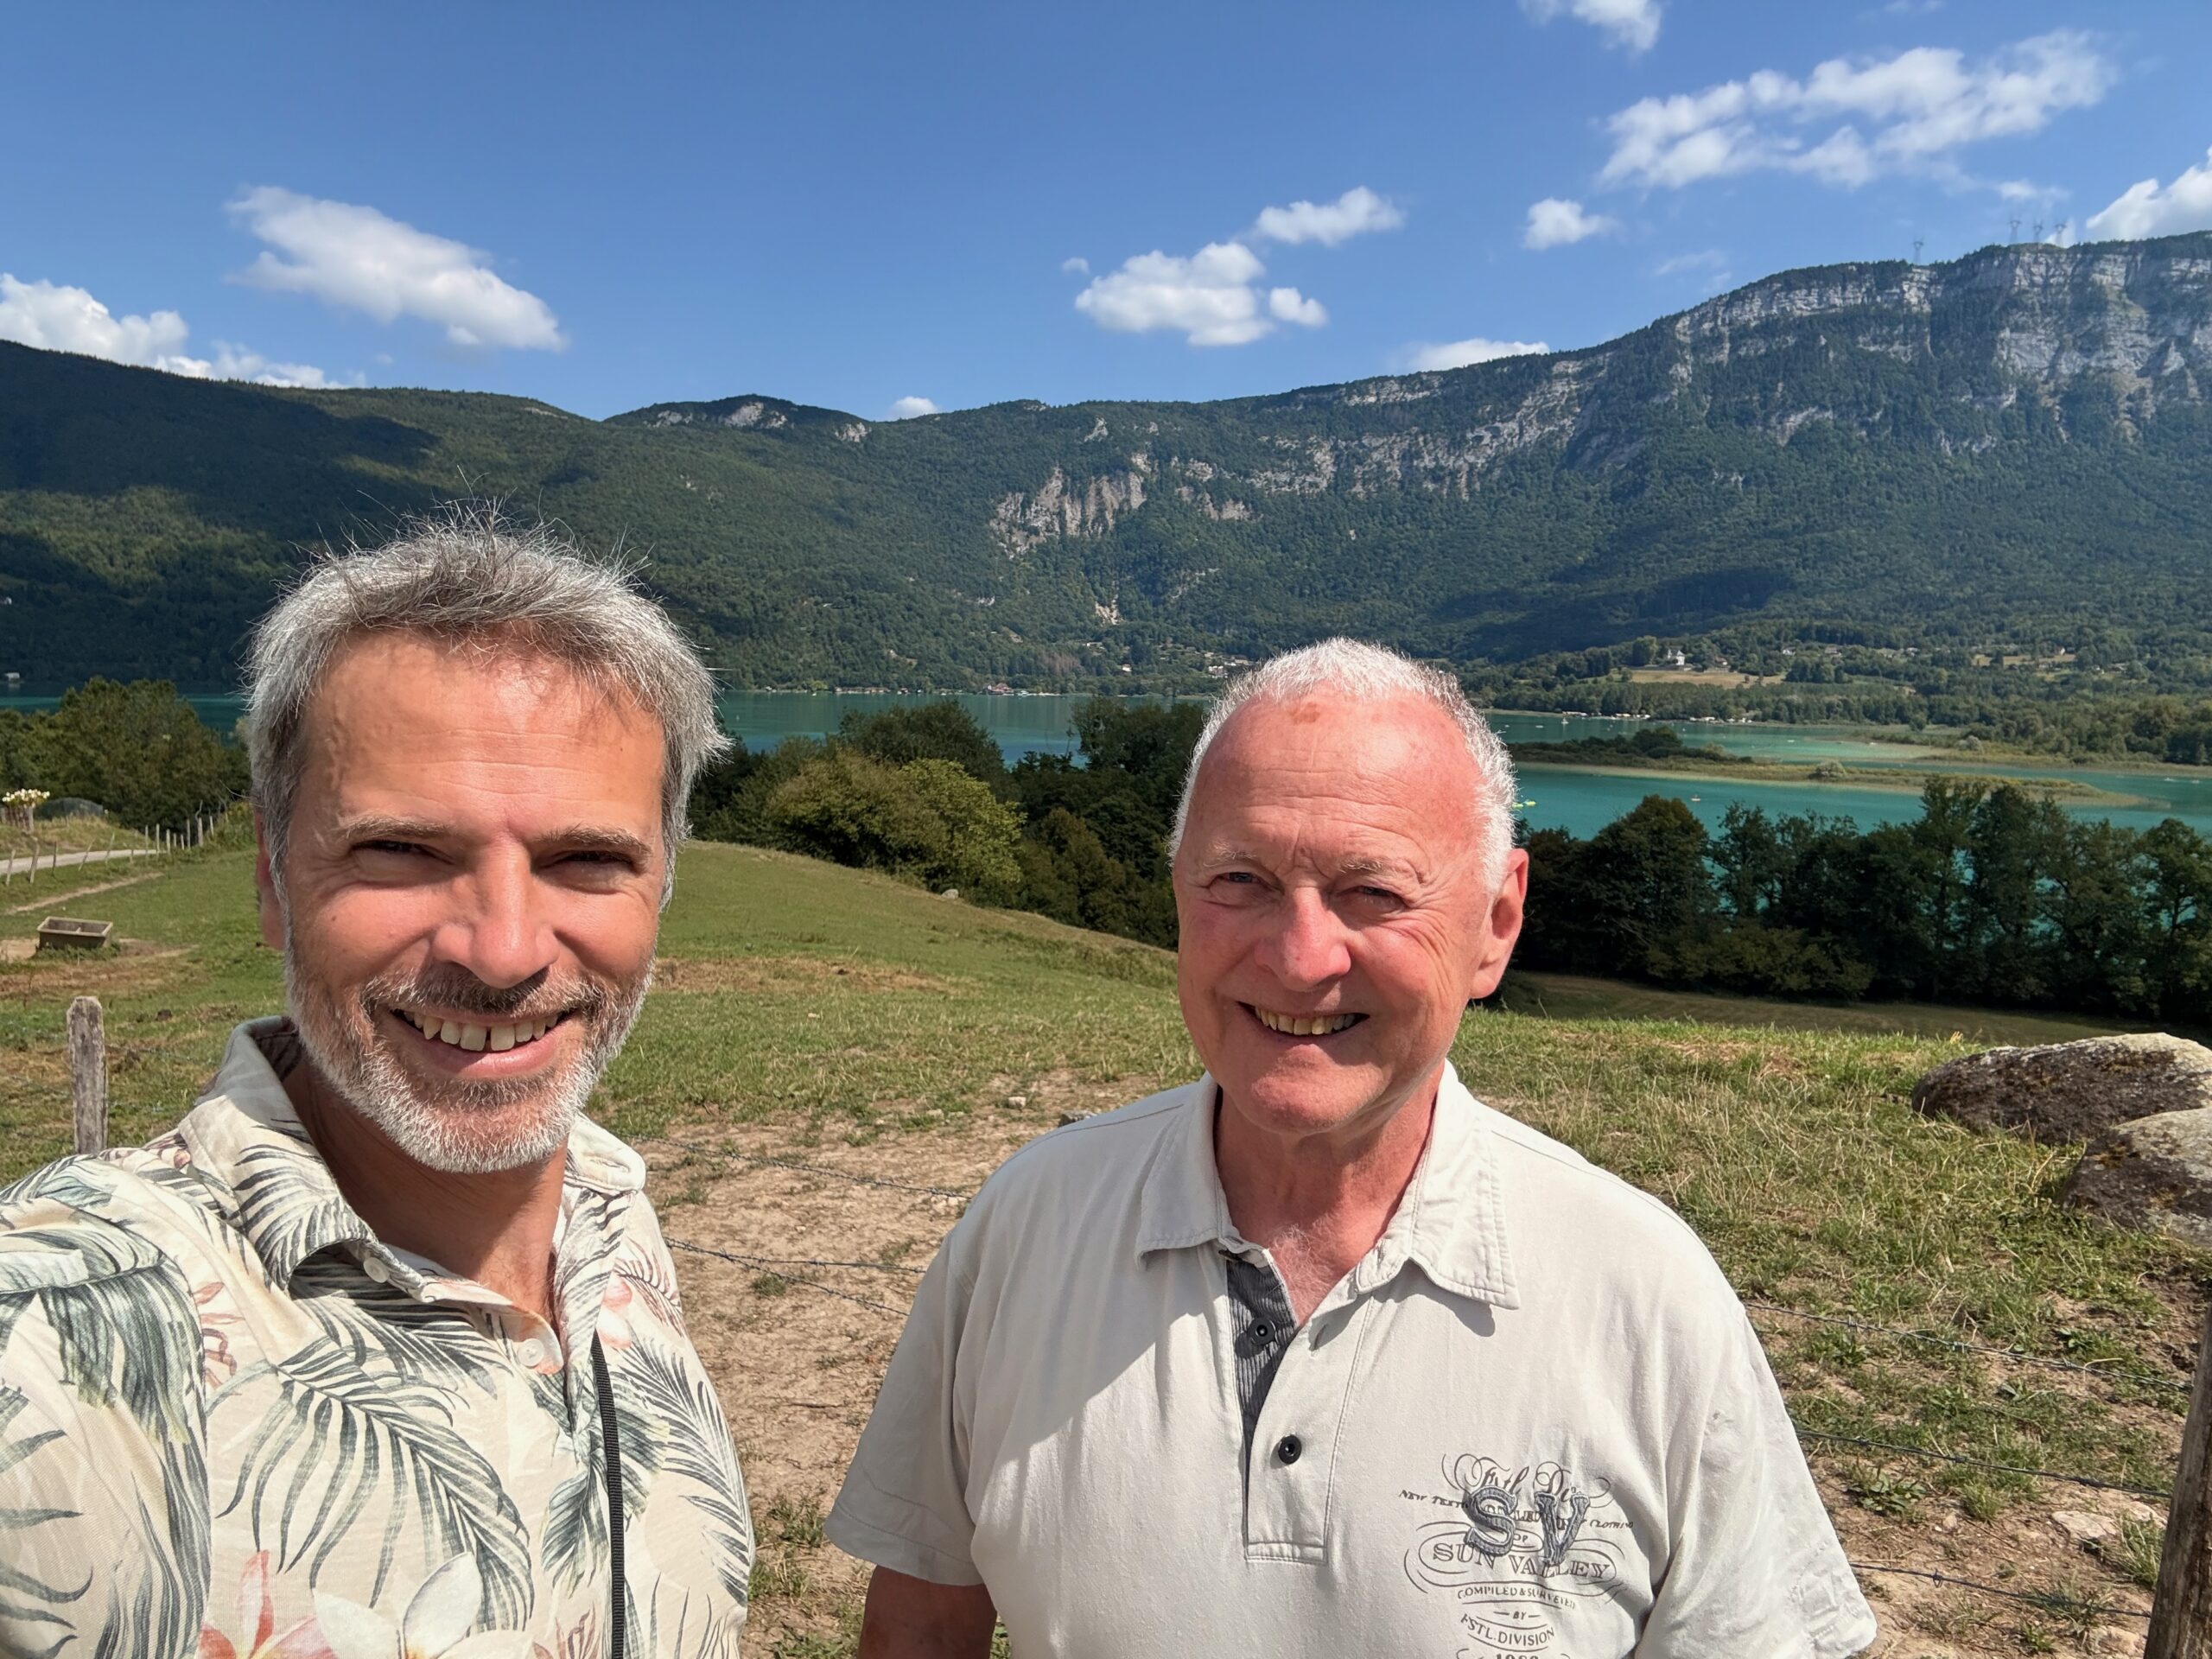
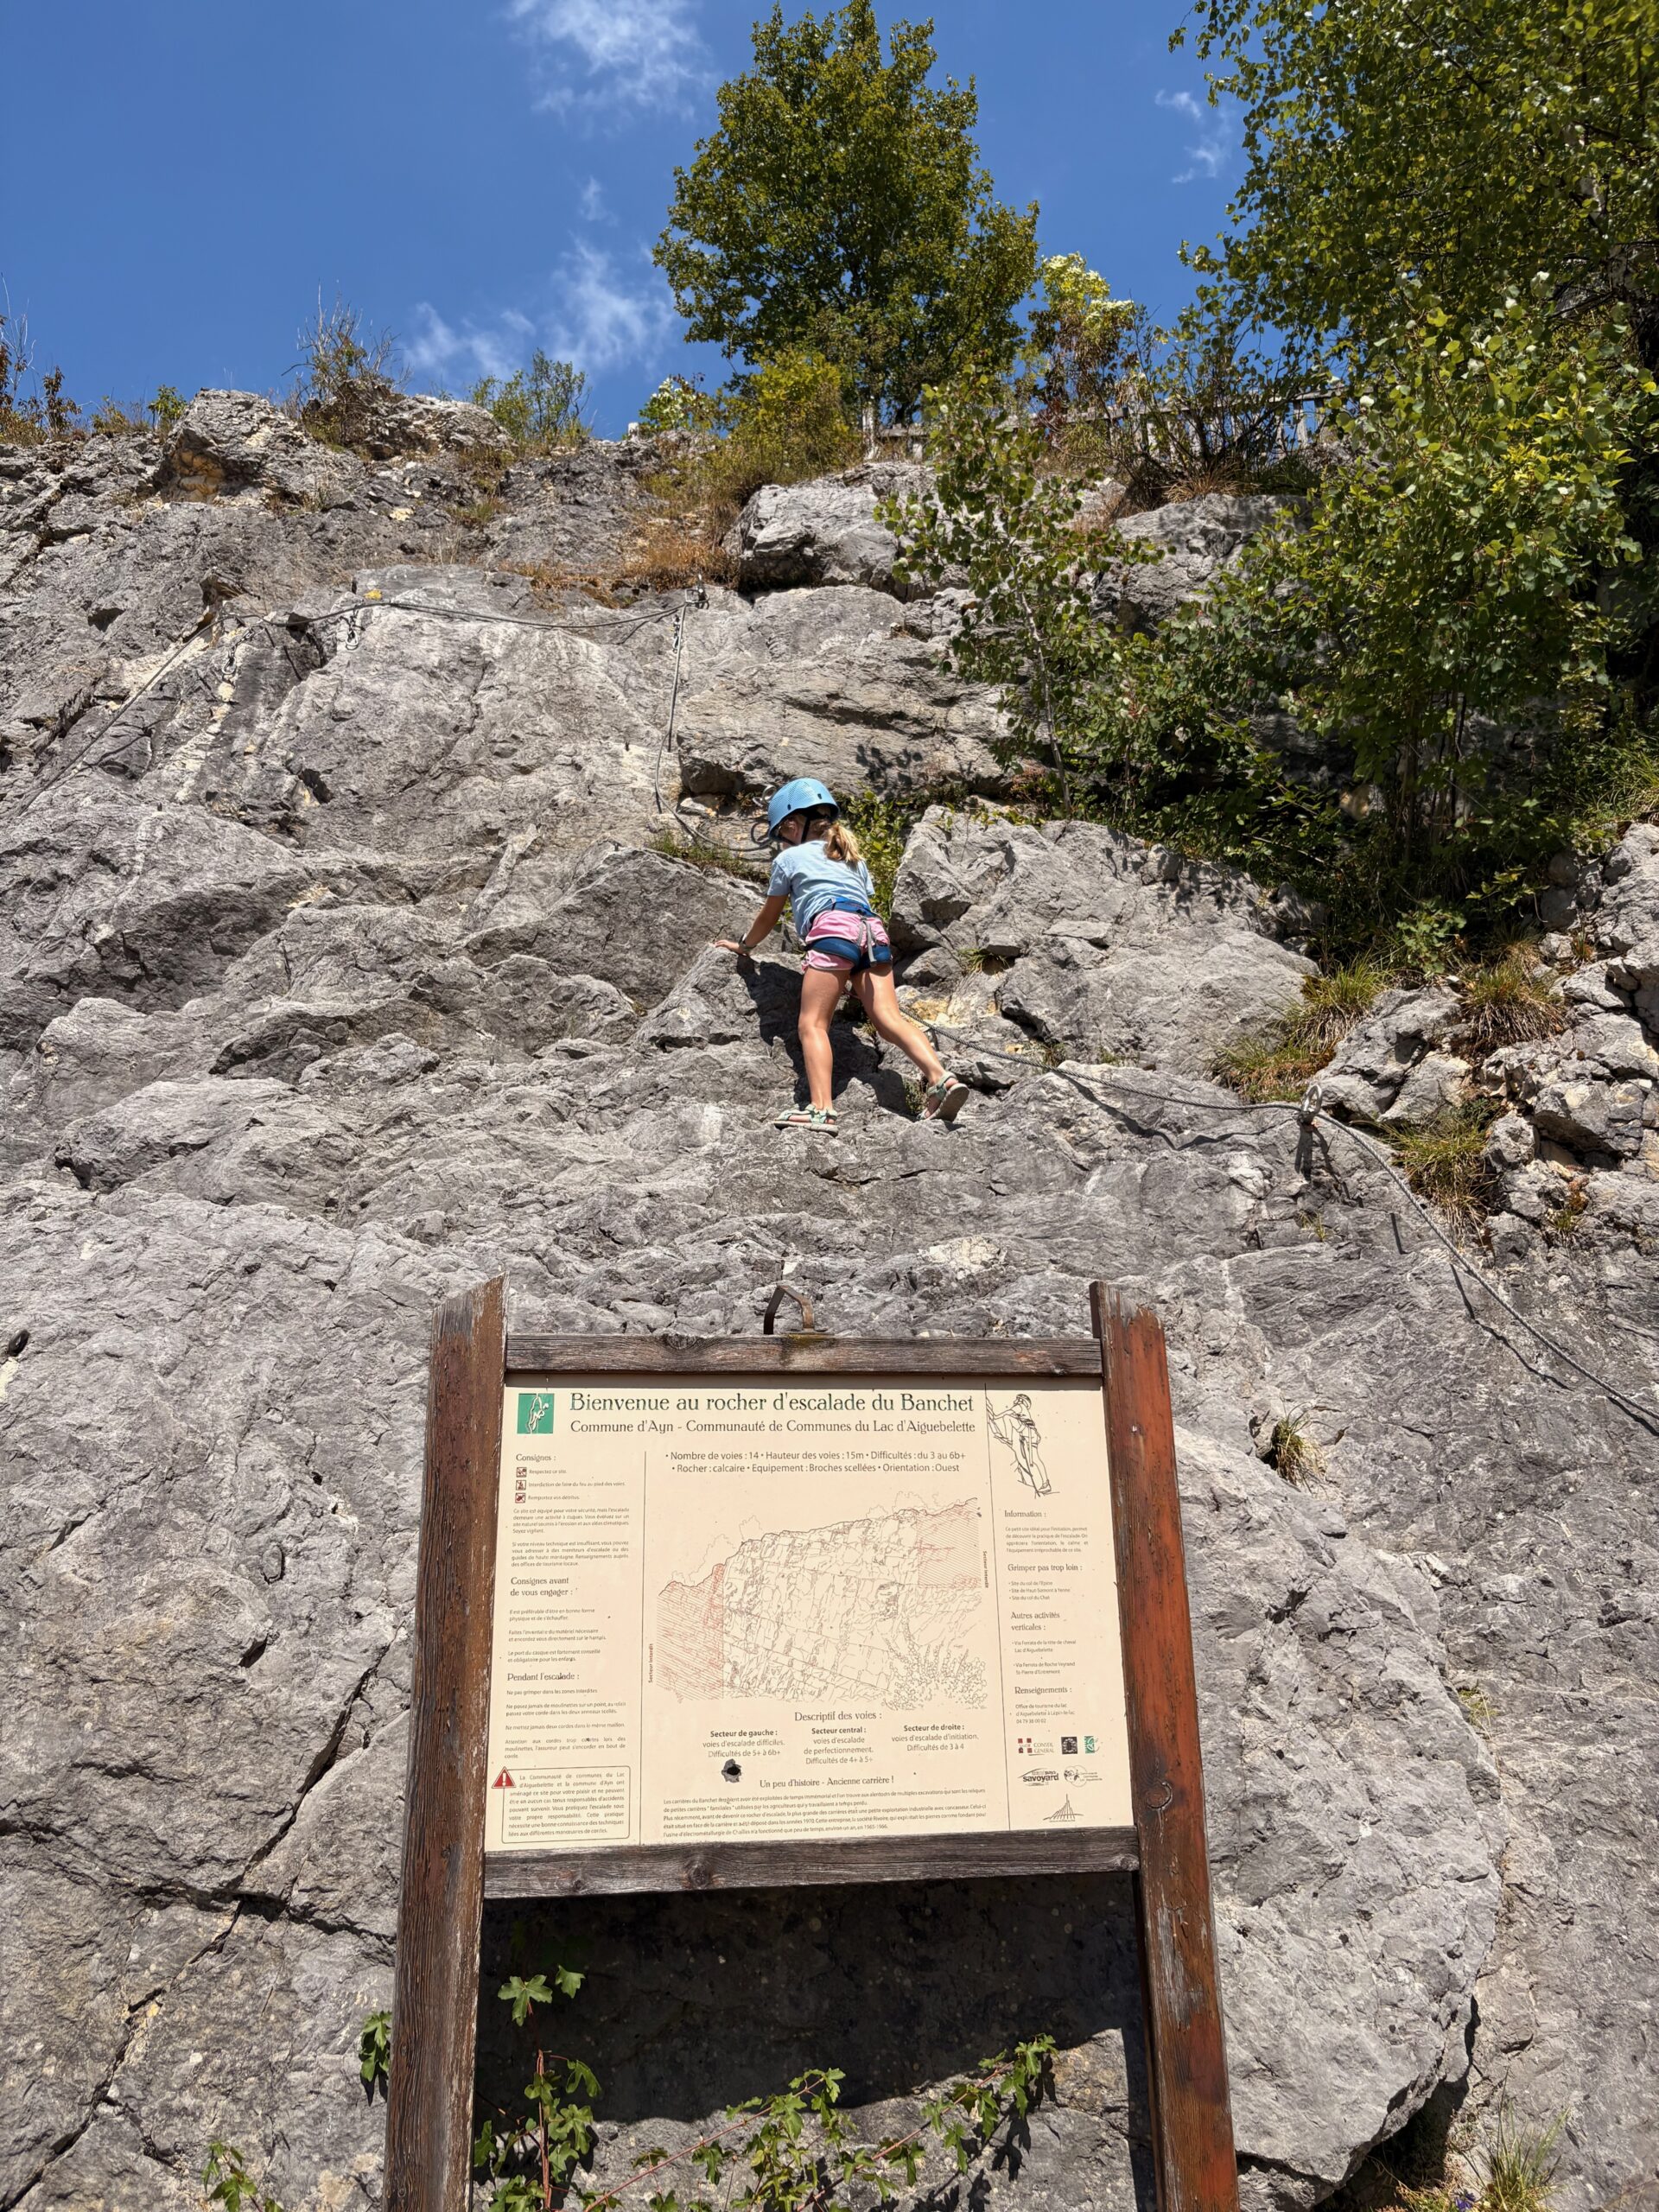
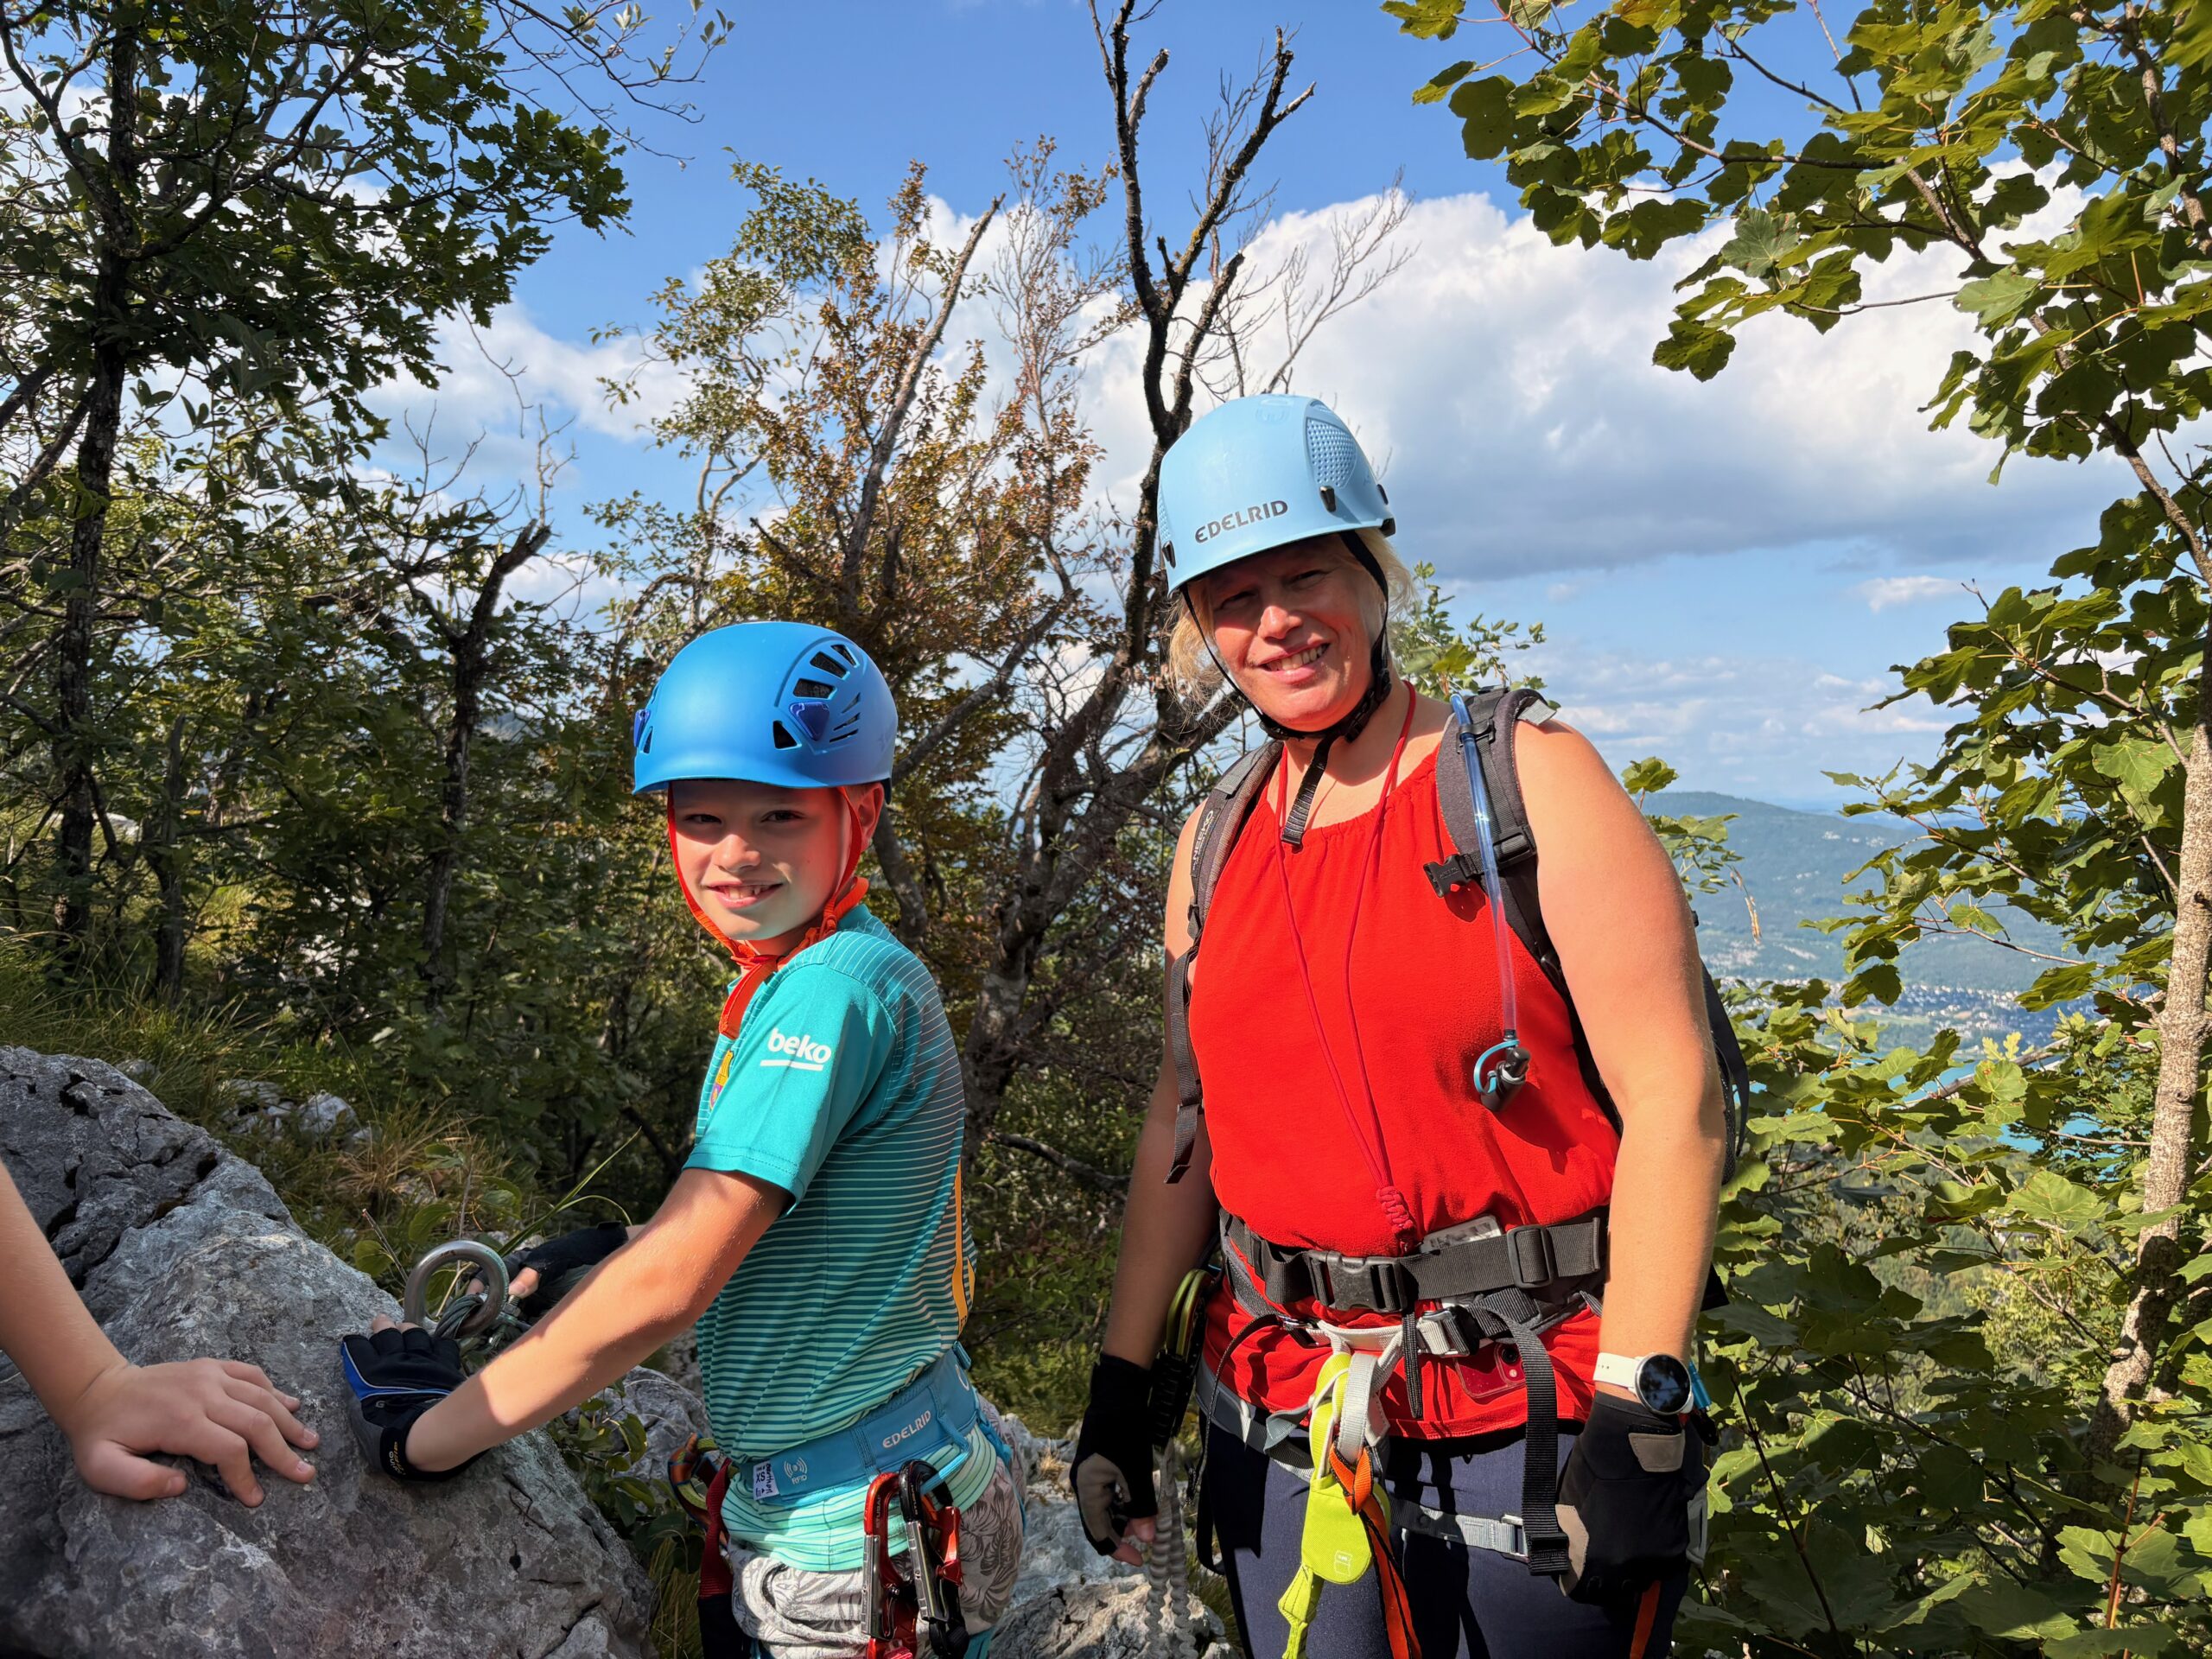
On Tuesday, JC was gently reminded that holidays warp your sense of time. He was quite surprised to see his uncle at the door, having firmly believed it was still Monday. Plans were reshuffled. Vera took the kids for a nearby via ferrata before heading to the lake, while JC enjoyed a long walk and chat with his uncle. We all reunited at the beach for drinks under the trees – a nice family moment.
JC and his uncle on a walkThe beautiful lake
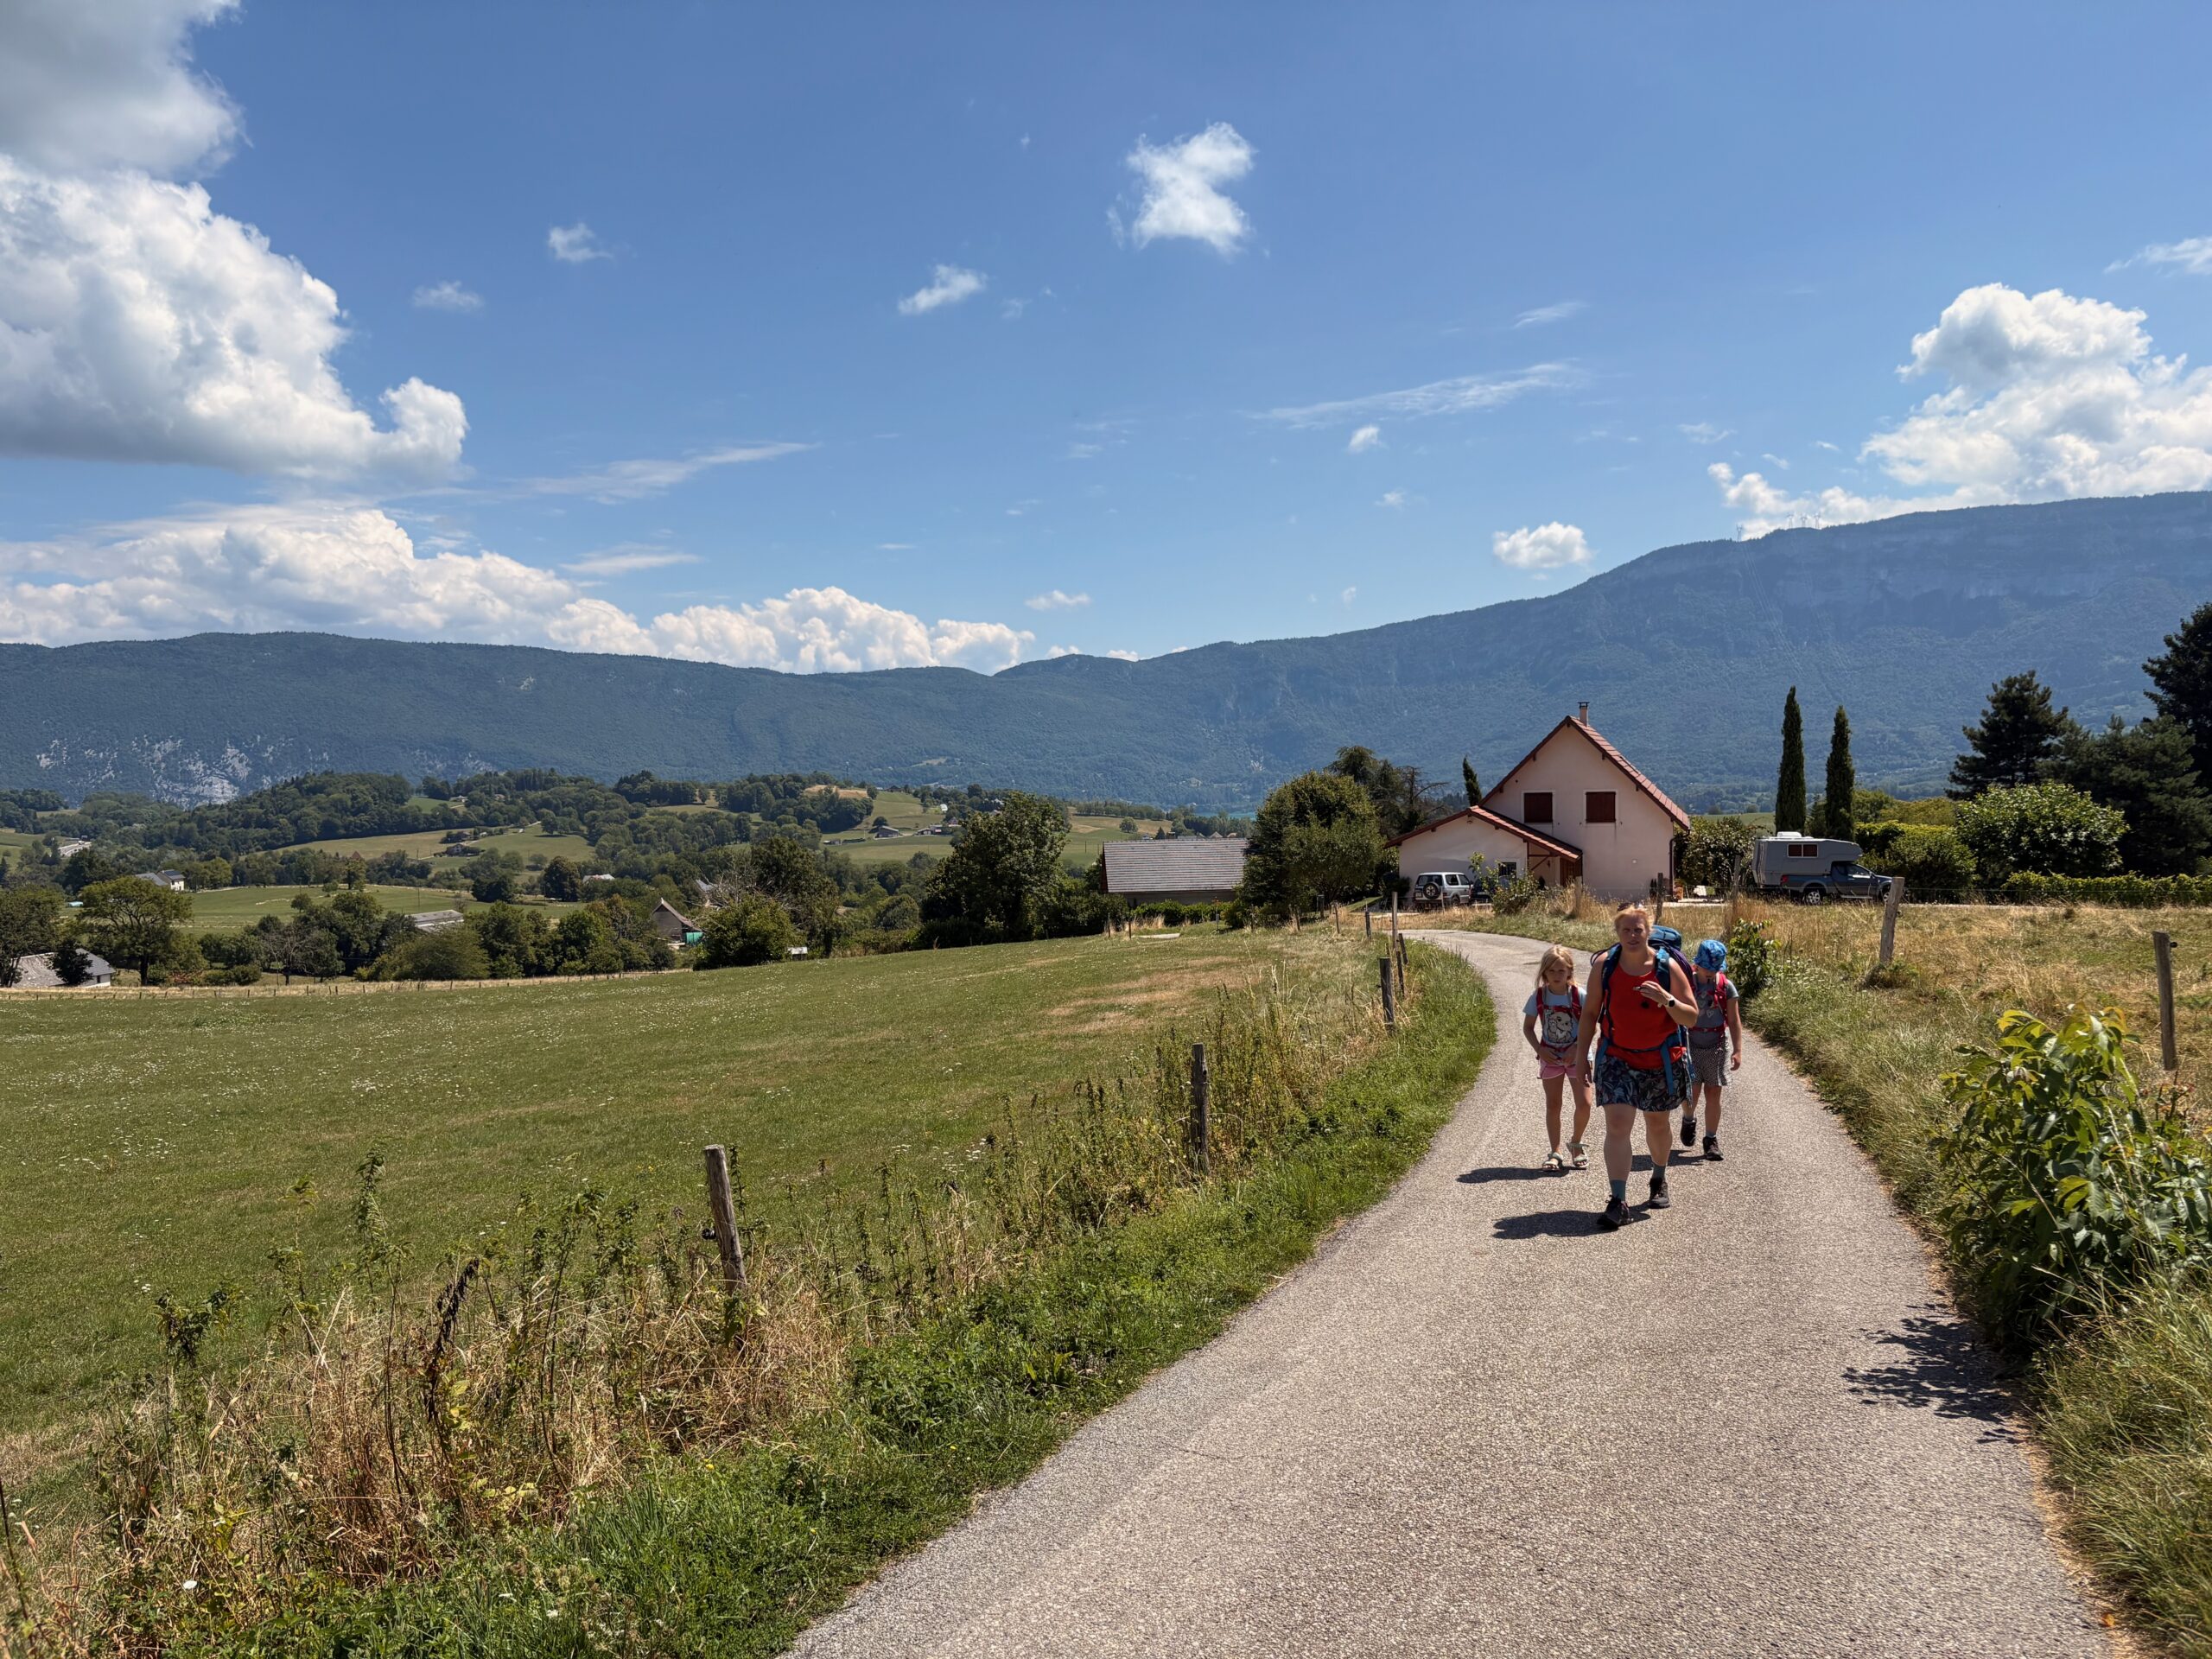
Wednesday’s plan was a “small trek” – 5-6 km with a gentle 150 m elevation. We’ve done it before with the kids as toddlers. This time? After 500 m, complaints began. The kids executed a perfect moaning relay, each handing off the baton of grumbling as we marched on. Very French of them.
Start of the trek, still smilingYeah, climbing!Let’s go higherand higherWe almost did it!
Speaking of experiencing the French, later that week, JC cycled to the bakery and encountered the true spirit of French driving – a local buzzed past him so closely JC could’ve check his look in their side mirror. Naturally, JC expressed himself in an eloquent blend of French swearing and Italian hand gestures. The driver gestured toward a barely visible shared path (which, legally, he didn’t have to use). All part of the authentic French cycling on the road experience. Beautiful country, baffling cycling signage and morons behind the steering wheel.
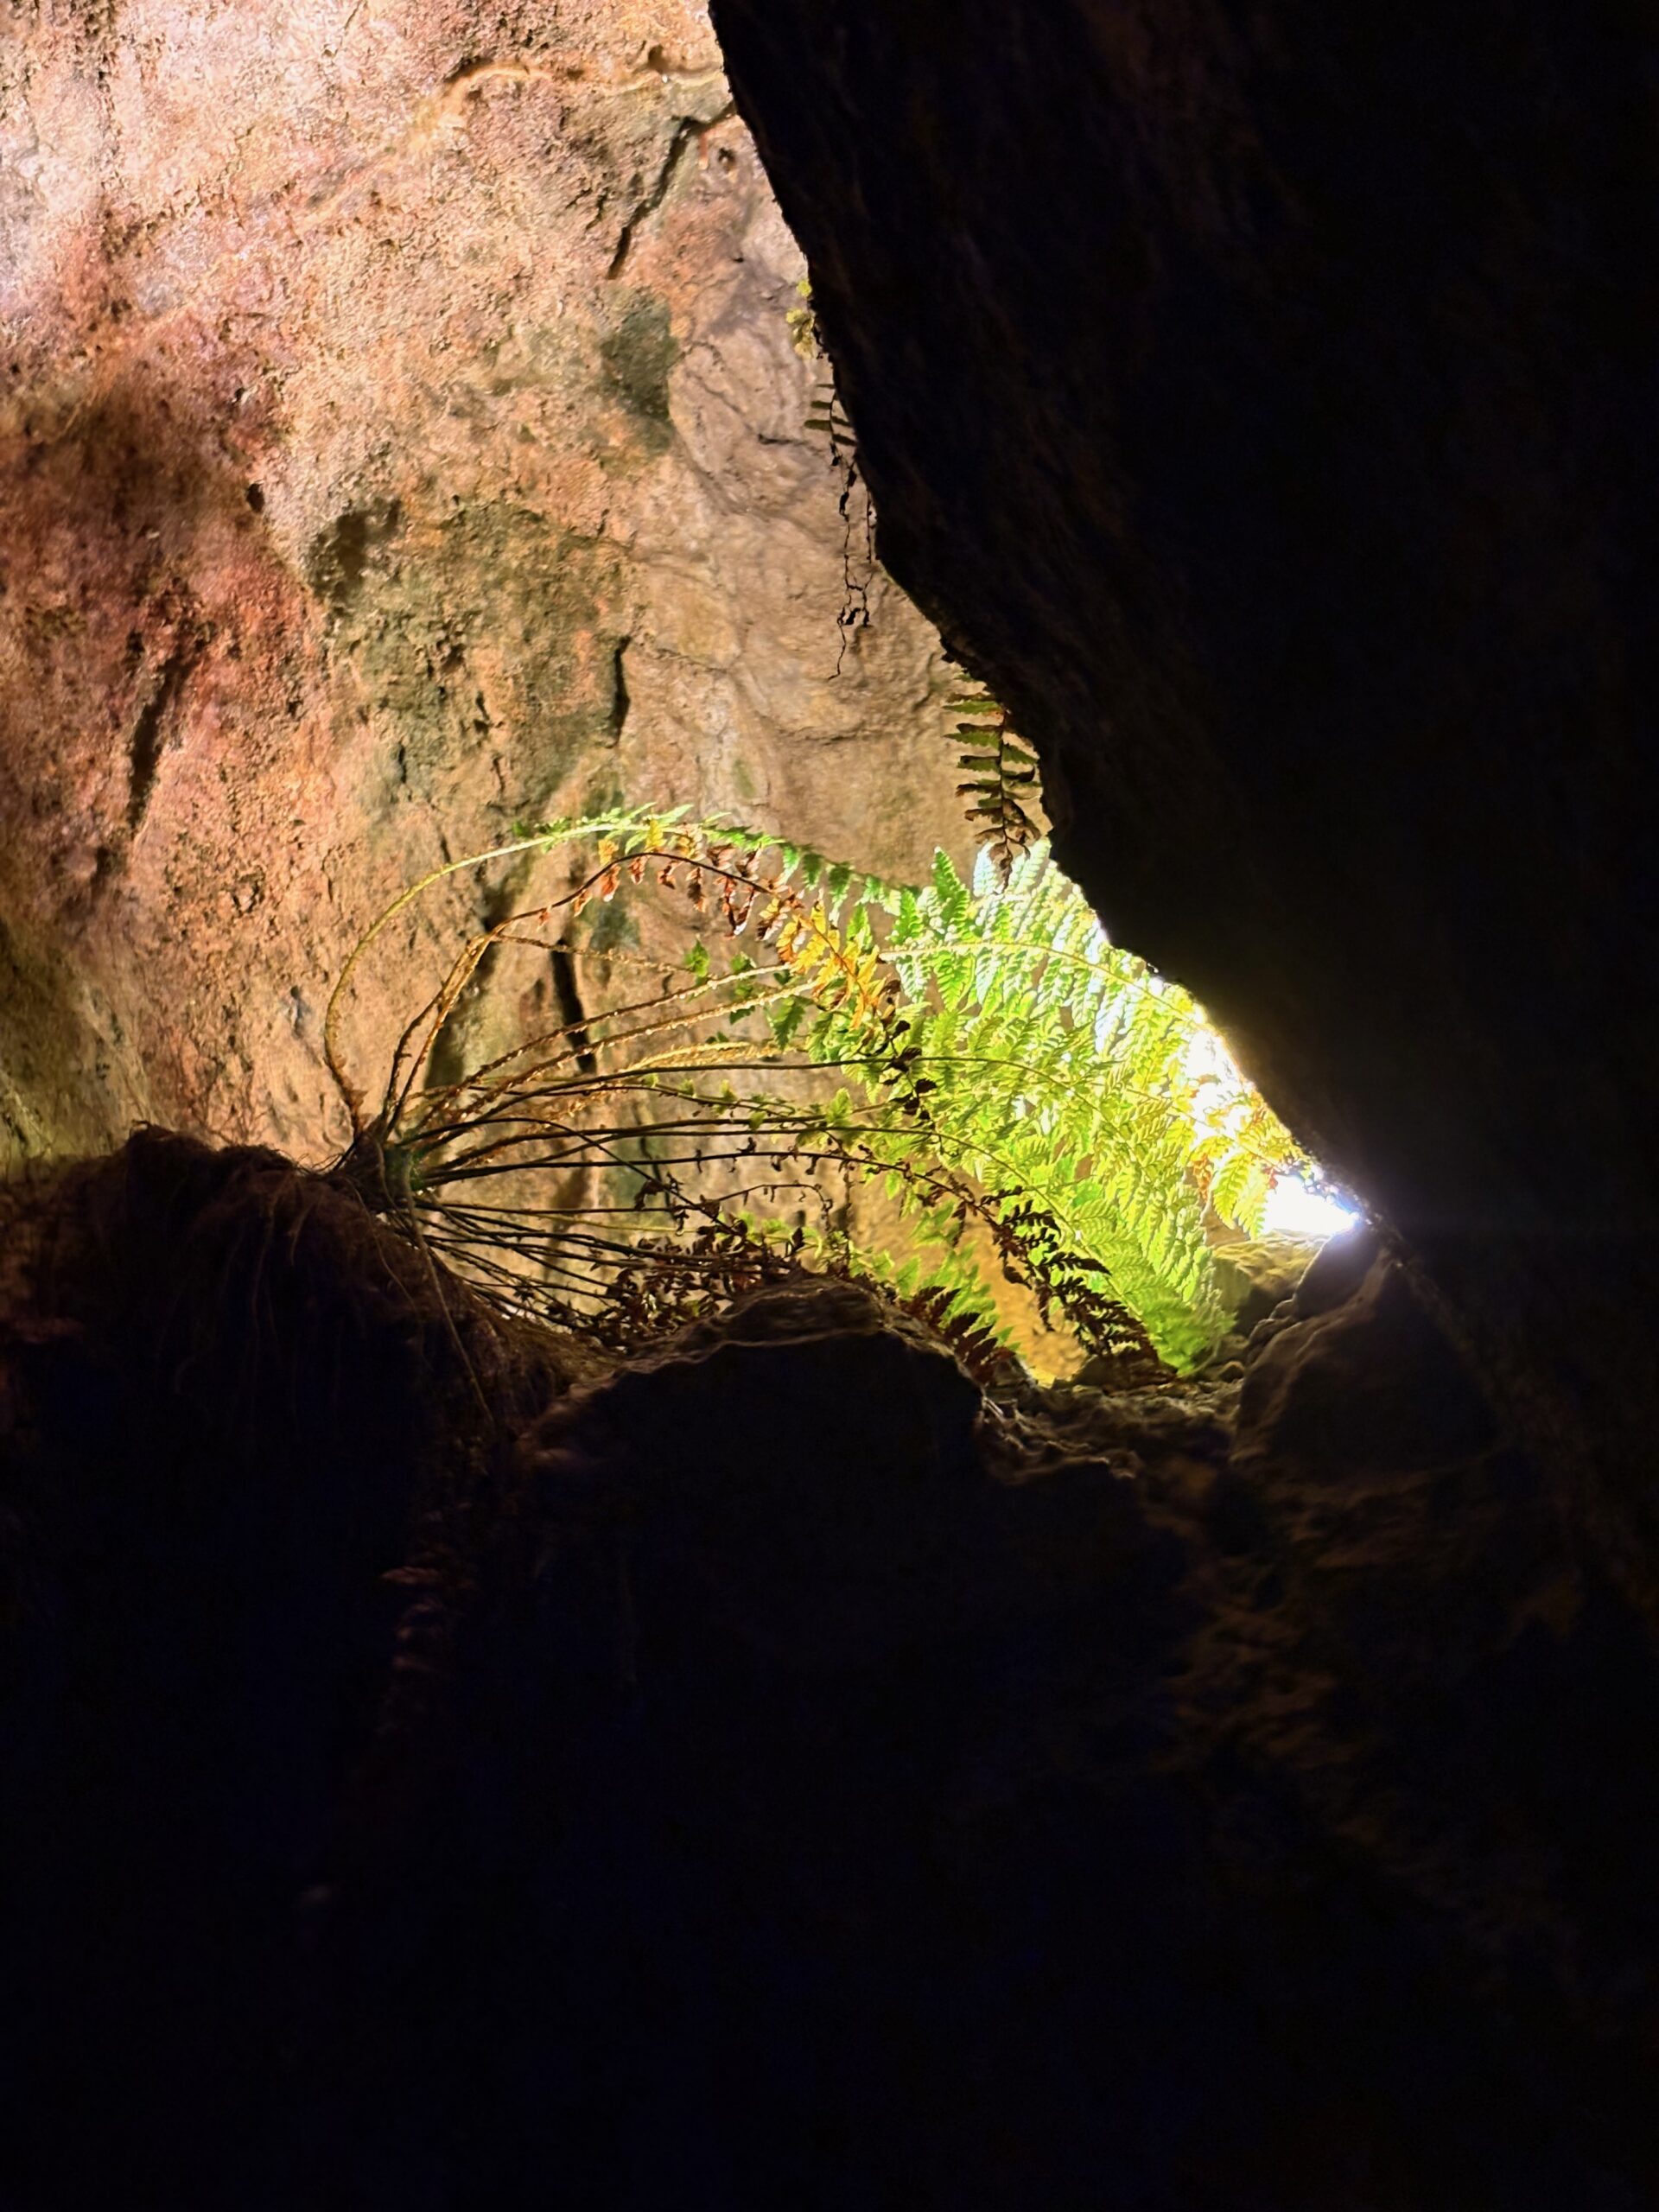
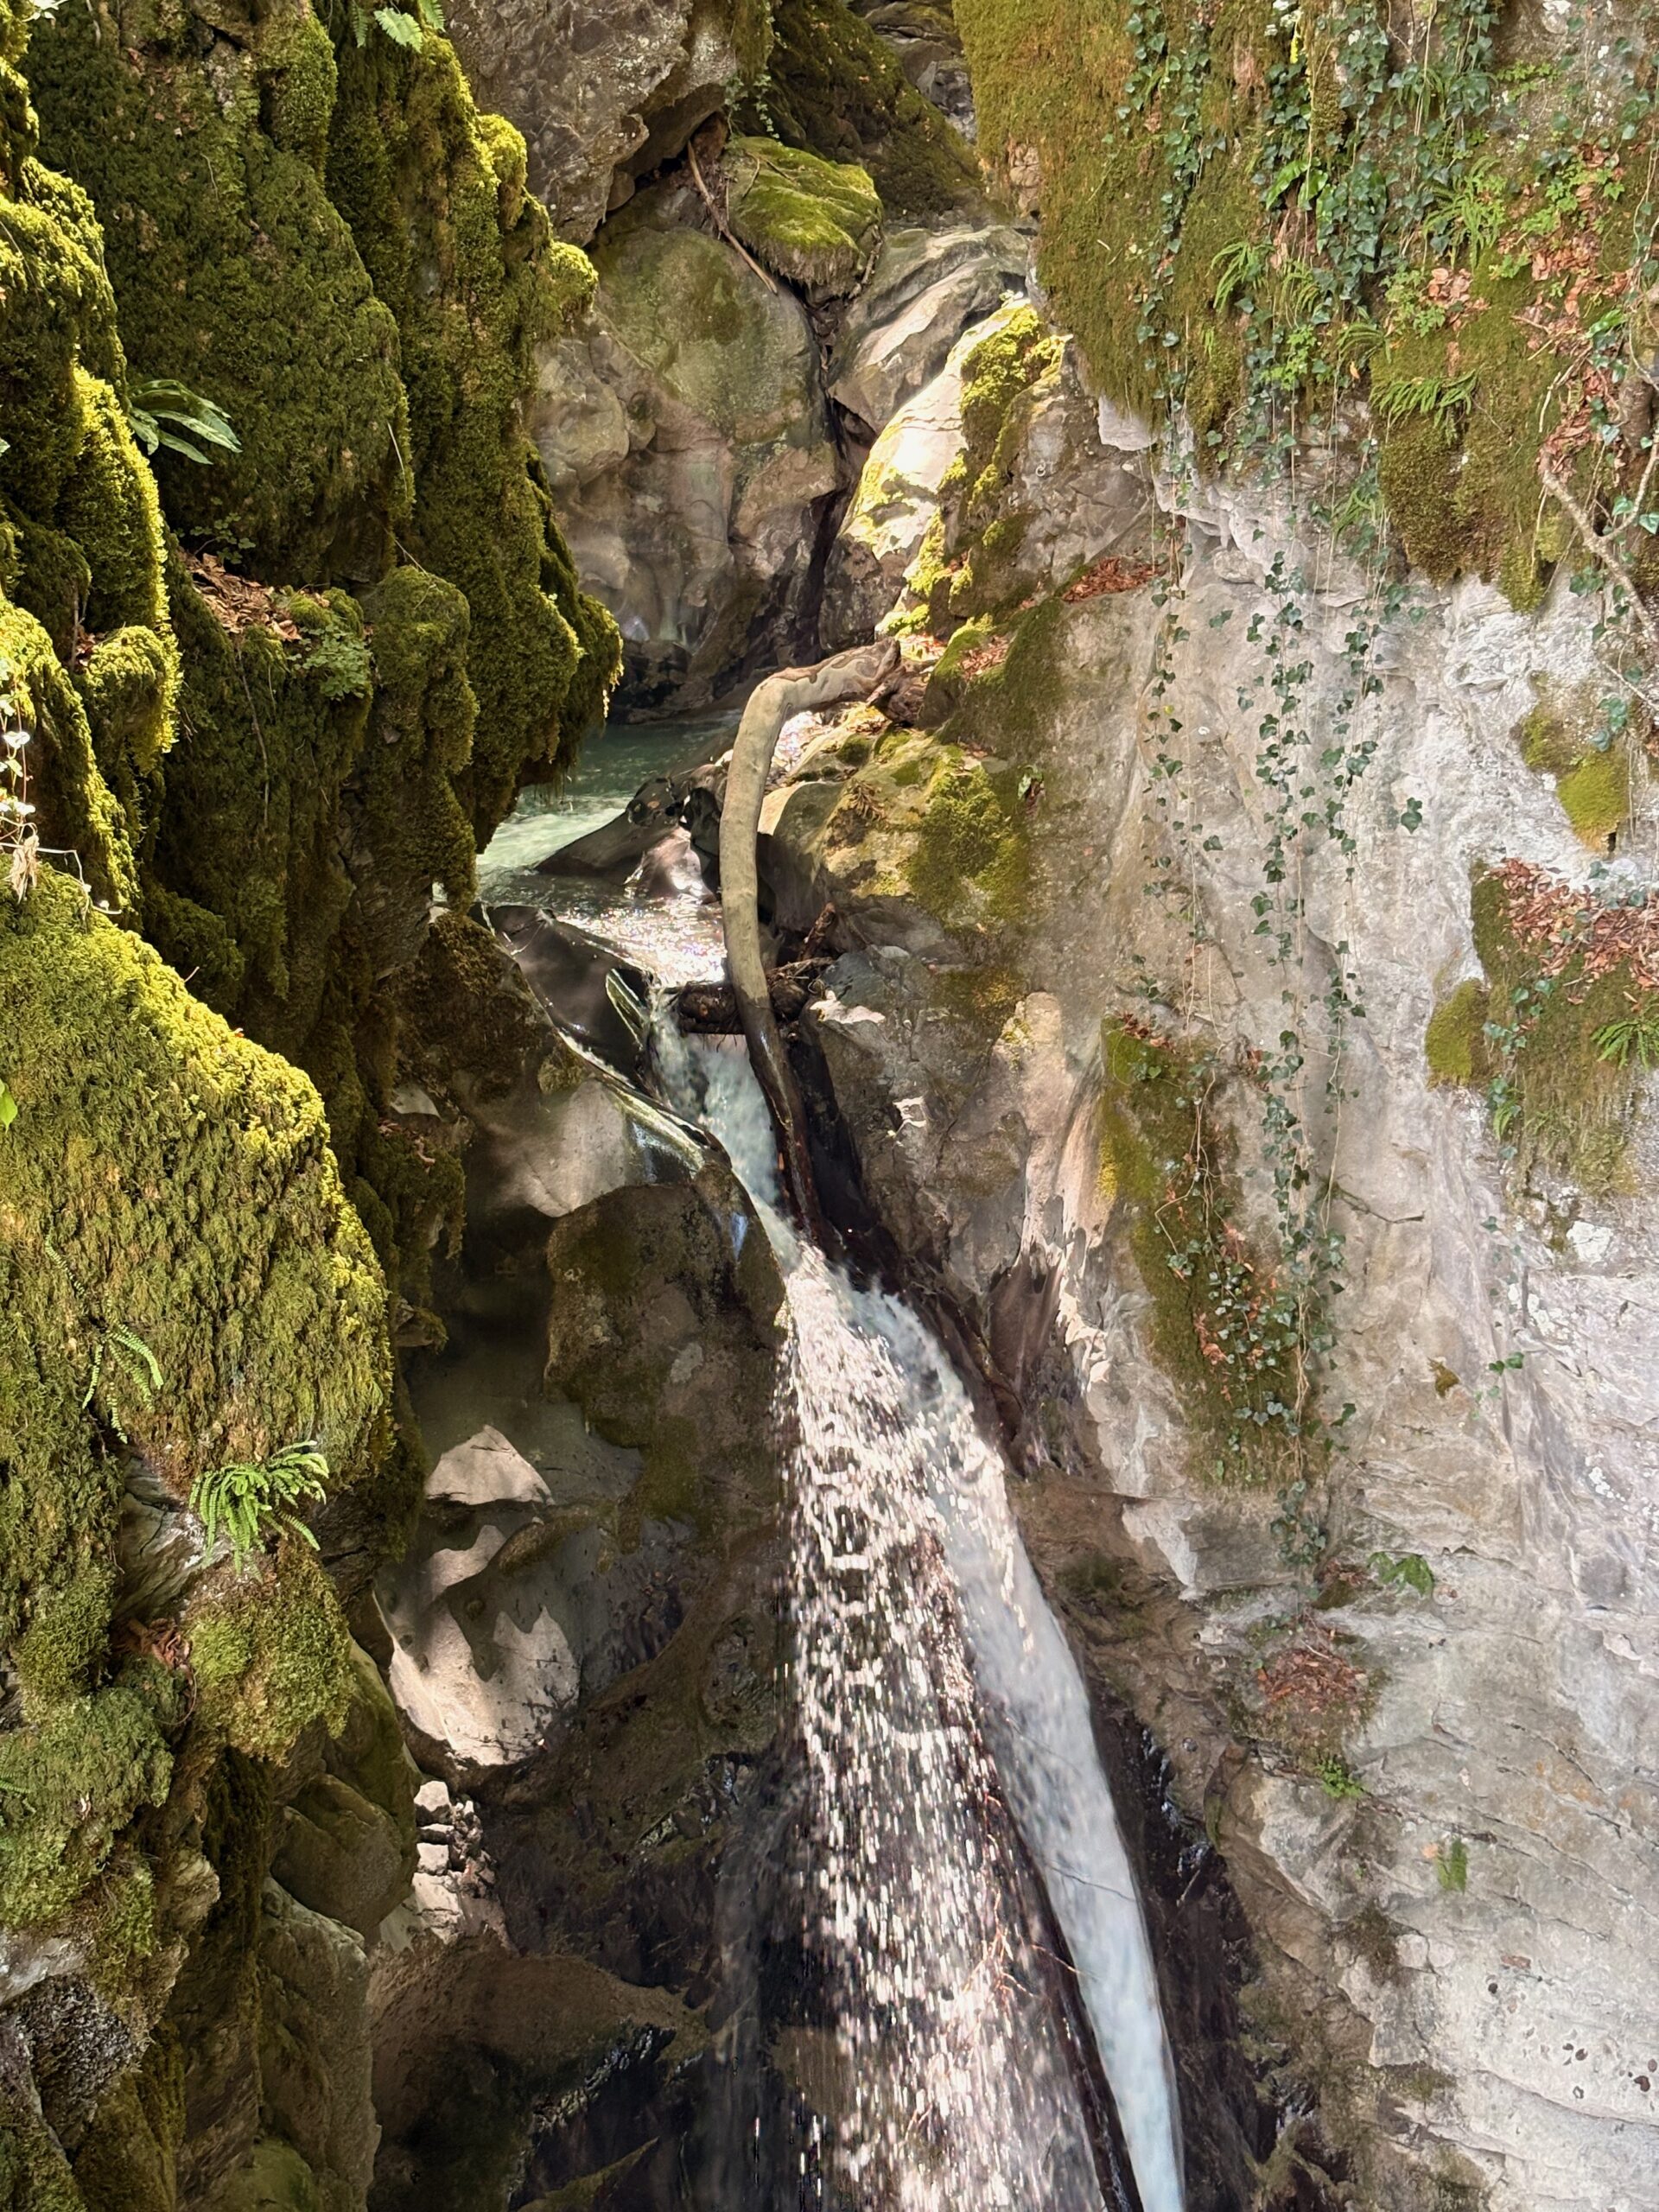
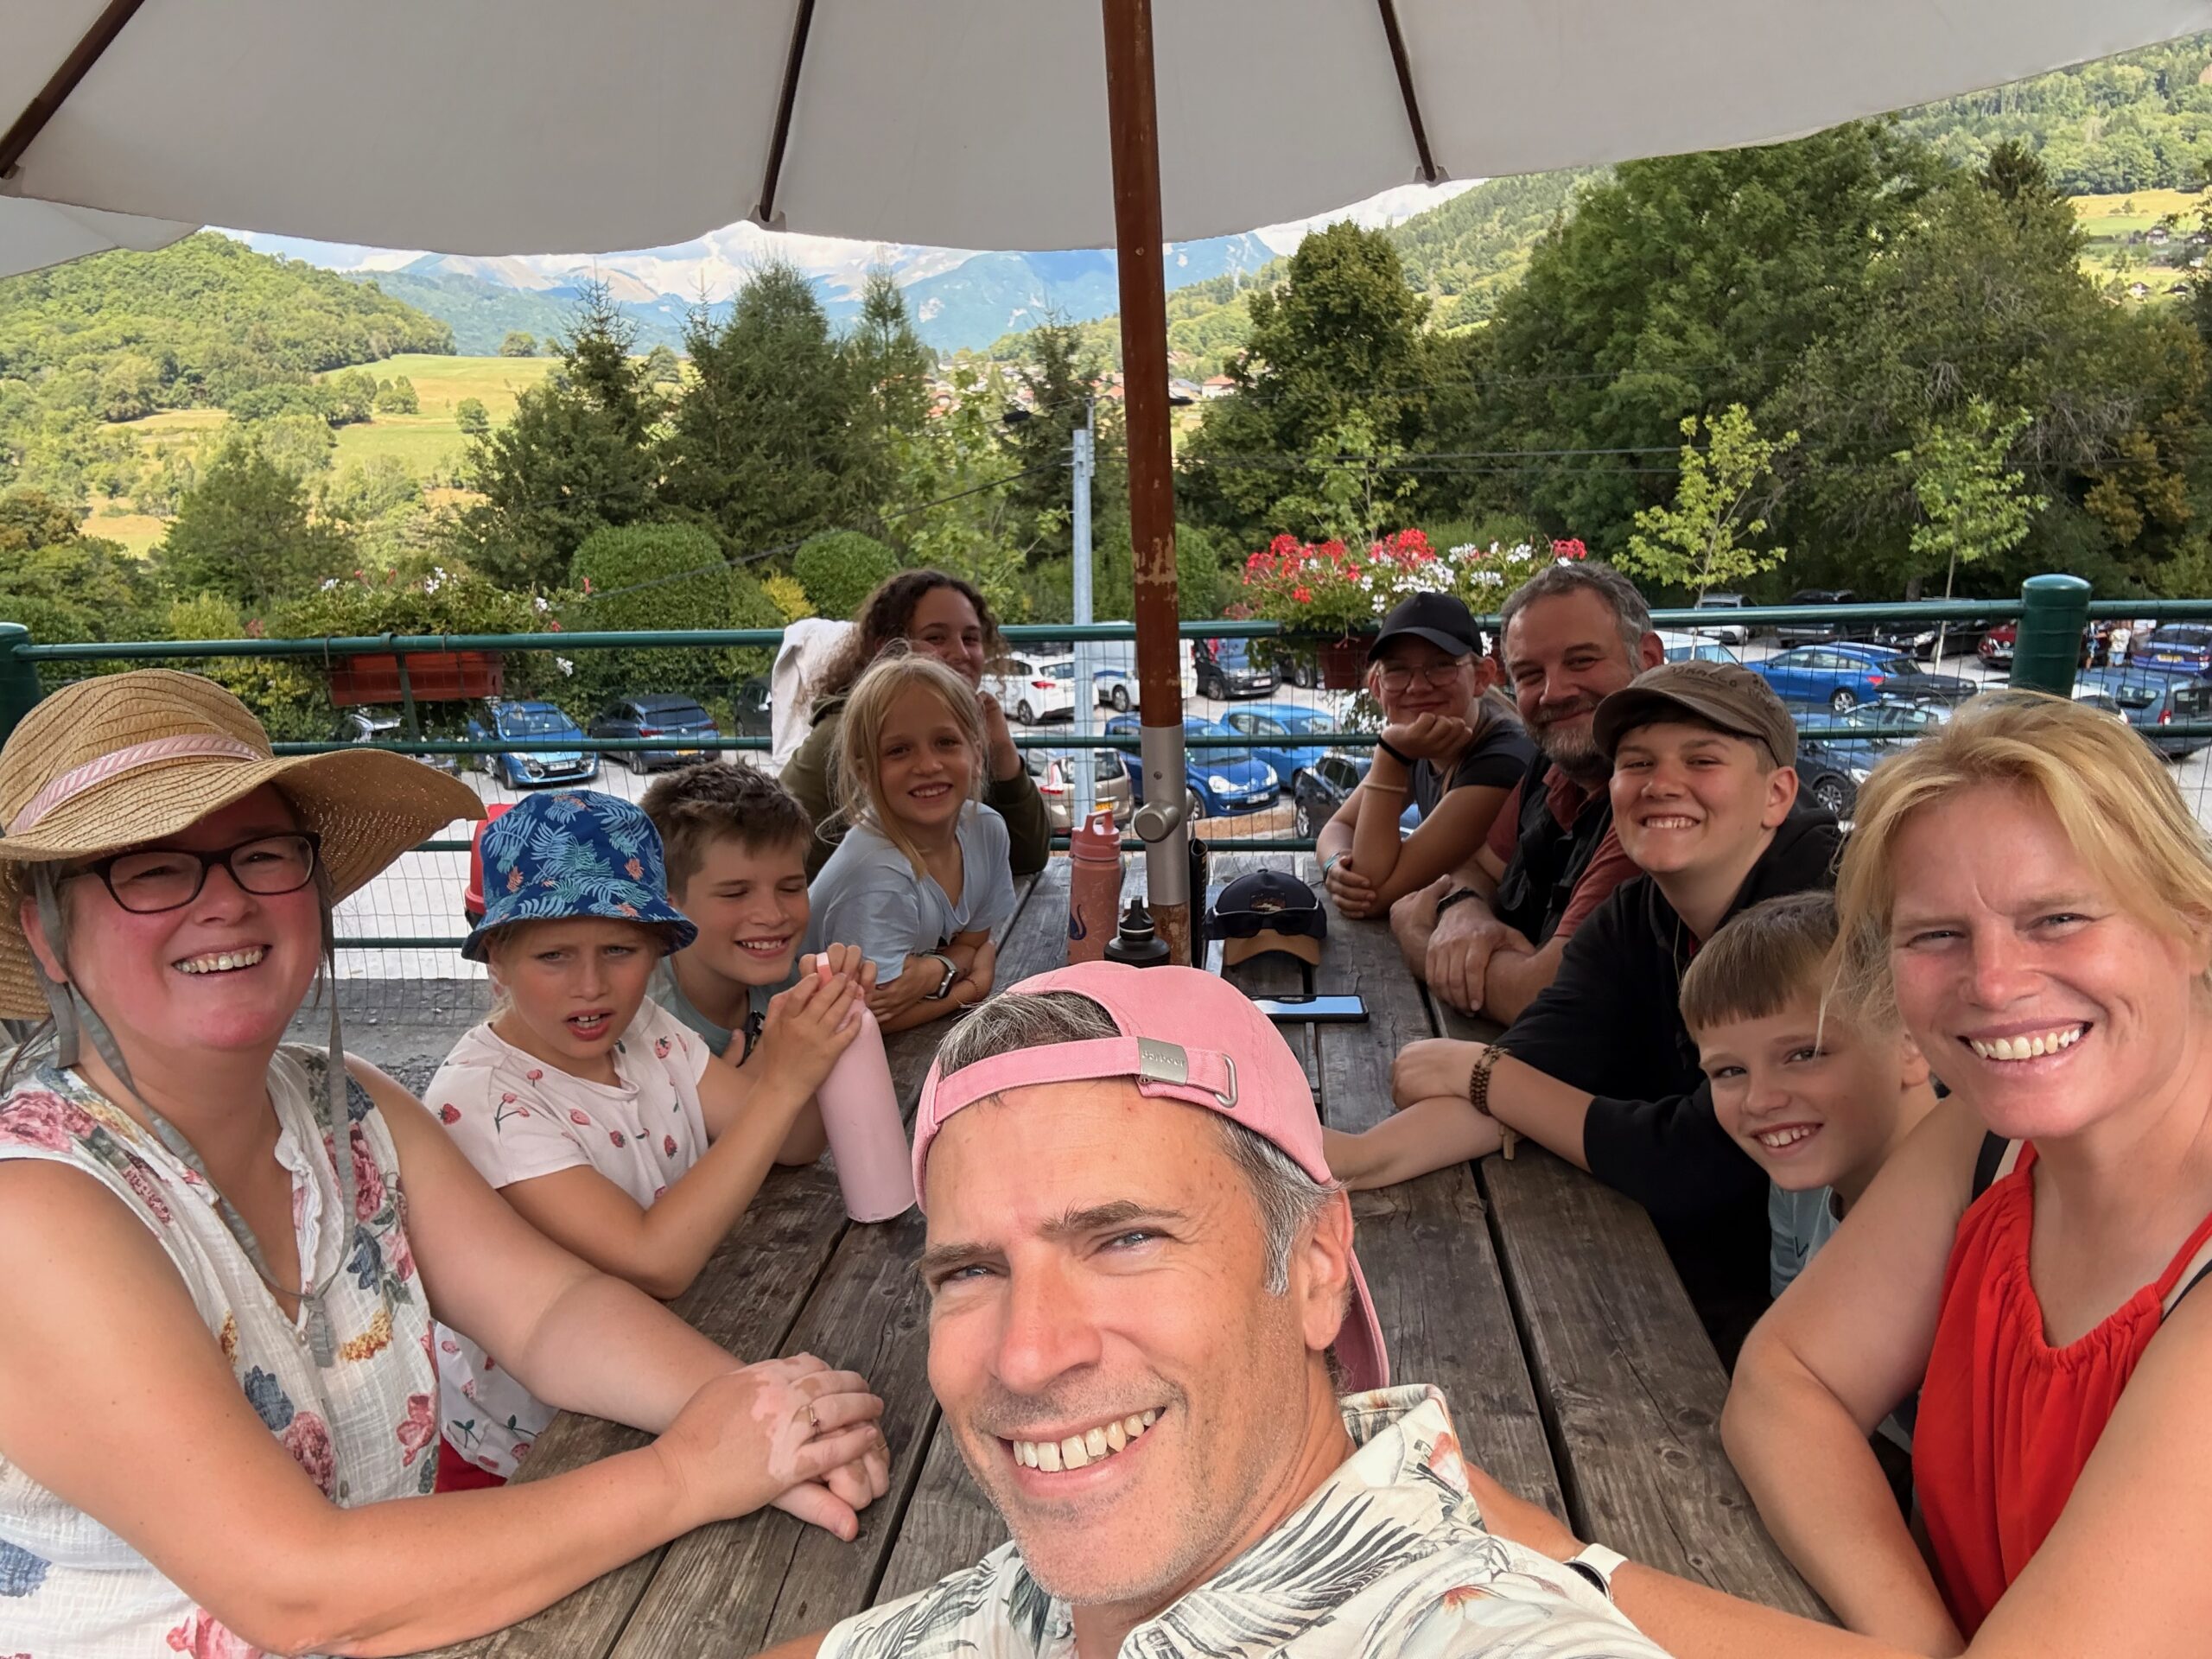
Friday brought a family reunion with JC’s cousin. We explored a cave (12-14°C inside 🥶 – bliss for JC in shorts and sandals 😎), visited a waterfall, and had a picnic with 11 people, which required the kind of table you’d usually find at a wedding. The cave wasn’t long or large, but you could stand in it (except for my cousin and his 1m90 or so) and it had plants, green plants in it (mostly ferns), JC was surprised by that and asked the guide why, she replied that the lighting system installed for the visitor is emitting also in UV lights while bats and tourists bring the seeds which find clay and water to grow. Amazing! After that refreshing experience, the kids ran wild around a nearby pond while the adults caught up in the shade. Simple joys.
Ferns in a caveWaterfallBy the pondFamily reunion
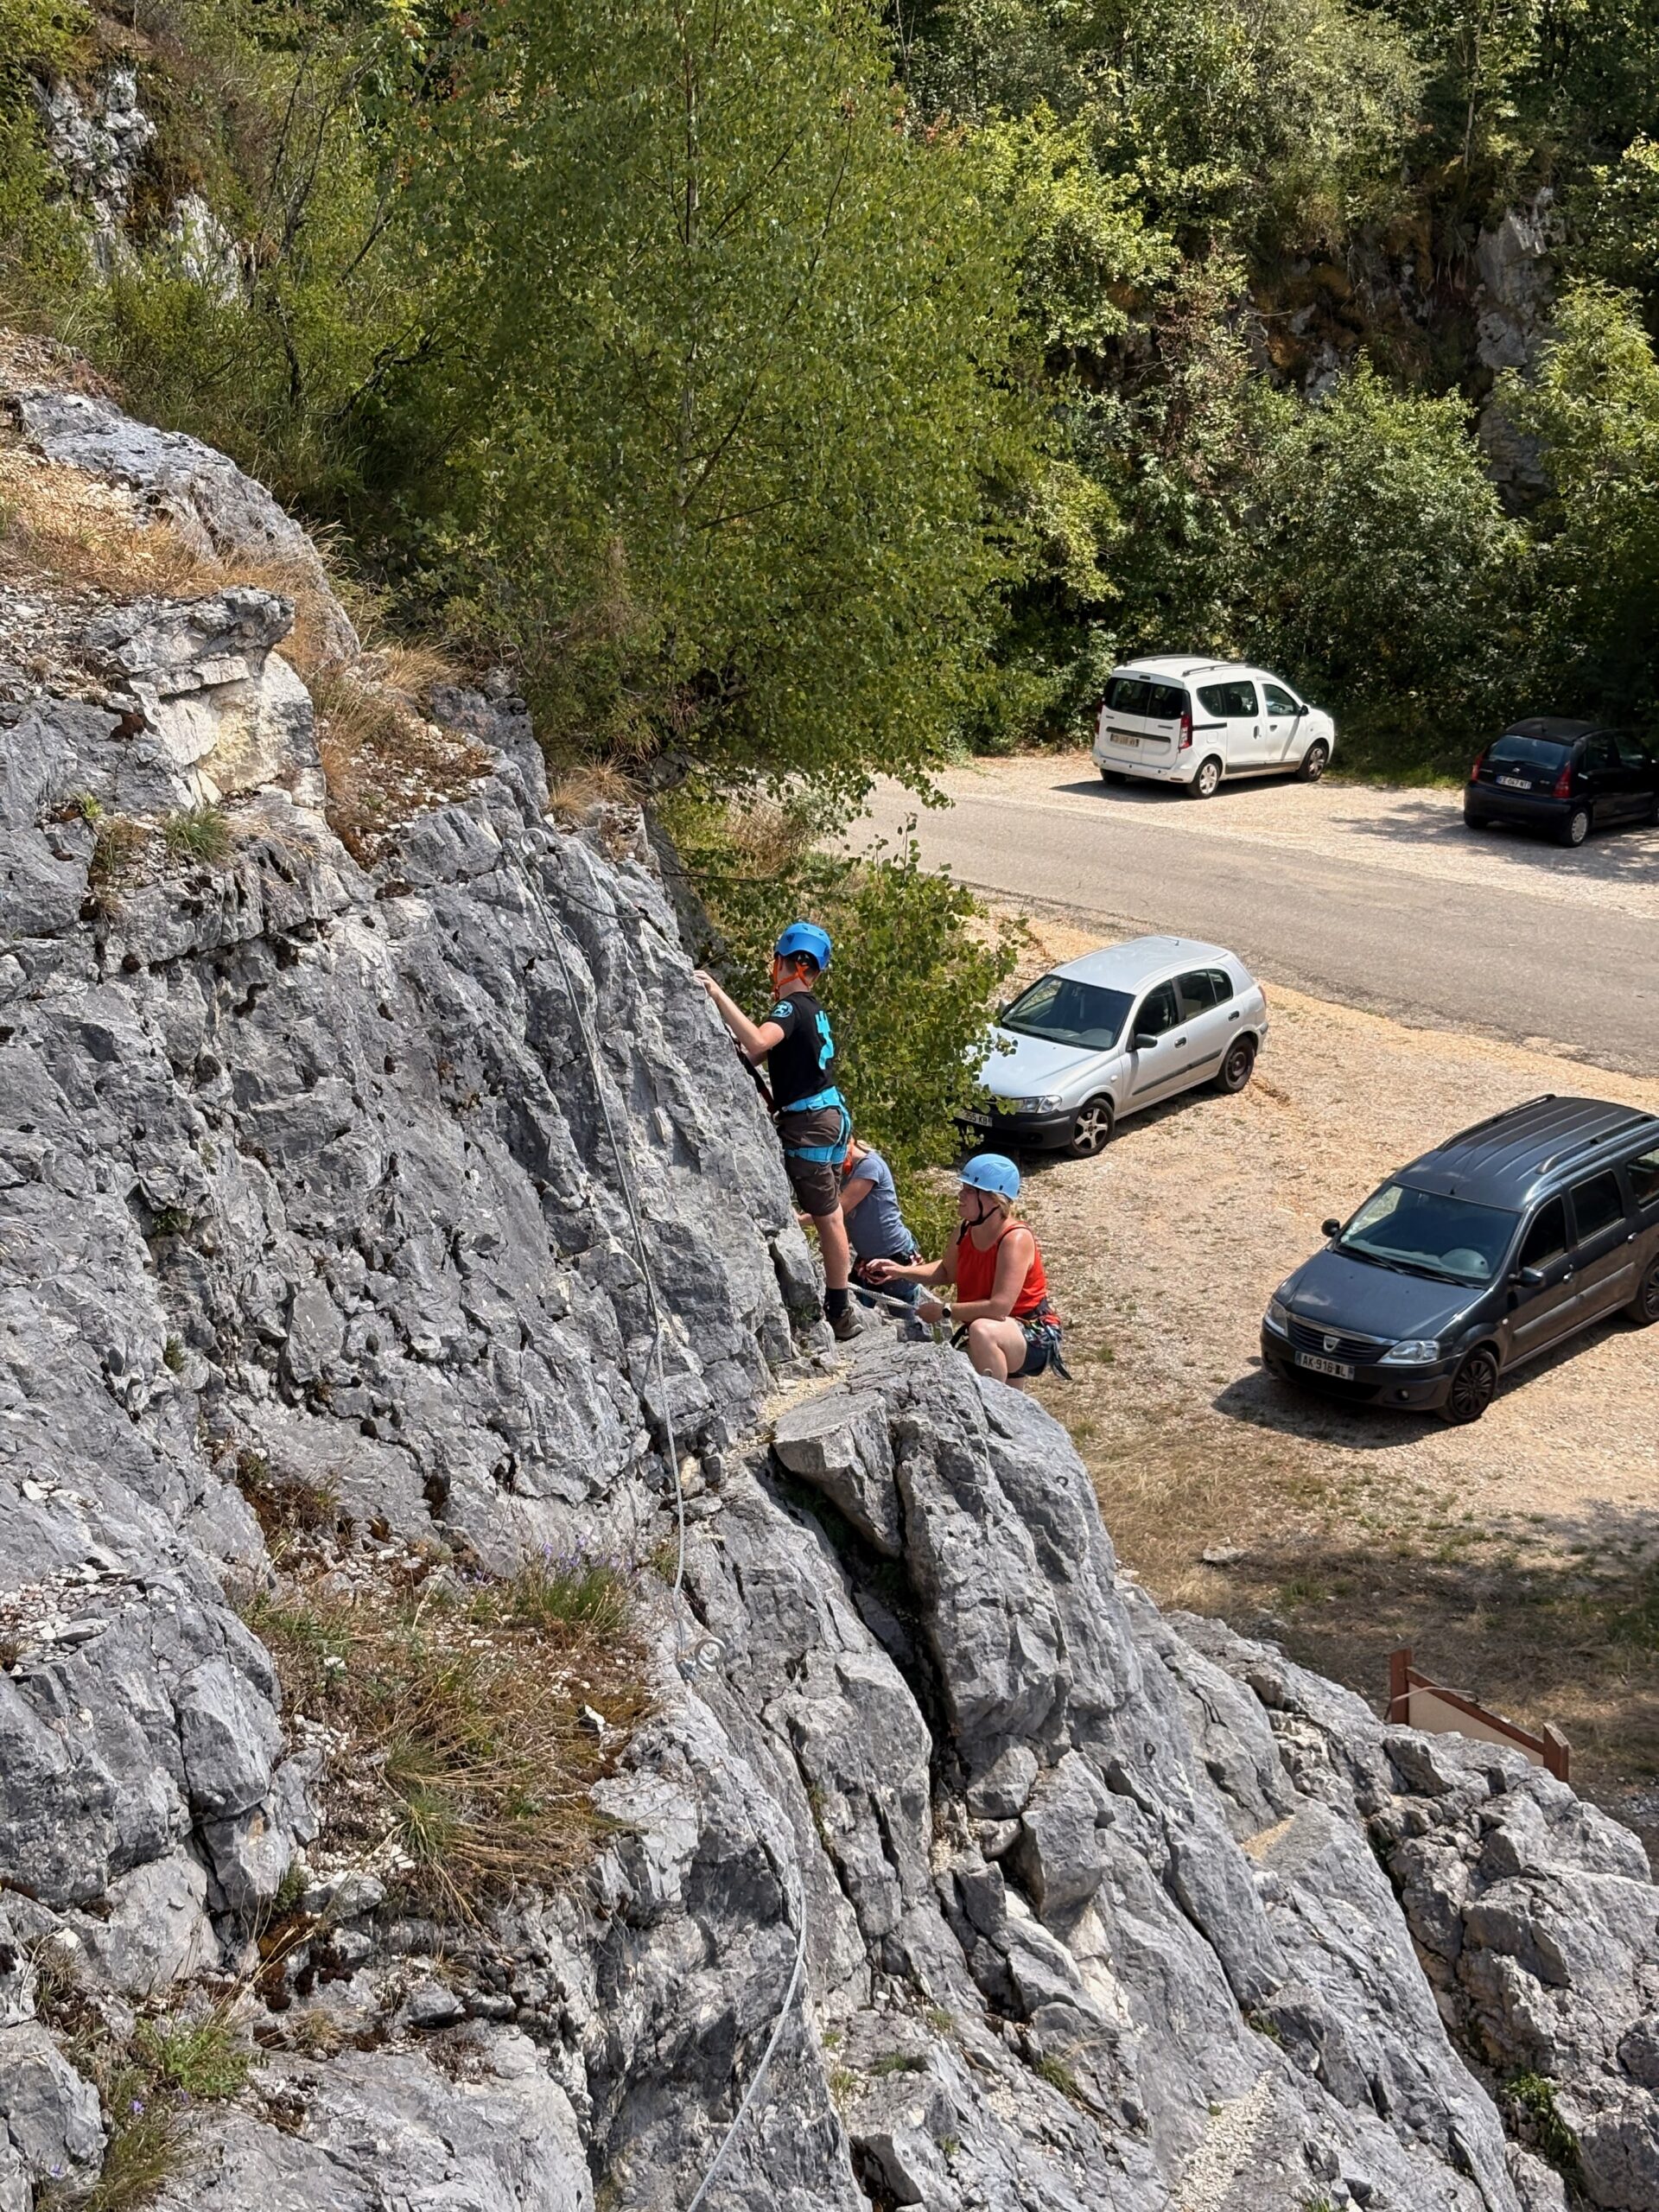
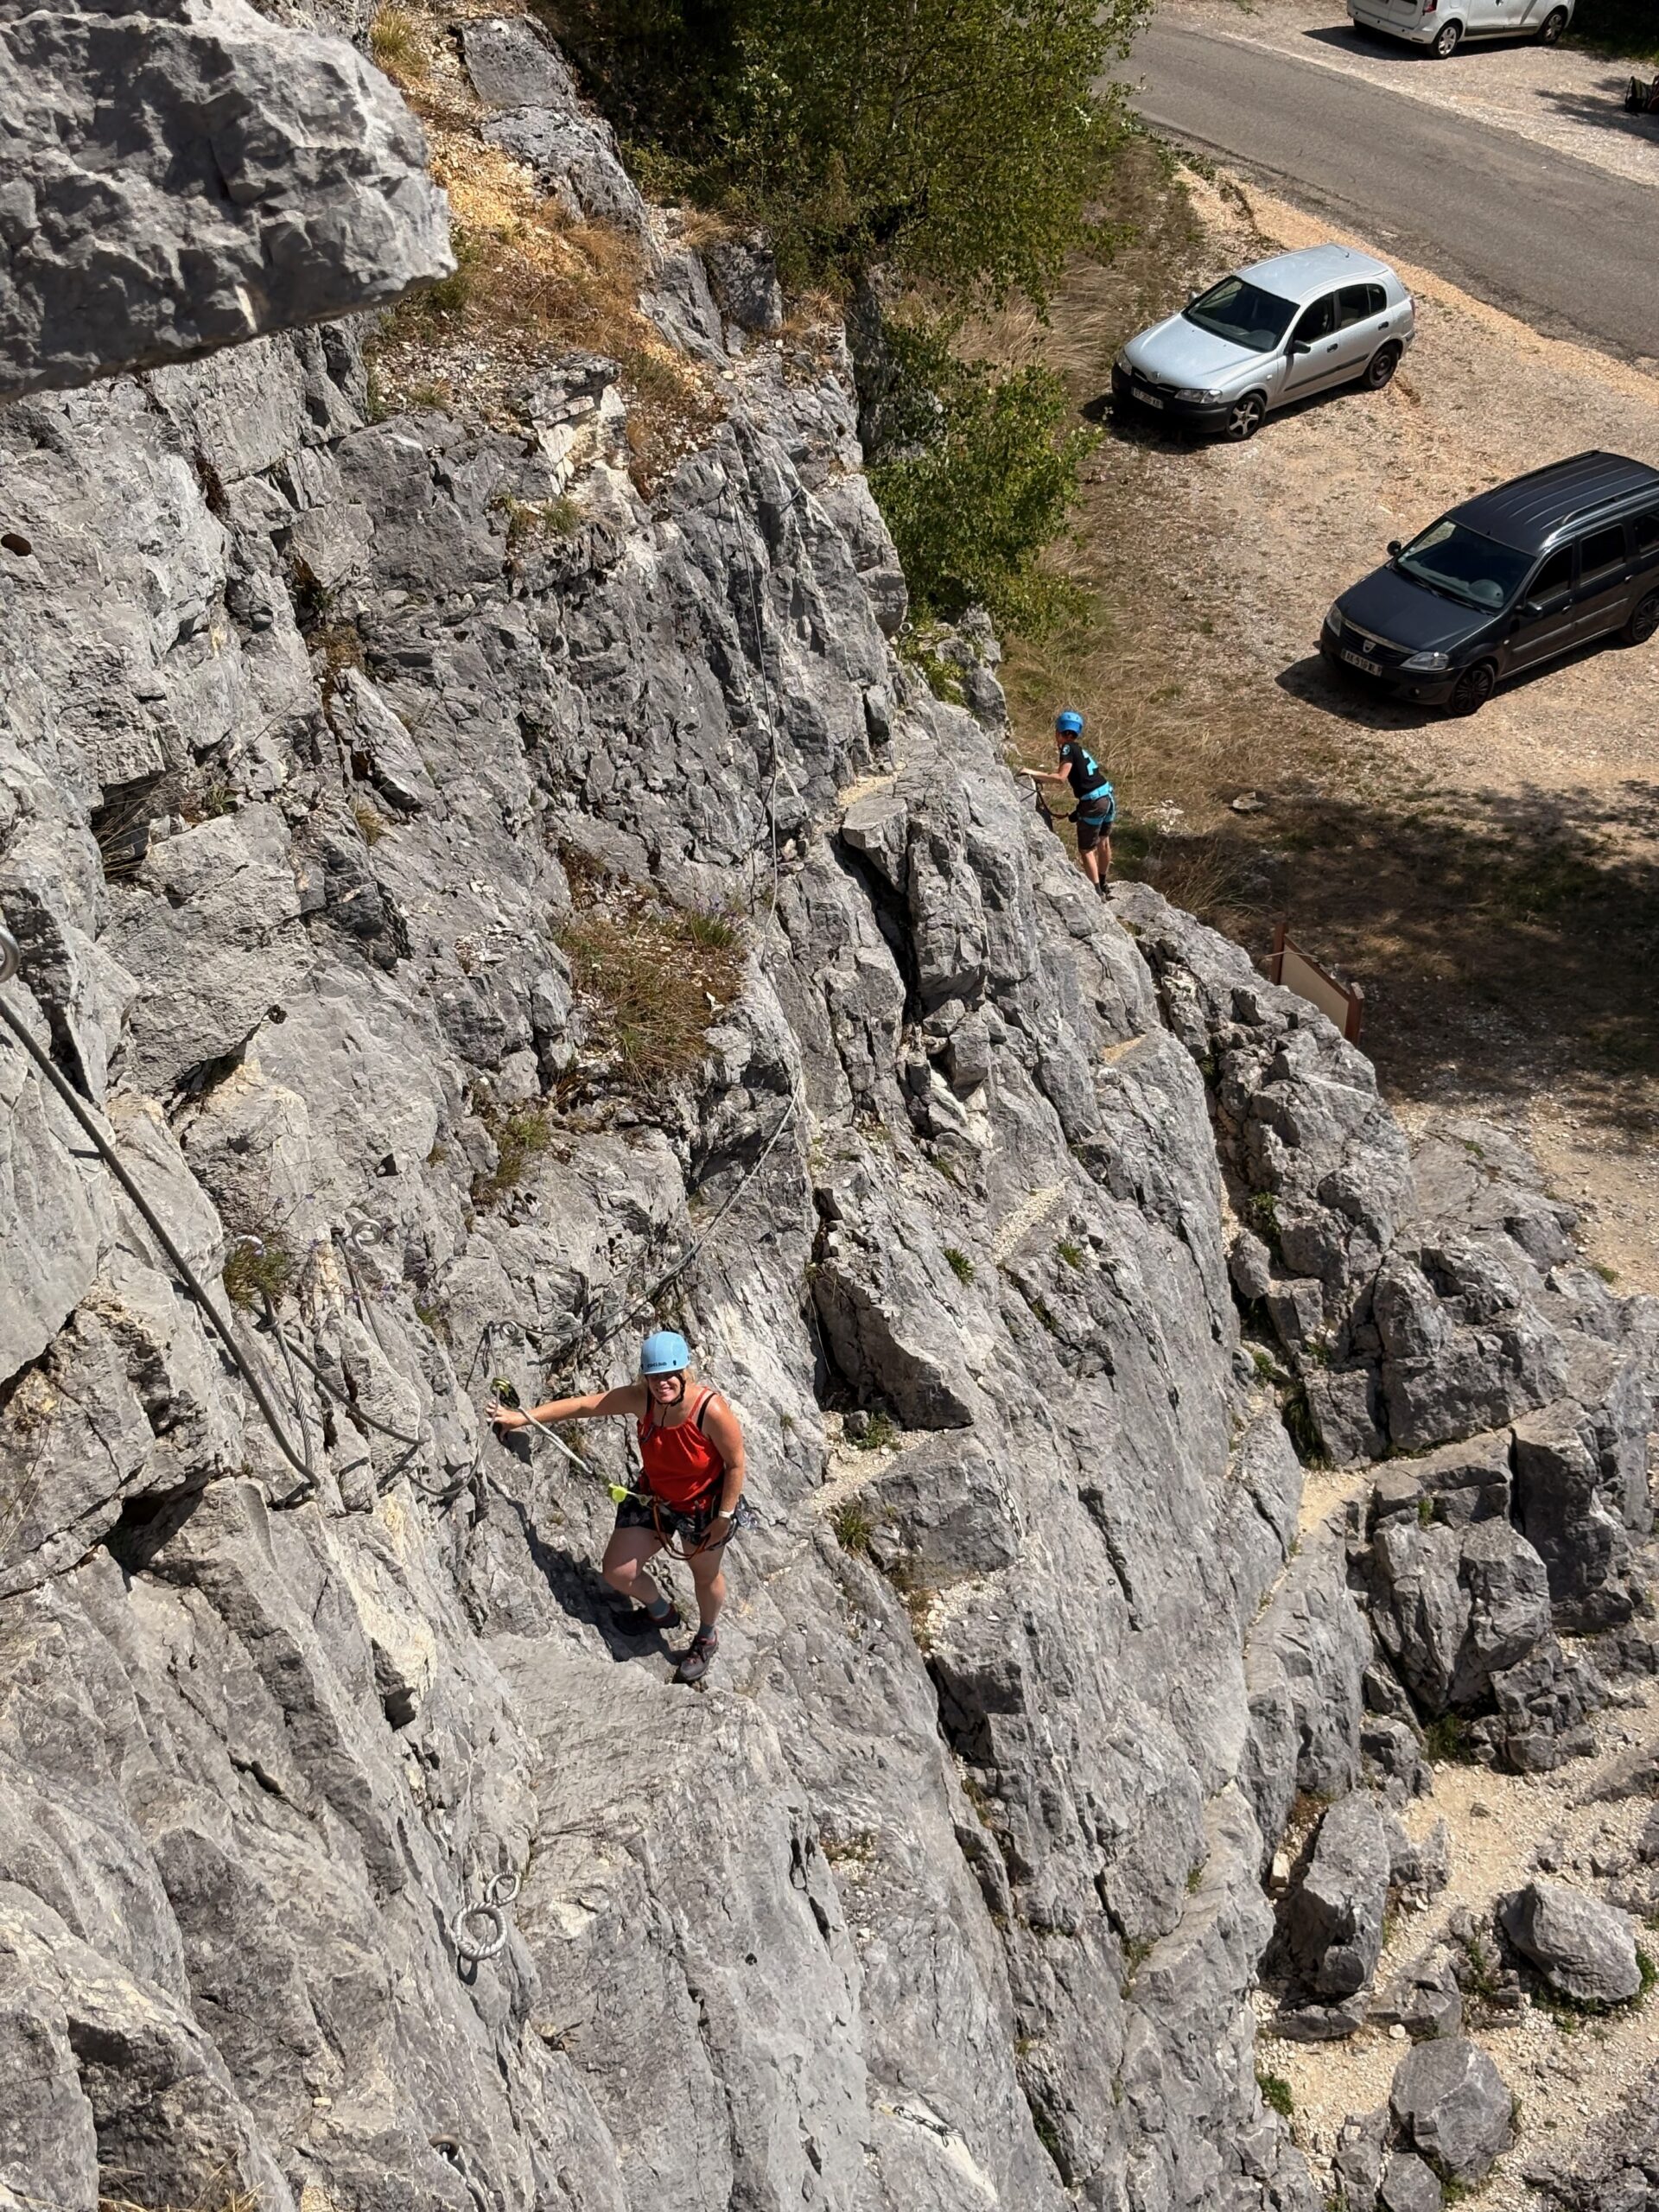
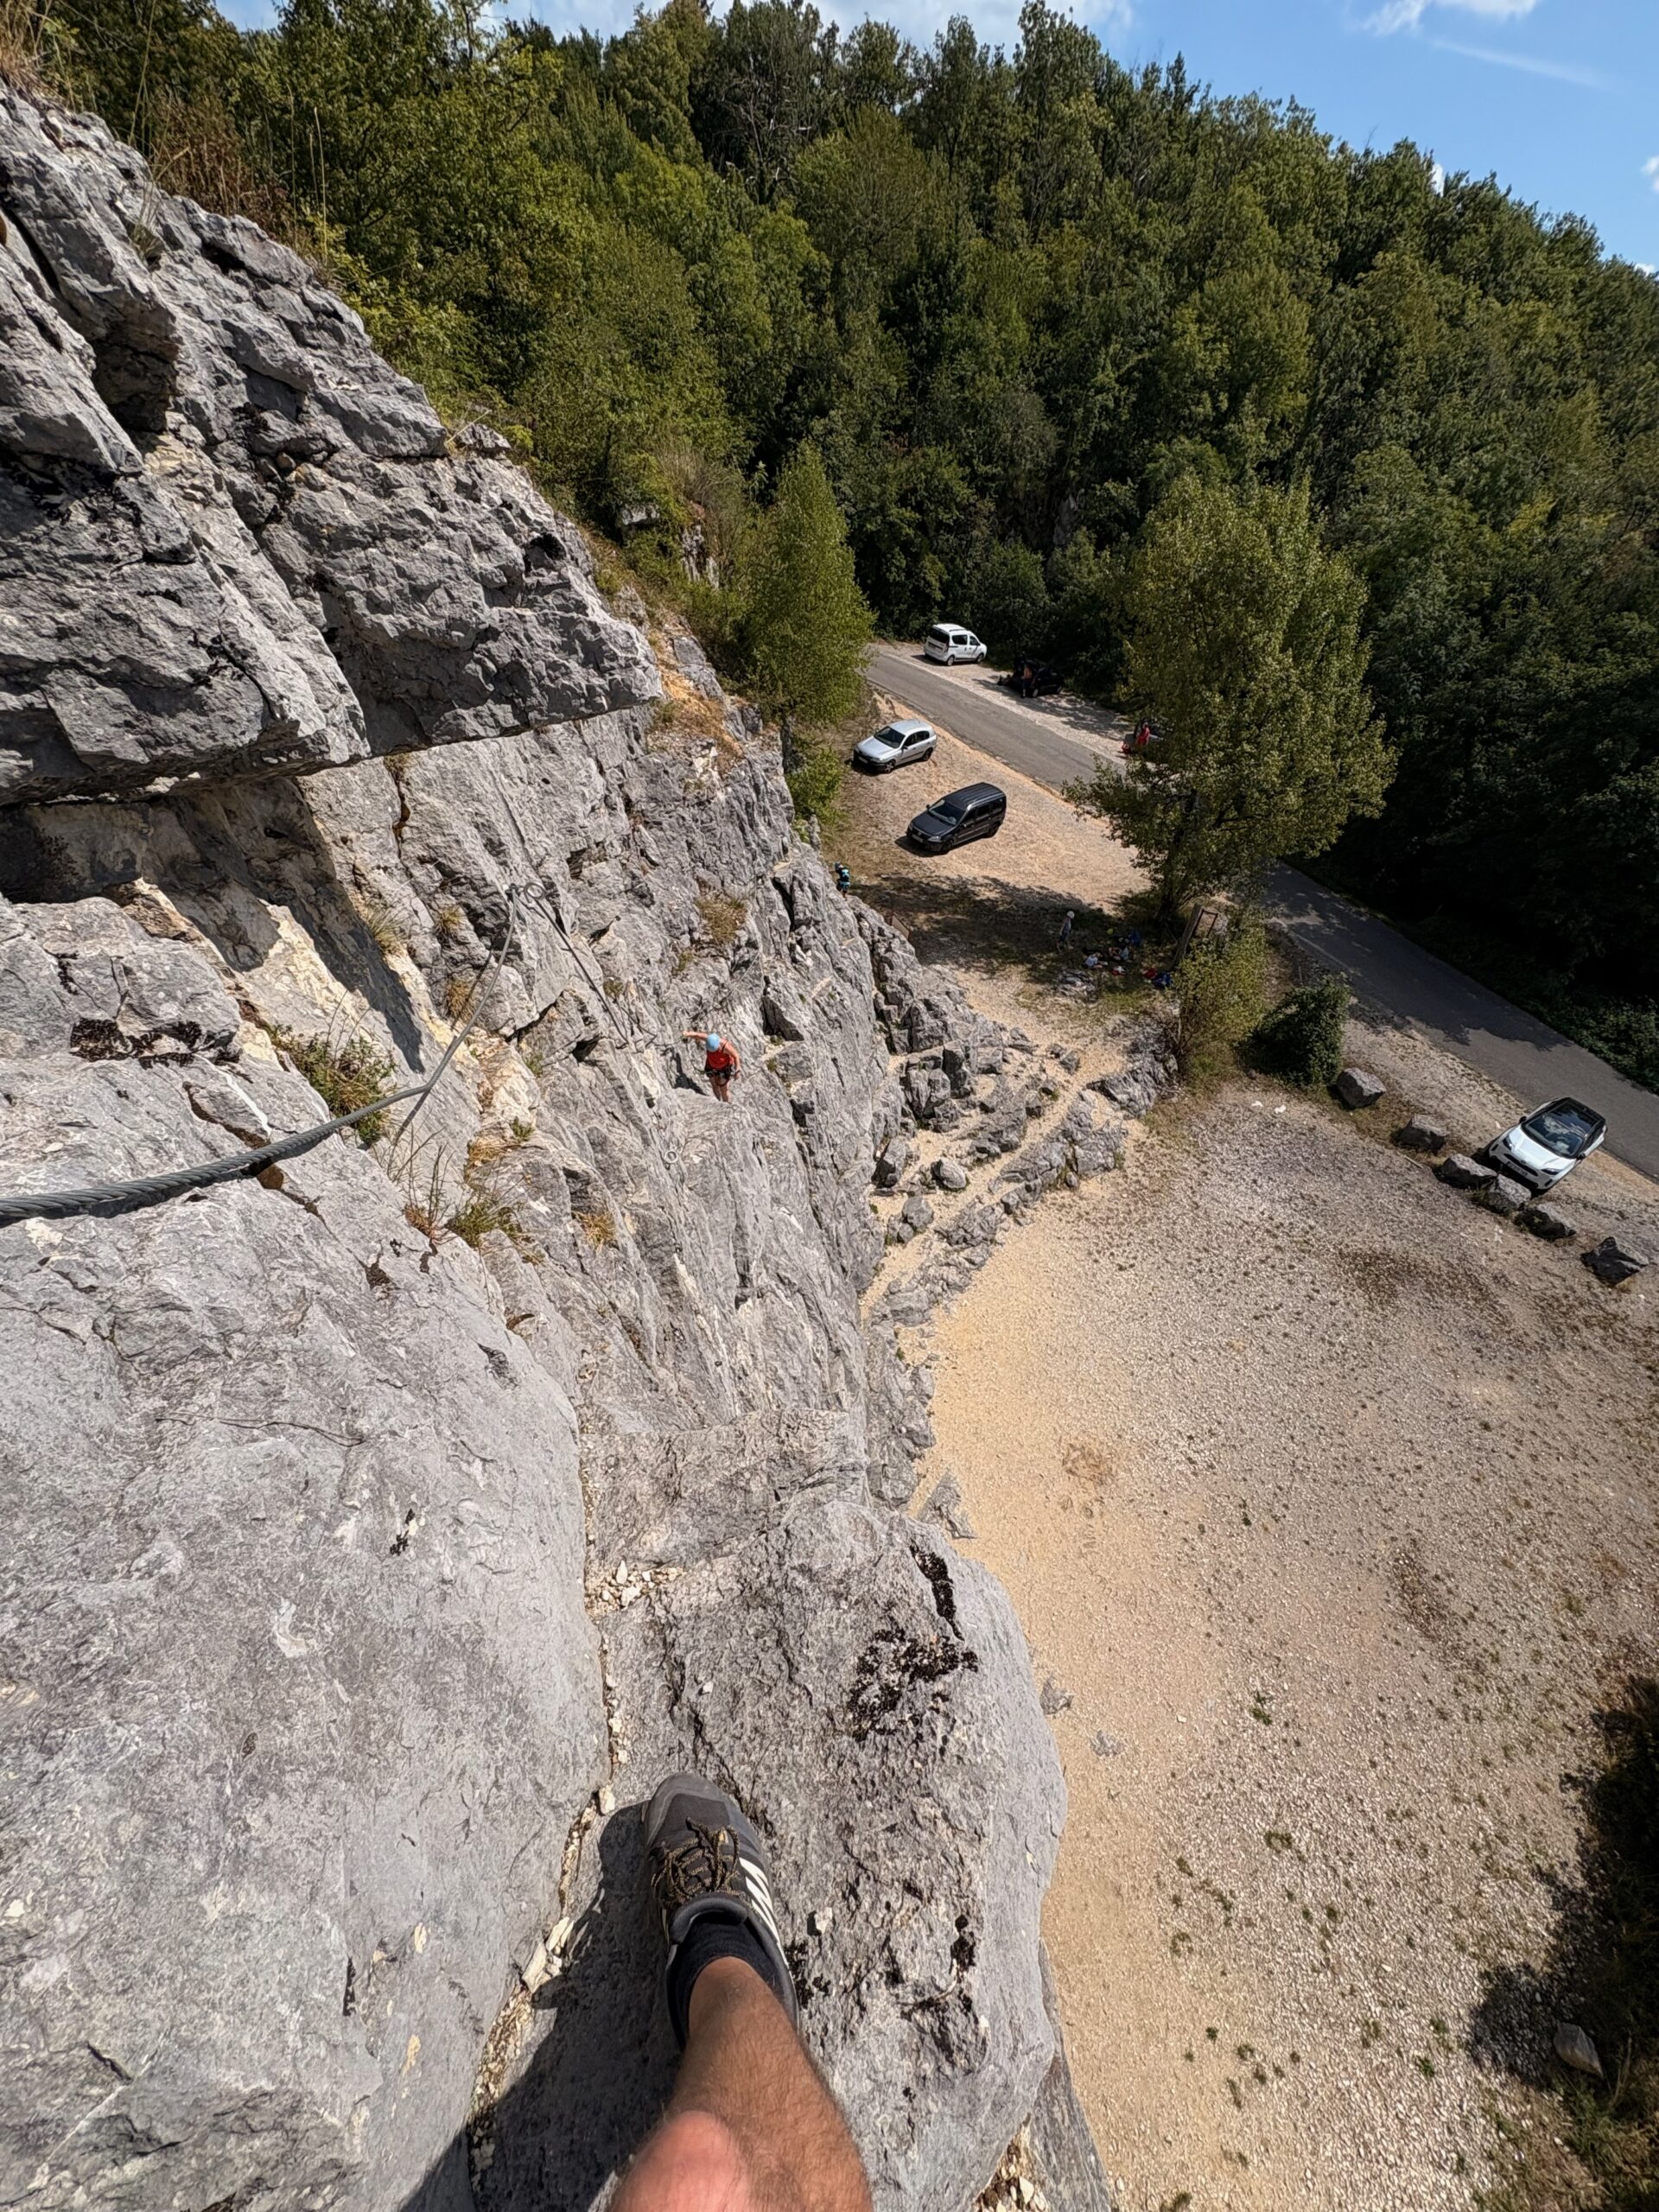
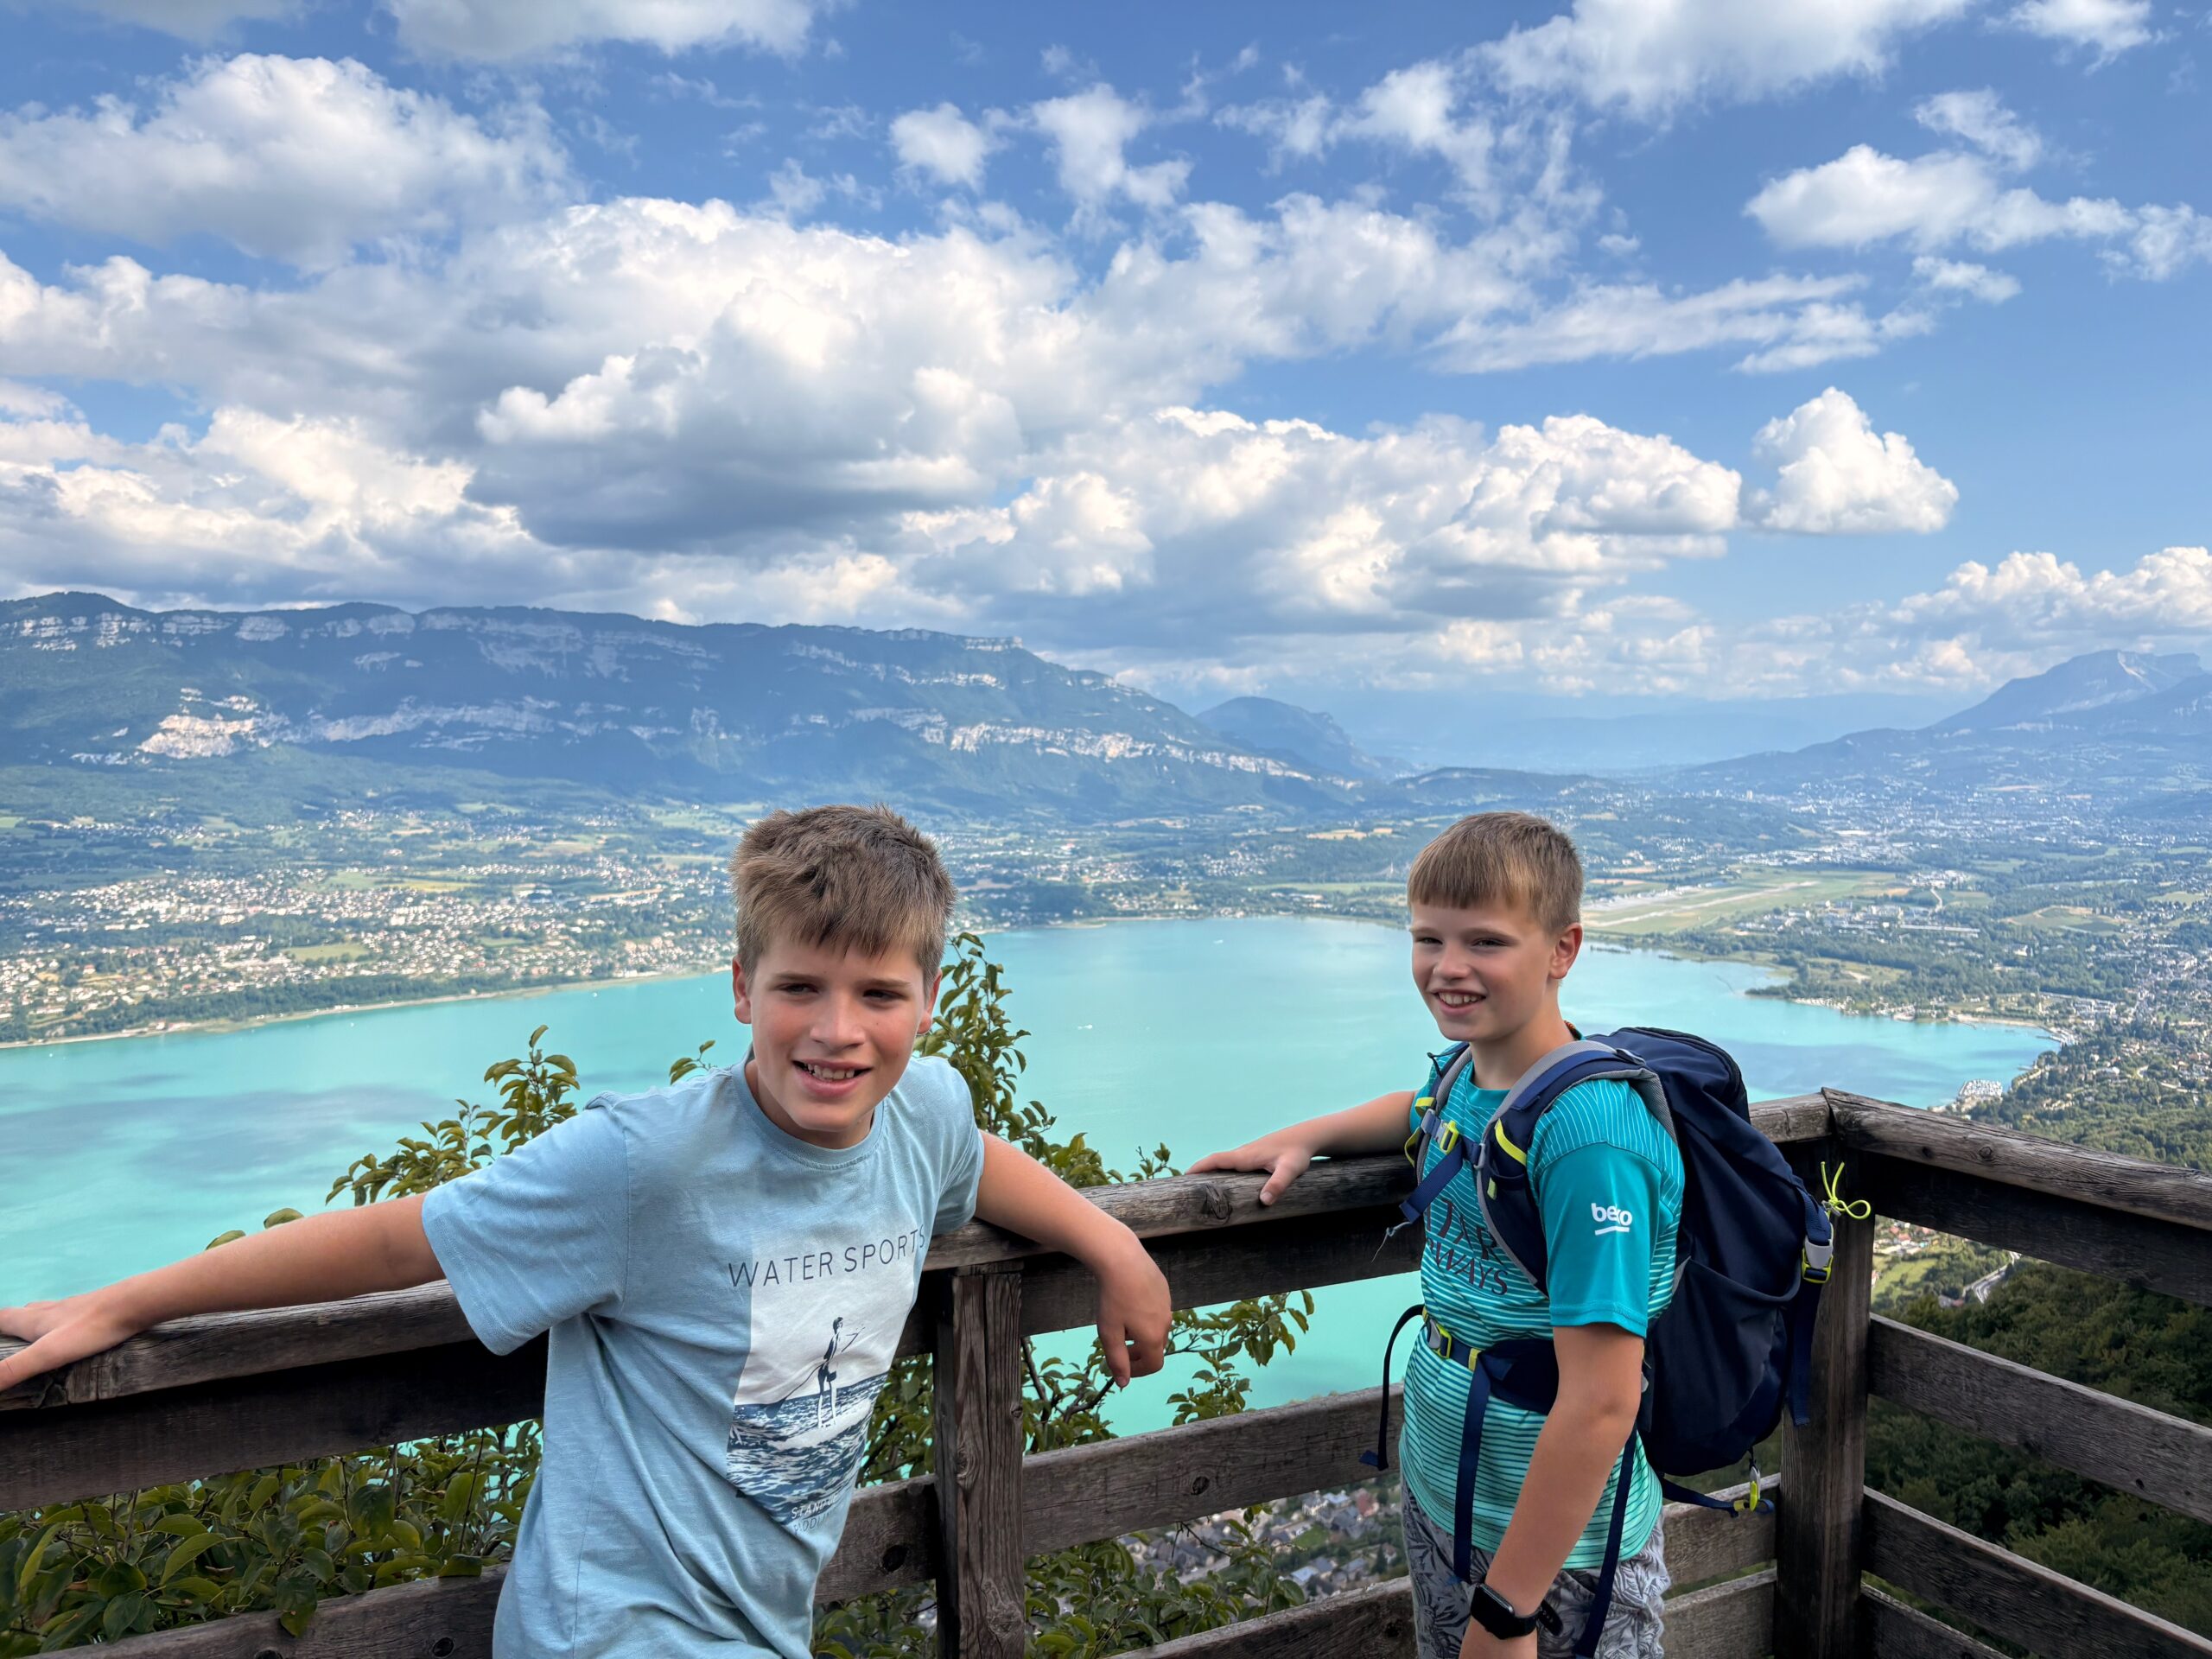
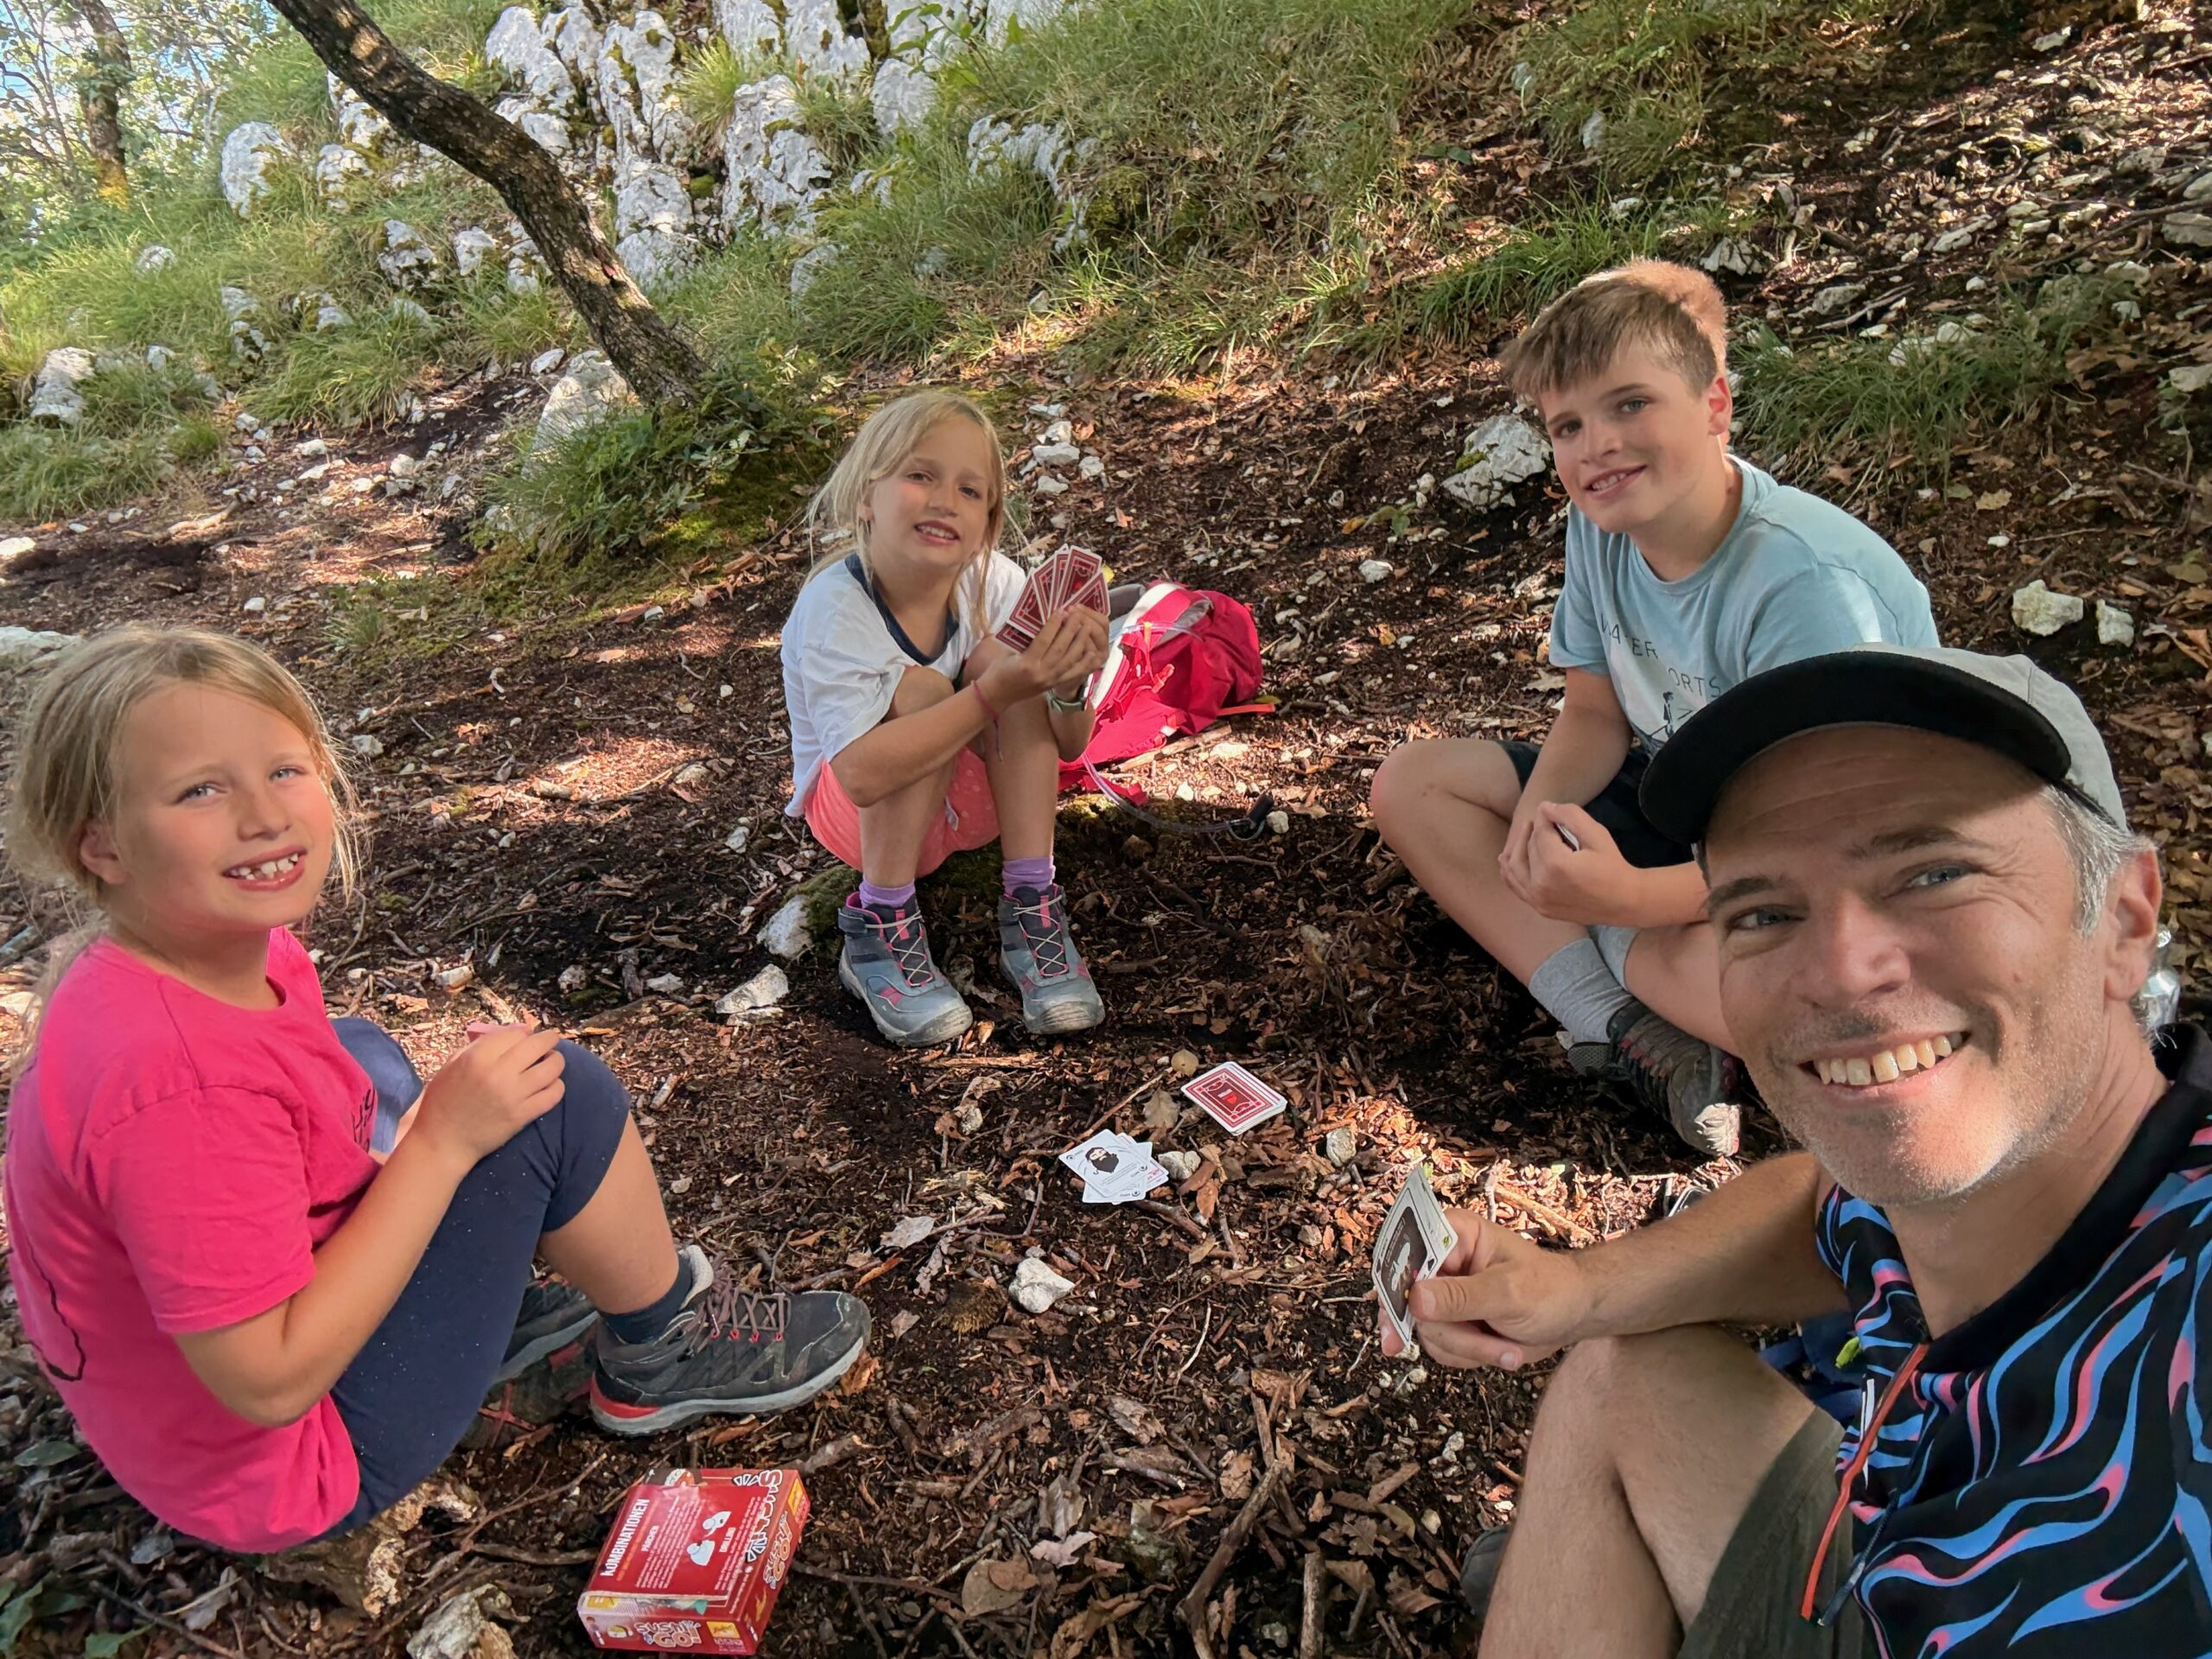
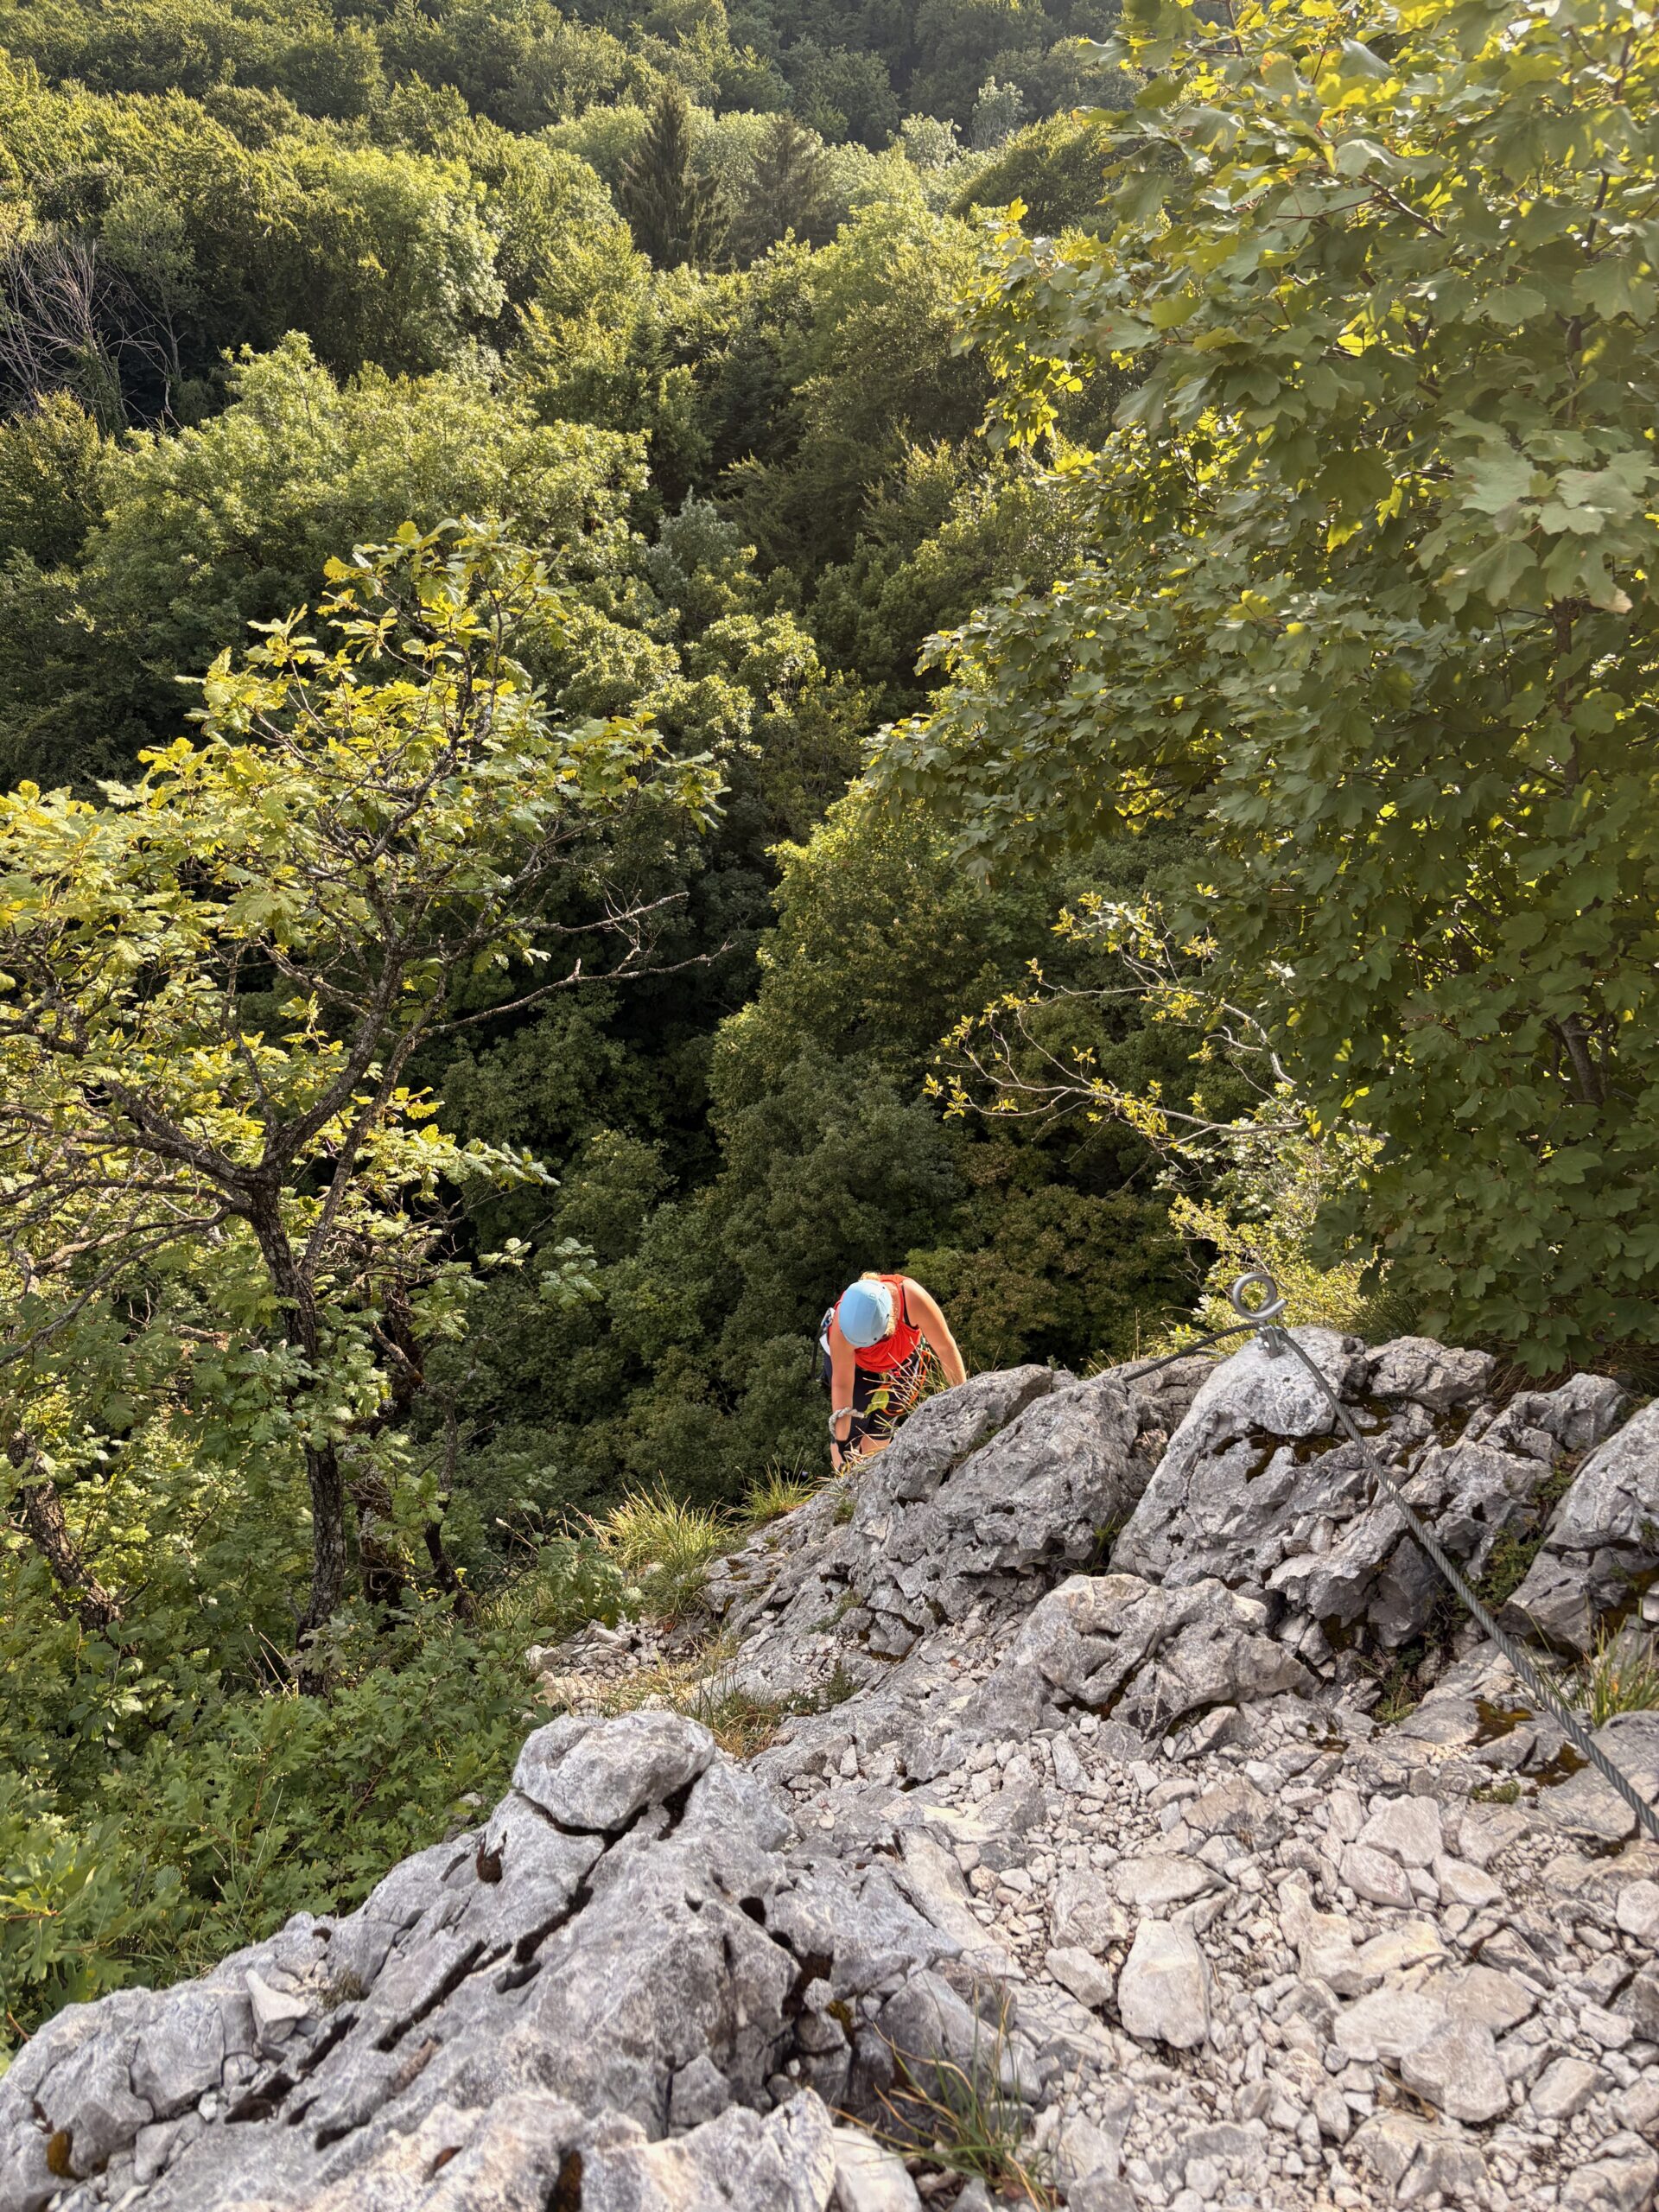
On Saturday, we attempted a hike to a via ferrata overlooking Lac du Bourget. Flynn and Vera were the brave ones who clipped in and started climbing 🧗💪. JC and the rest opted for games in the shade – we all have our strengths. Flynn gave it a shot but turned back (understandably, it’s 800m above the lake!). Vera finished the route with ease and then casually added a second, more challenging one for dessert. Show-off. 😜
Lac du Bourget with my sonsFlynn and Vera, the courageousThe rest of usVera on her last stretch
Sunday brought the village festival and a visit from JC’s parents. Music, games, laughter, and even dancing — JC shared a lovely moment with Runa dancing together. We stayed up late. It was, in a word, festive.
Week Two – Lakes, Ropes, and 36 Degrees of Realisation
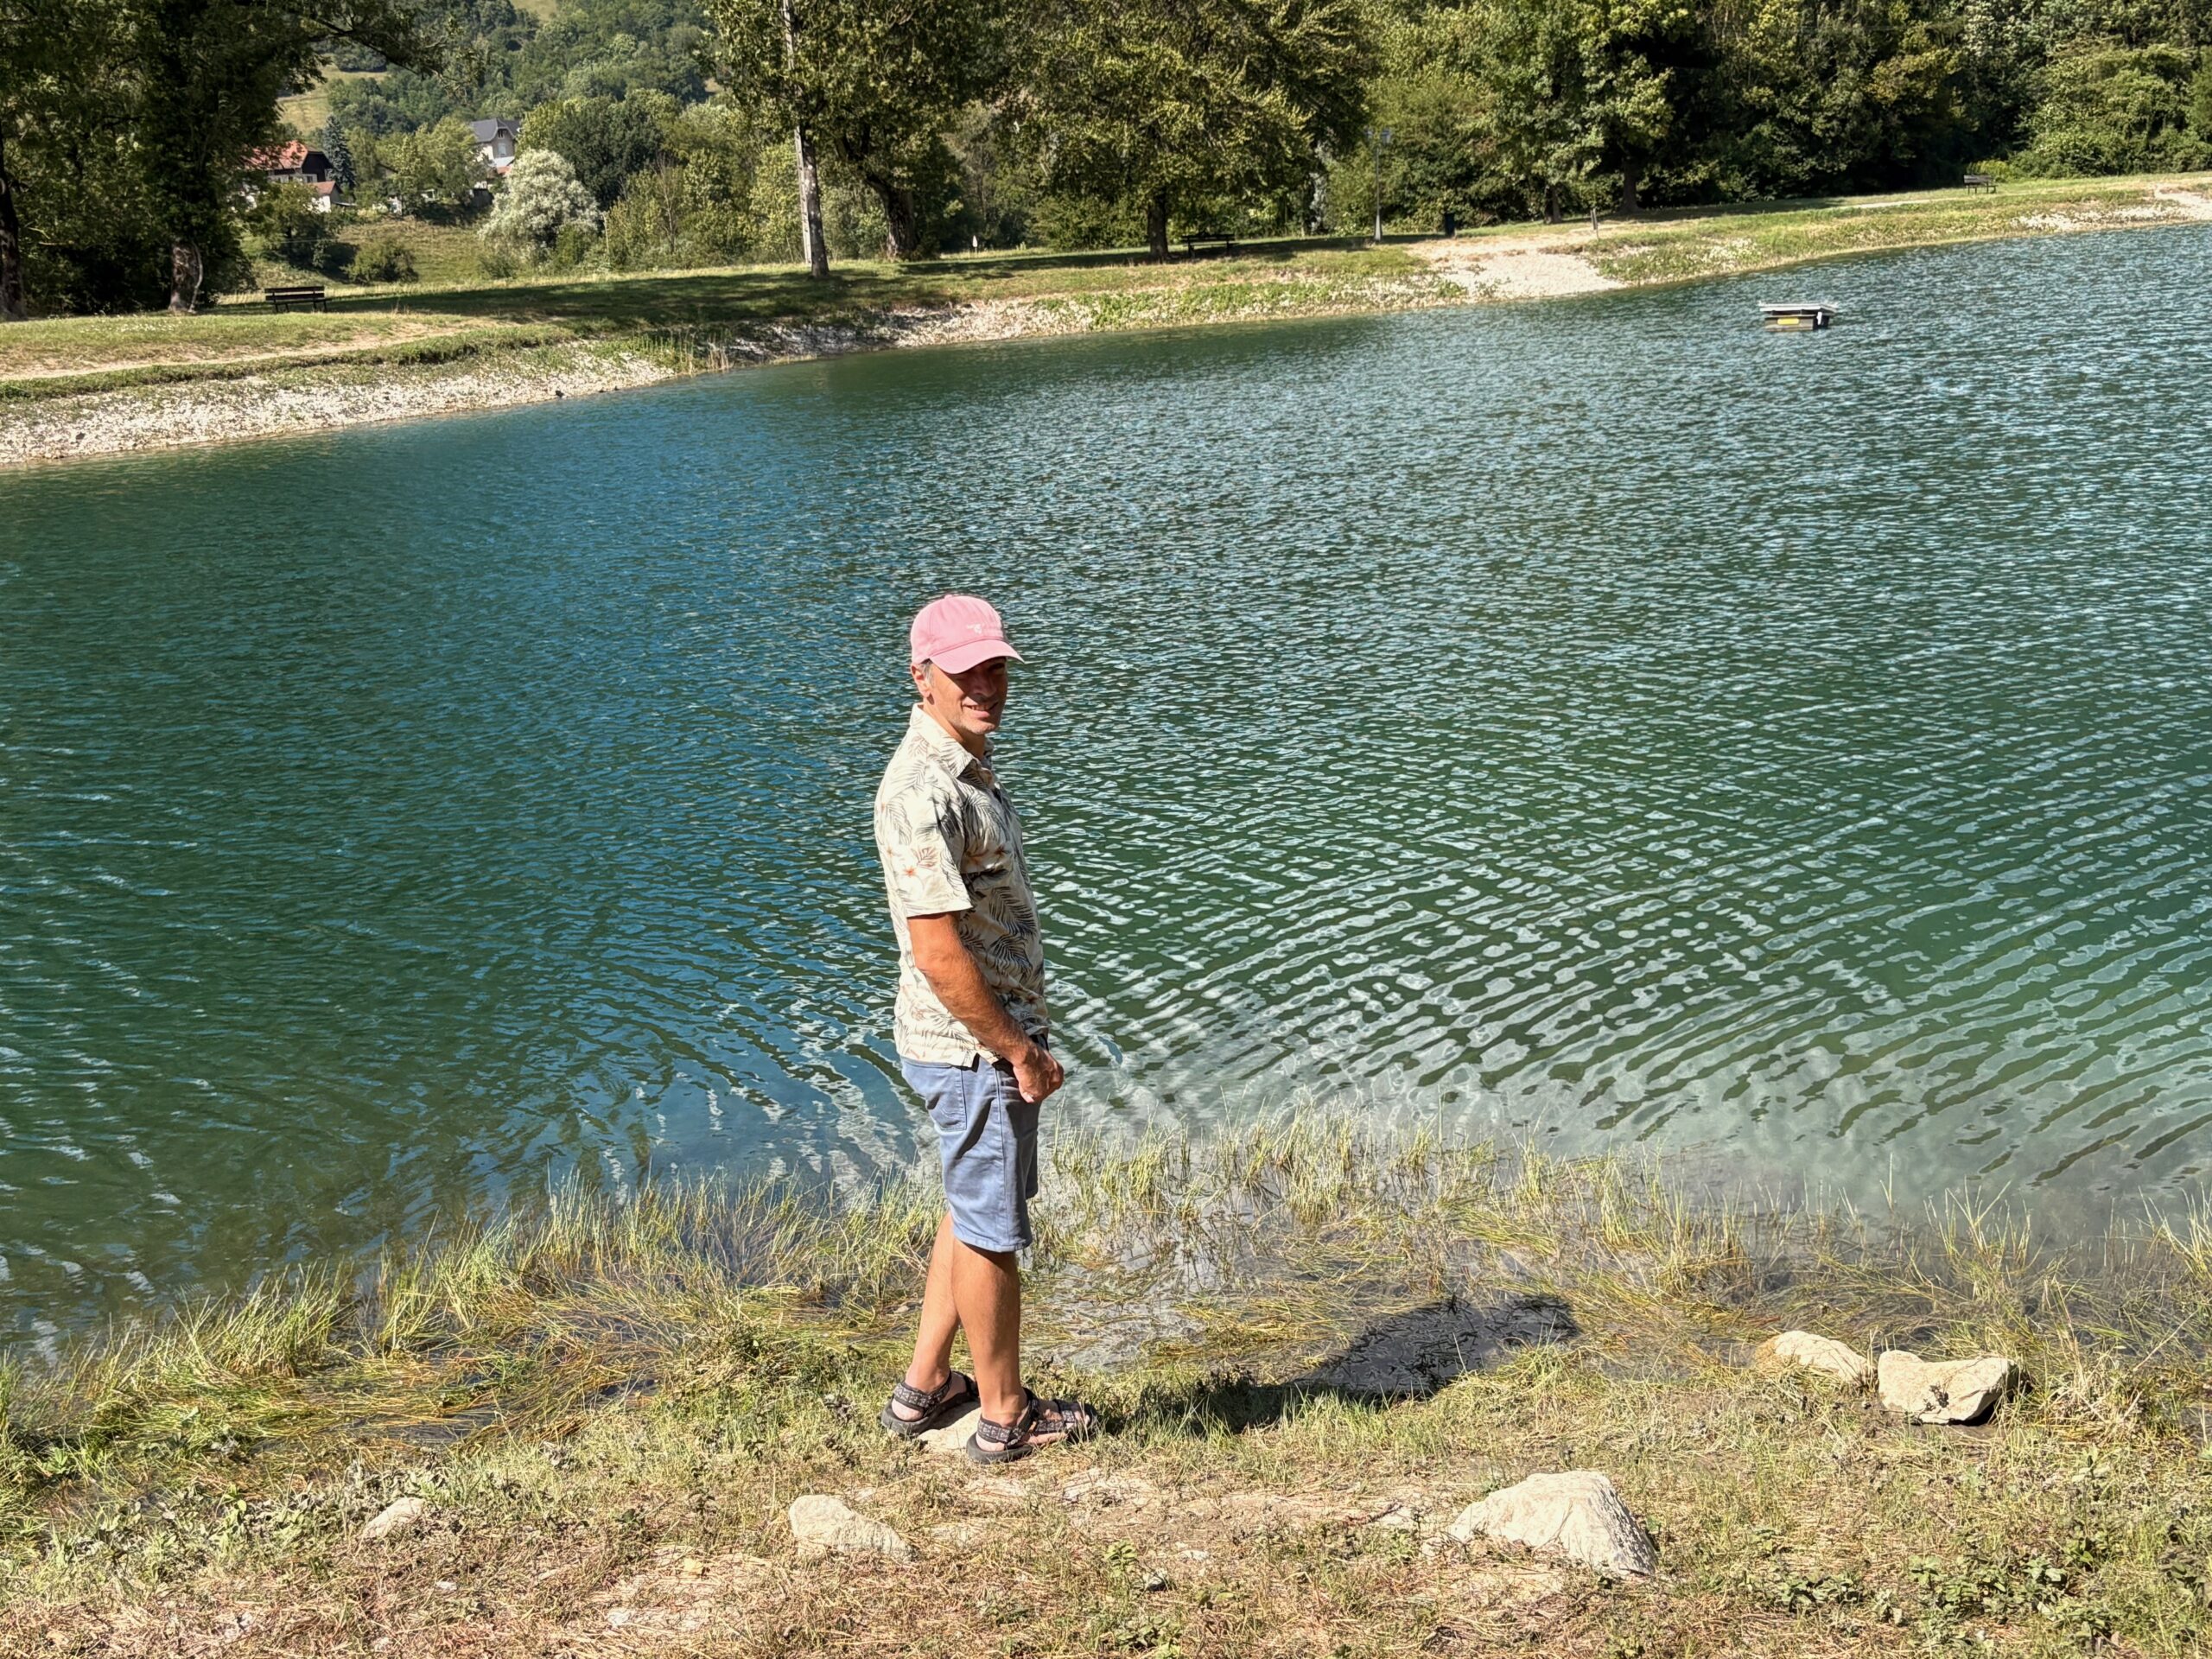
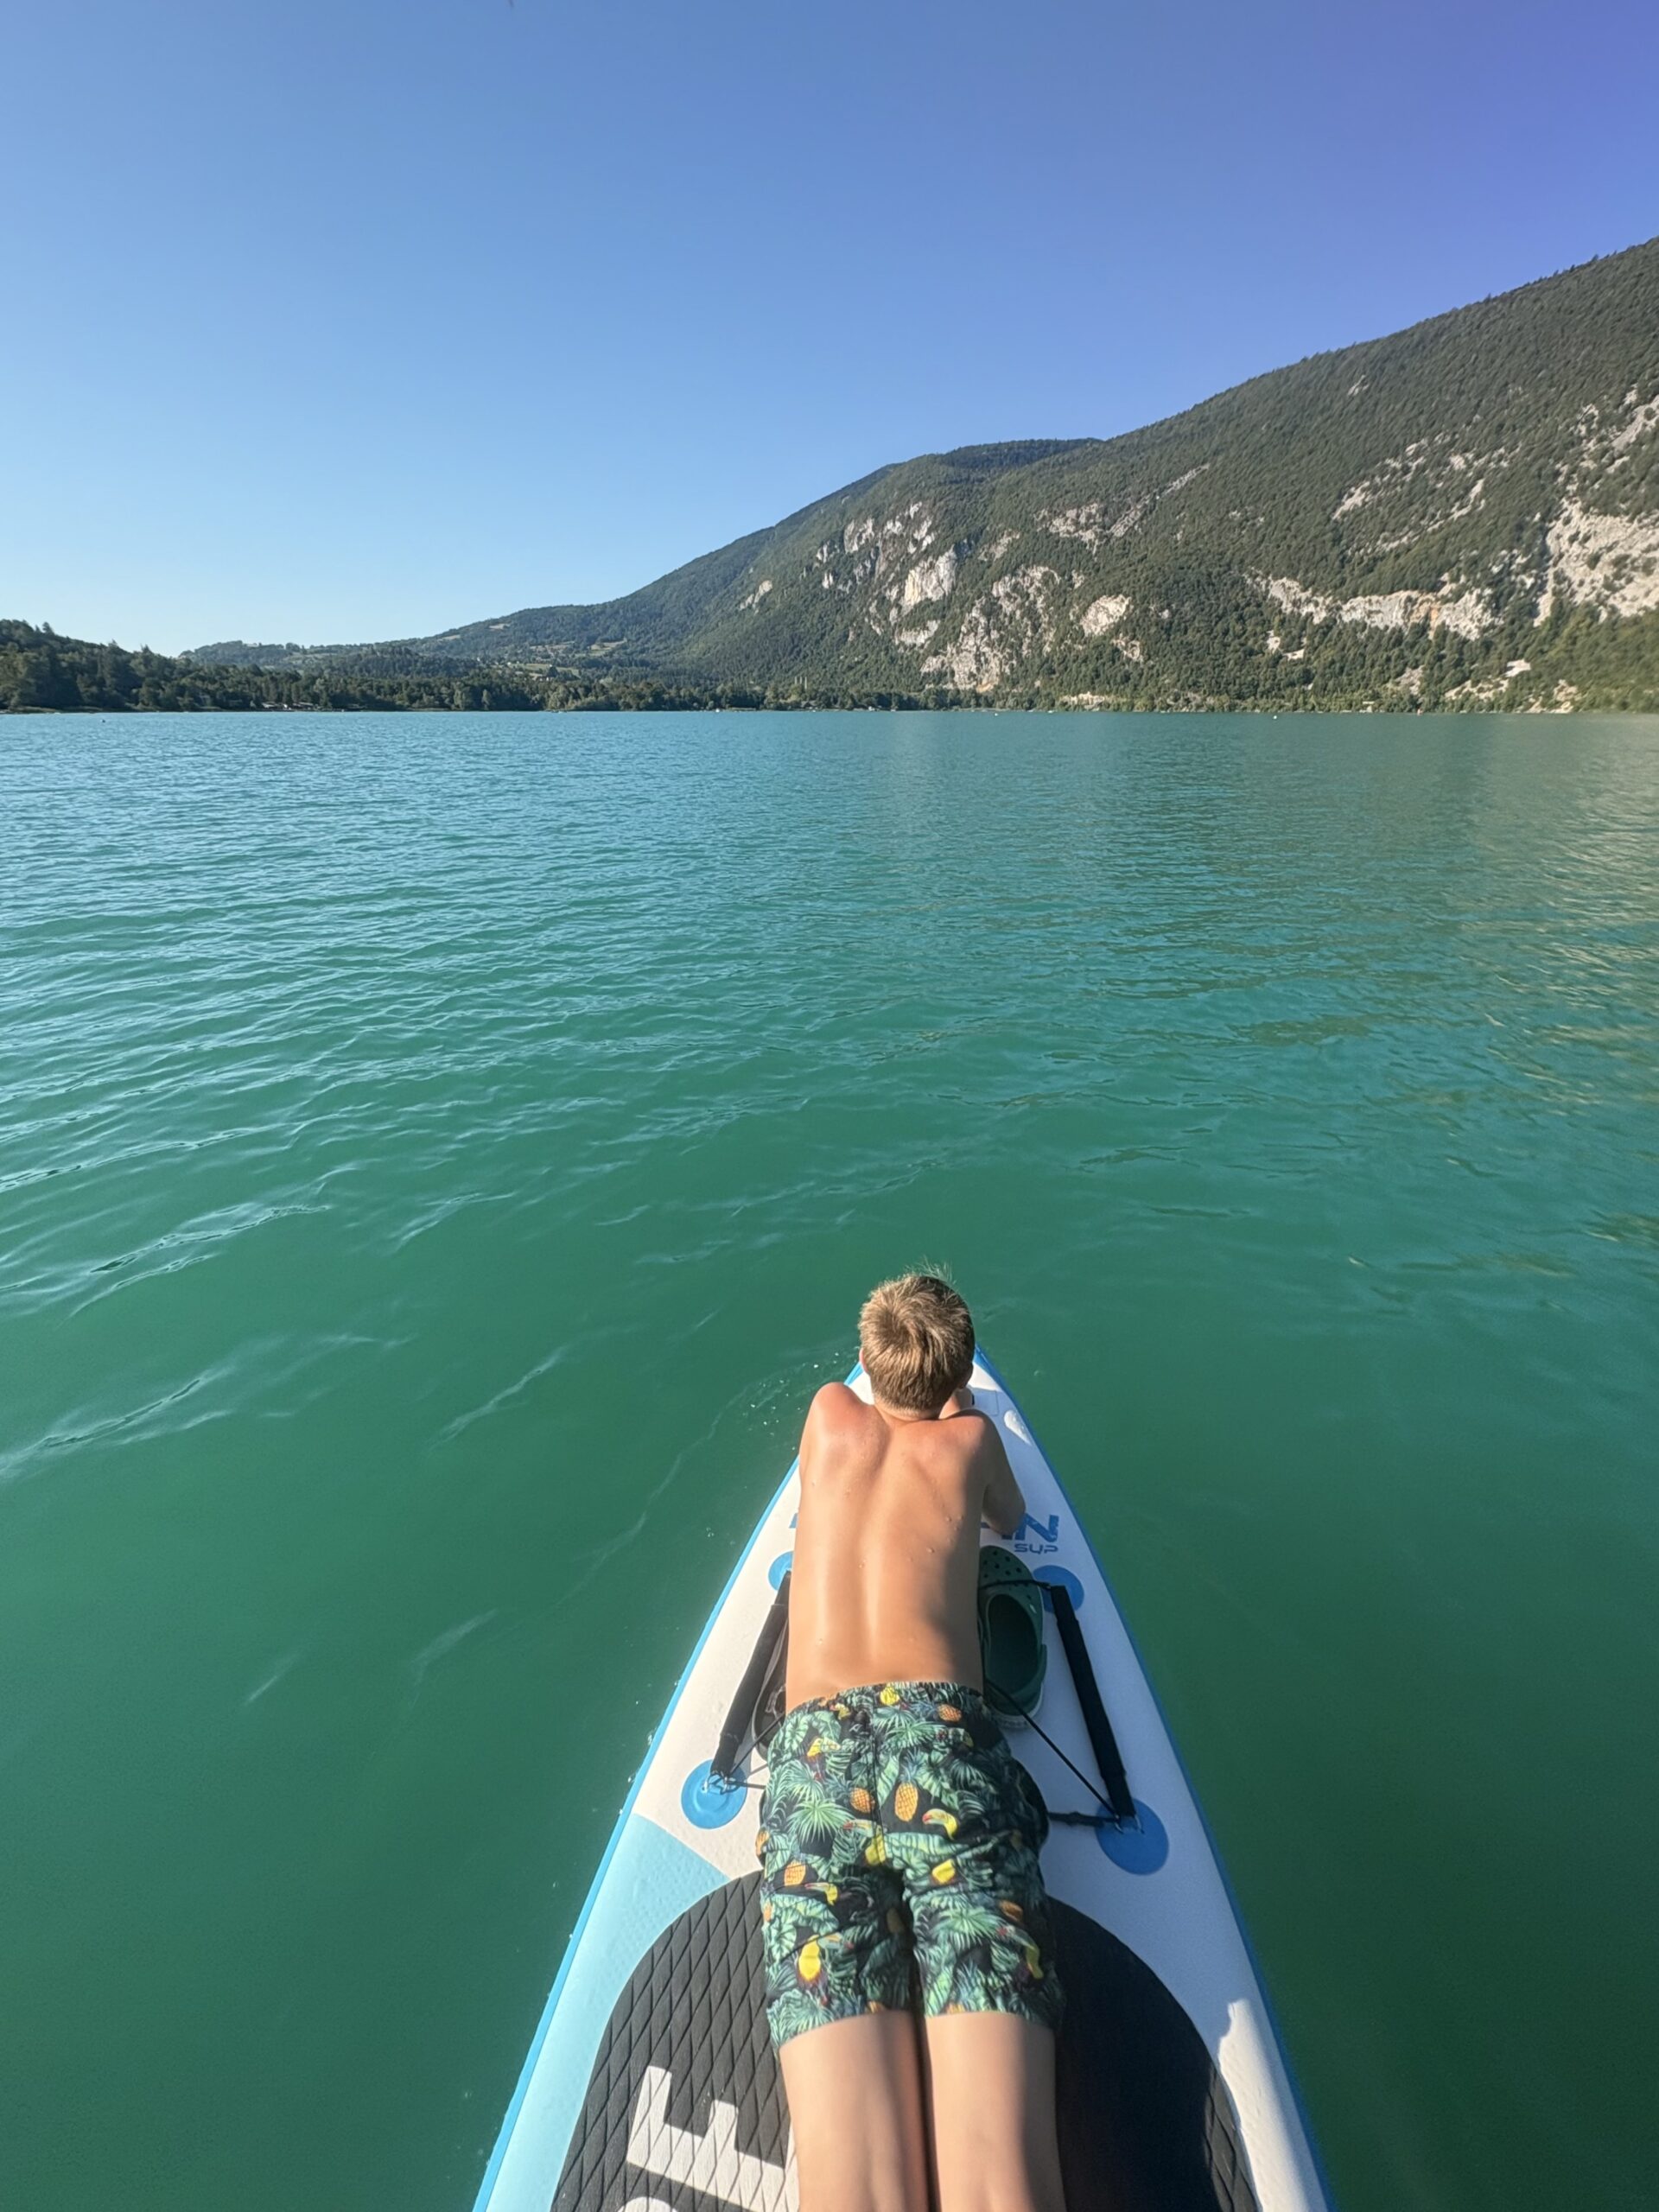
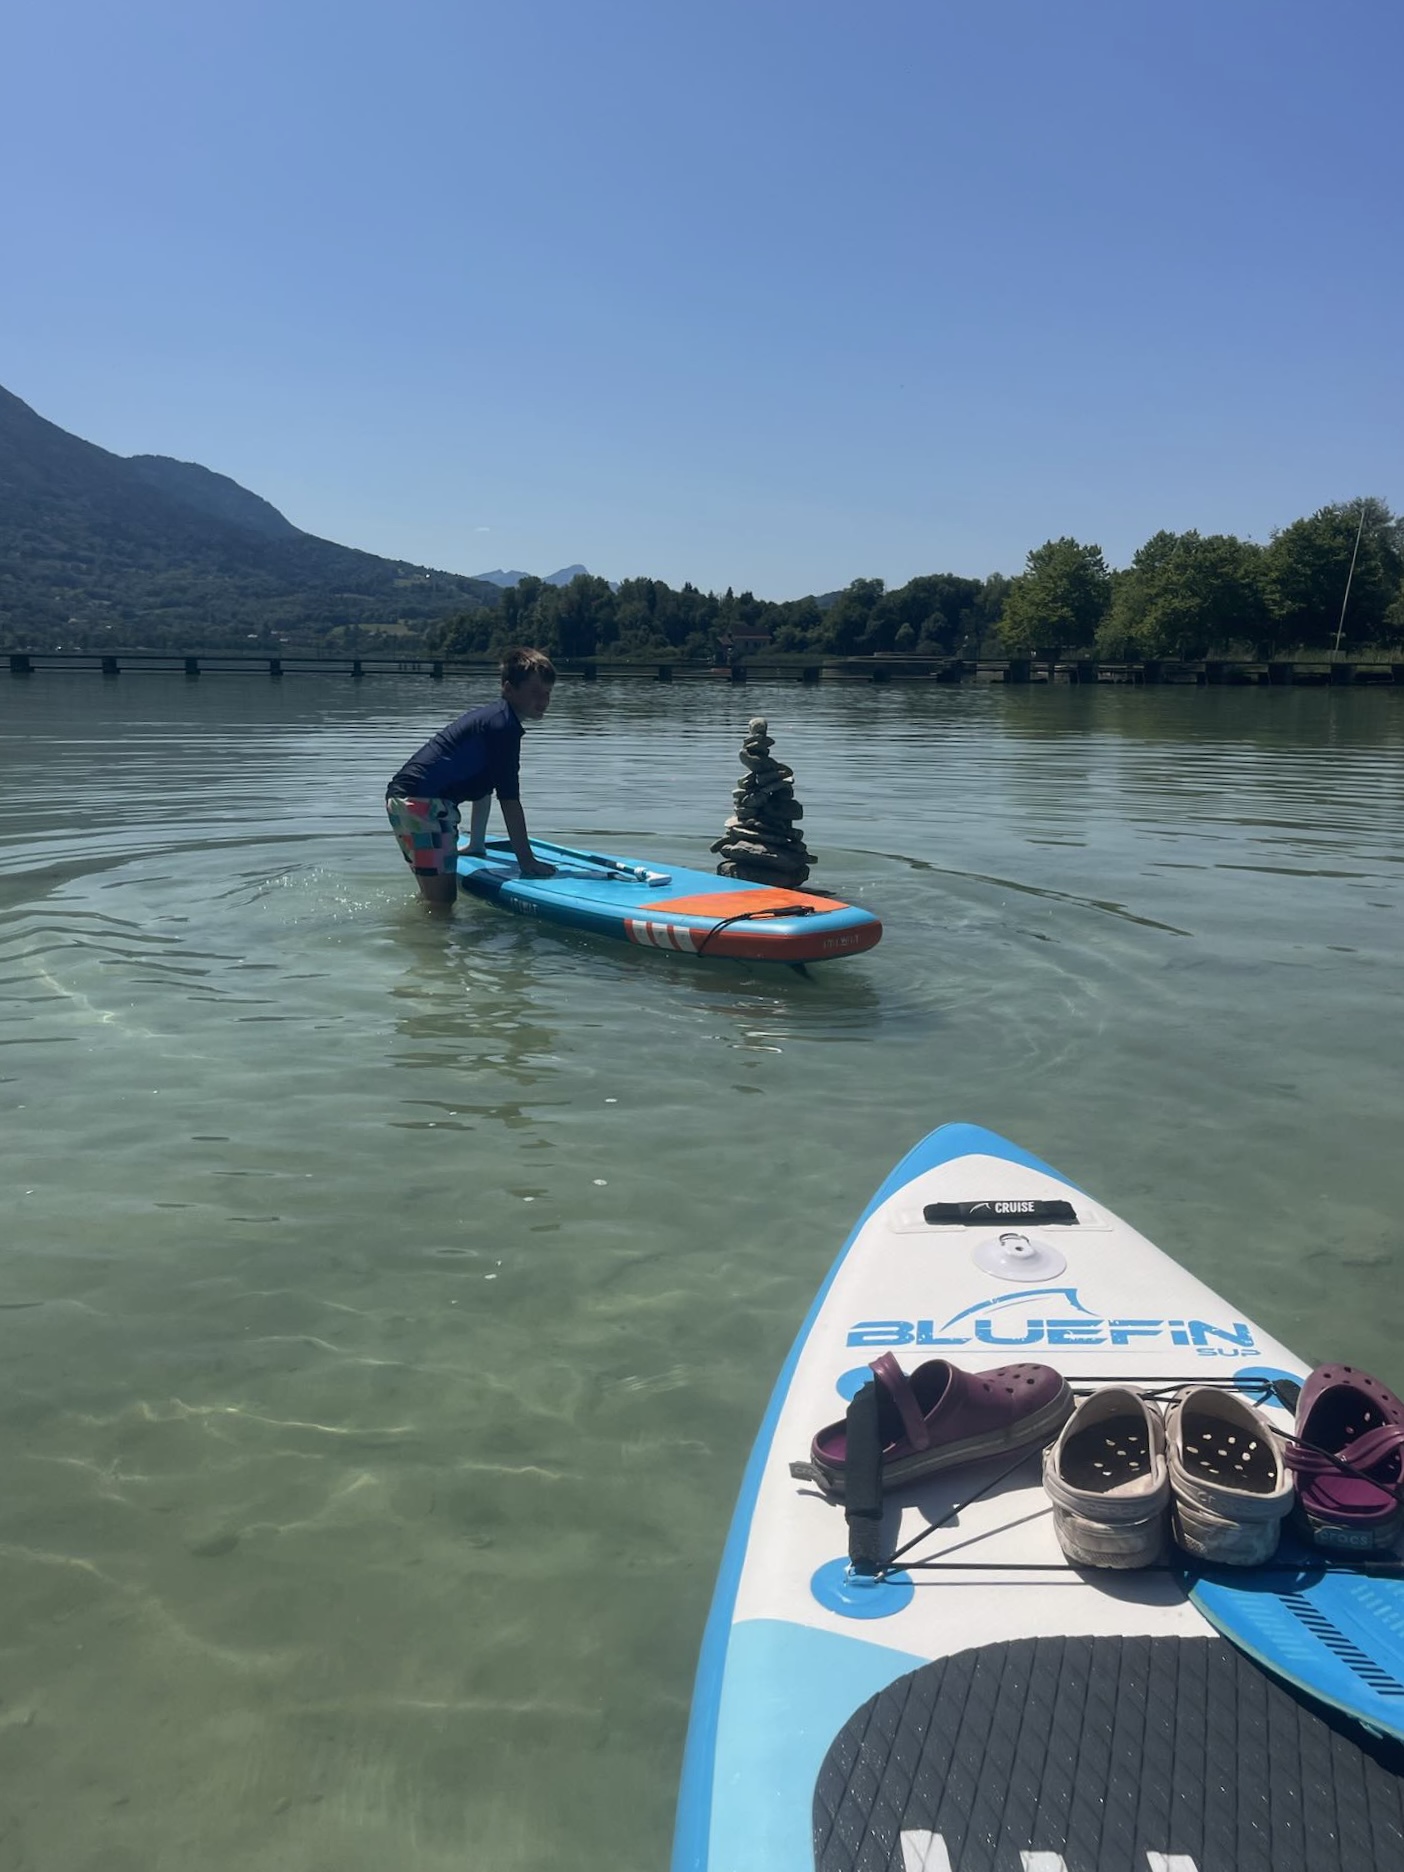
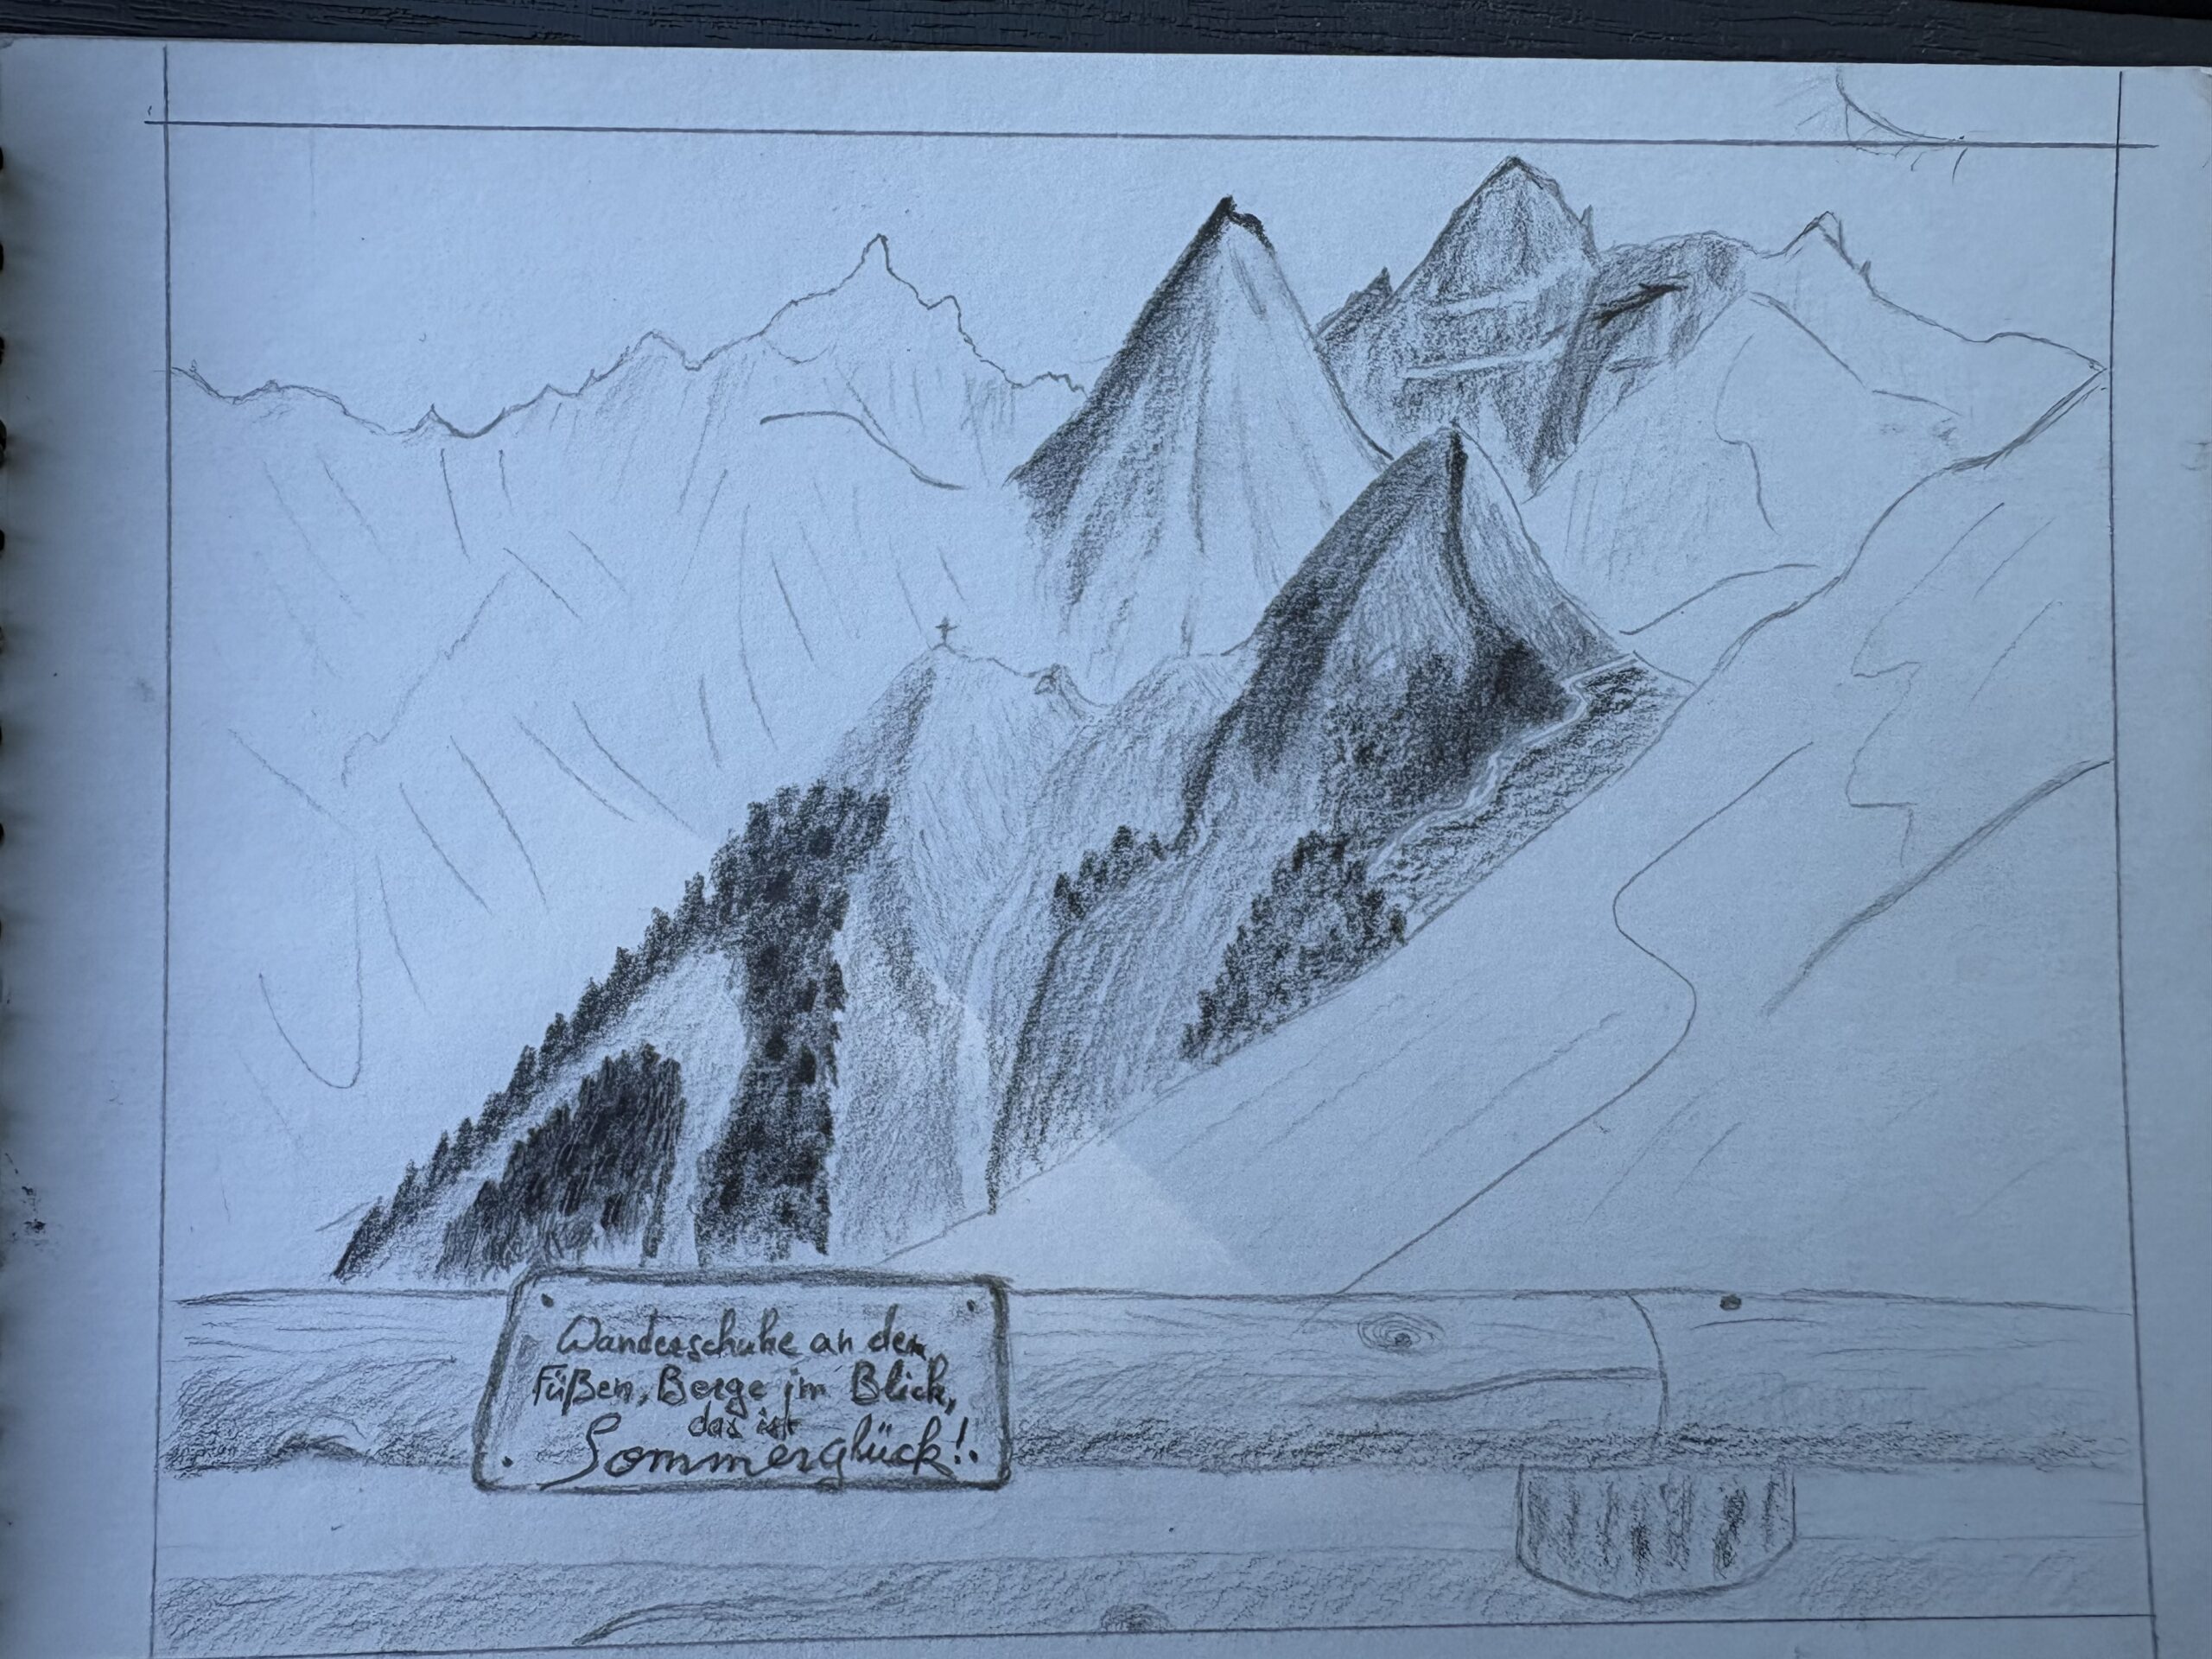
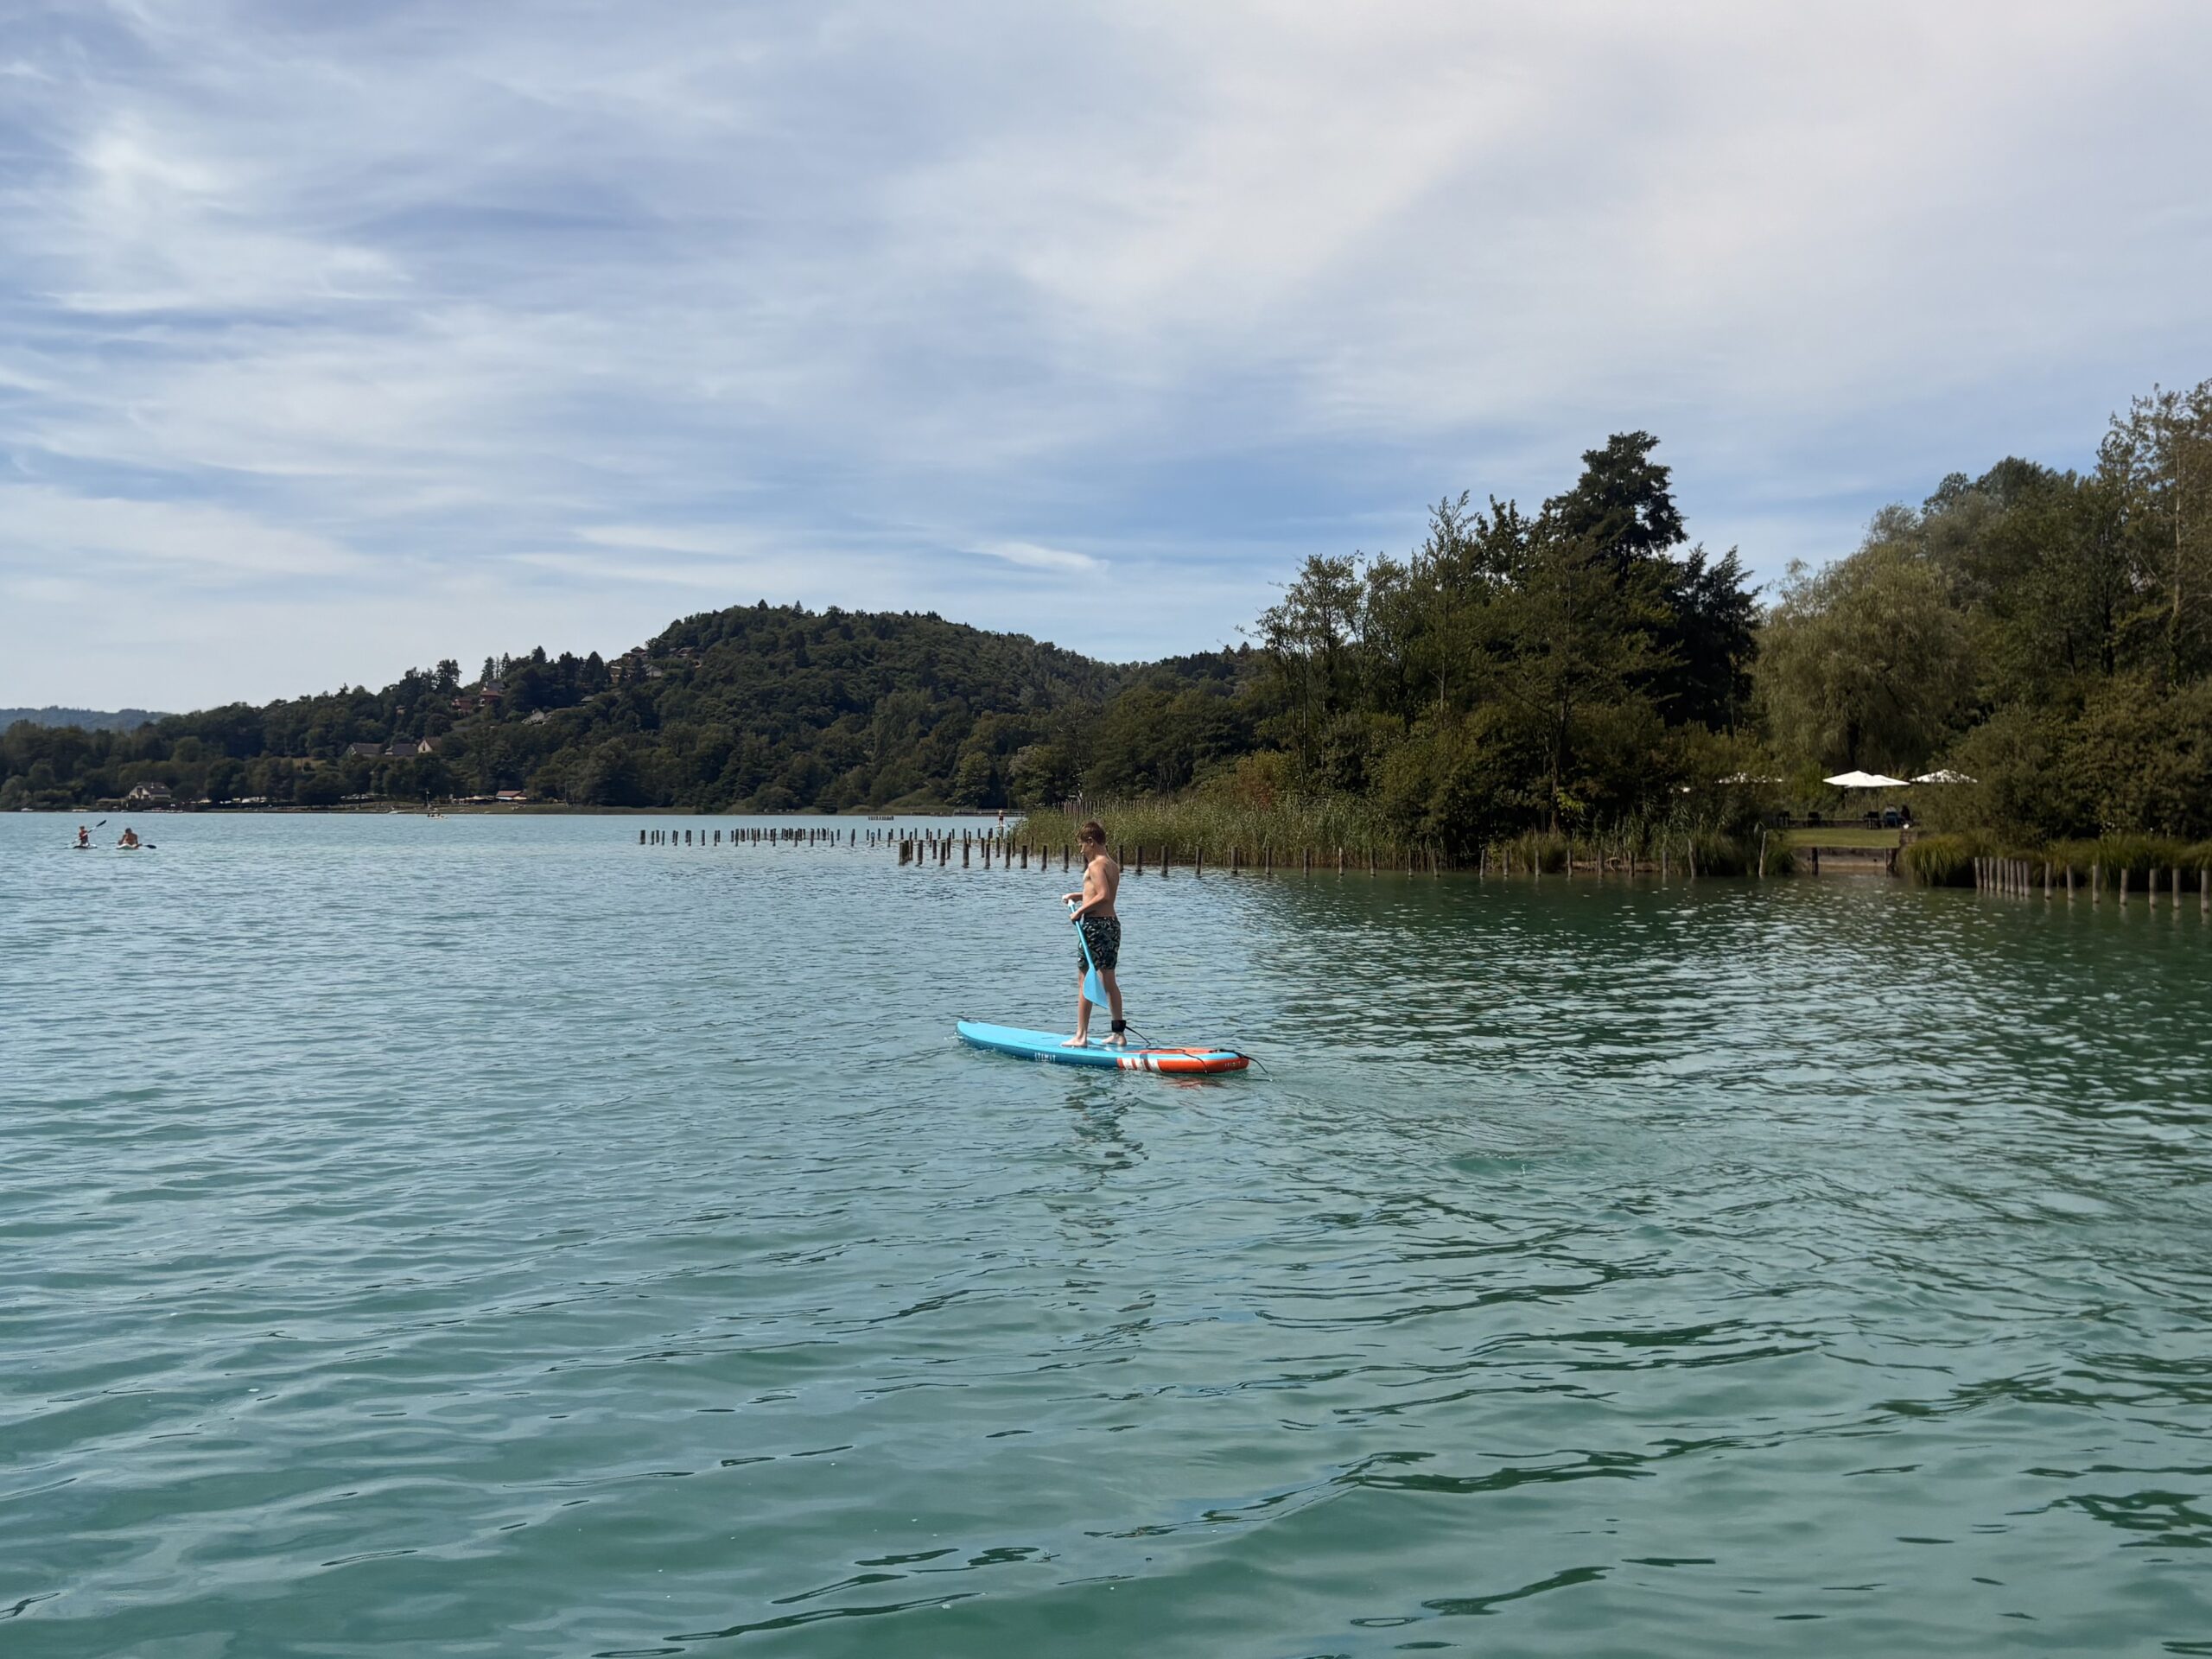
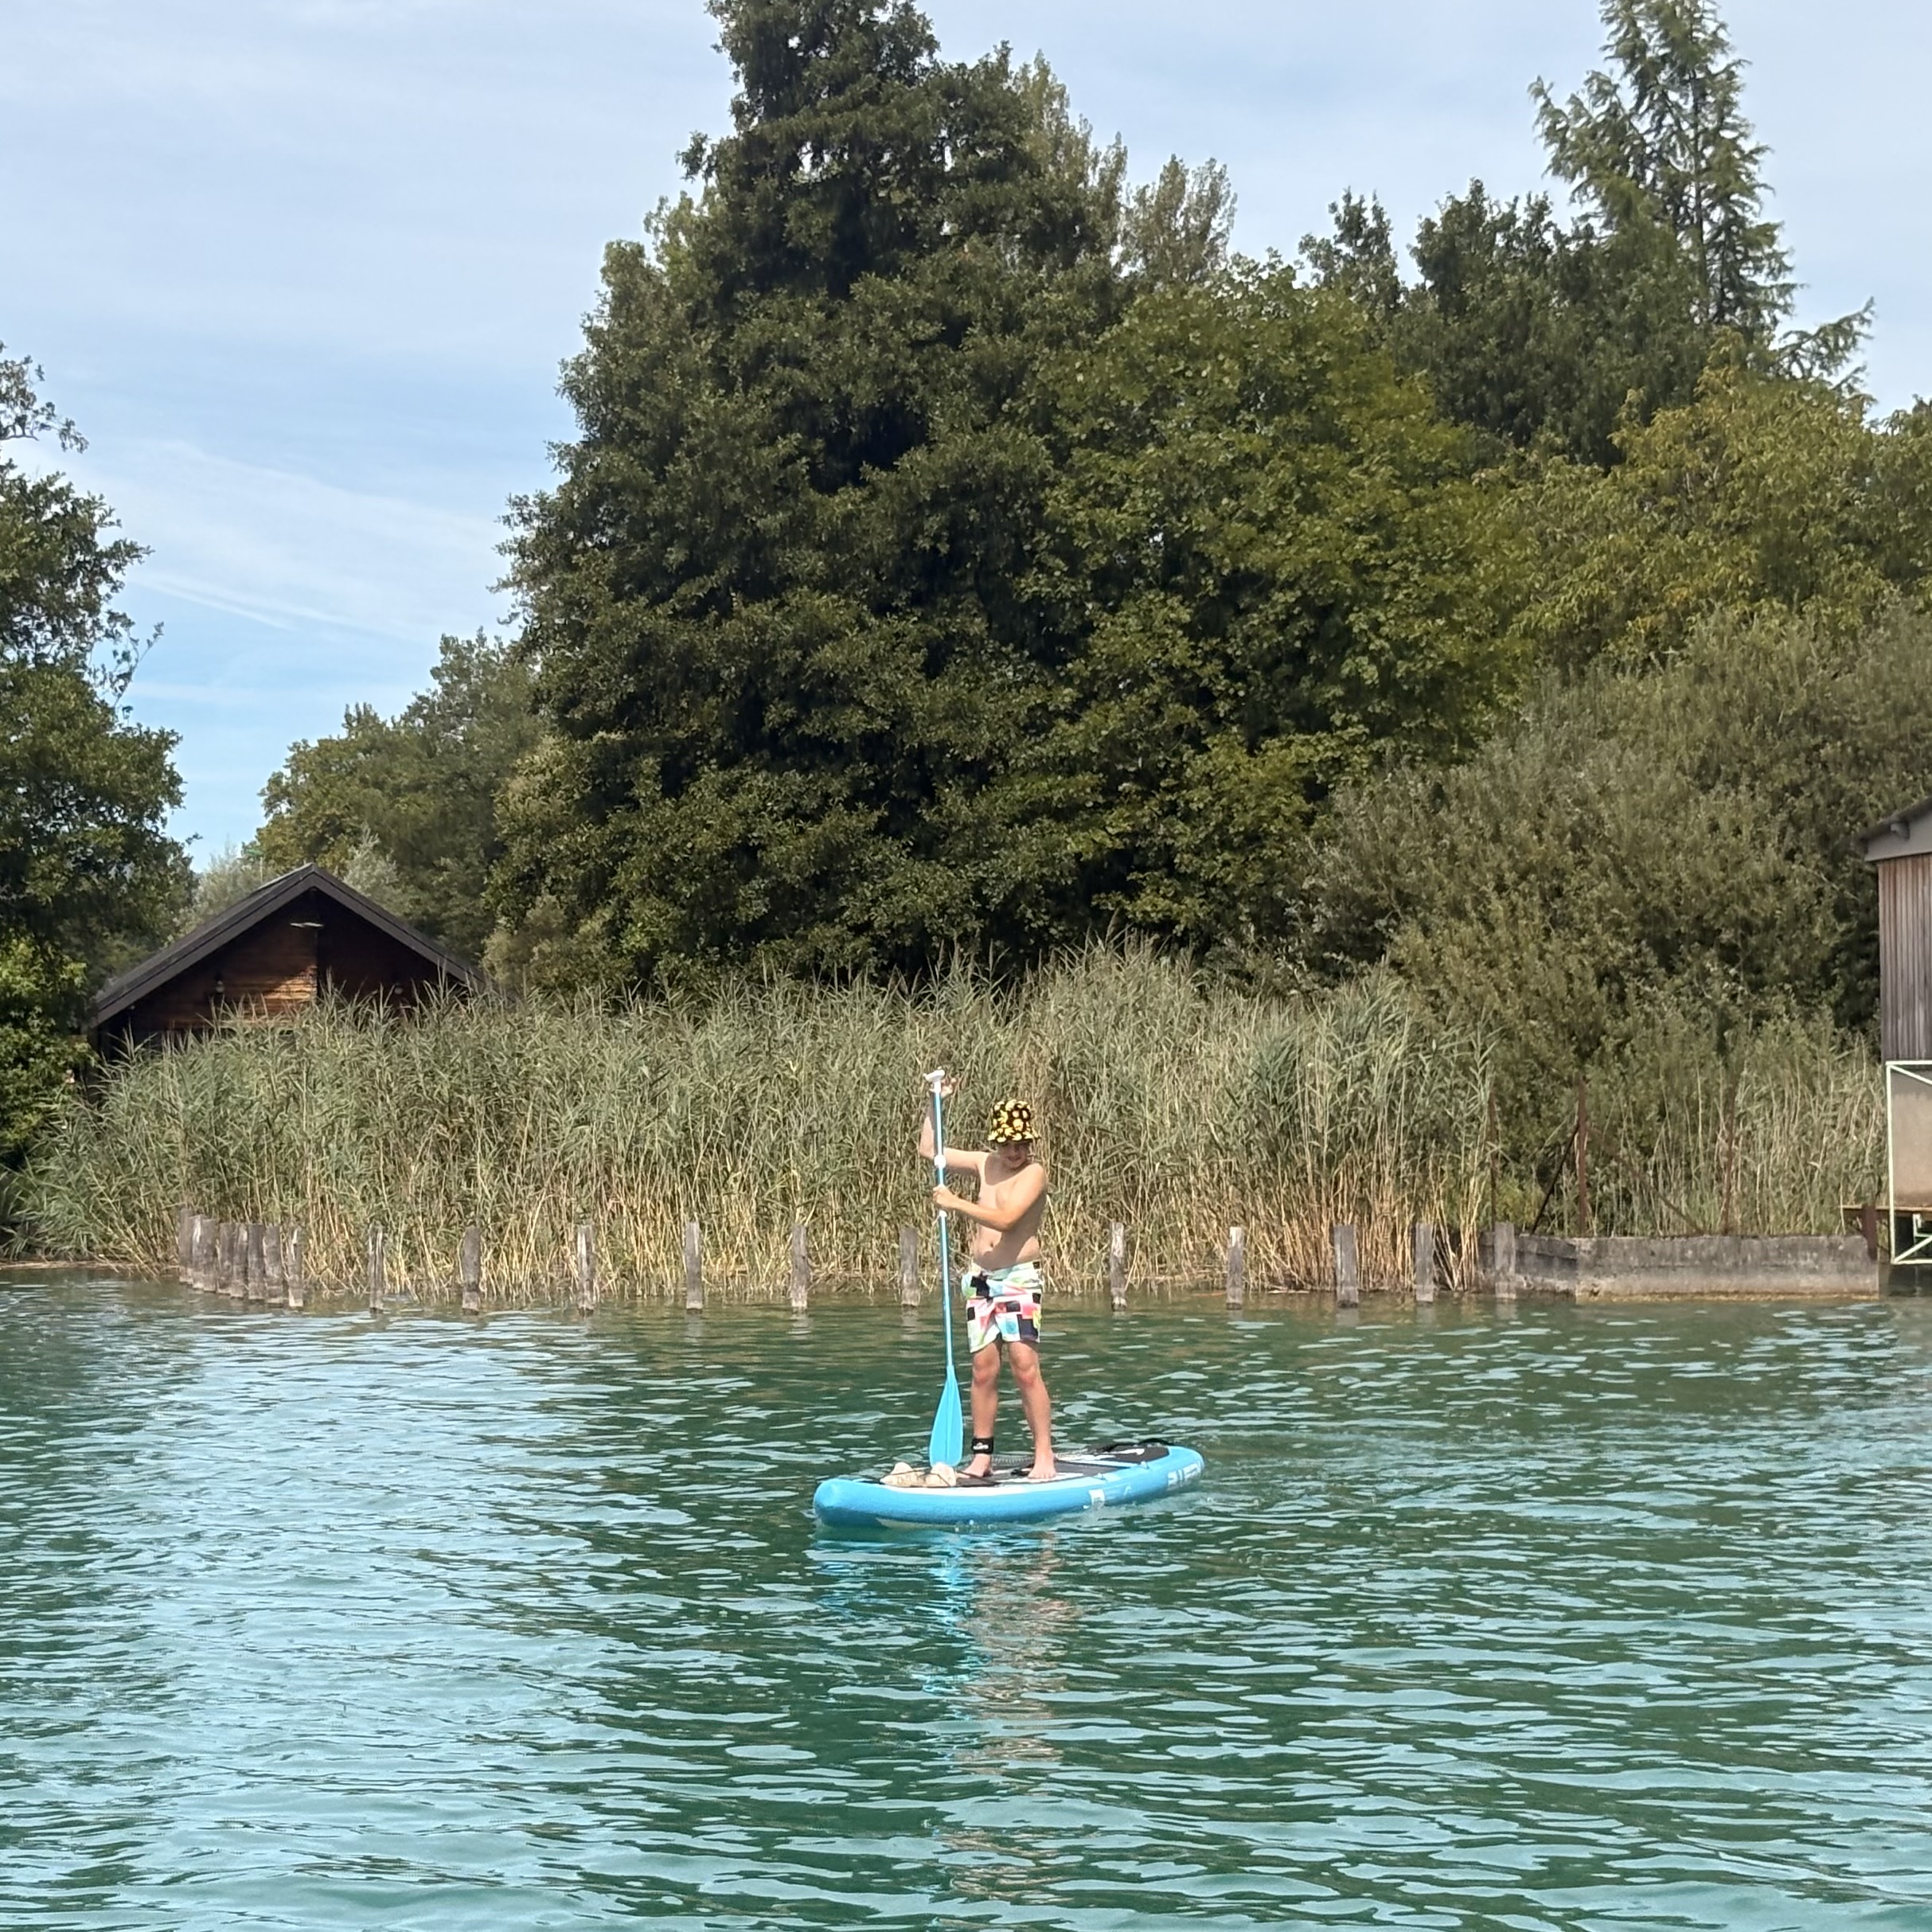
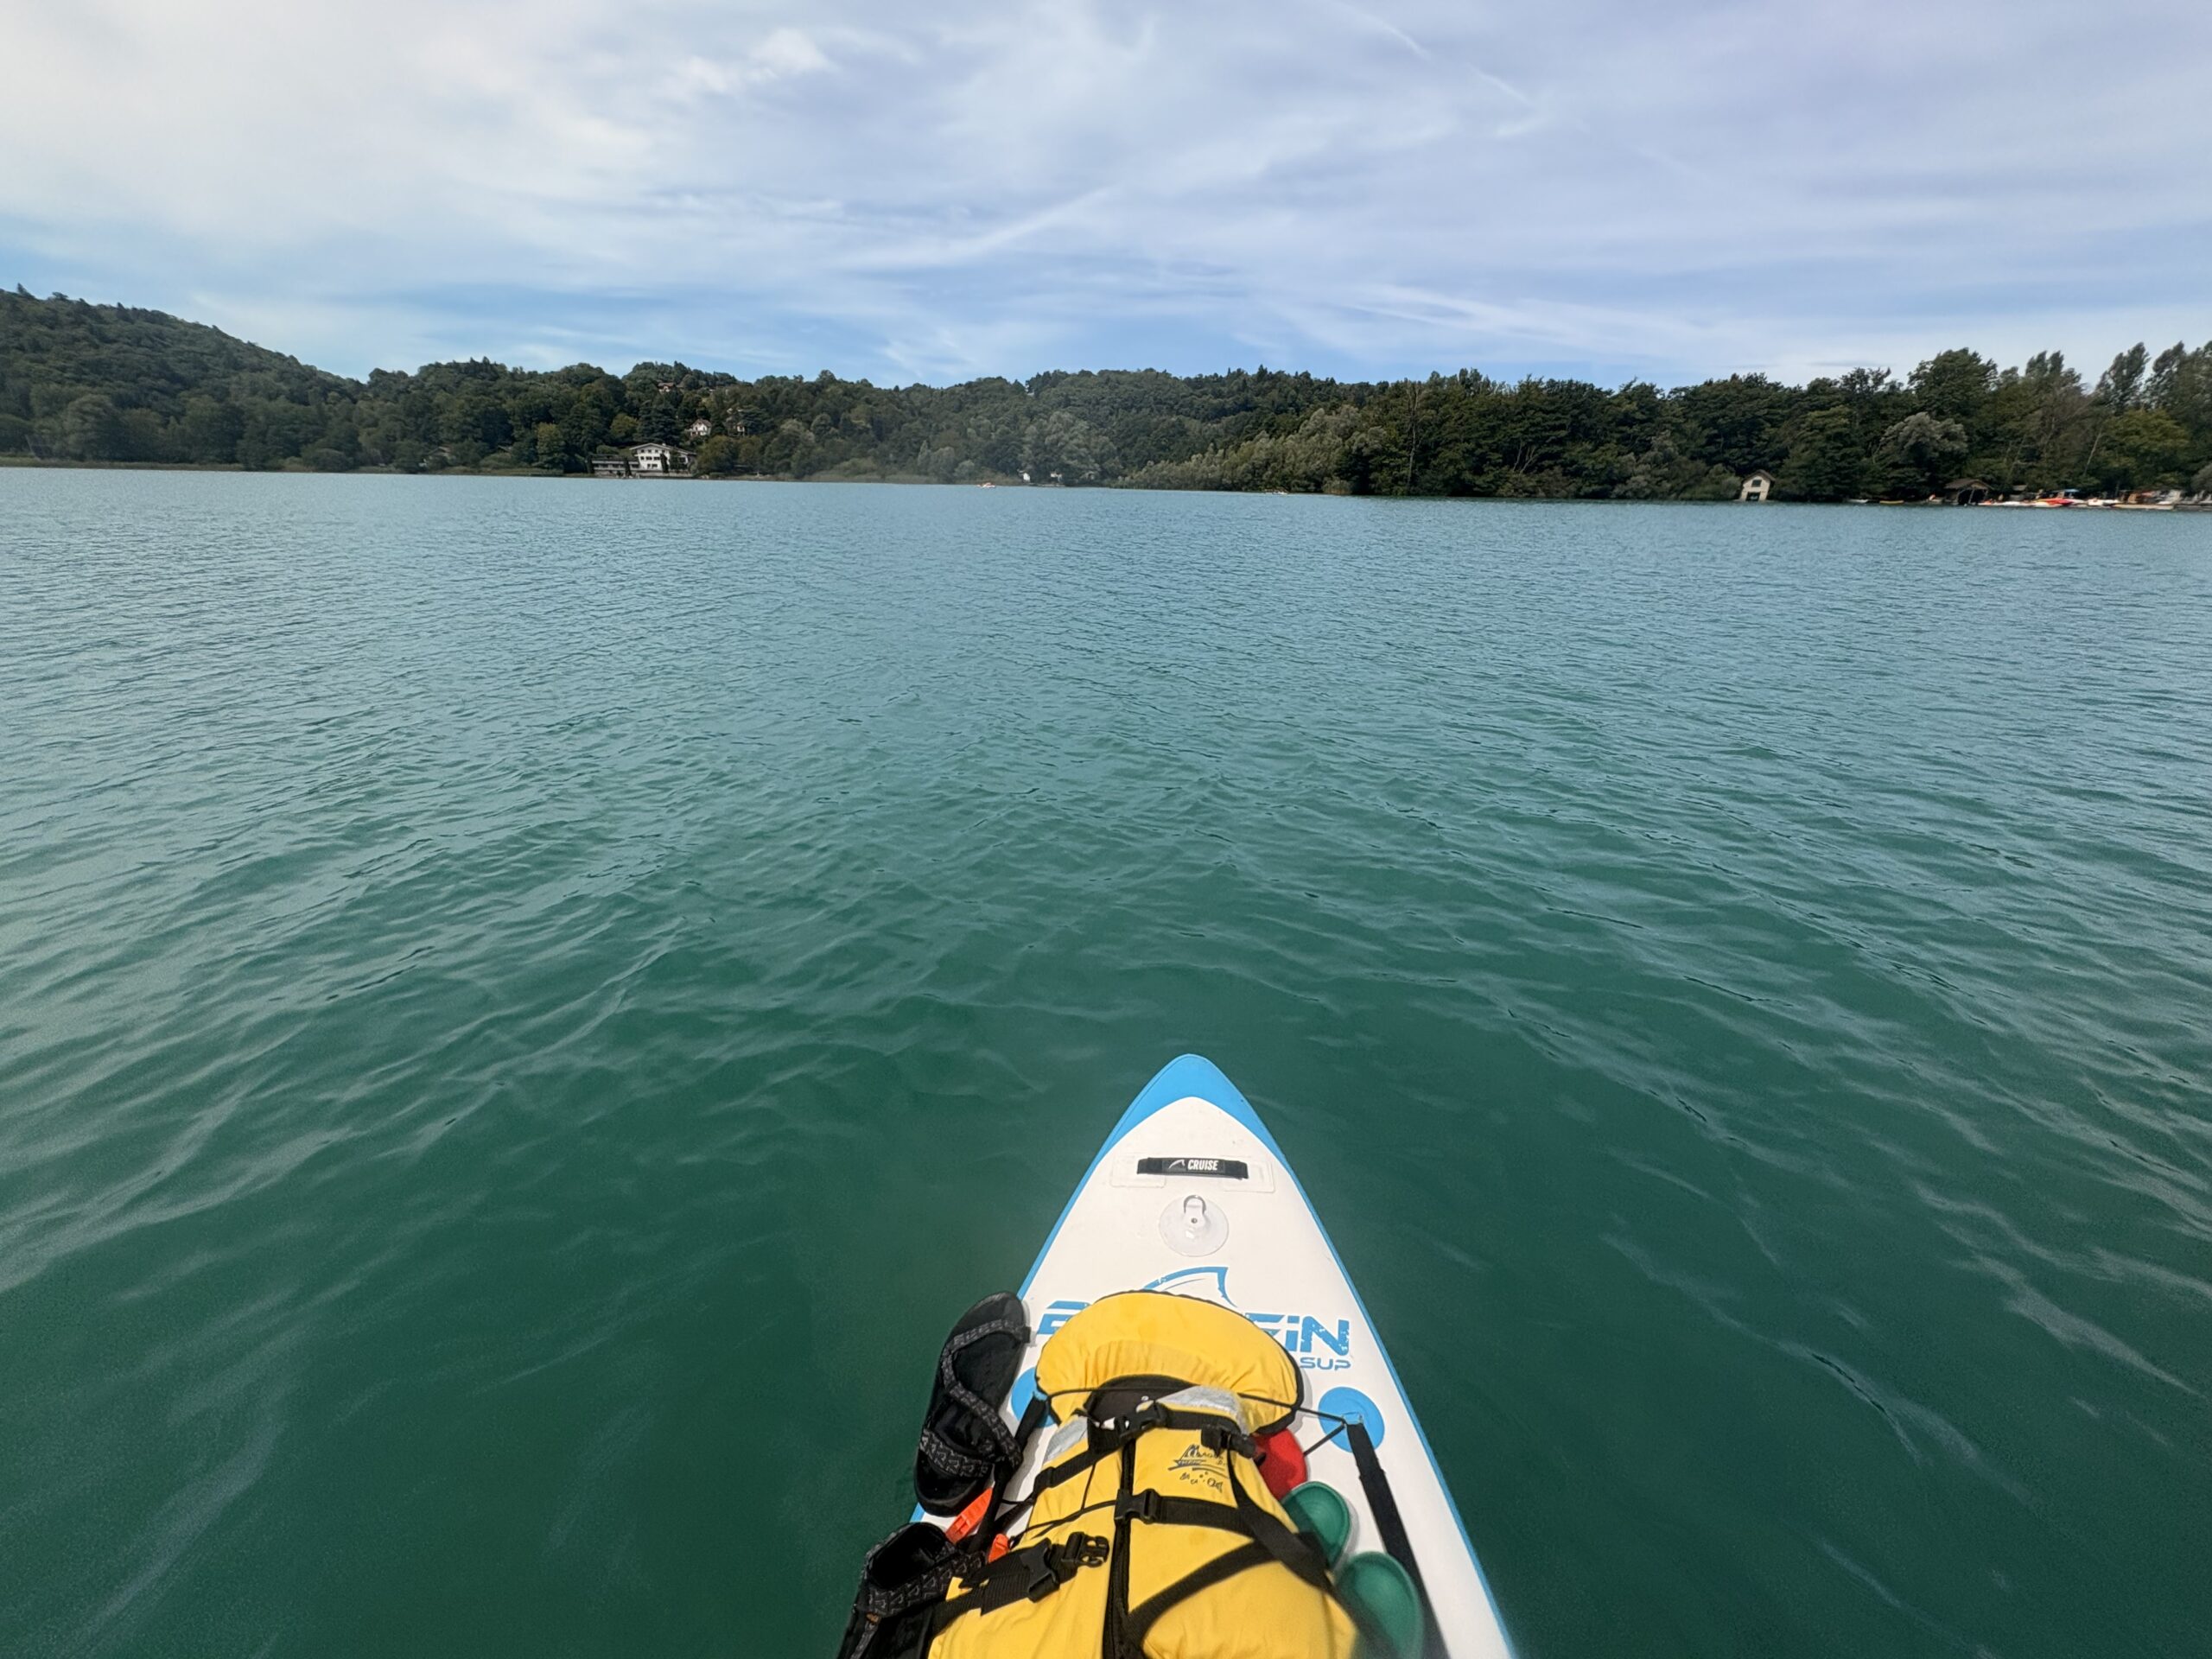
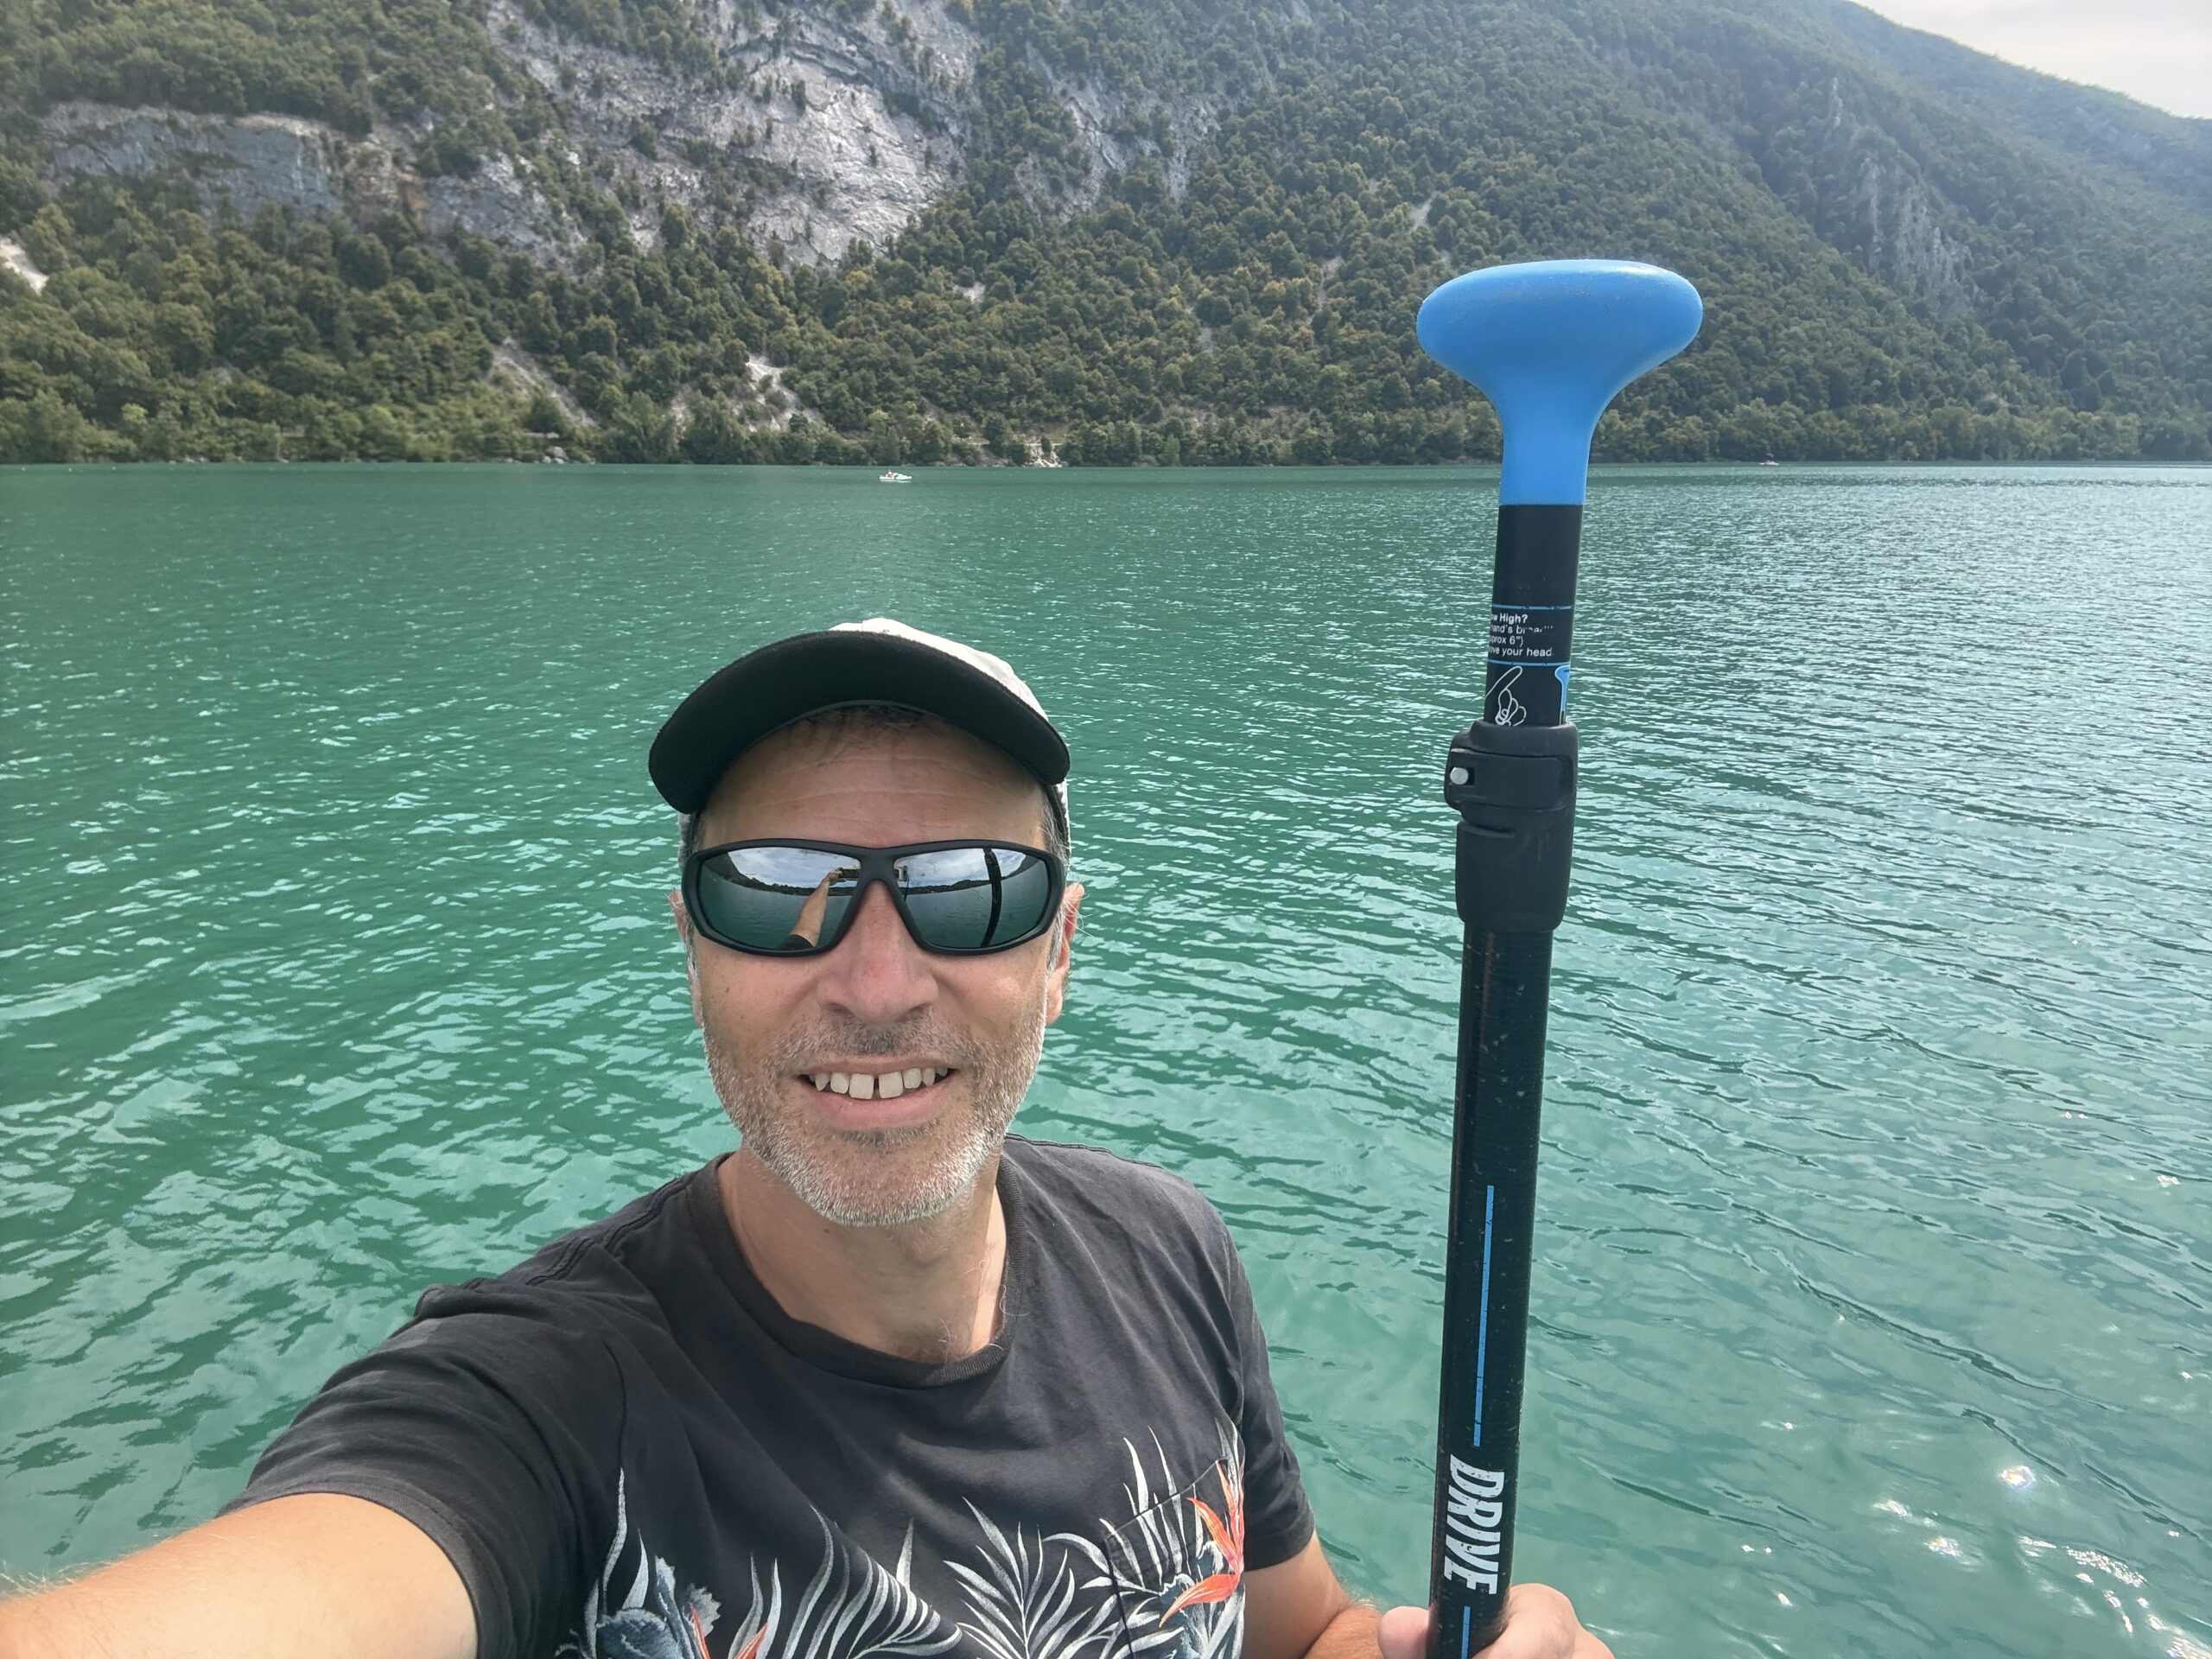
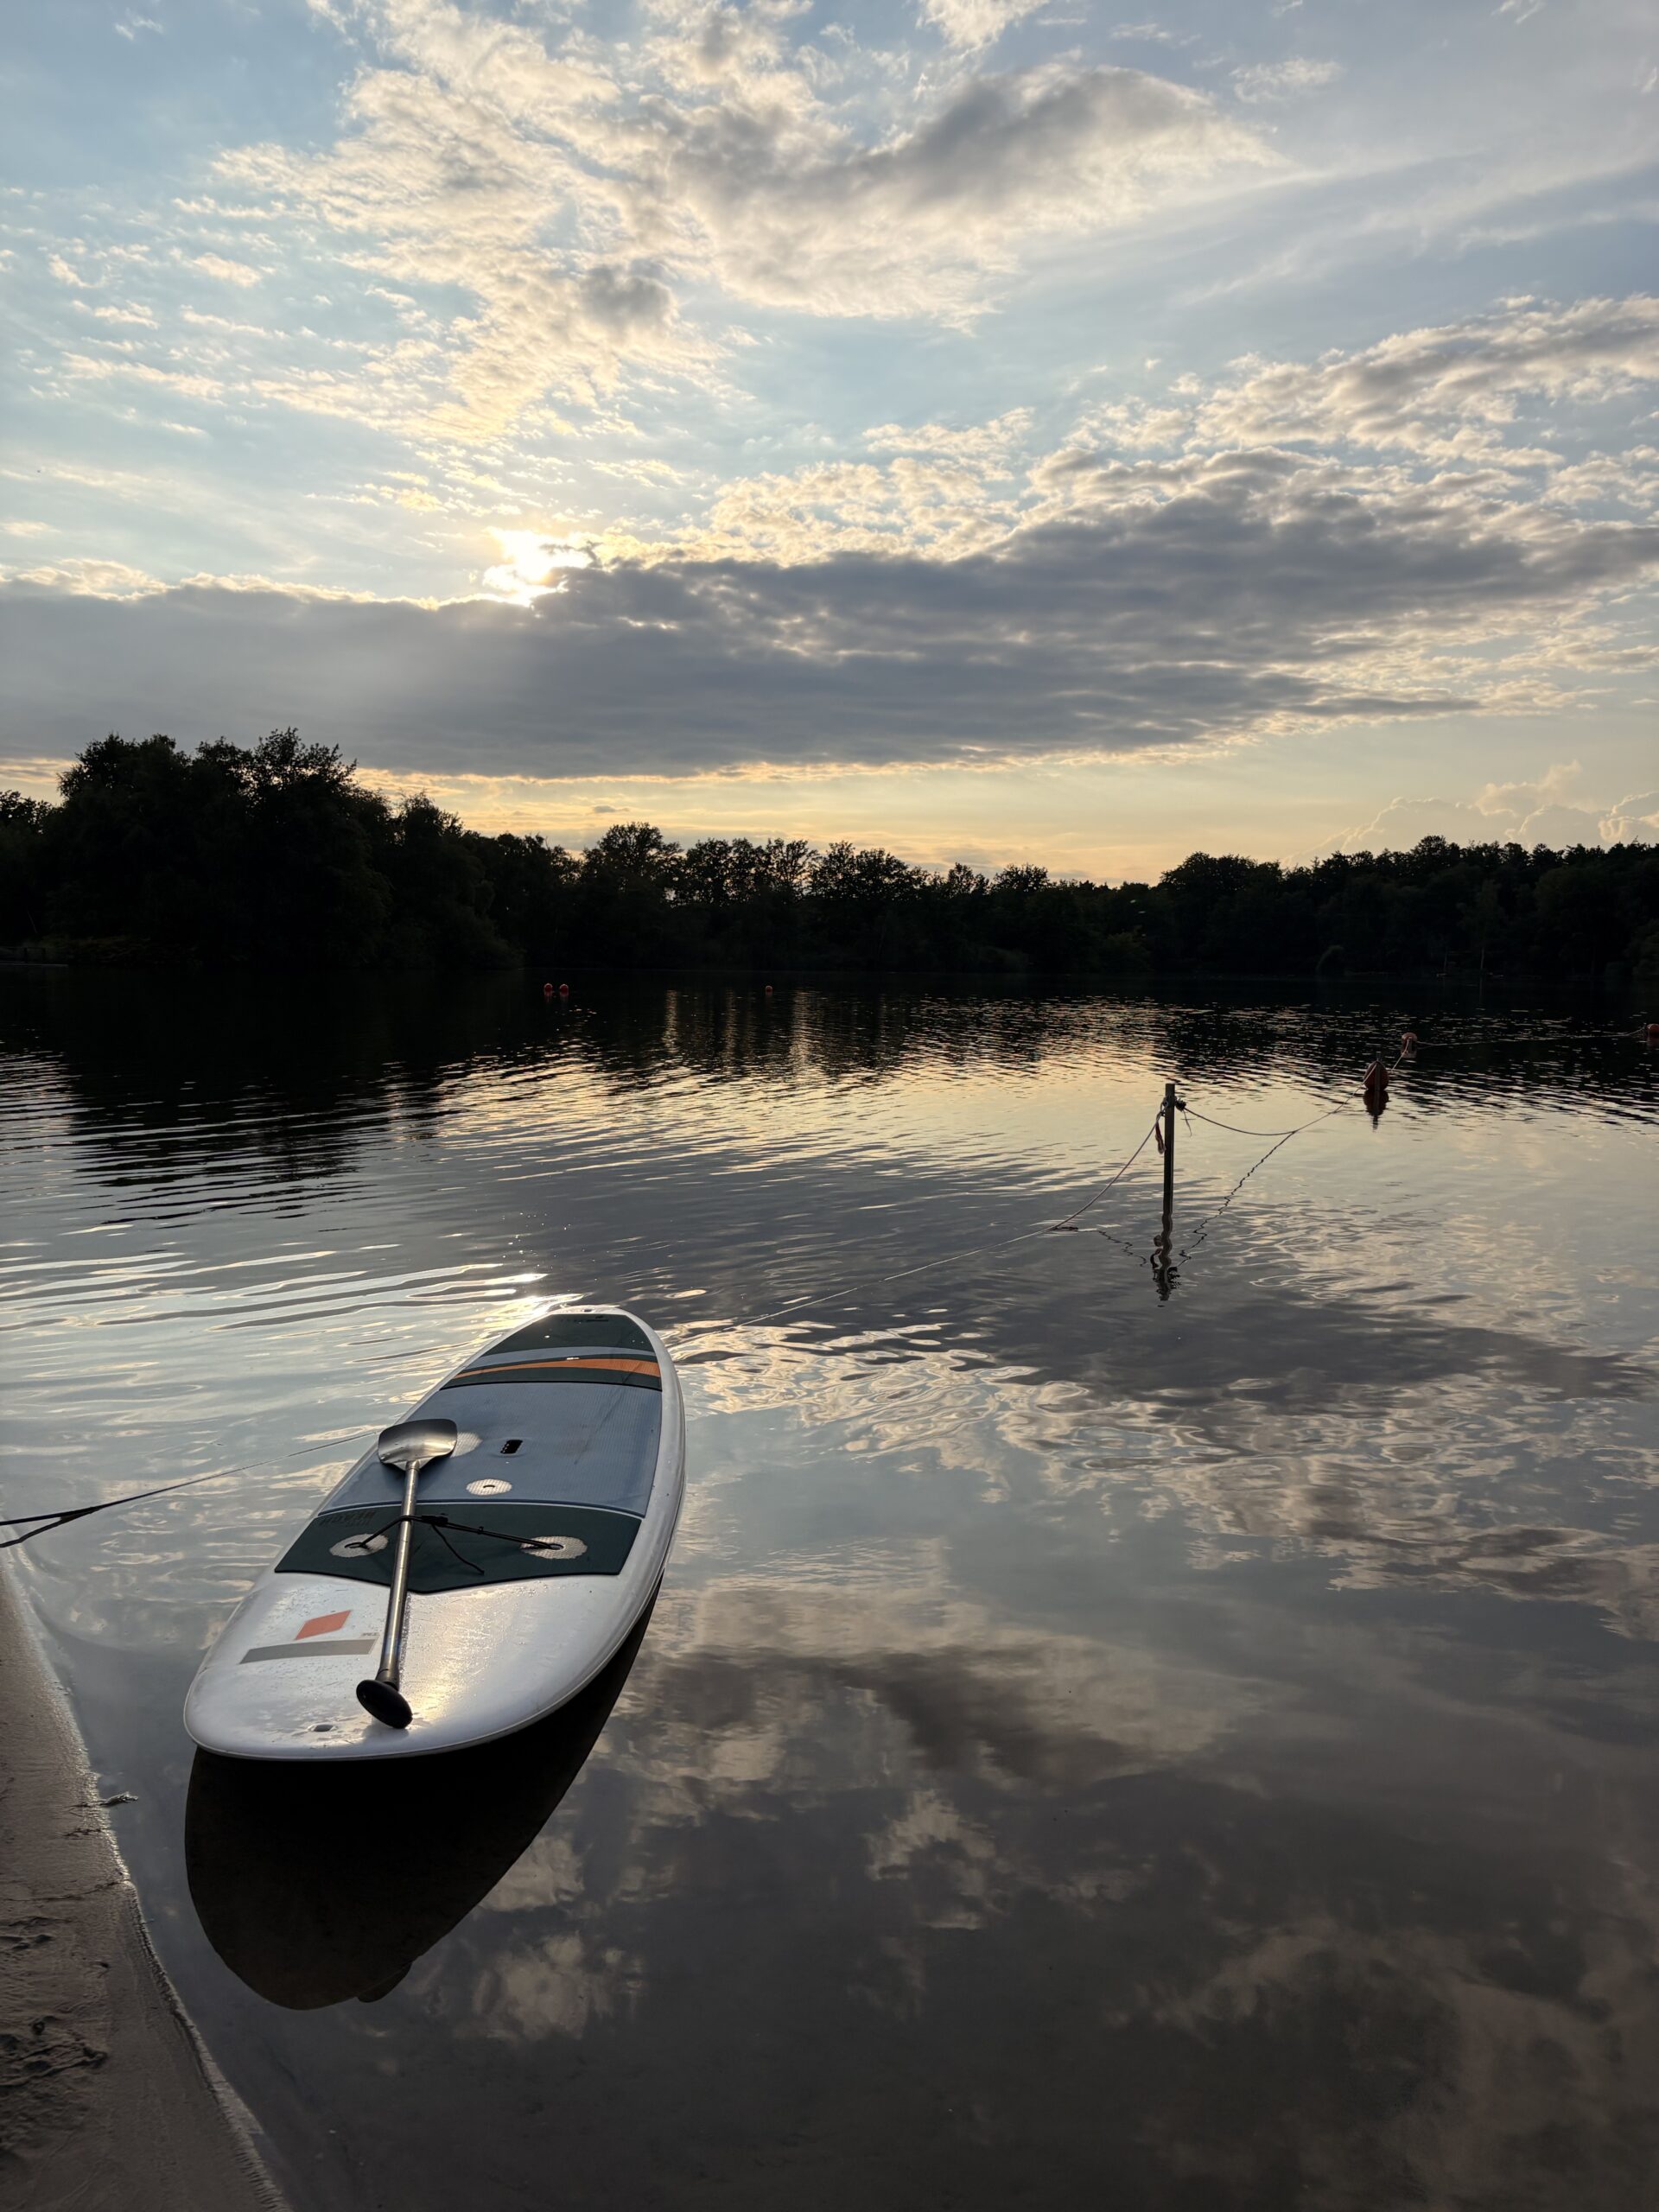
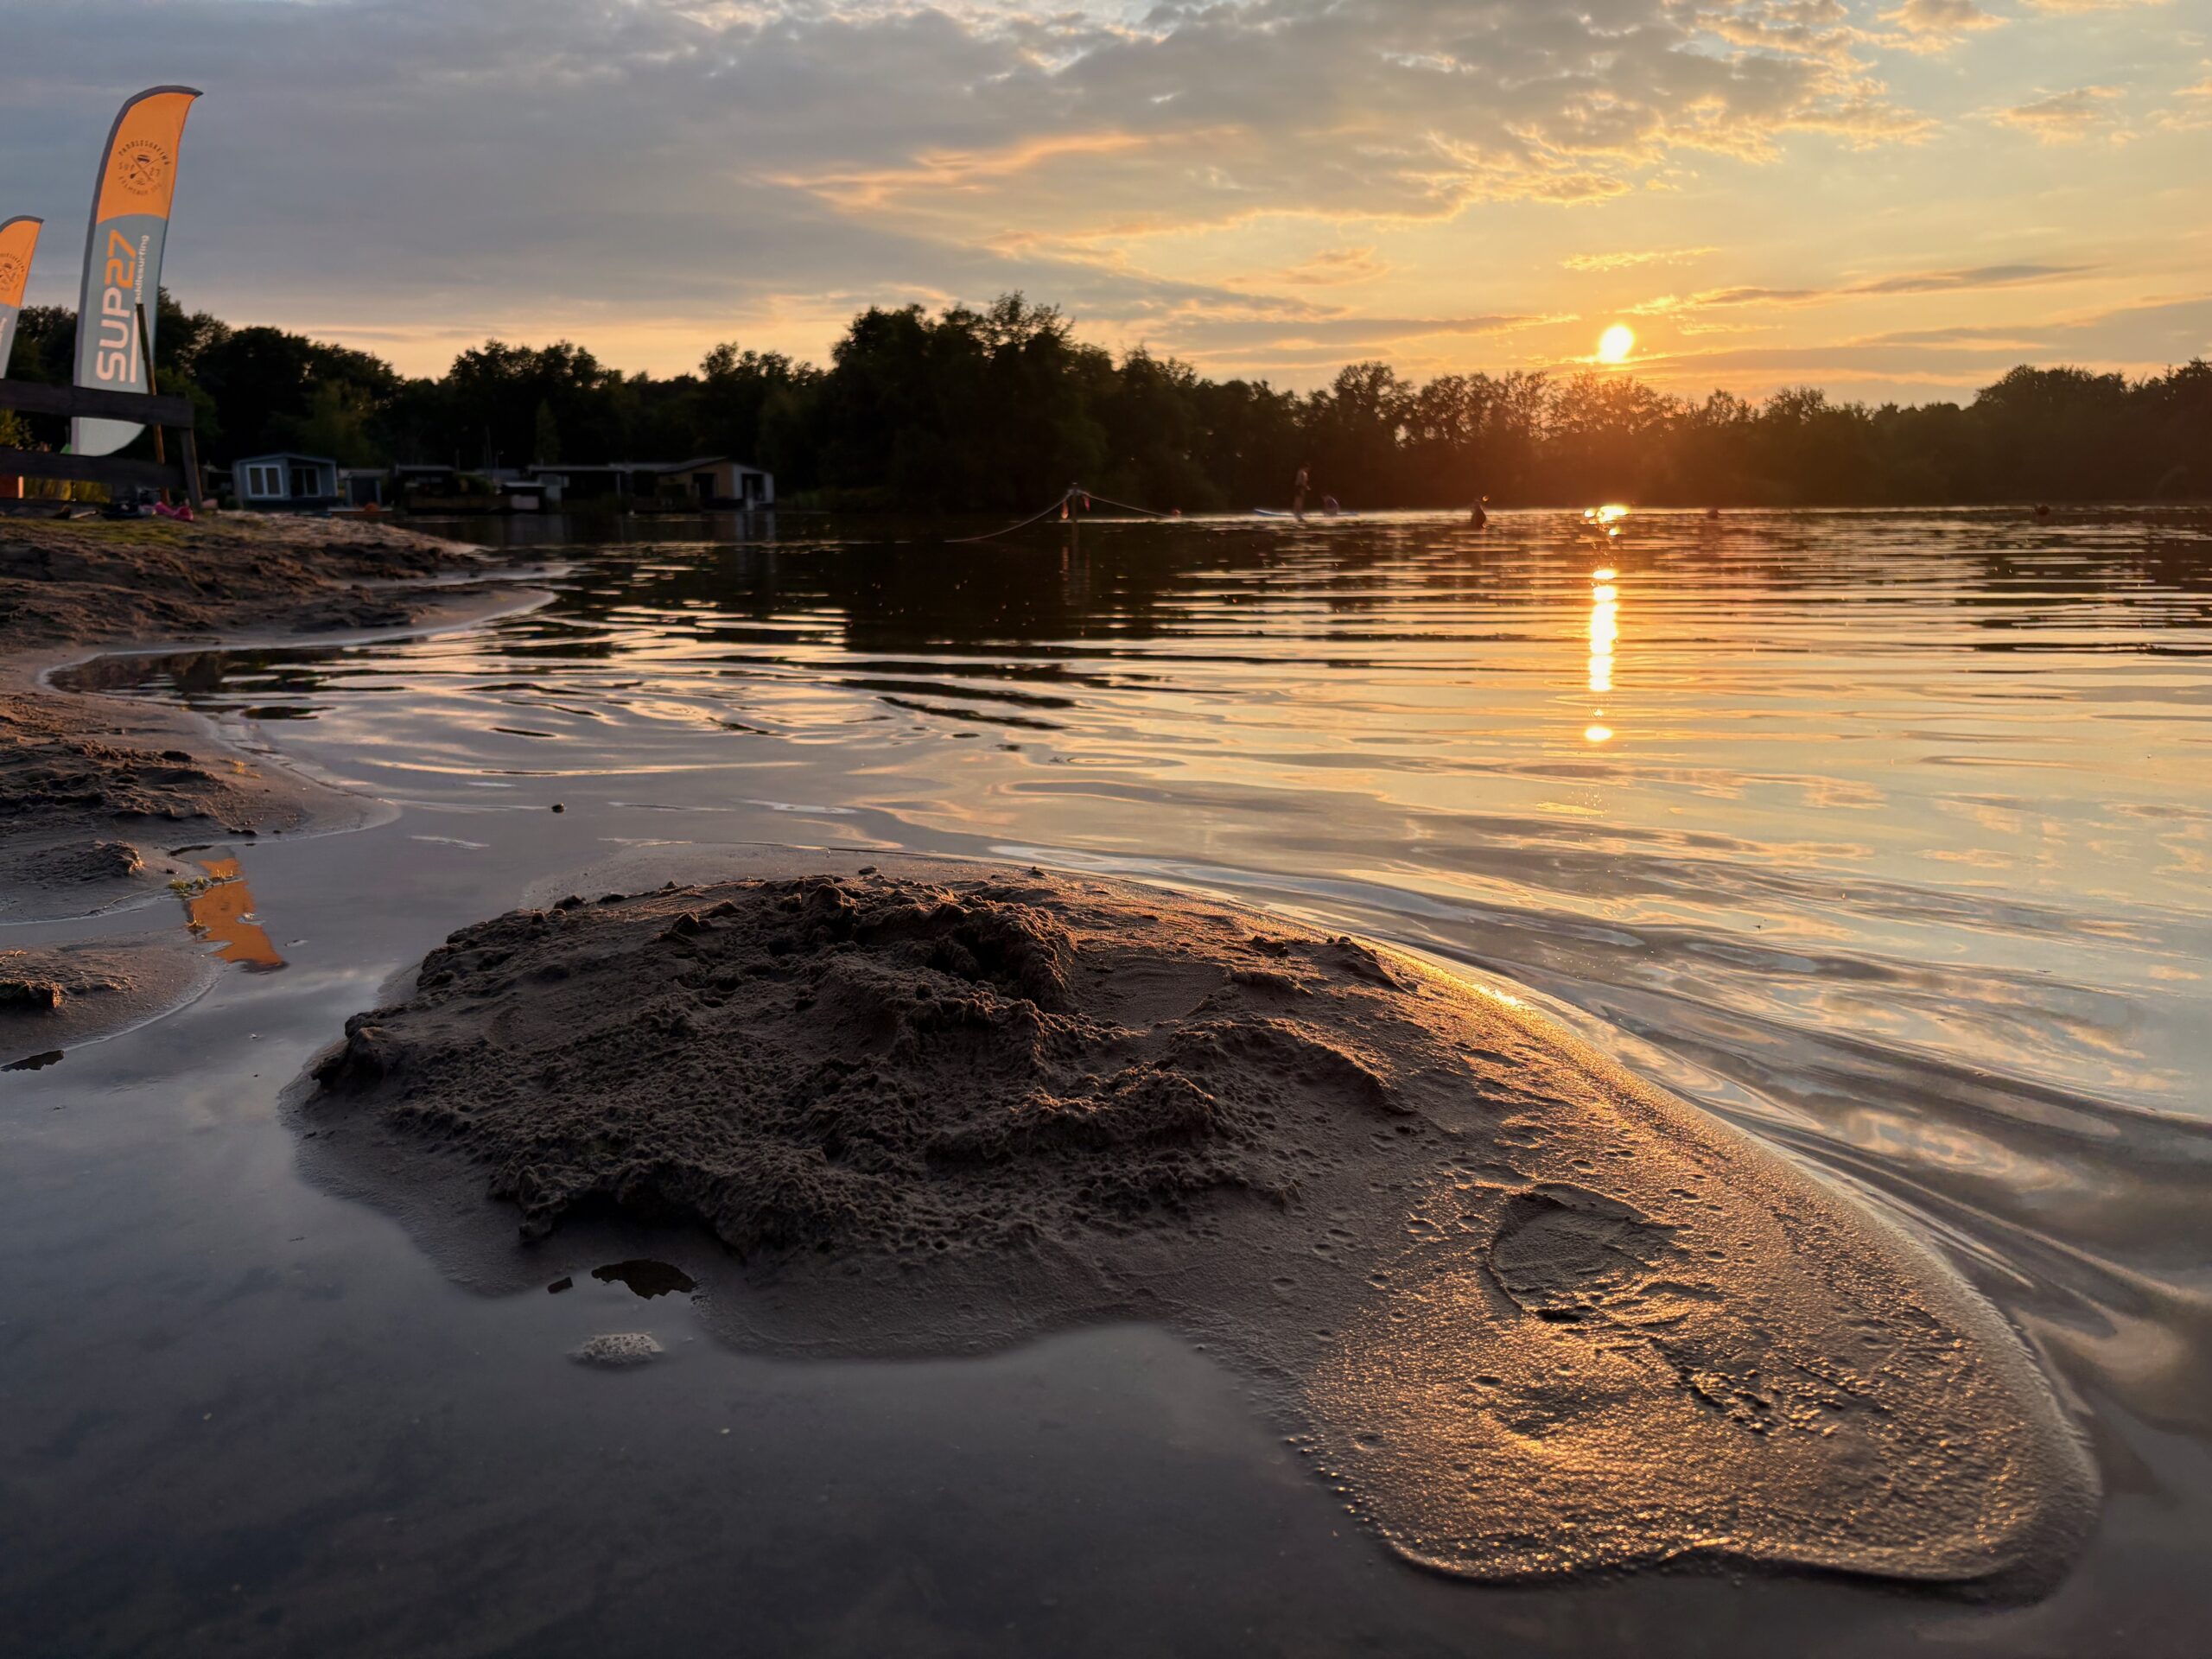
Monday and Tuesday were about beach life and Stand-Up Paddleboarding. JC found time to sketch a mountain landscape from Austria (yes, he brought his pencils, he’s that kind of holidaymaker … and he forgot his reading book at home – now I remember what I had forgotten, no more blissful feelings). The temperature was climbing, but still kind, especially in the shade.
While dad paddles other relaxGetting readyDrawing… (unfinished yet)
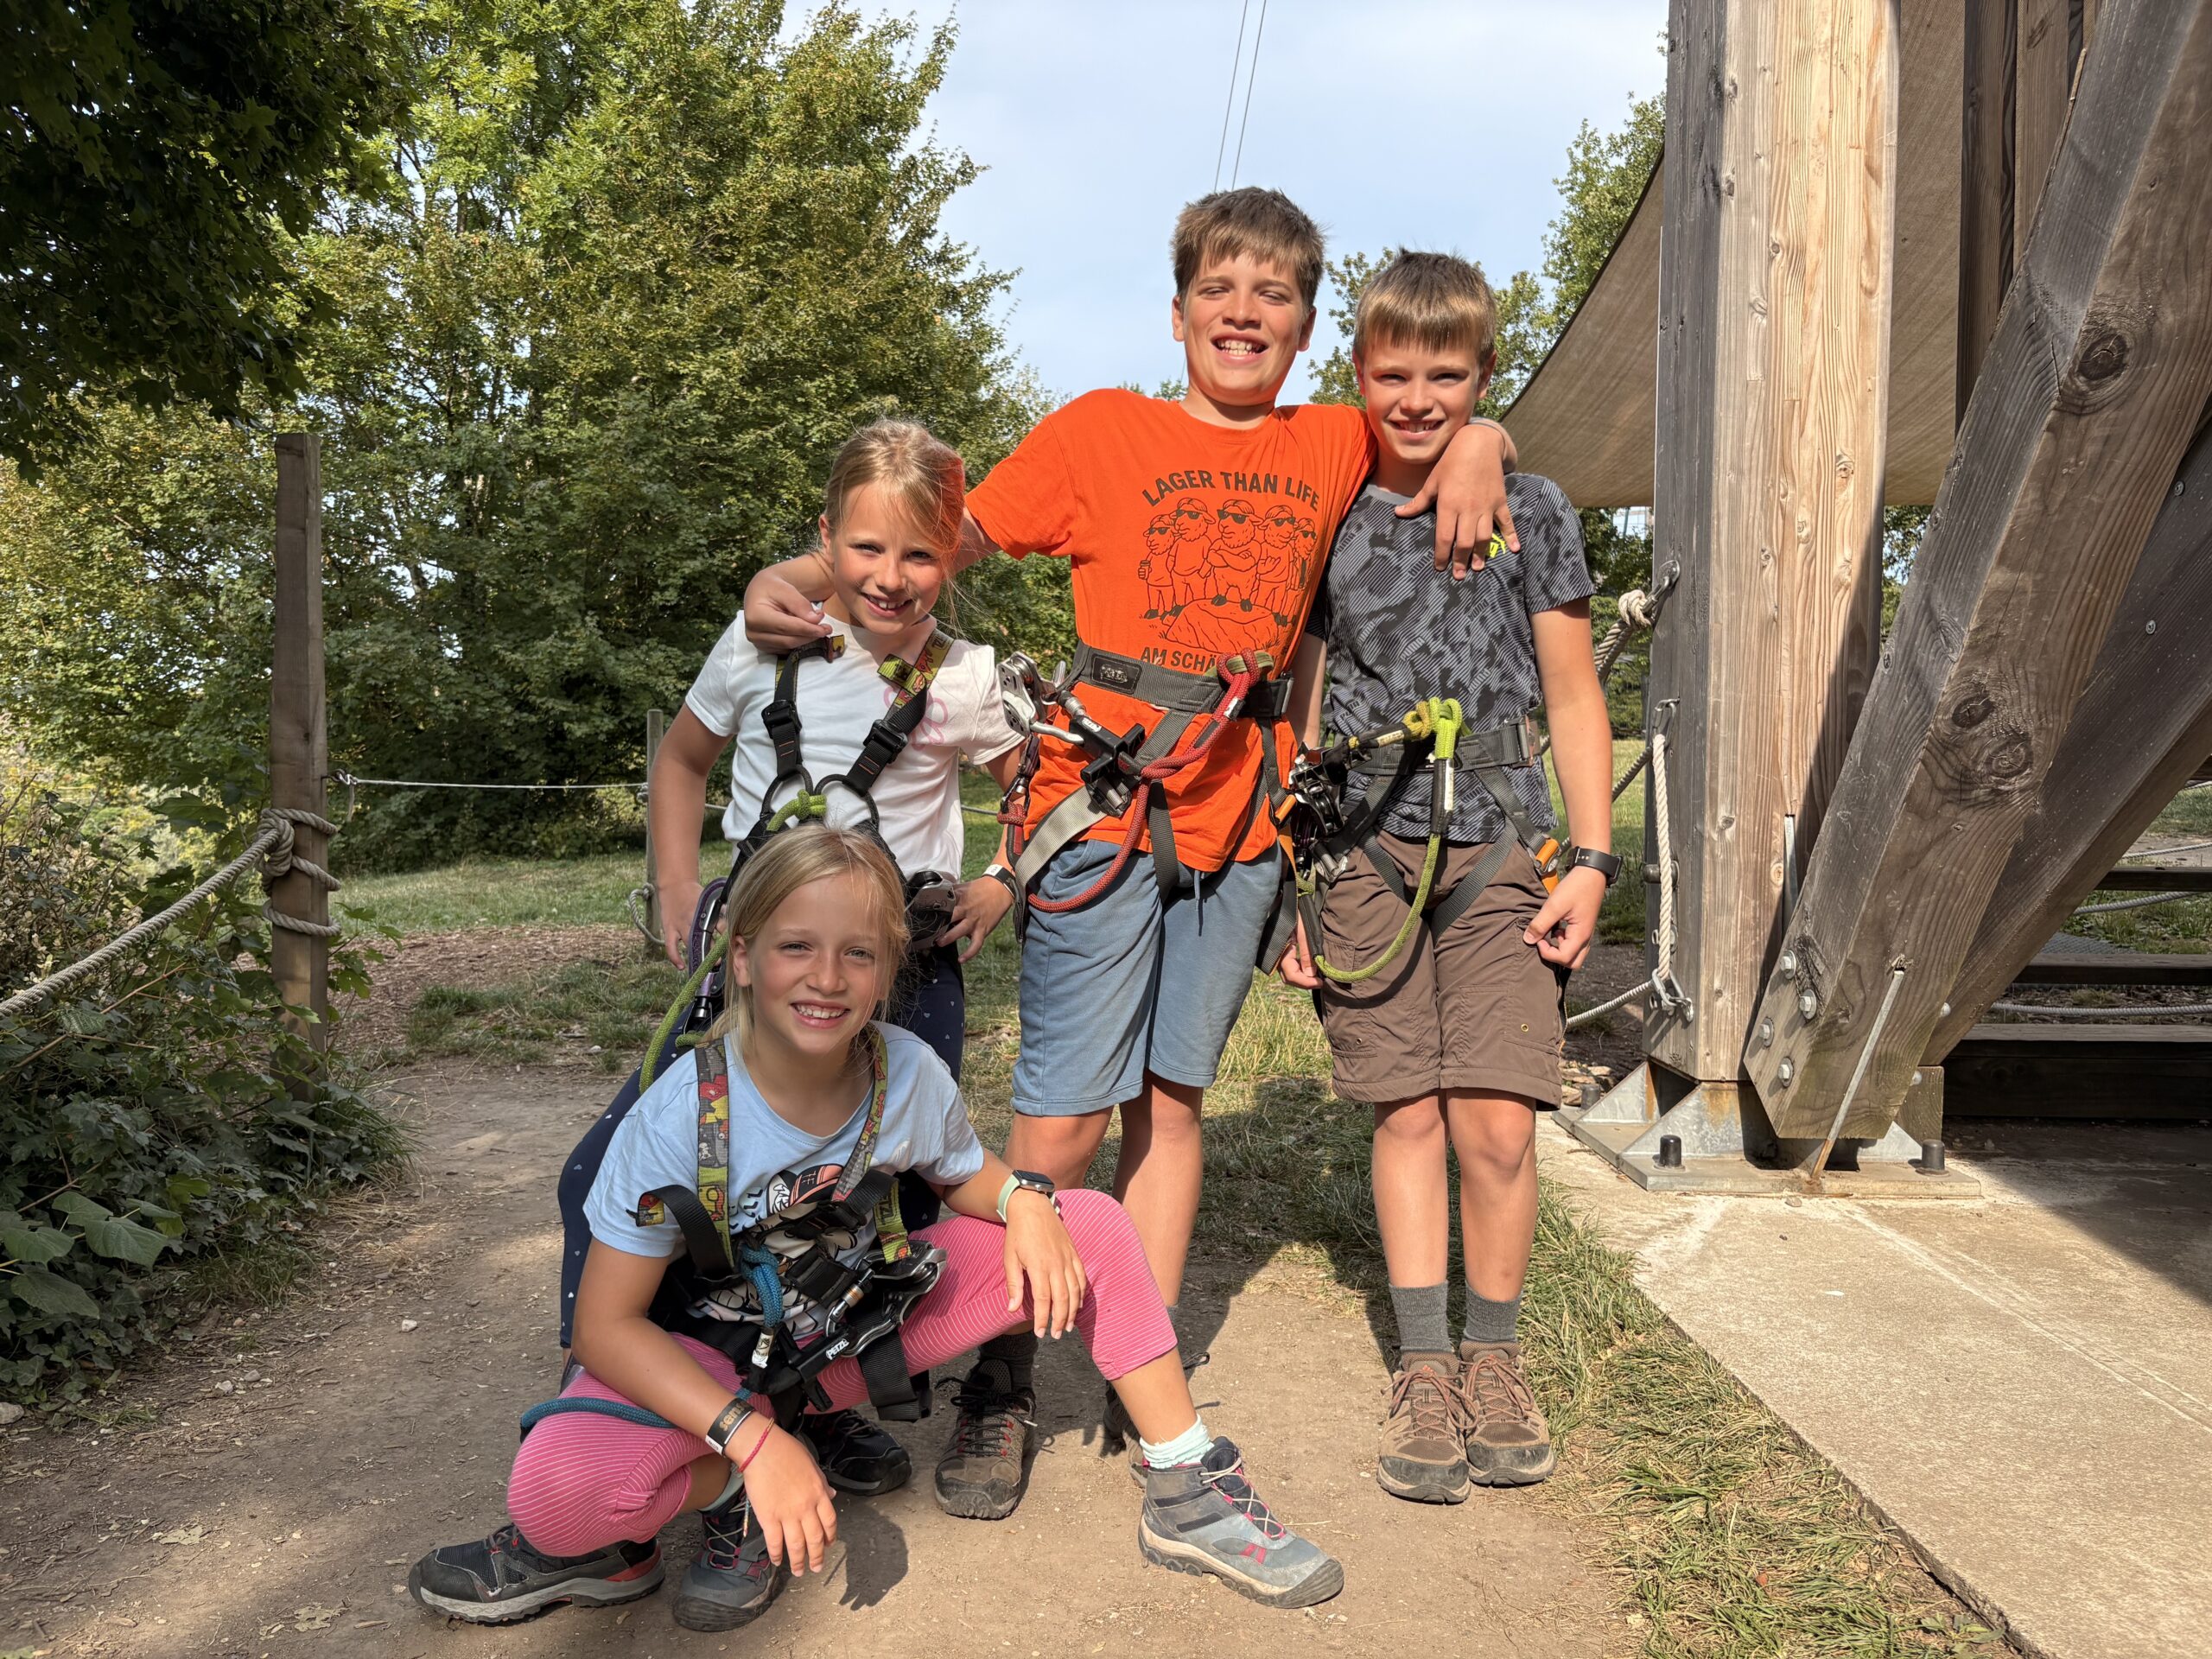
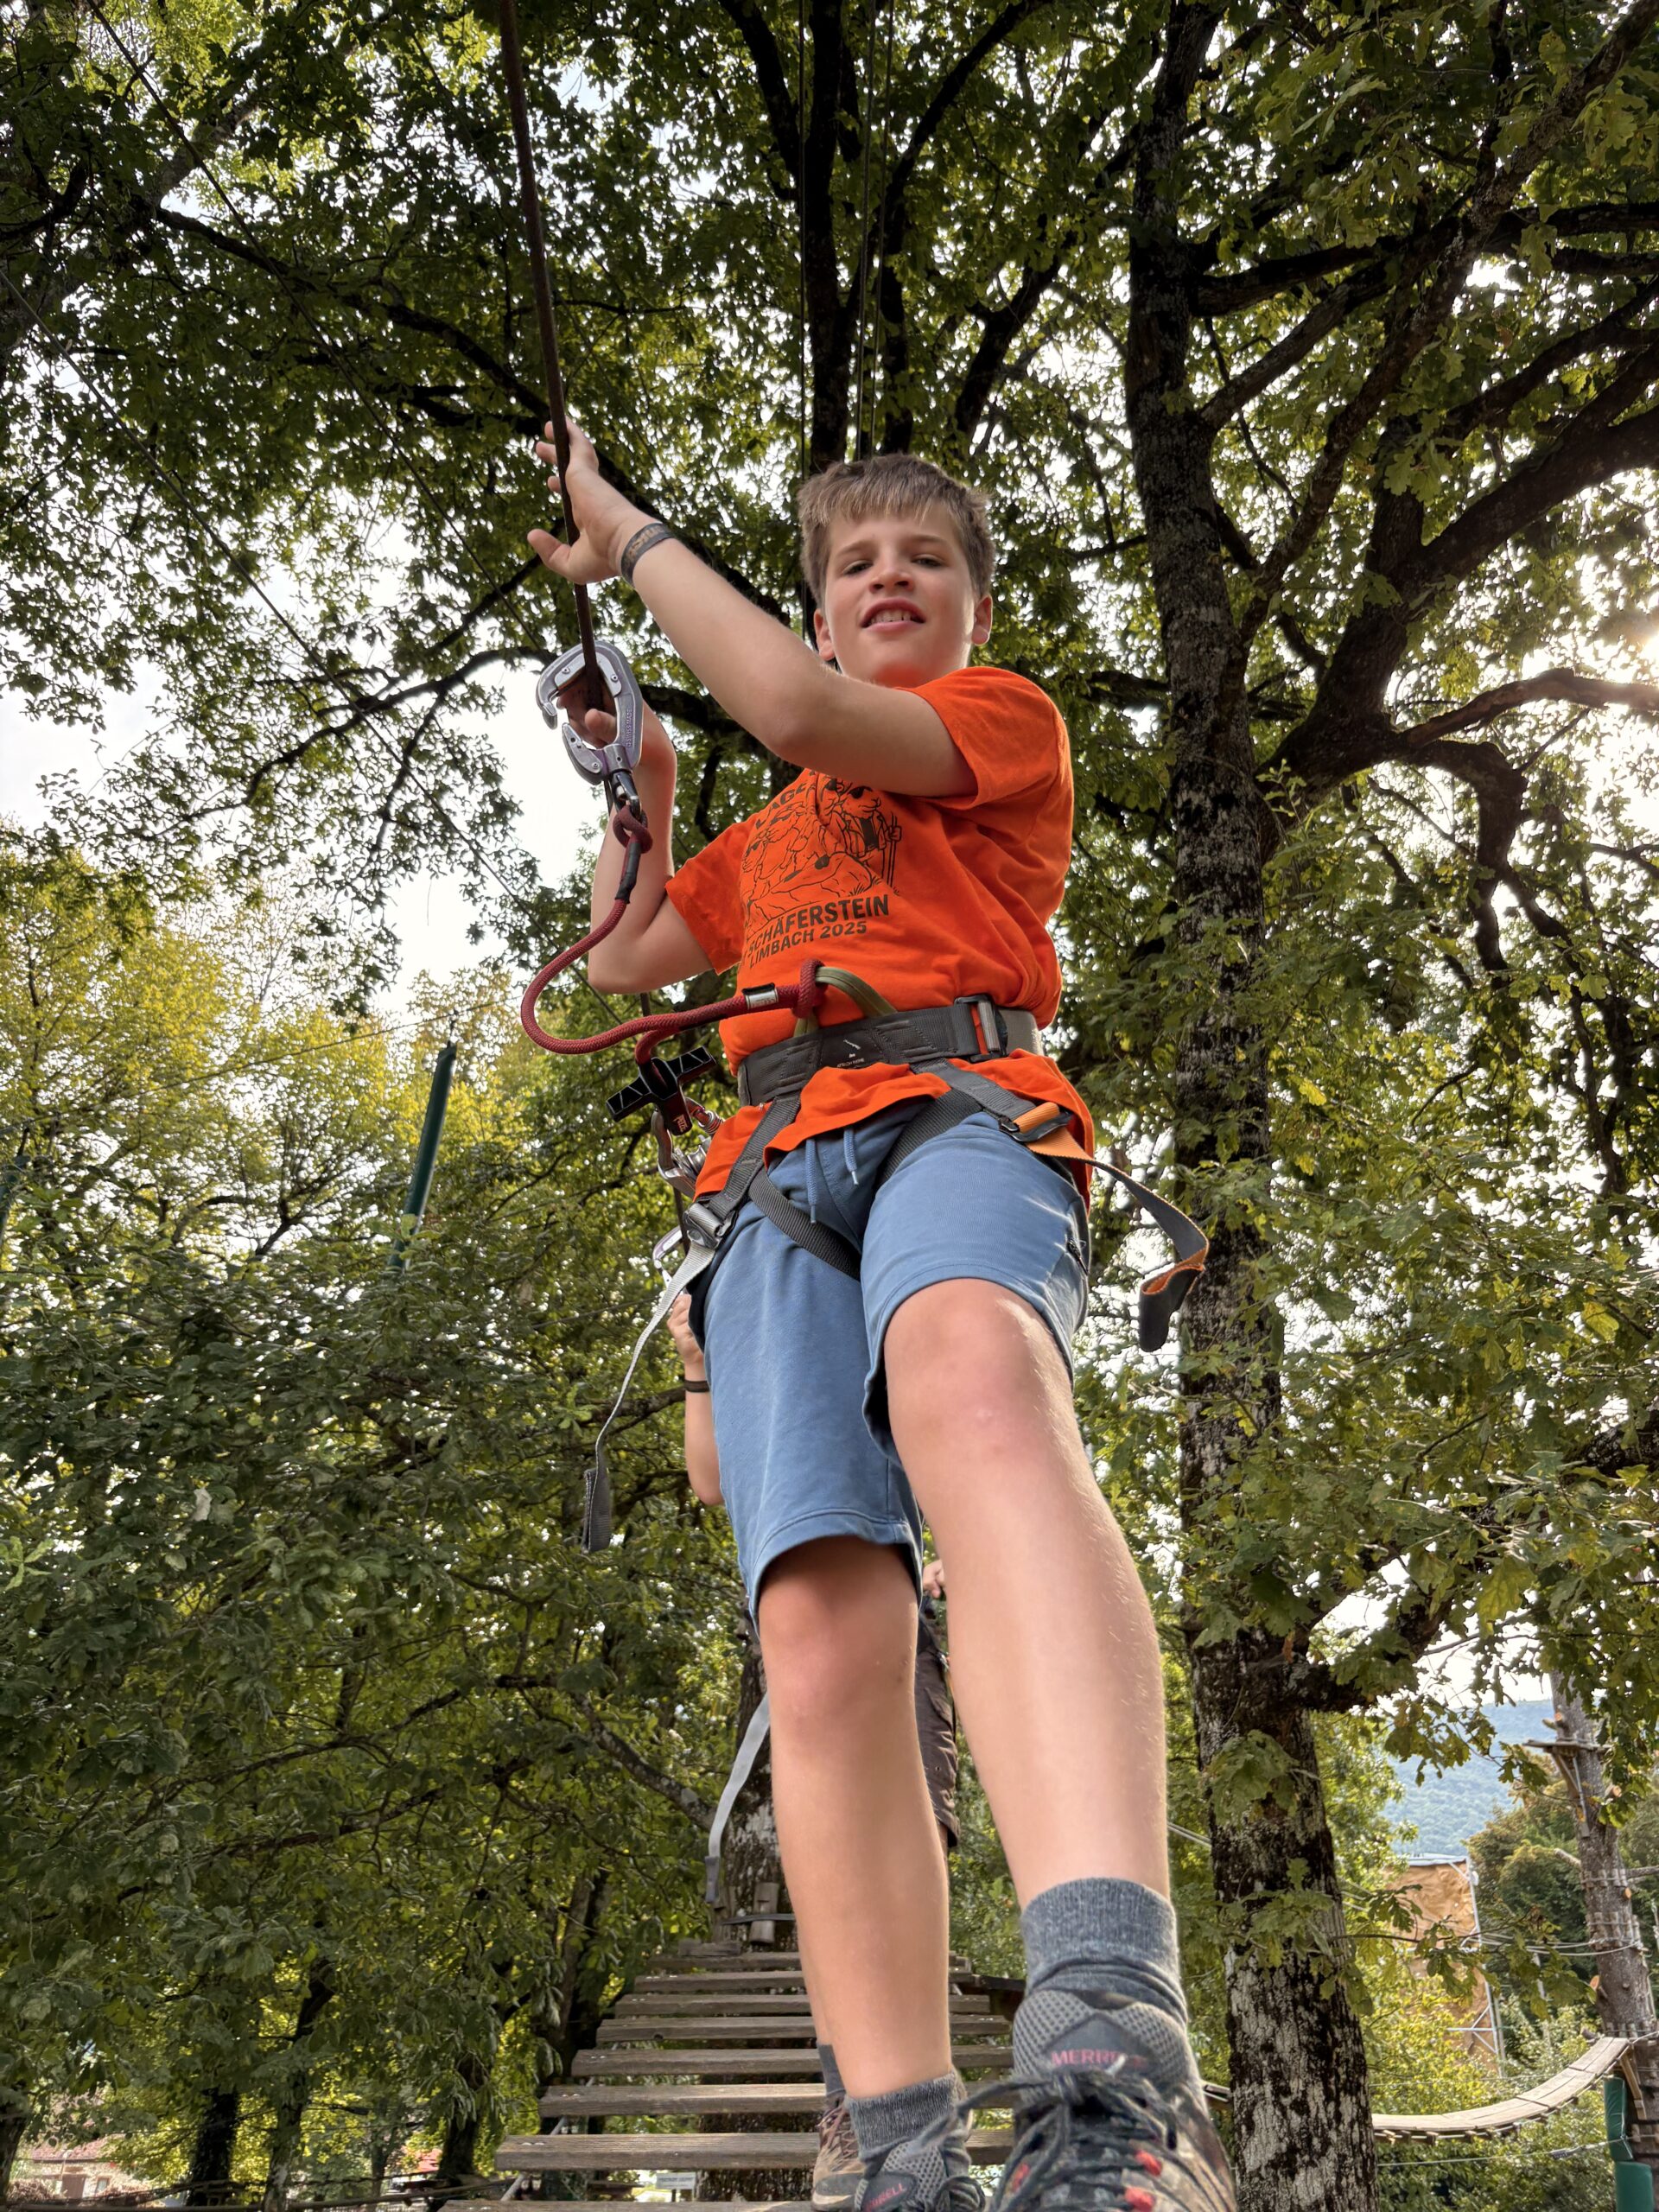
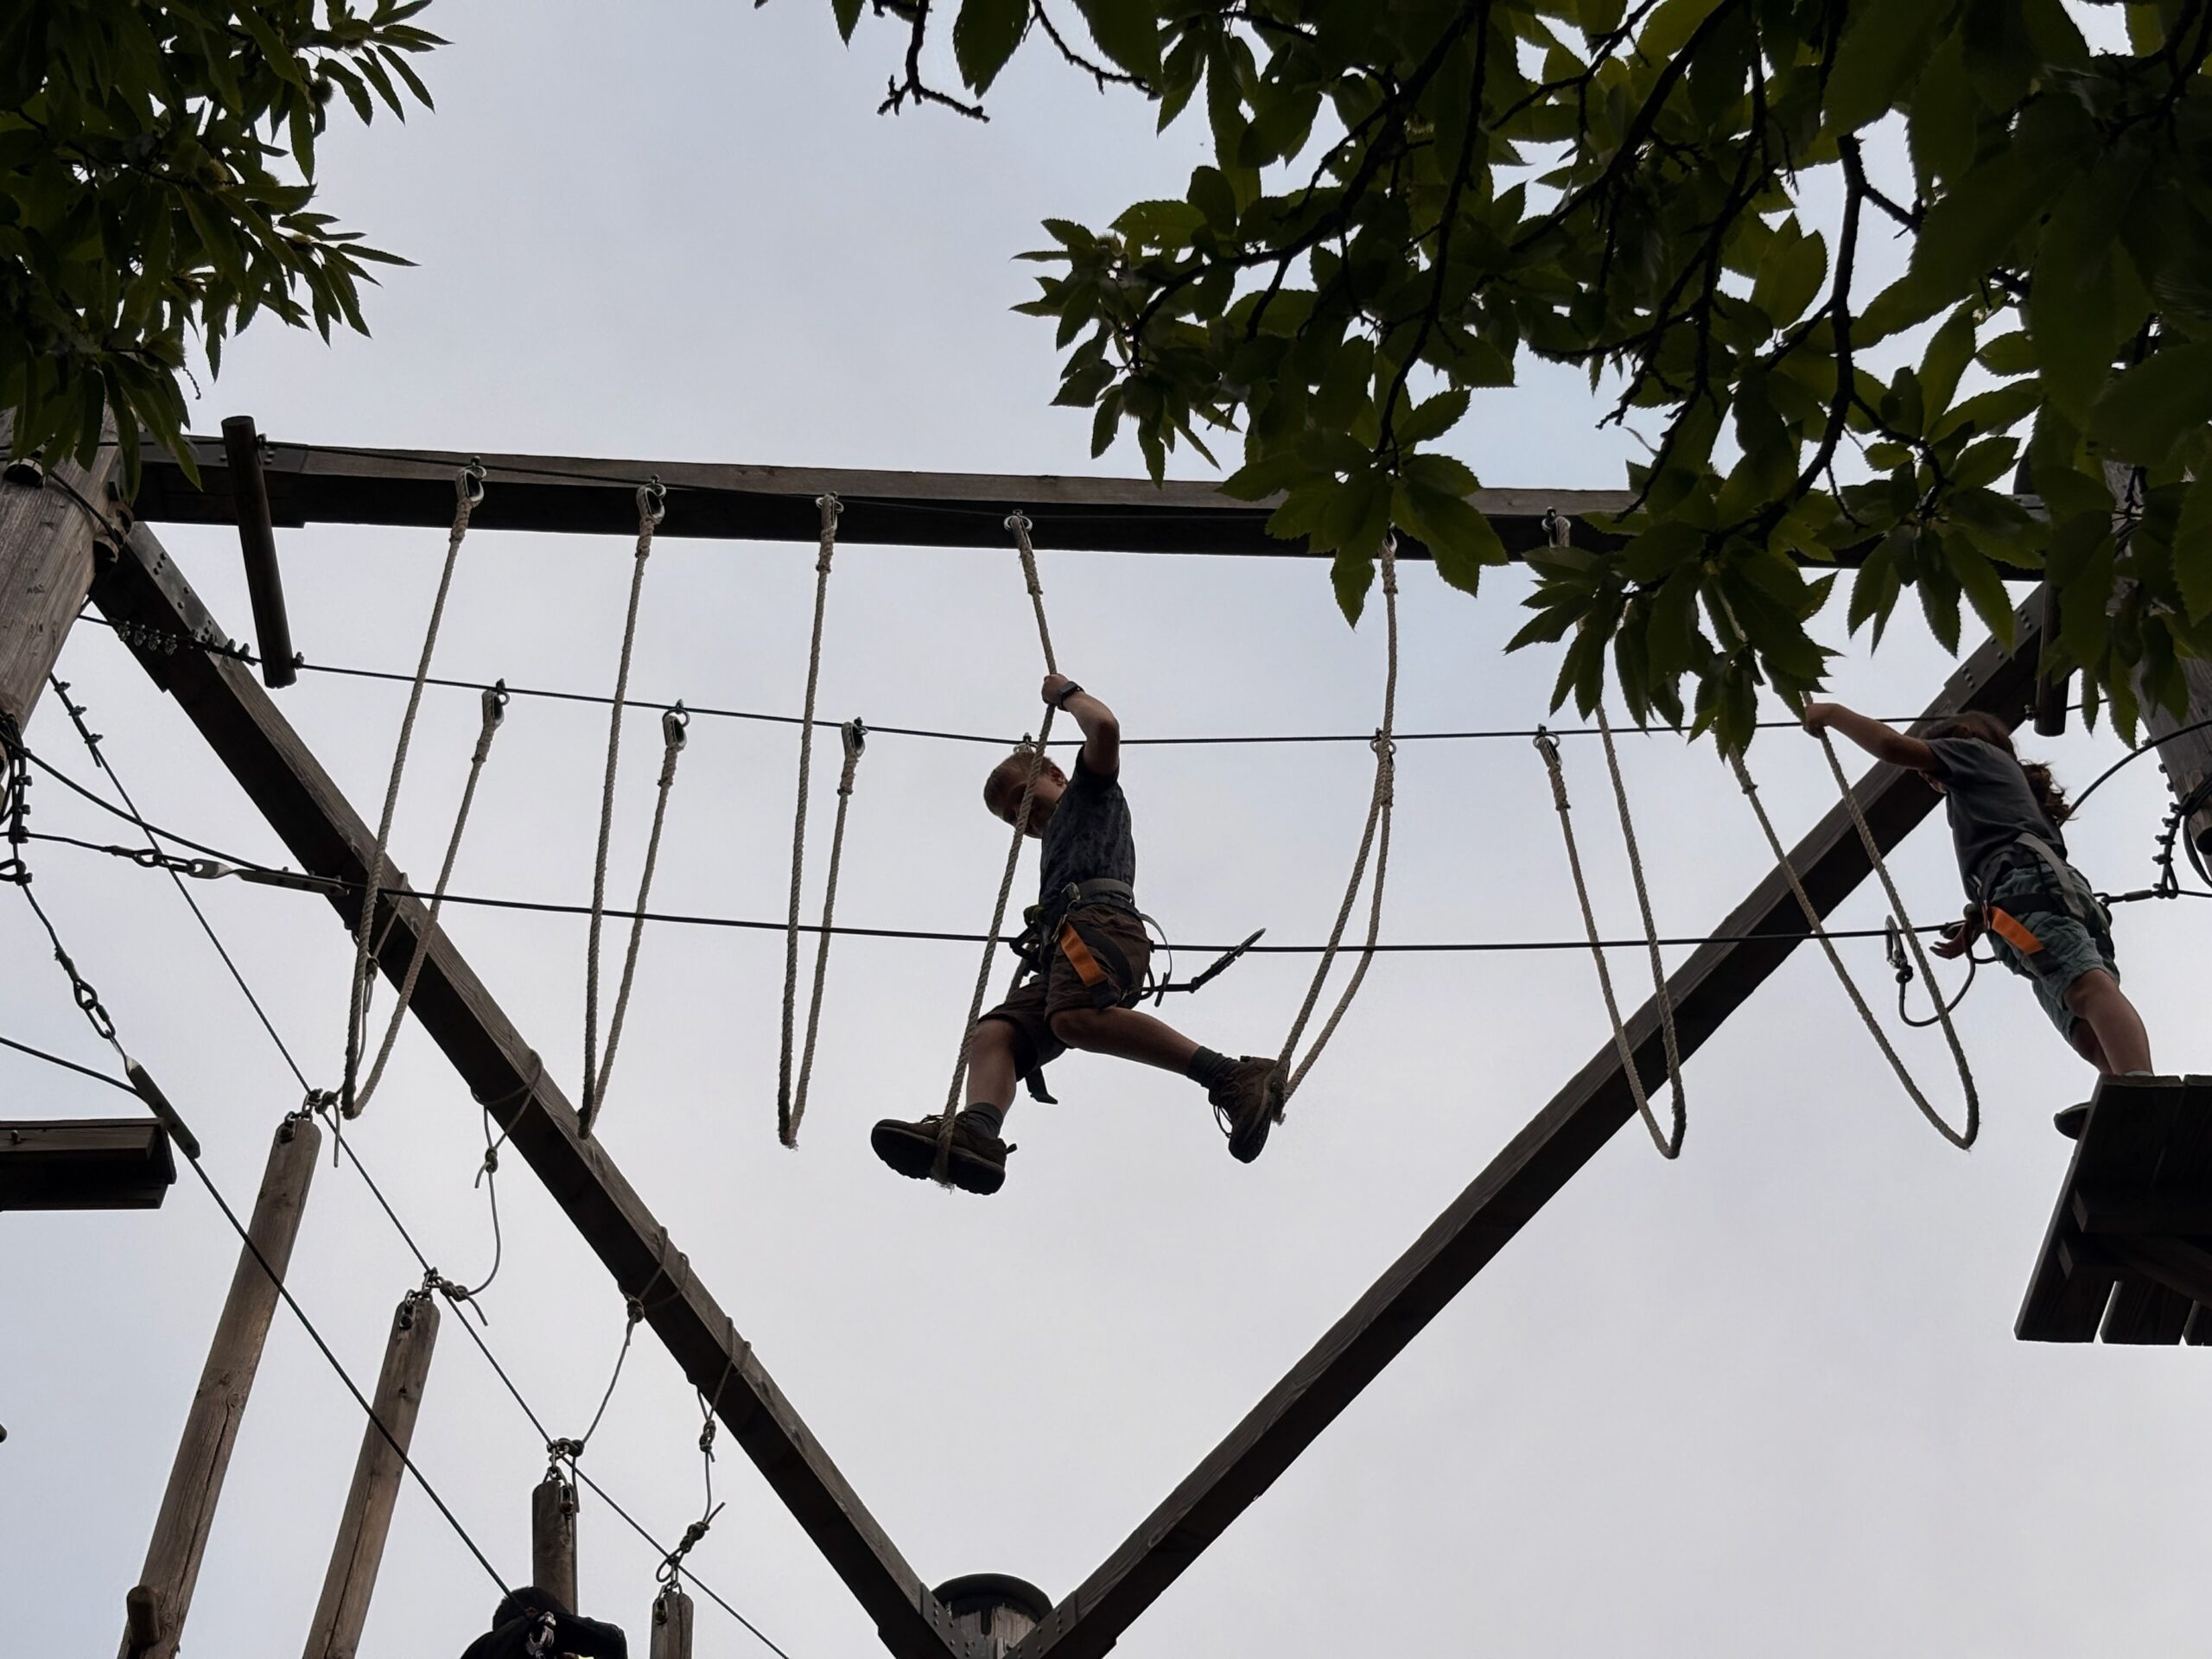
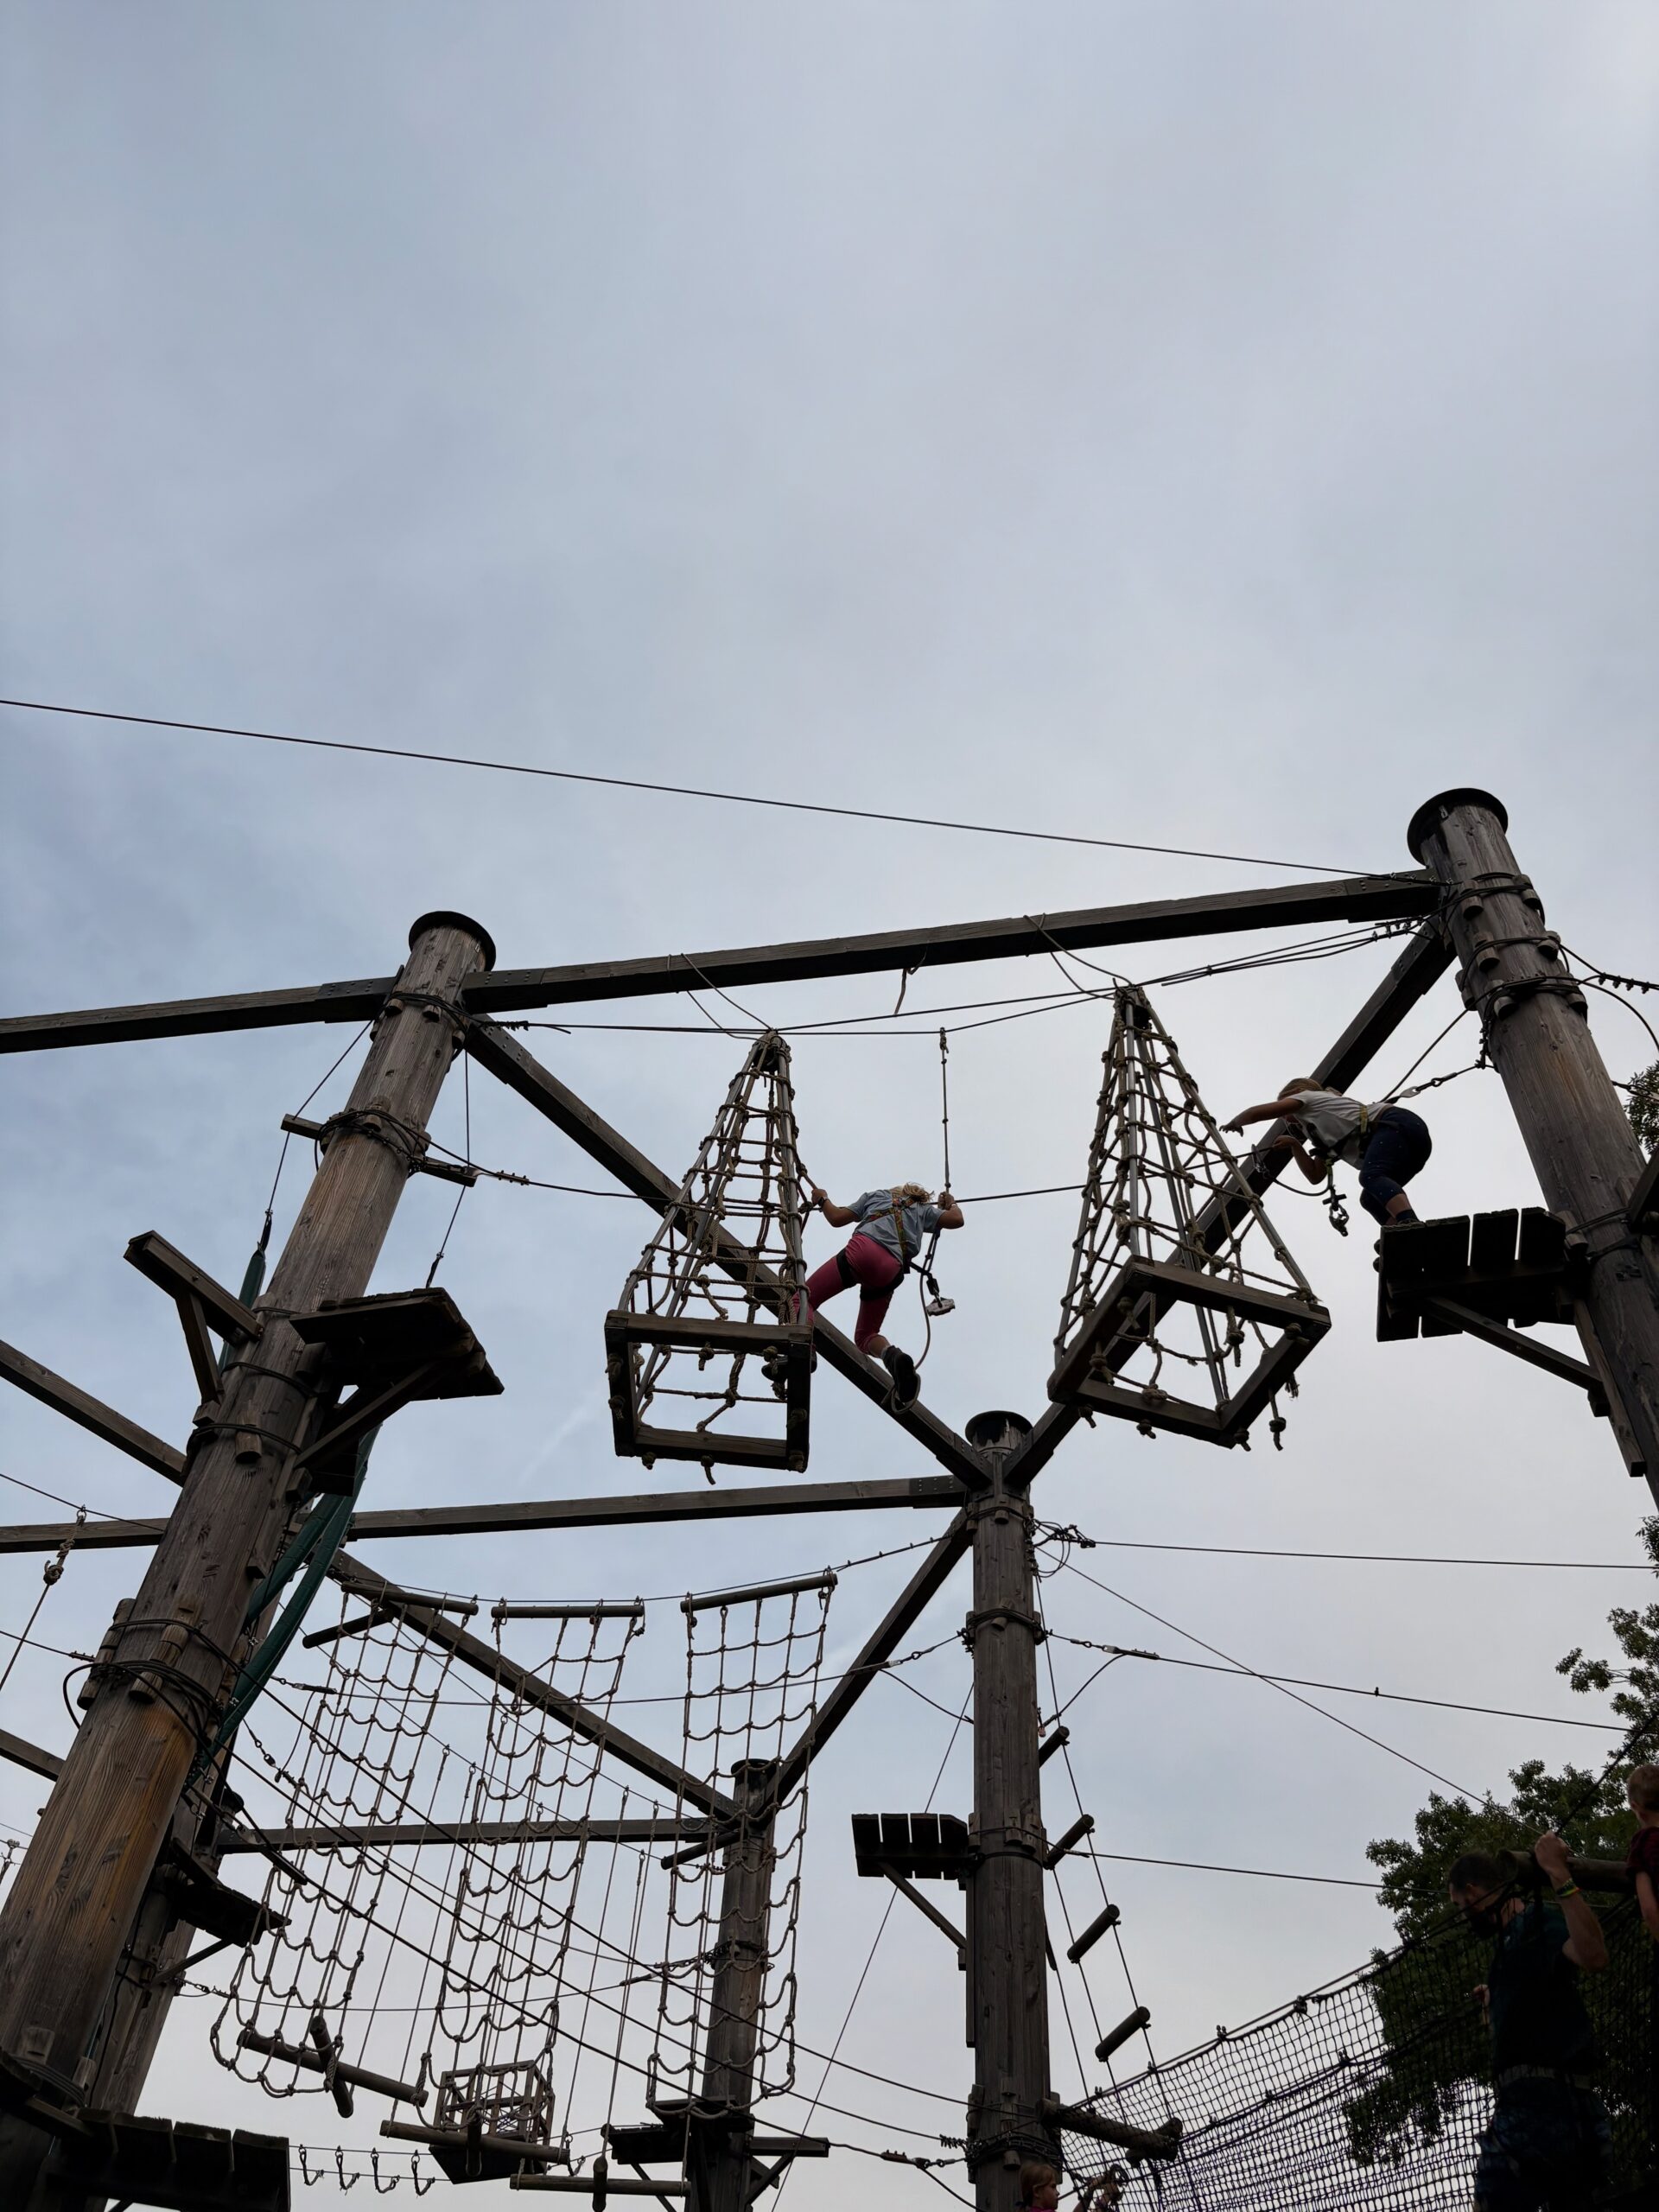
Wednesday was the treetop adventure morning. We lied. Just a little. Told the staff all our kids were over 10 so they could try every routes – including the red and black ones. They all did brilliantly, especially Flynn who tackled the black like a pro. Afterwards, we – guess what – went to the lake. But it was chilly and windy (20°C), and the enthusiasm quickly gave way to shivers. All ask to leave early, except one stubborn soul. (We’re not saying who but he quickly surrendered.)
Ready!Let’s start…Easy…Is it a black route really?That’s definitely a black one!
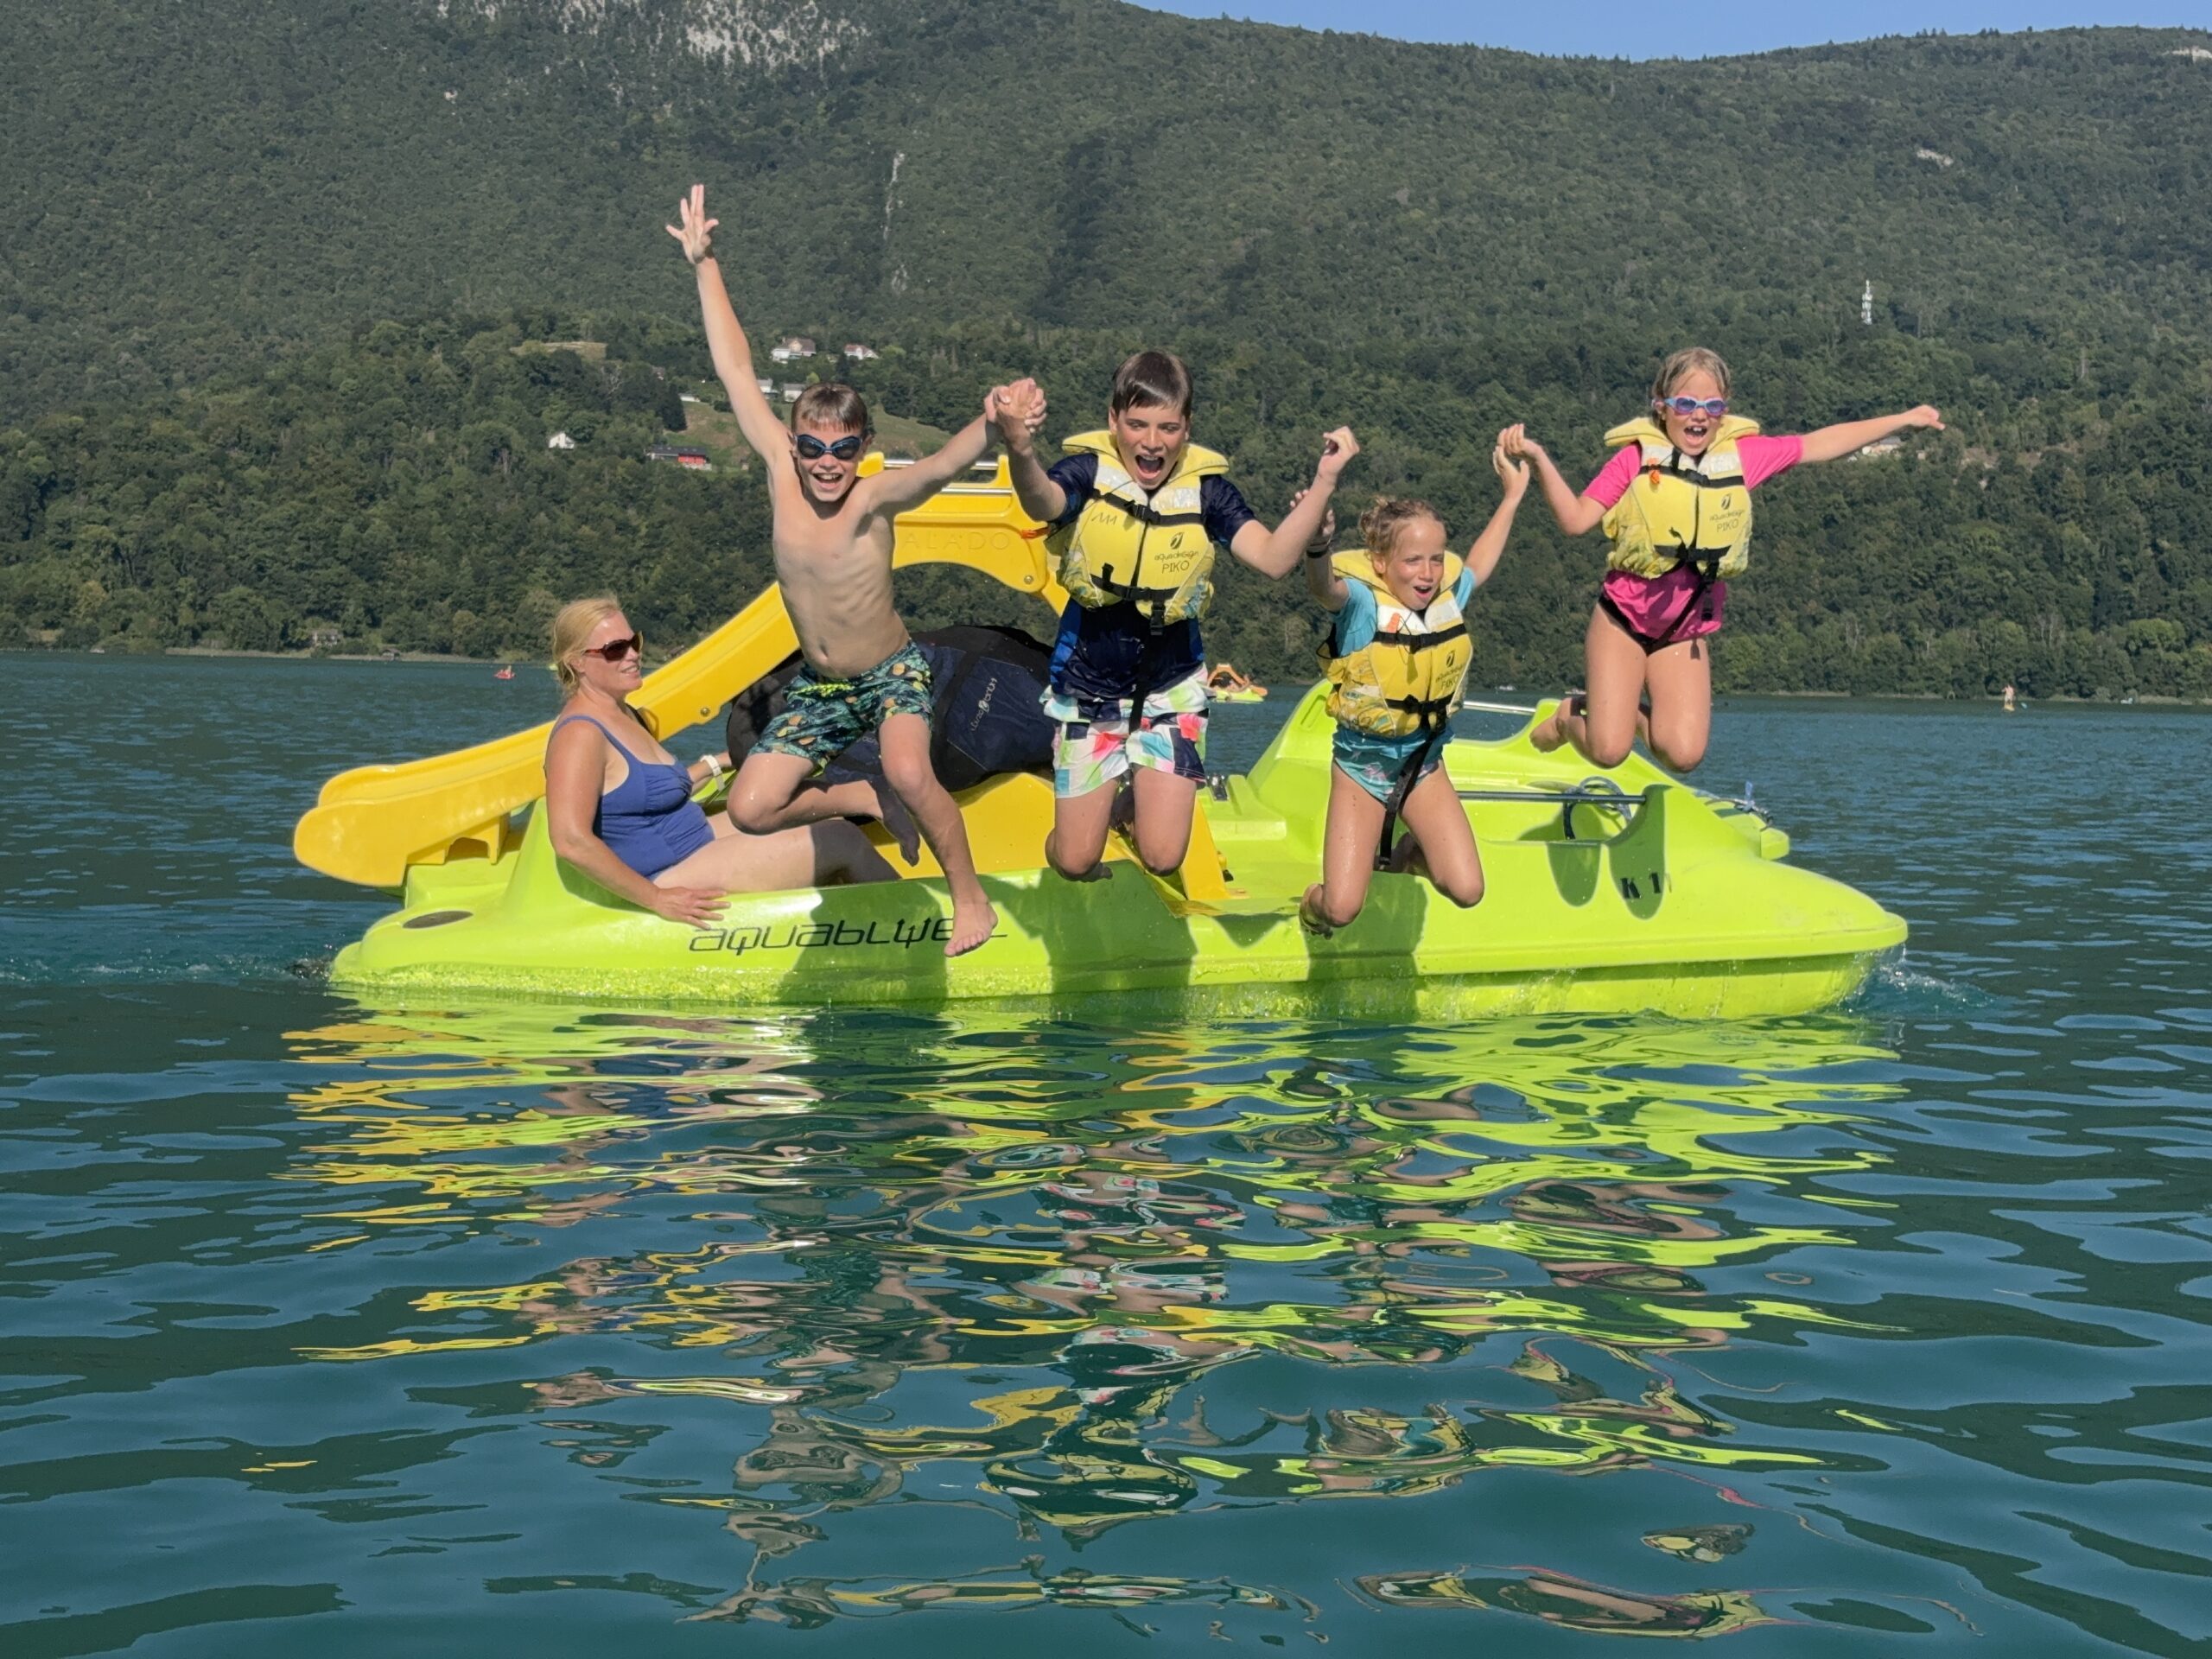
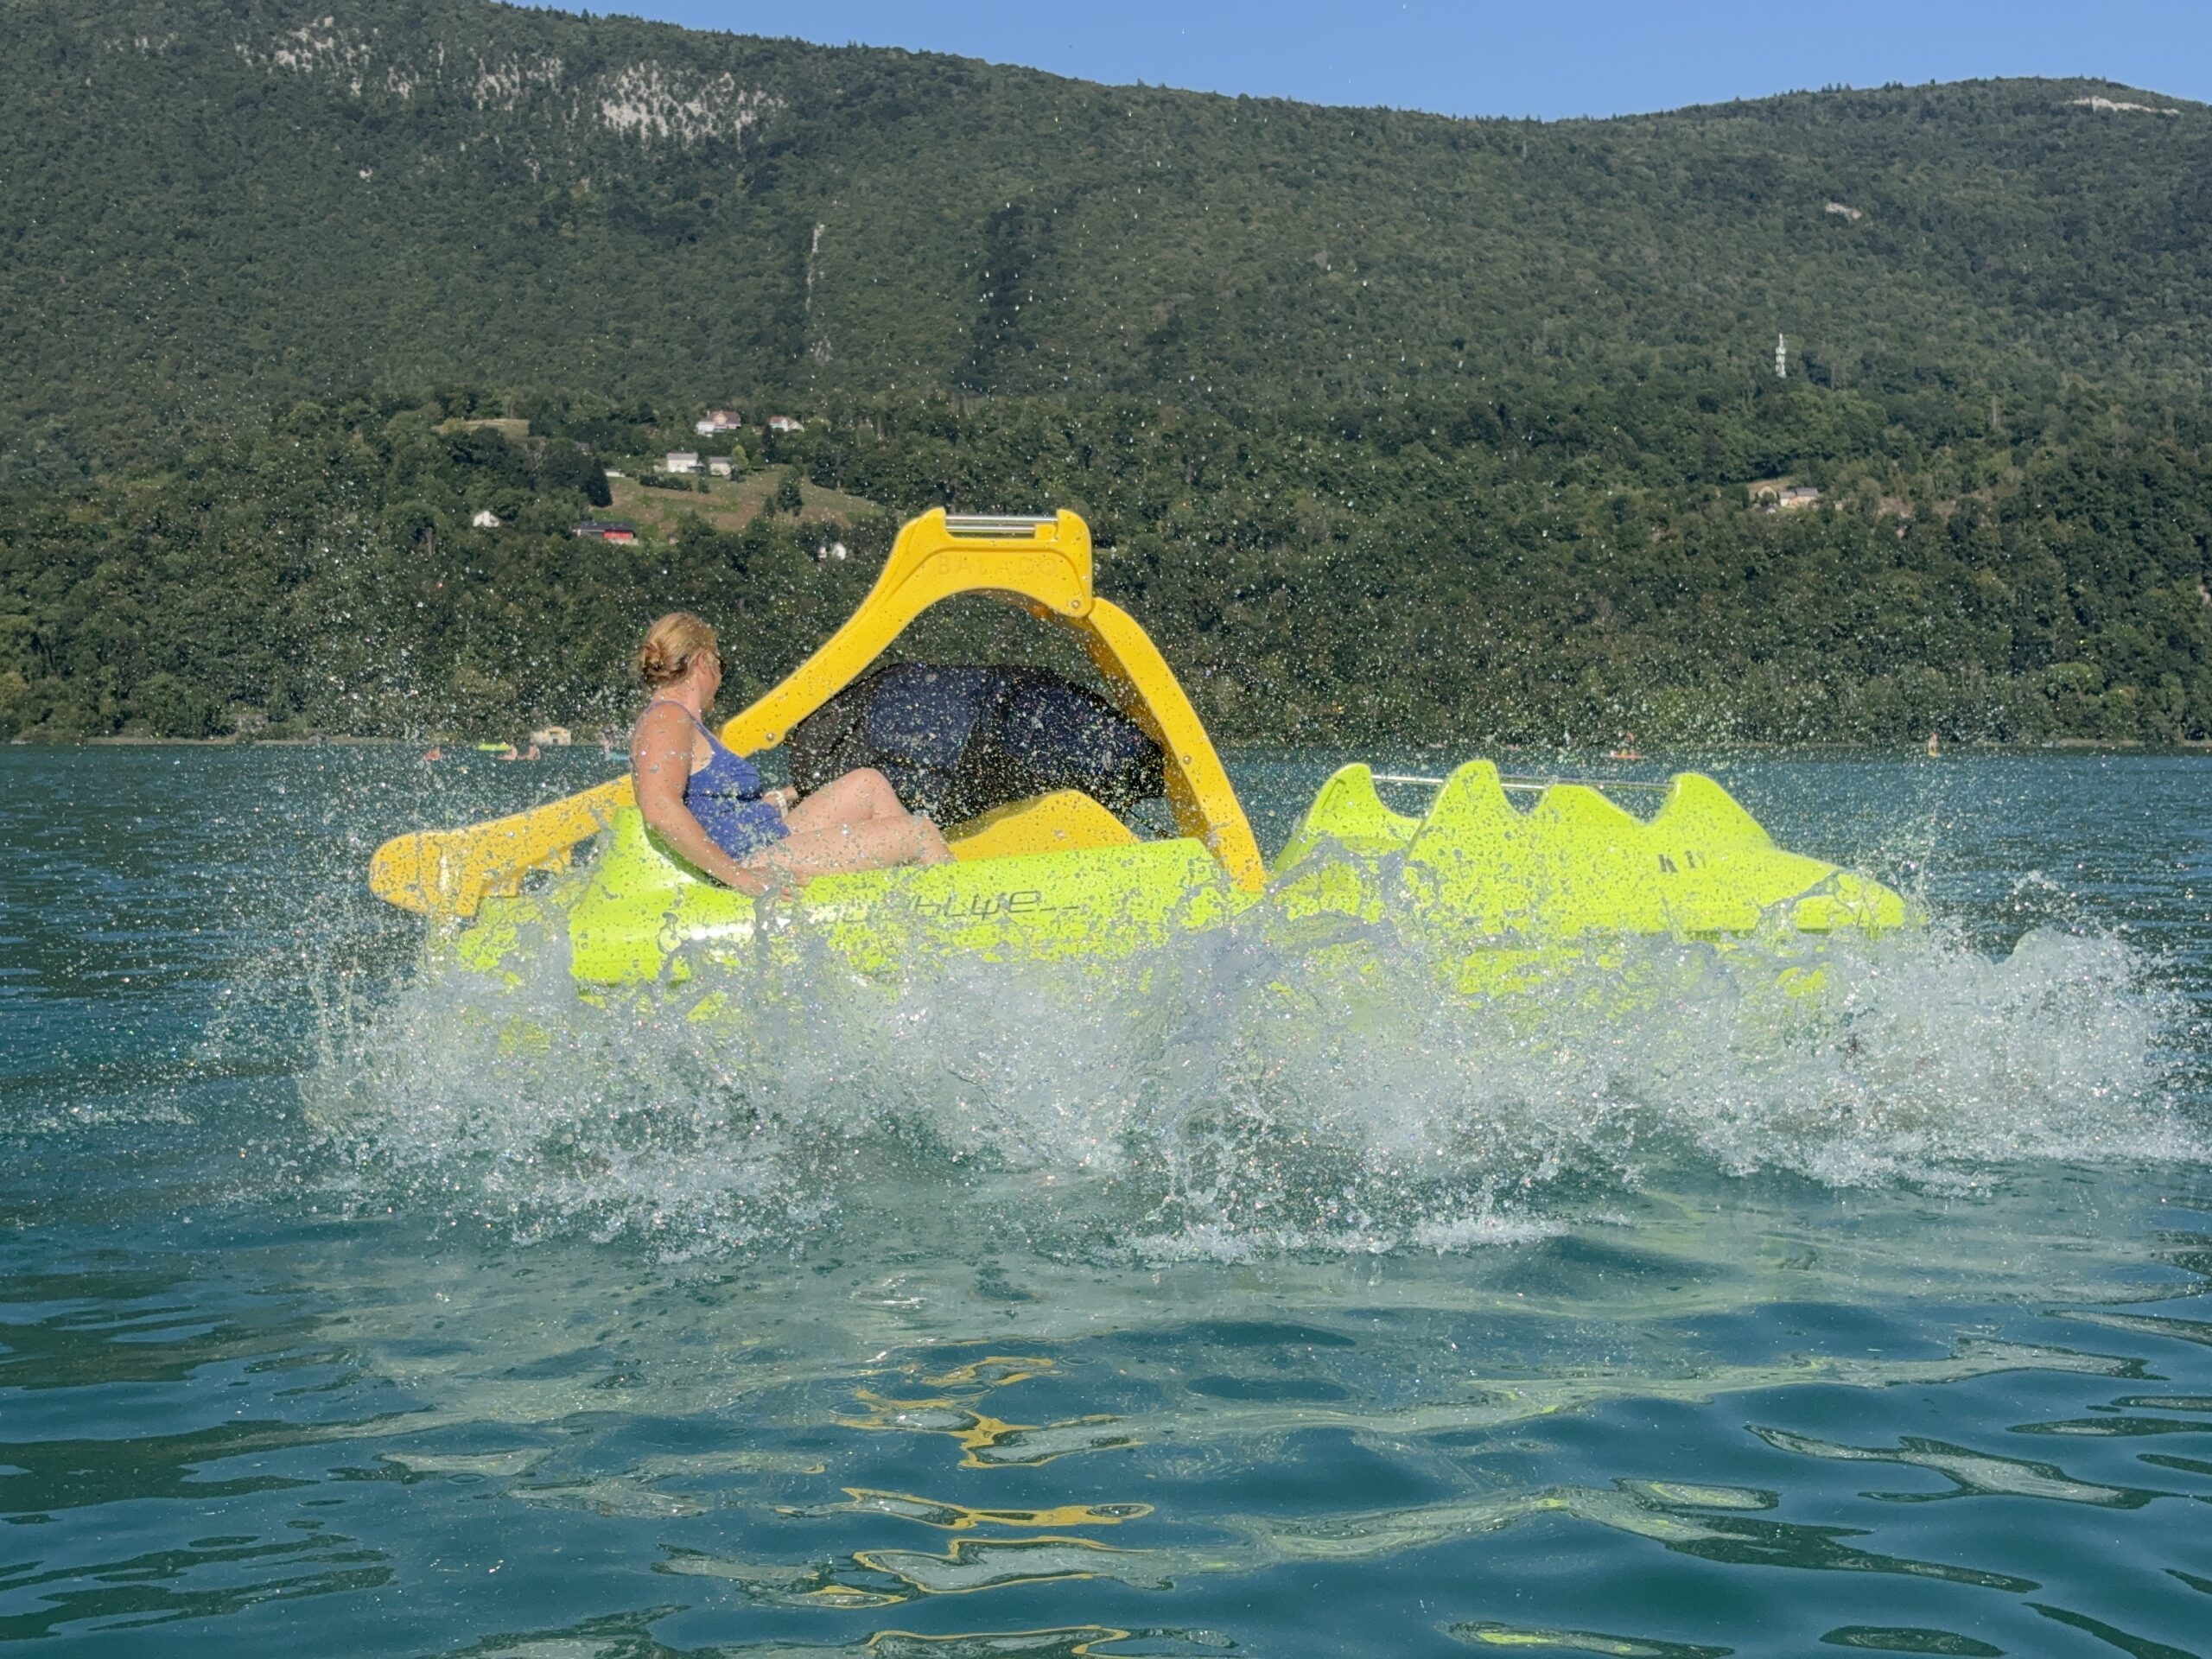
And then came the heatwave.
1 .. 2 .. 3 .. 4 ..Splash!
With 36°C forecast, JC finally understood why Vera and the kids complain above 24°C 🥵. His Mediterranean blood has apparently expired this year. On Friday, he entered full Italian mode: siesta between 12 and 16h, shade, cold drinks, and zero movement. While the rest stayed active. What he didn’t realise was that the next day would be payback time: packing the car in 36°C 🥵🥵, without a single patch of shade. He’d parked by an empty bicycle rack, which he promptly used as a climbing frame to reach the roof box. Then came the “holiday luggage Tetris” championship. By the end, his t-shirt and shorts were completely soaked — the kind of wet you normally associate with jumping into the lake, not loading a car. This year, he really can’t stand the heat… and at last, he truly understands the rest of the family when their summer moaning begins.
Next we will visit my parents the next two days and go home. We all miss our cat. 🐈
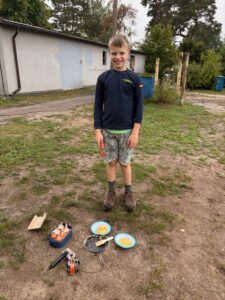
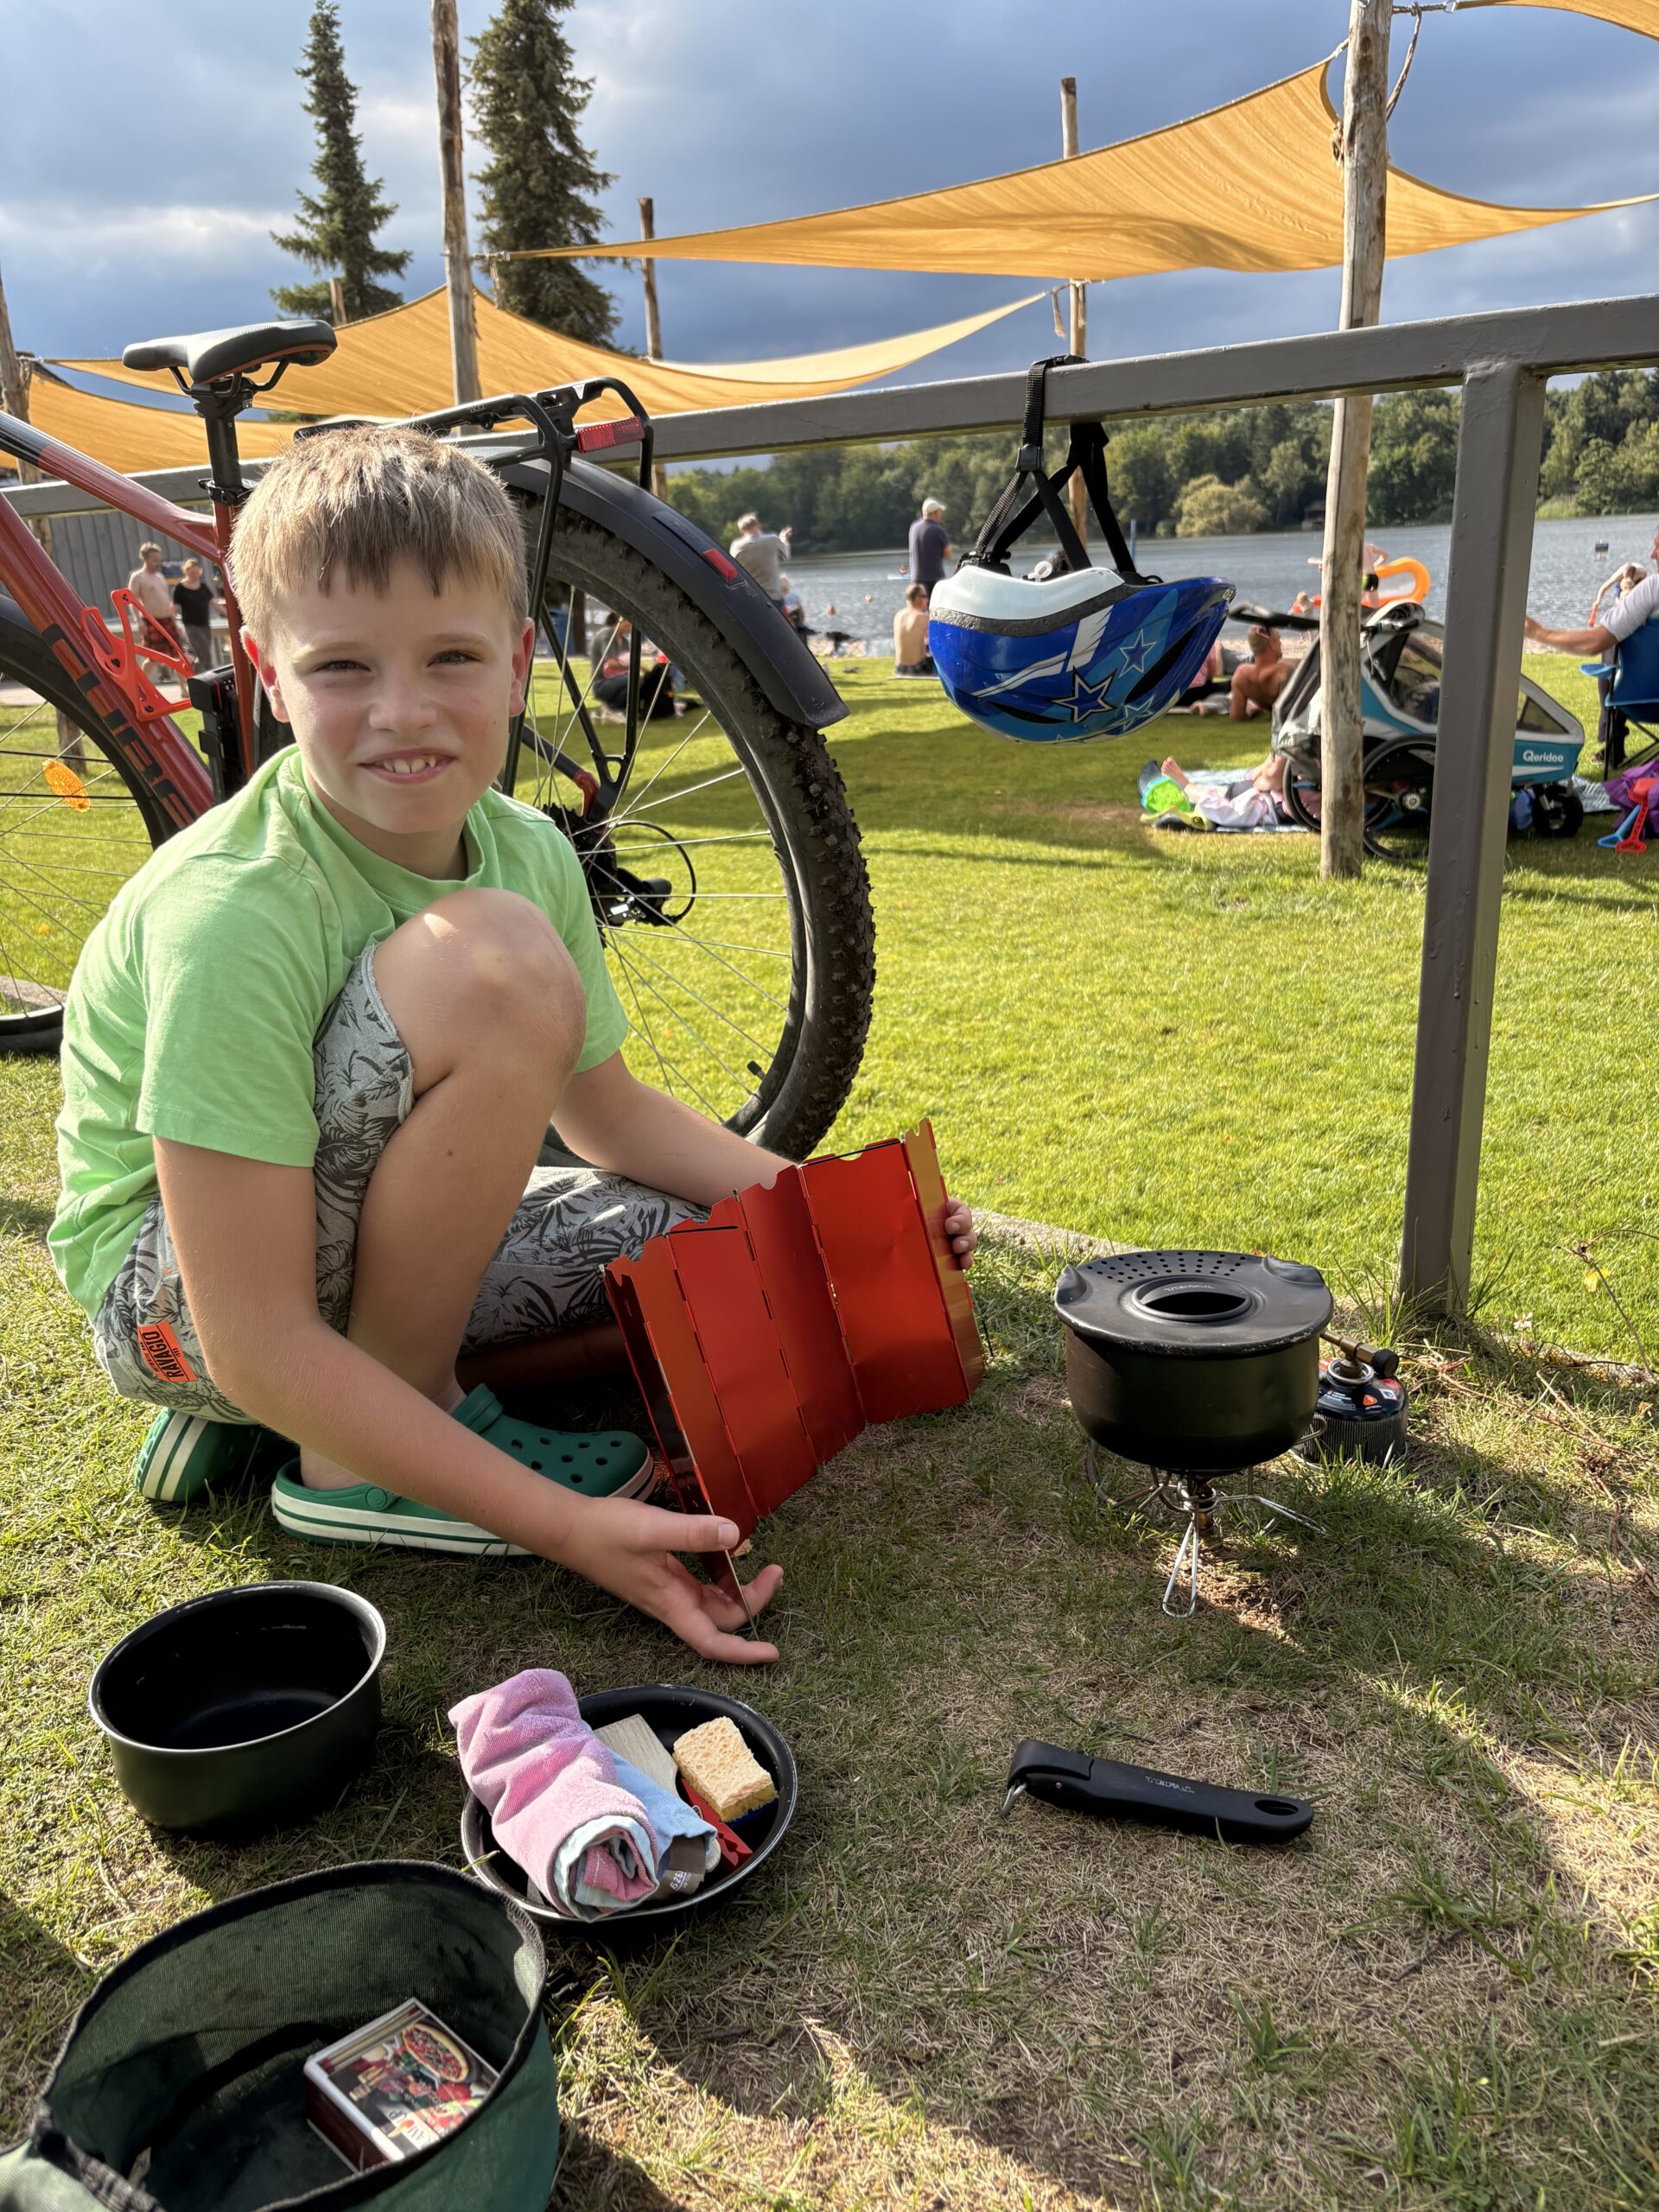
We woke around 7:00 and started the day with a modest breakfast: a cereal bar and some scrambled eggs; Rührei, as the Germans call it. Flynn took the lead in our field kitchen, and I was assigned the role of apprentice. Fair division of labour.
The chef preparing our breakfast
Today, there were fewer photo stops. Jean-Christophe had promised Flynn no diversions for wildflowers photography or wild blackberries tasting. A hard promise to keep for him, but fair enough.
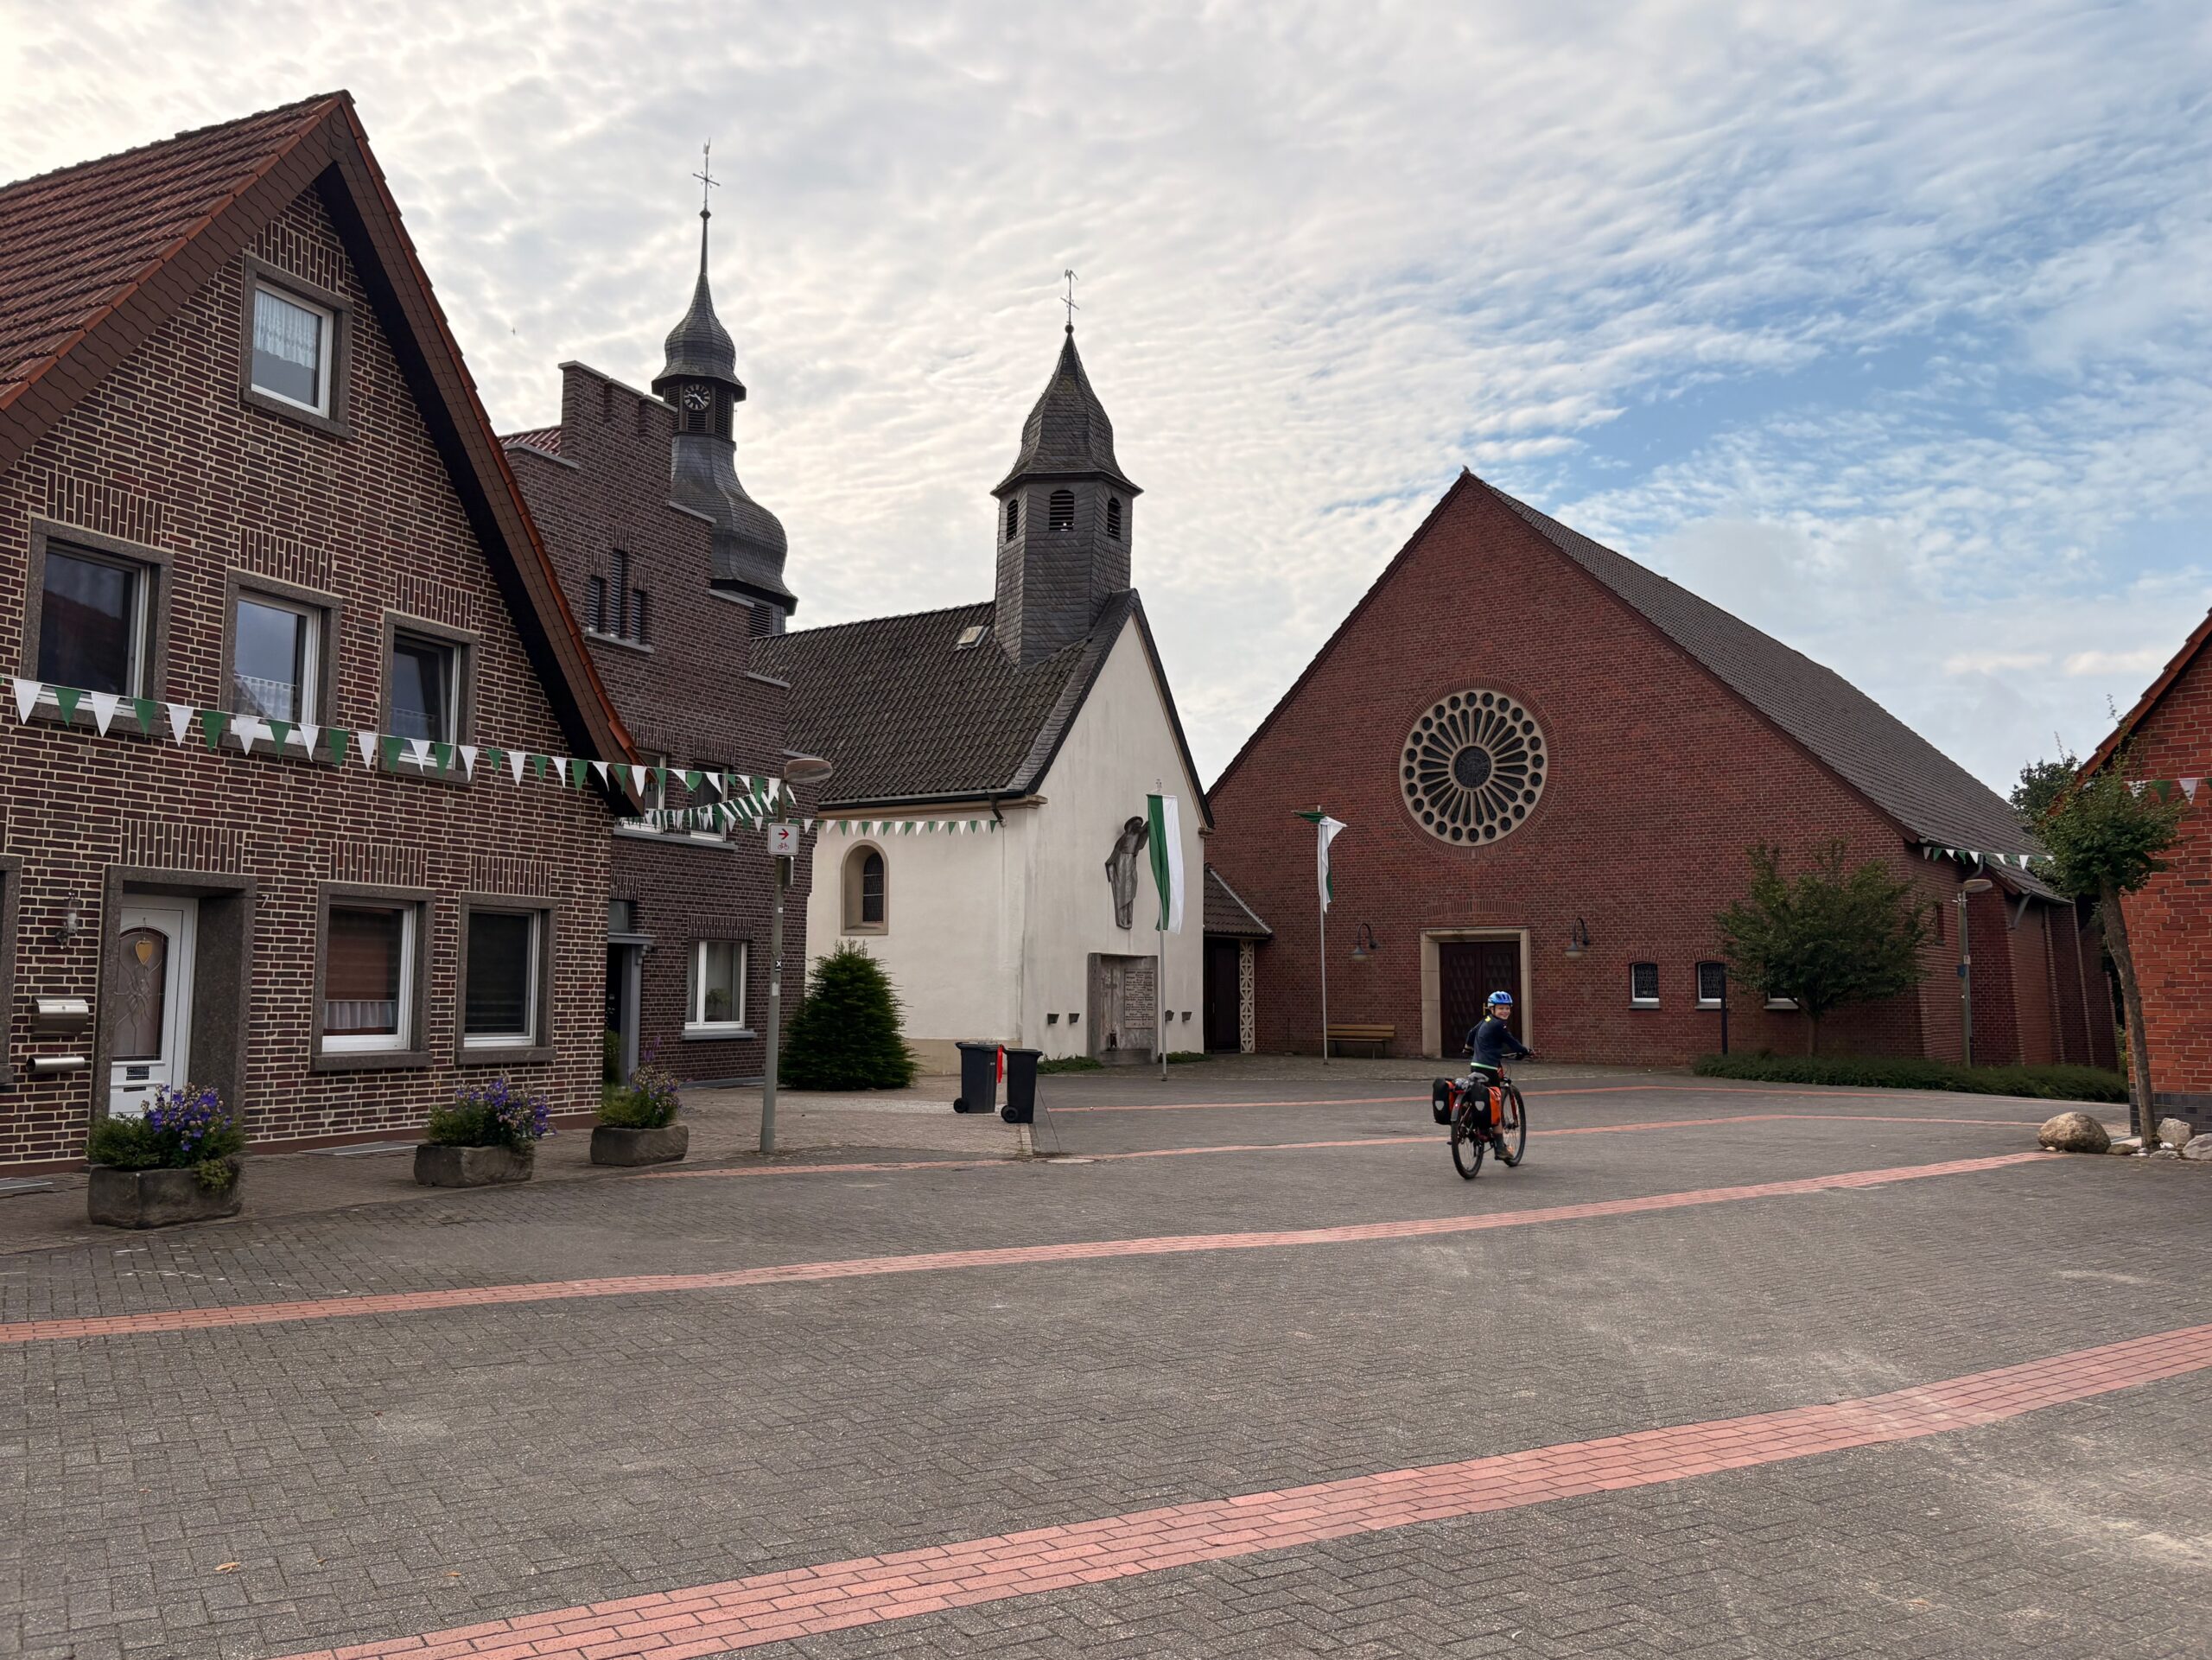
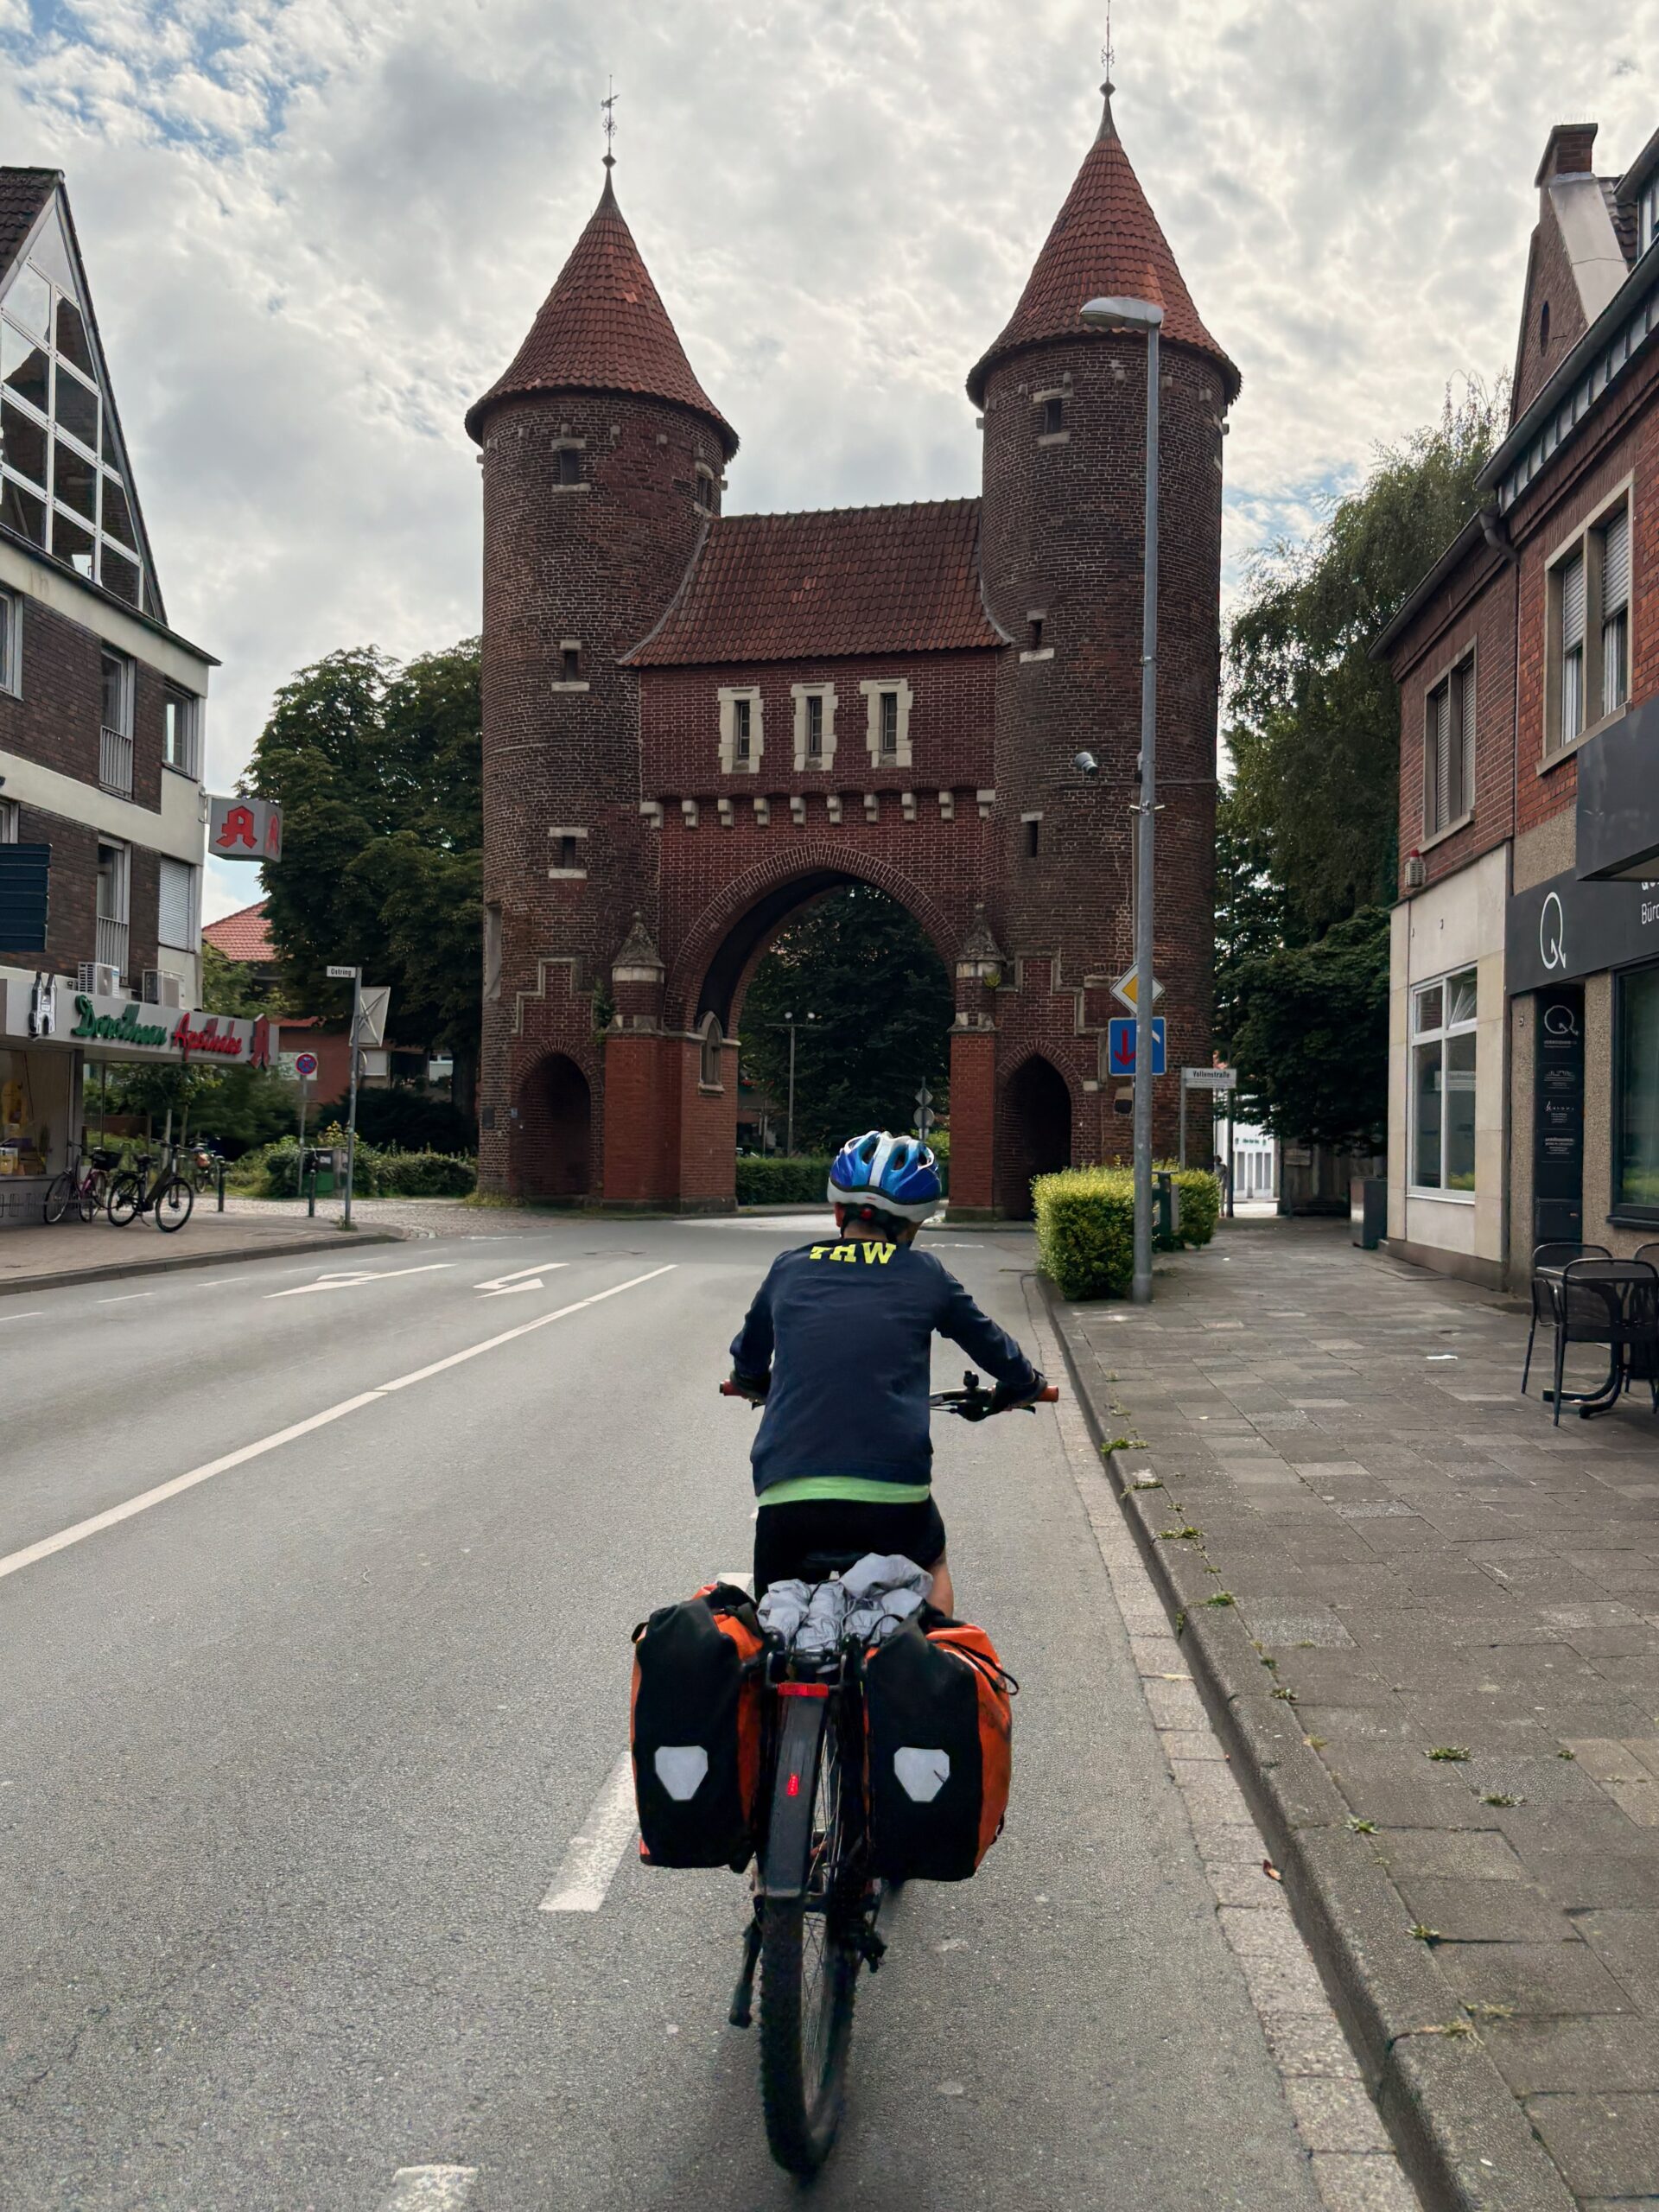
We rode through Dülmen, where we made time for a second breakfast – a German tradition which Jean-Christophe was happy to discover. Then we left the town behind, passt the old gates and headed towards Lüdinghausen, with Burg Vischering as our next culinary goal.
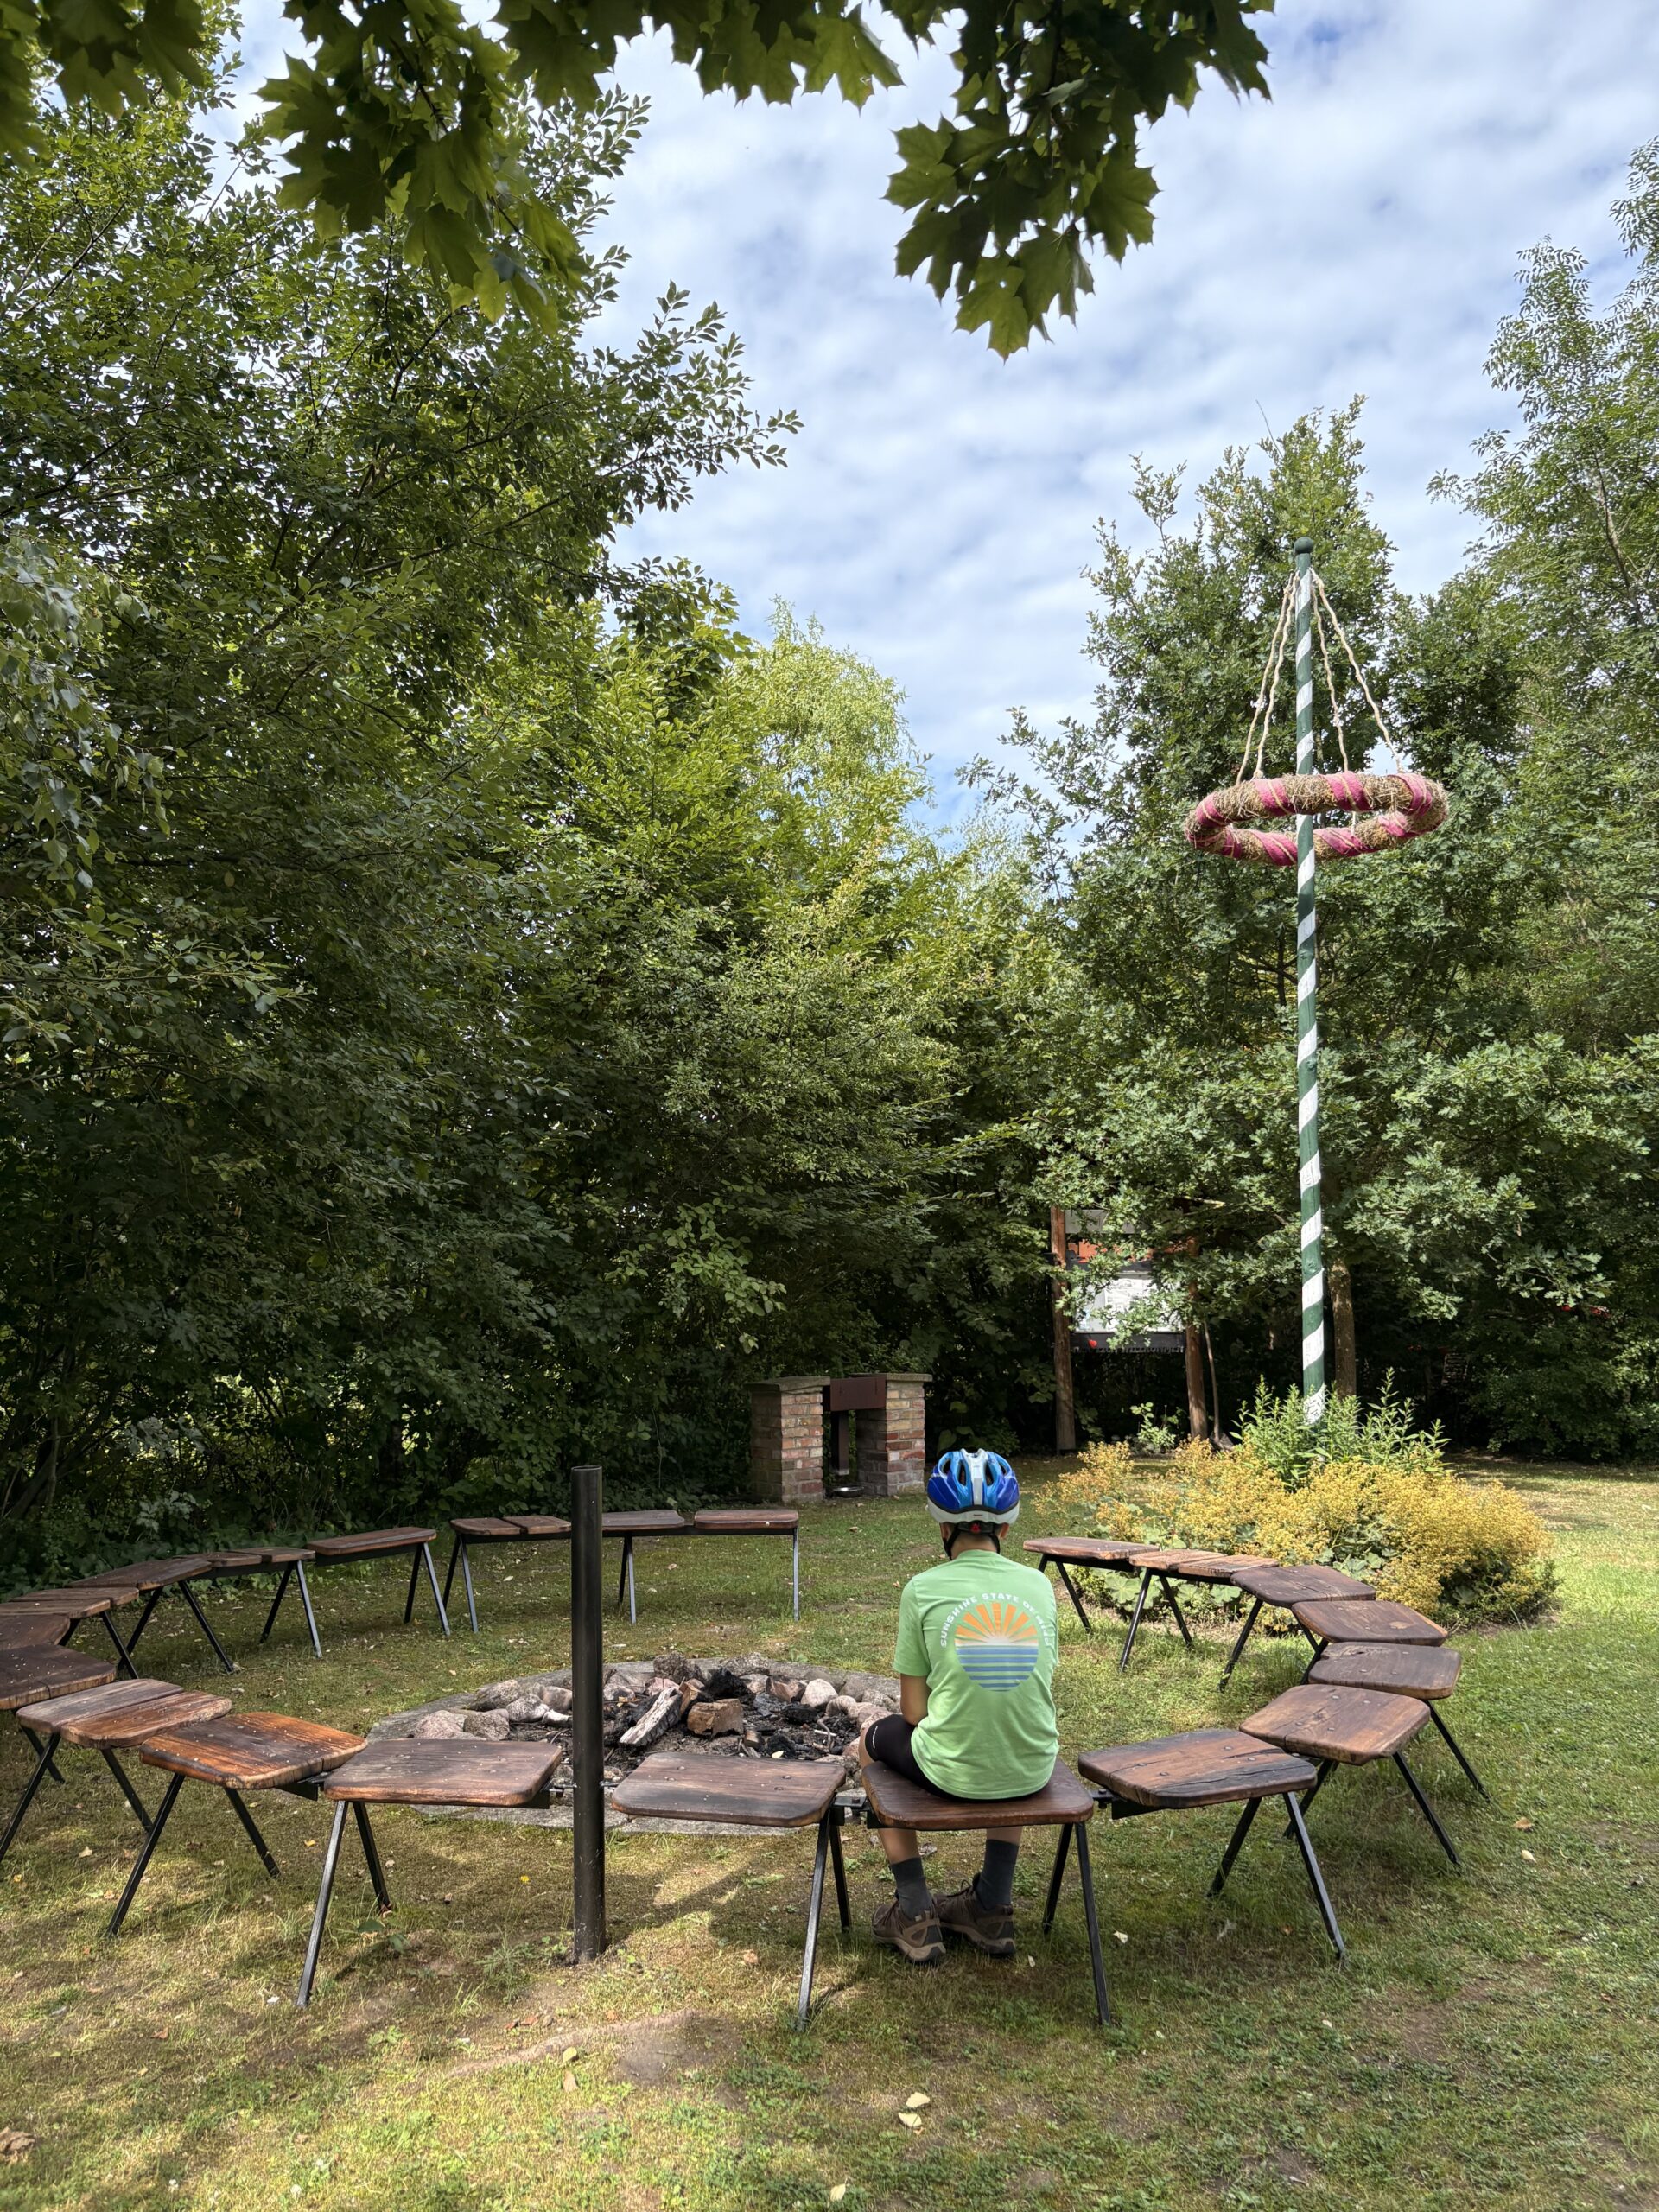
The scenery along the way was amazingly peaceful with humming fields, cooling forests, gliding storks, and a lone maypole near a cozy fire circle. Part of the route took us along a stretch I had cycled a month earlier on the way to Münster.
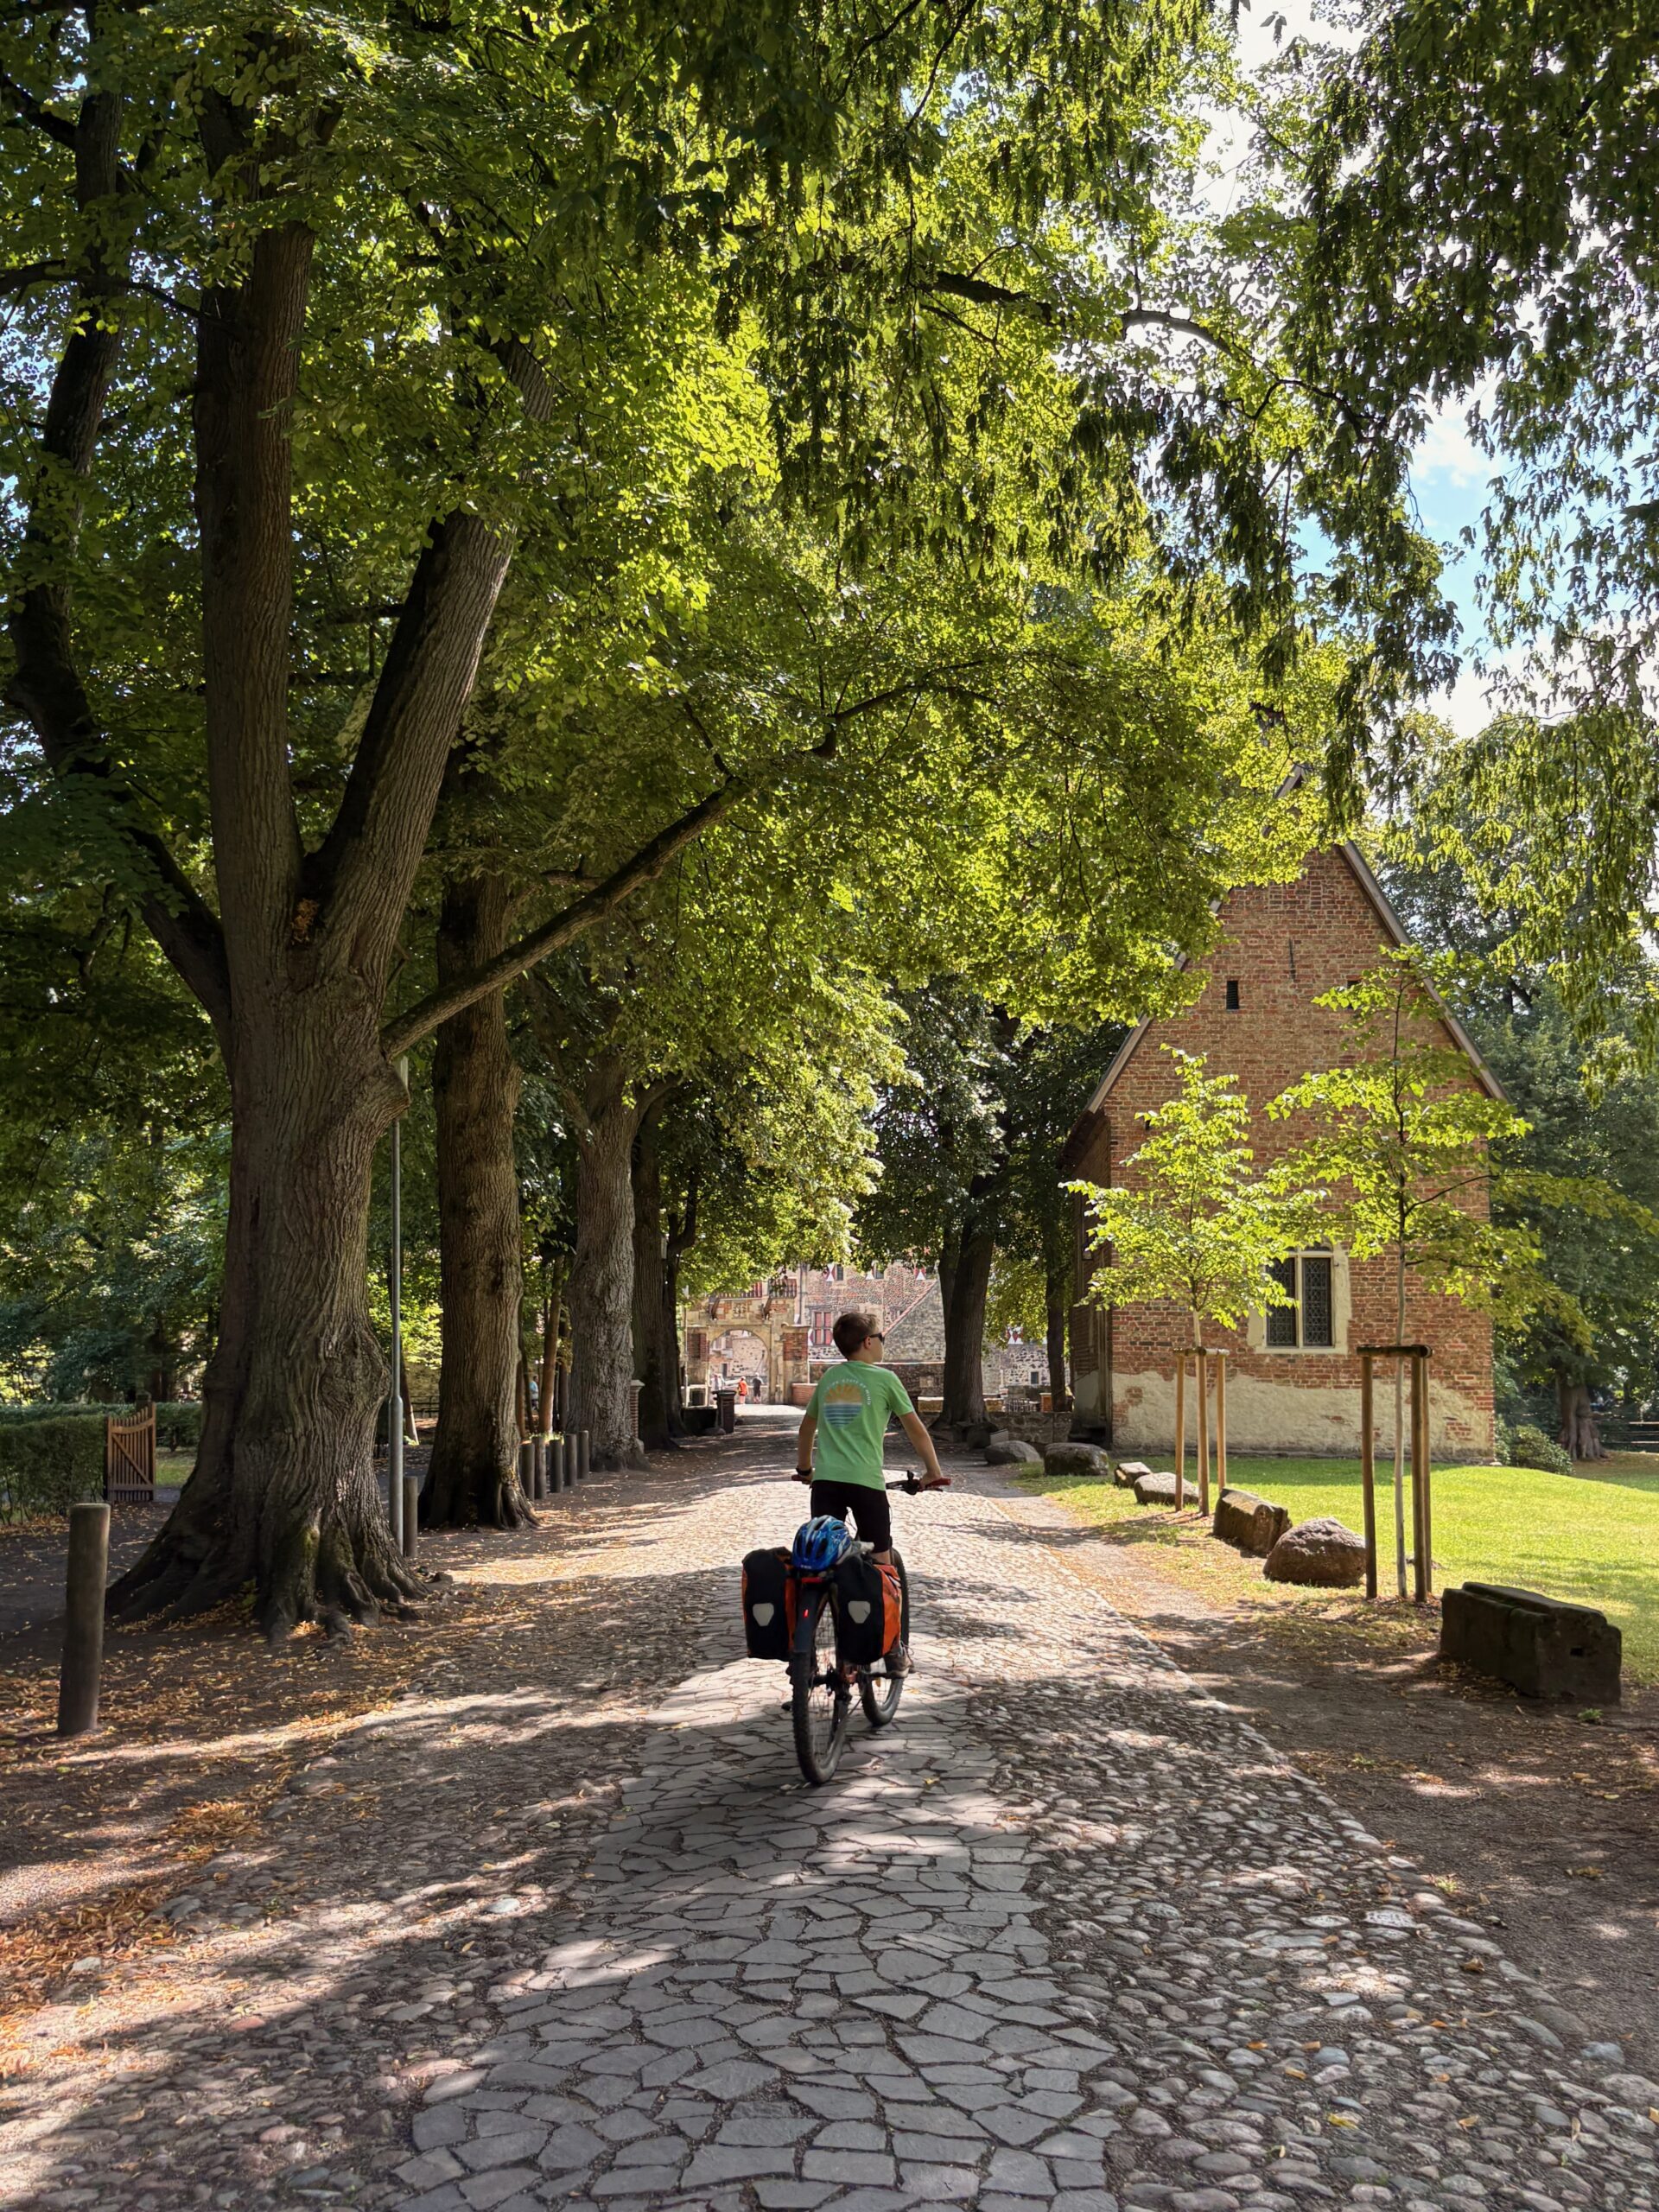
At Burg Vischering, we paused for drinks and hoped for a bit of cake or ice cream. (especially Flynn wanted soft ice) Unfortunately, the ice cream machine was out of order for the day, and the only drinks available were fizzy – not Flynn’s favourite. Disappointment was quickly put aside with the help of home made cookies, and we moved on.
On the road through a small villageLeaving Dülmen’s GatesA restful momentArriving in Lüdinghausen (Burg Vischering)
The road to Olfen remained pleasant, but time began to press. Jean-Christophe had an appointment later in the afternoon, and we needed to keep a steady pace. We reached Olfen and Flynn – exhausted – deserved an ice cream and was finally rewarded! He, after 88 km in two days, was understandably worn out. Vera kindly came to meet us near Henrichenburg, where Flynn wrapped up his journey.
Jean-Christophe continued alone to Lünen, this time without the panniers — a lighter finish.
Spending time like this – Father-Child – was truly special. Jean-Christophe hopes to have similar moments with his other children too – on bikes or feet, under the open sky, and with time to just be together.
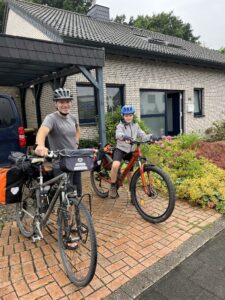
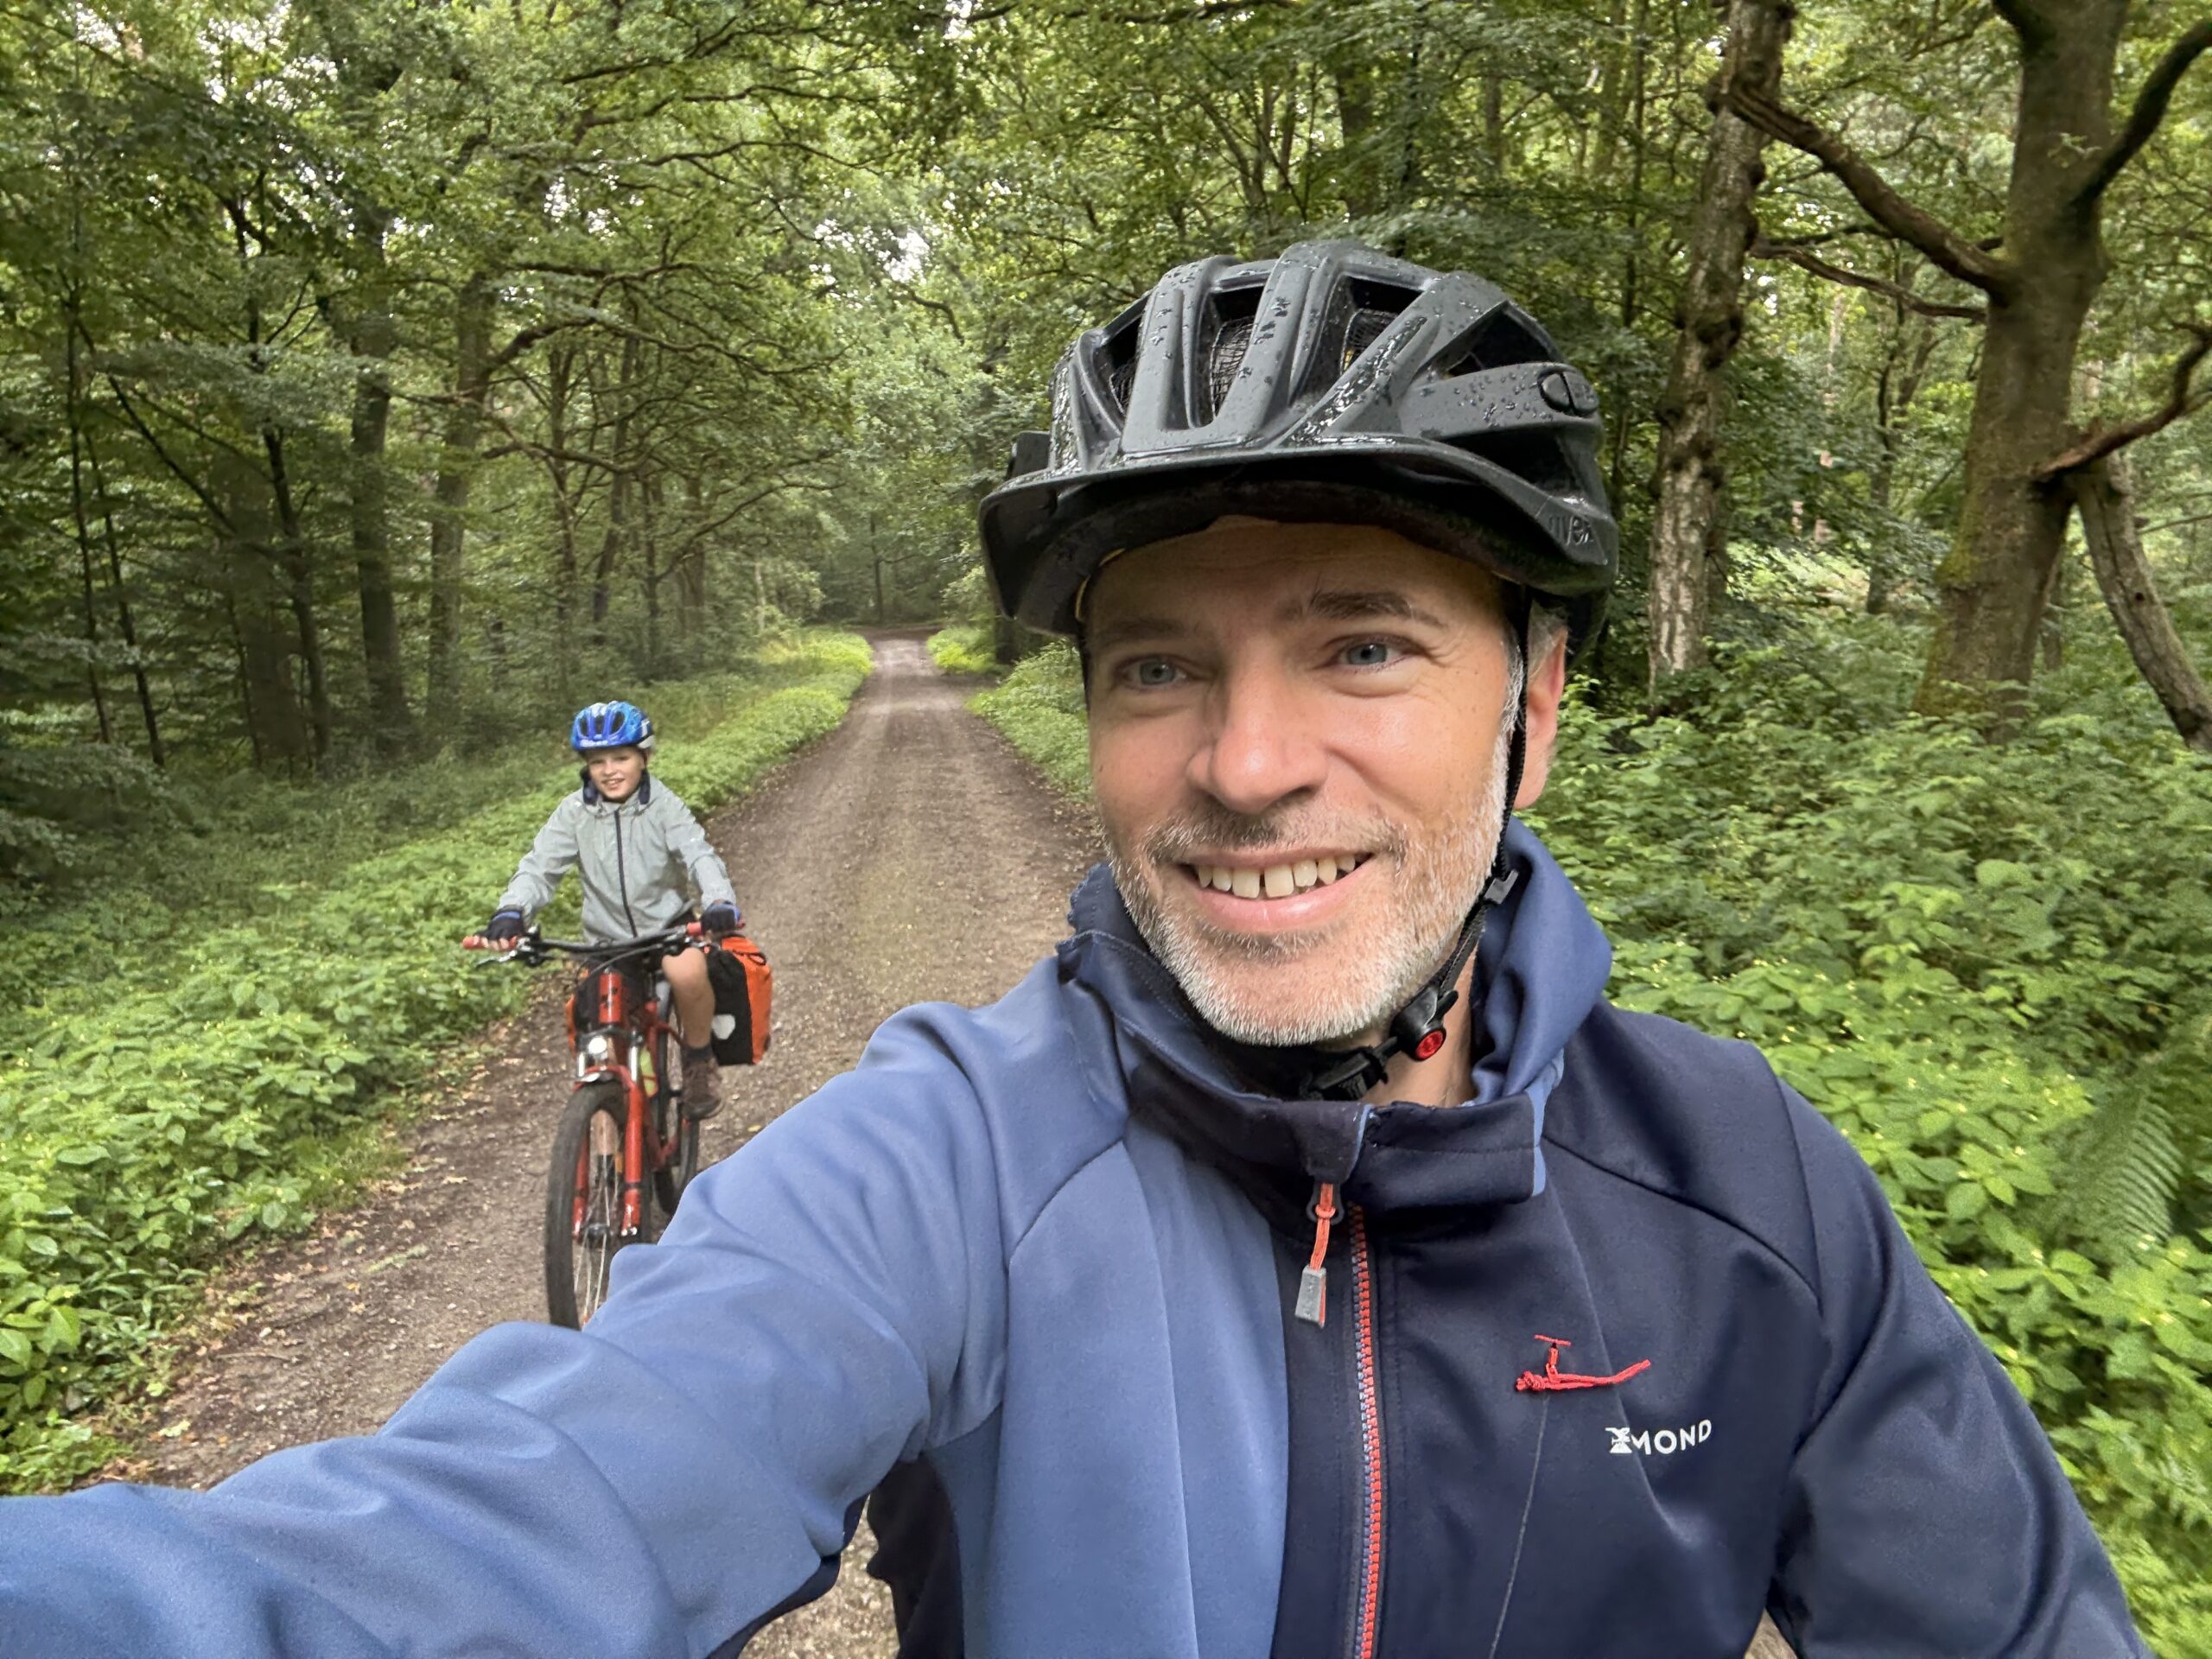
Our cycling trip got off to a slightly wobbly start. After 488 meters – yes, meters – Flynn’s rear derailleur gave up. Not something we could fix roadside, so we turned back, swapped bikes, and tried again. Second departure: successful.
The forecast had promised dry skies after 10:00. At 11:00, the sky disagreed. Whatever was falling wasn’t technically rain – or so we told ourselves – but it soaked us just the same.
I had a route plan. A gentle stop after 2 km to buy sandwiches. A coffee break 10 km later. Then we’d eat the sandwiches. Later still, cake and another coffee. Flynn wasn’t particularly aligned with this schedule. But we did at least stop for the sandwiches.
We also stopped more often than planned to take shelter from some heavy showers.
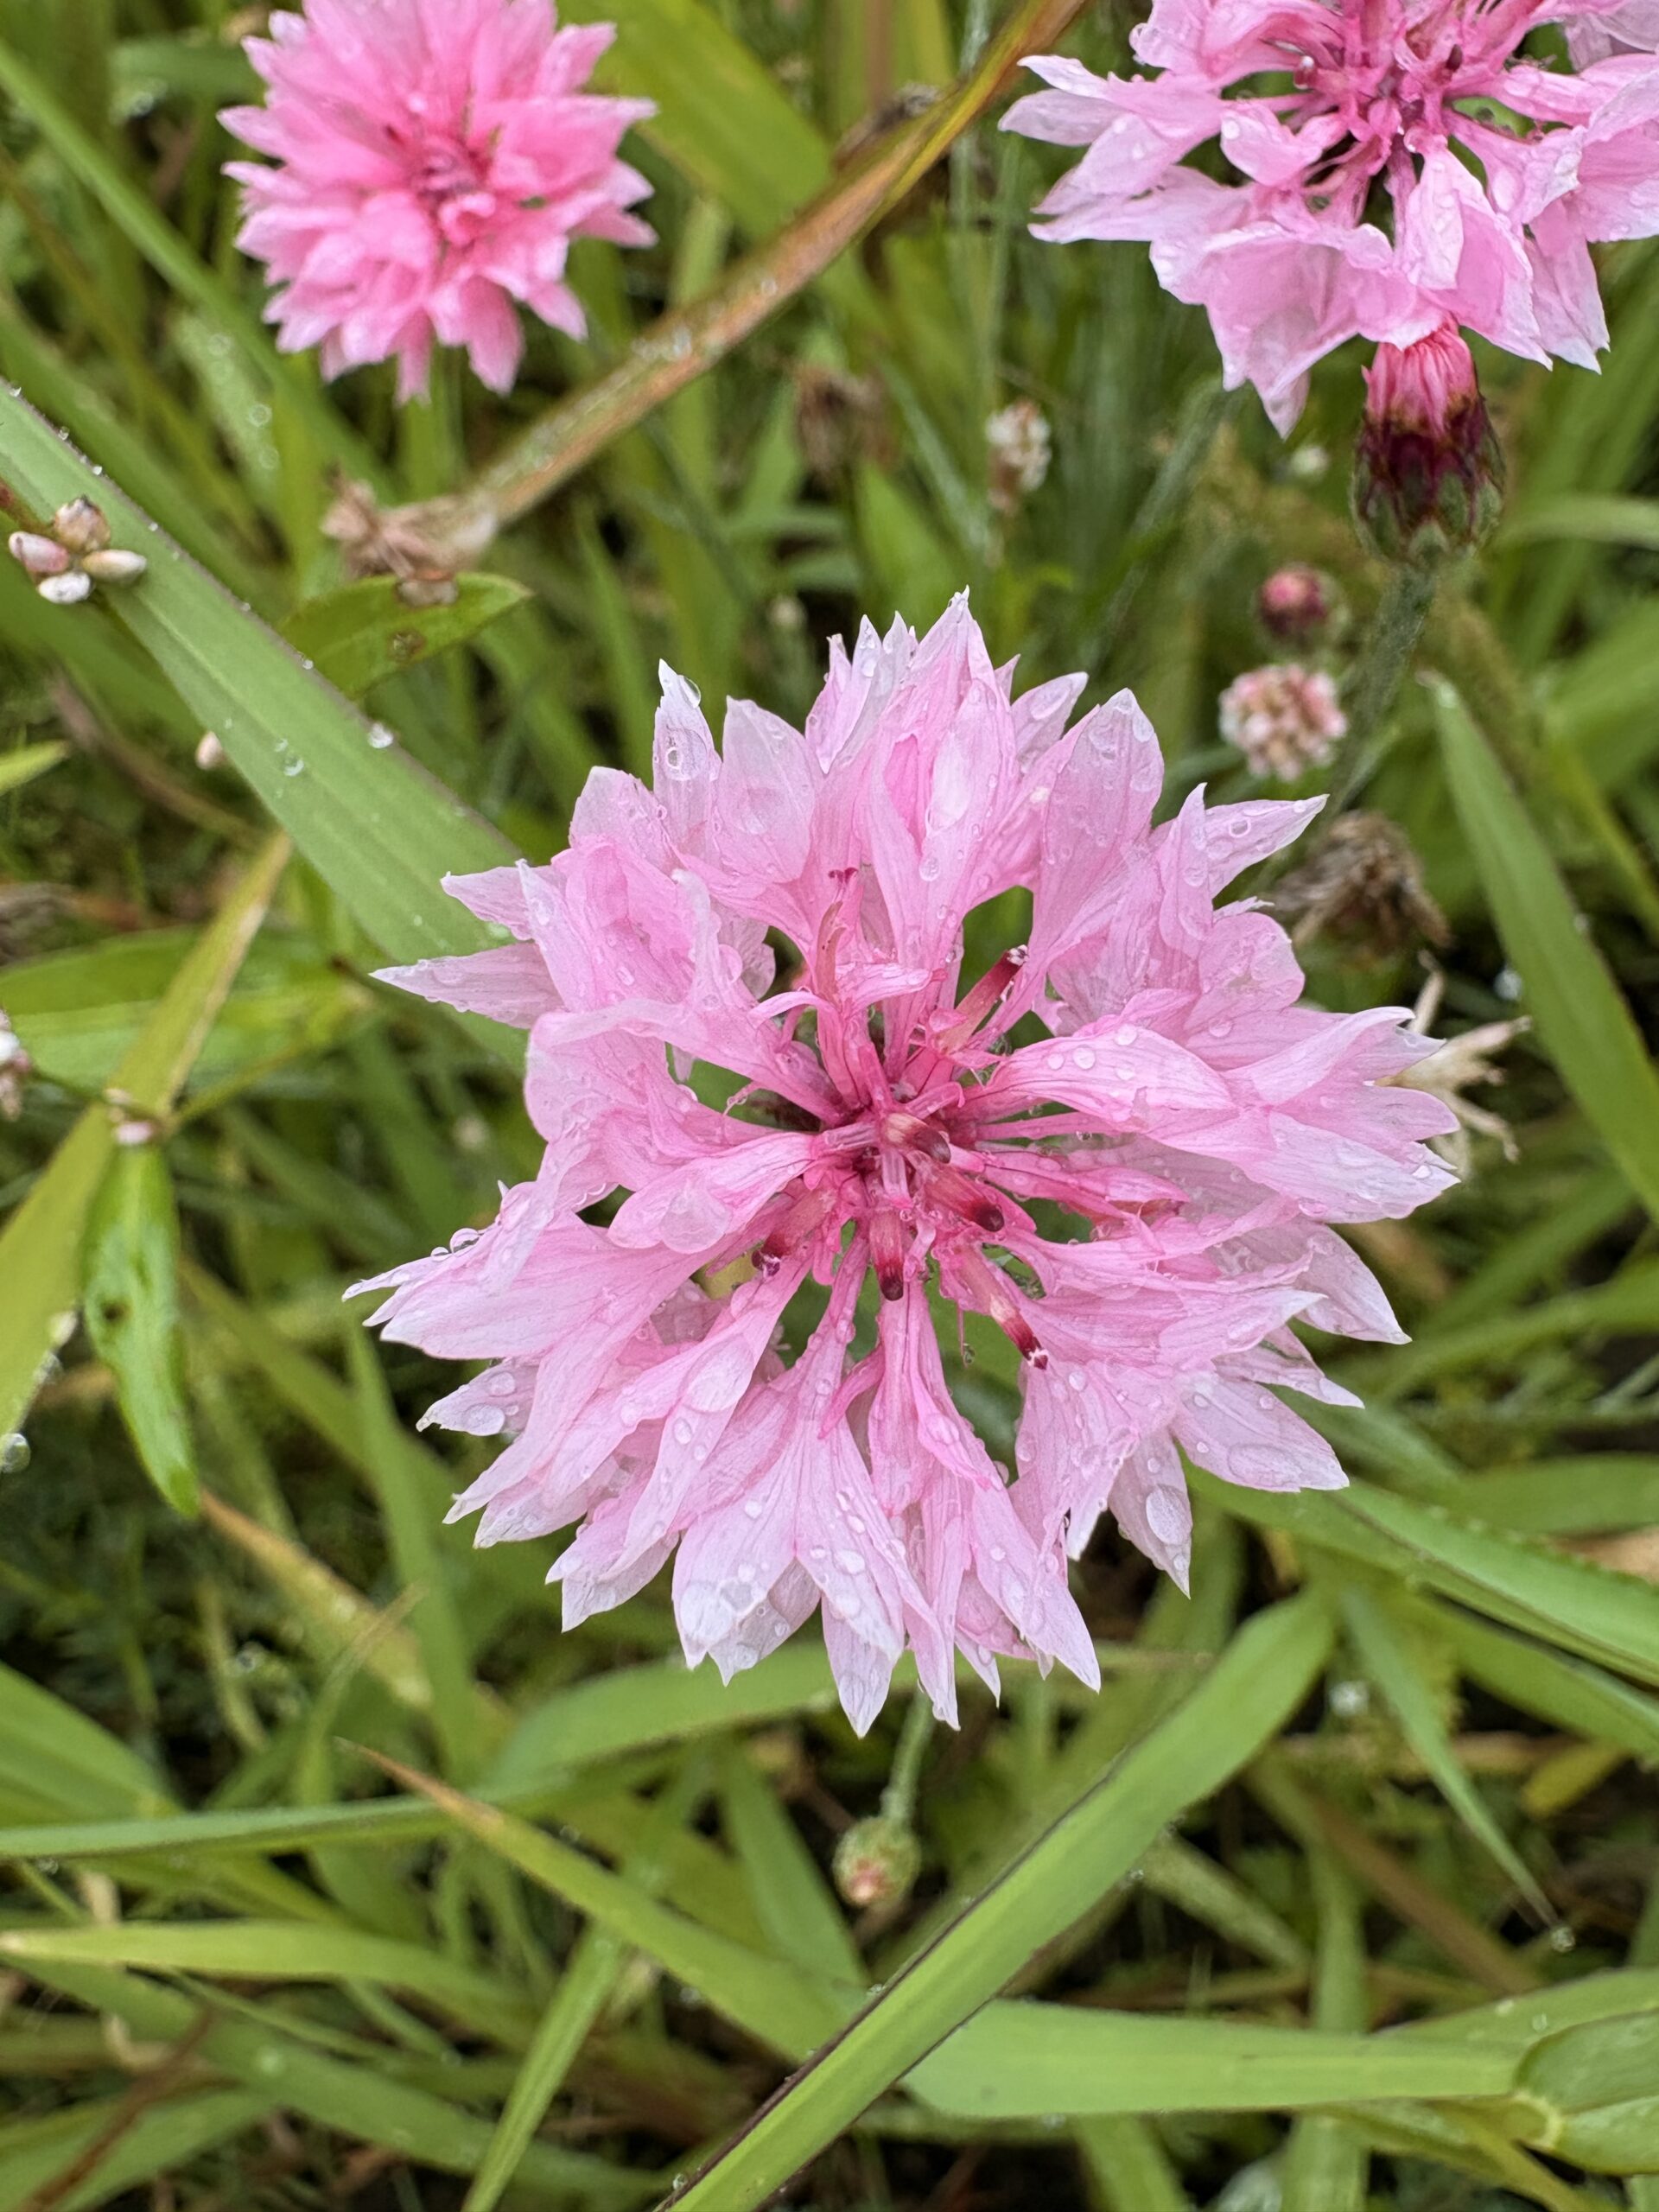
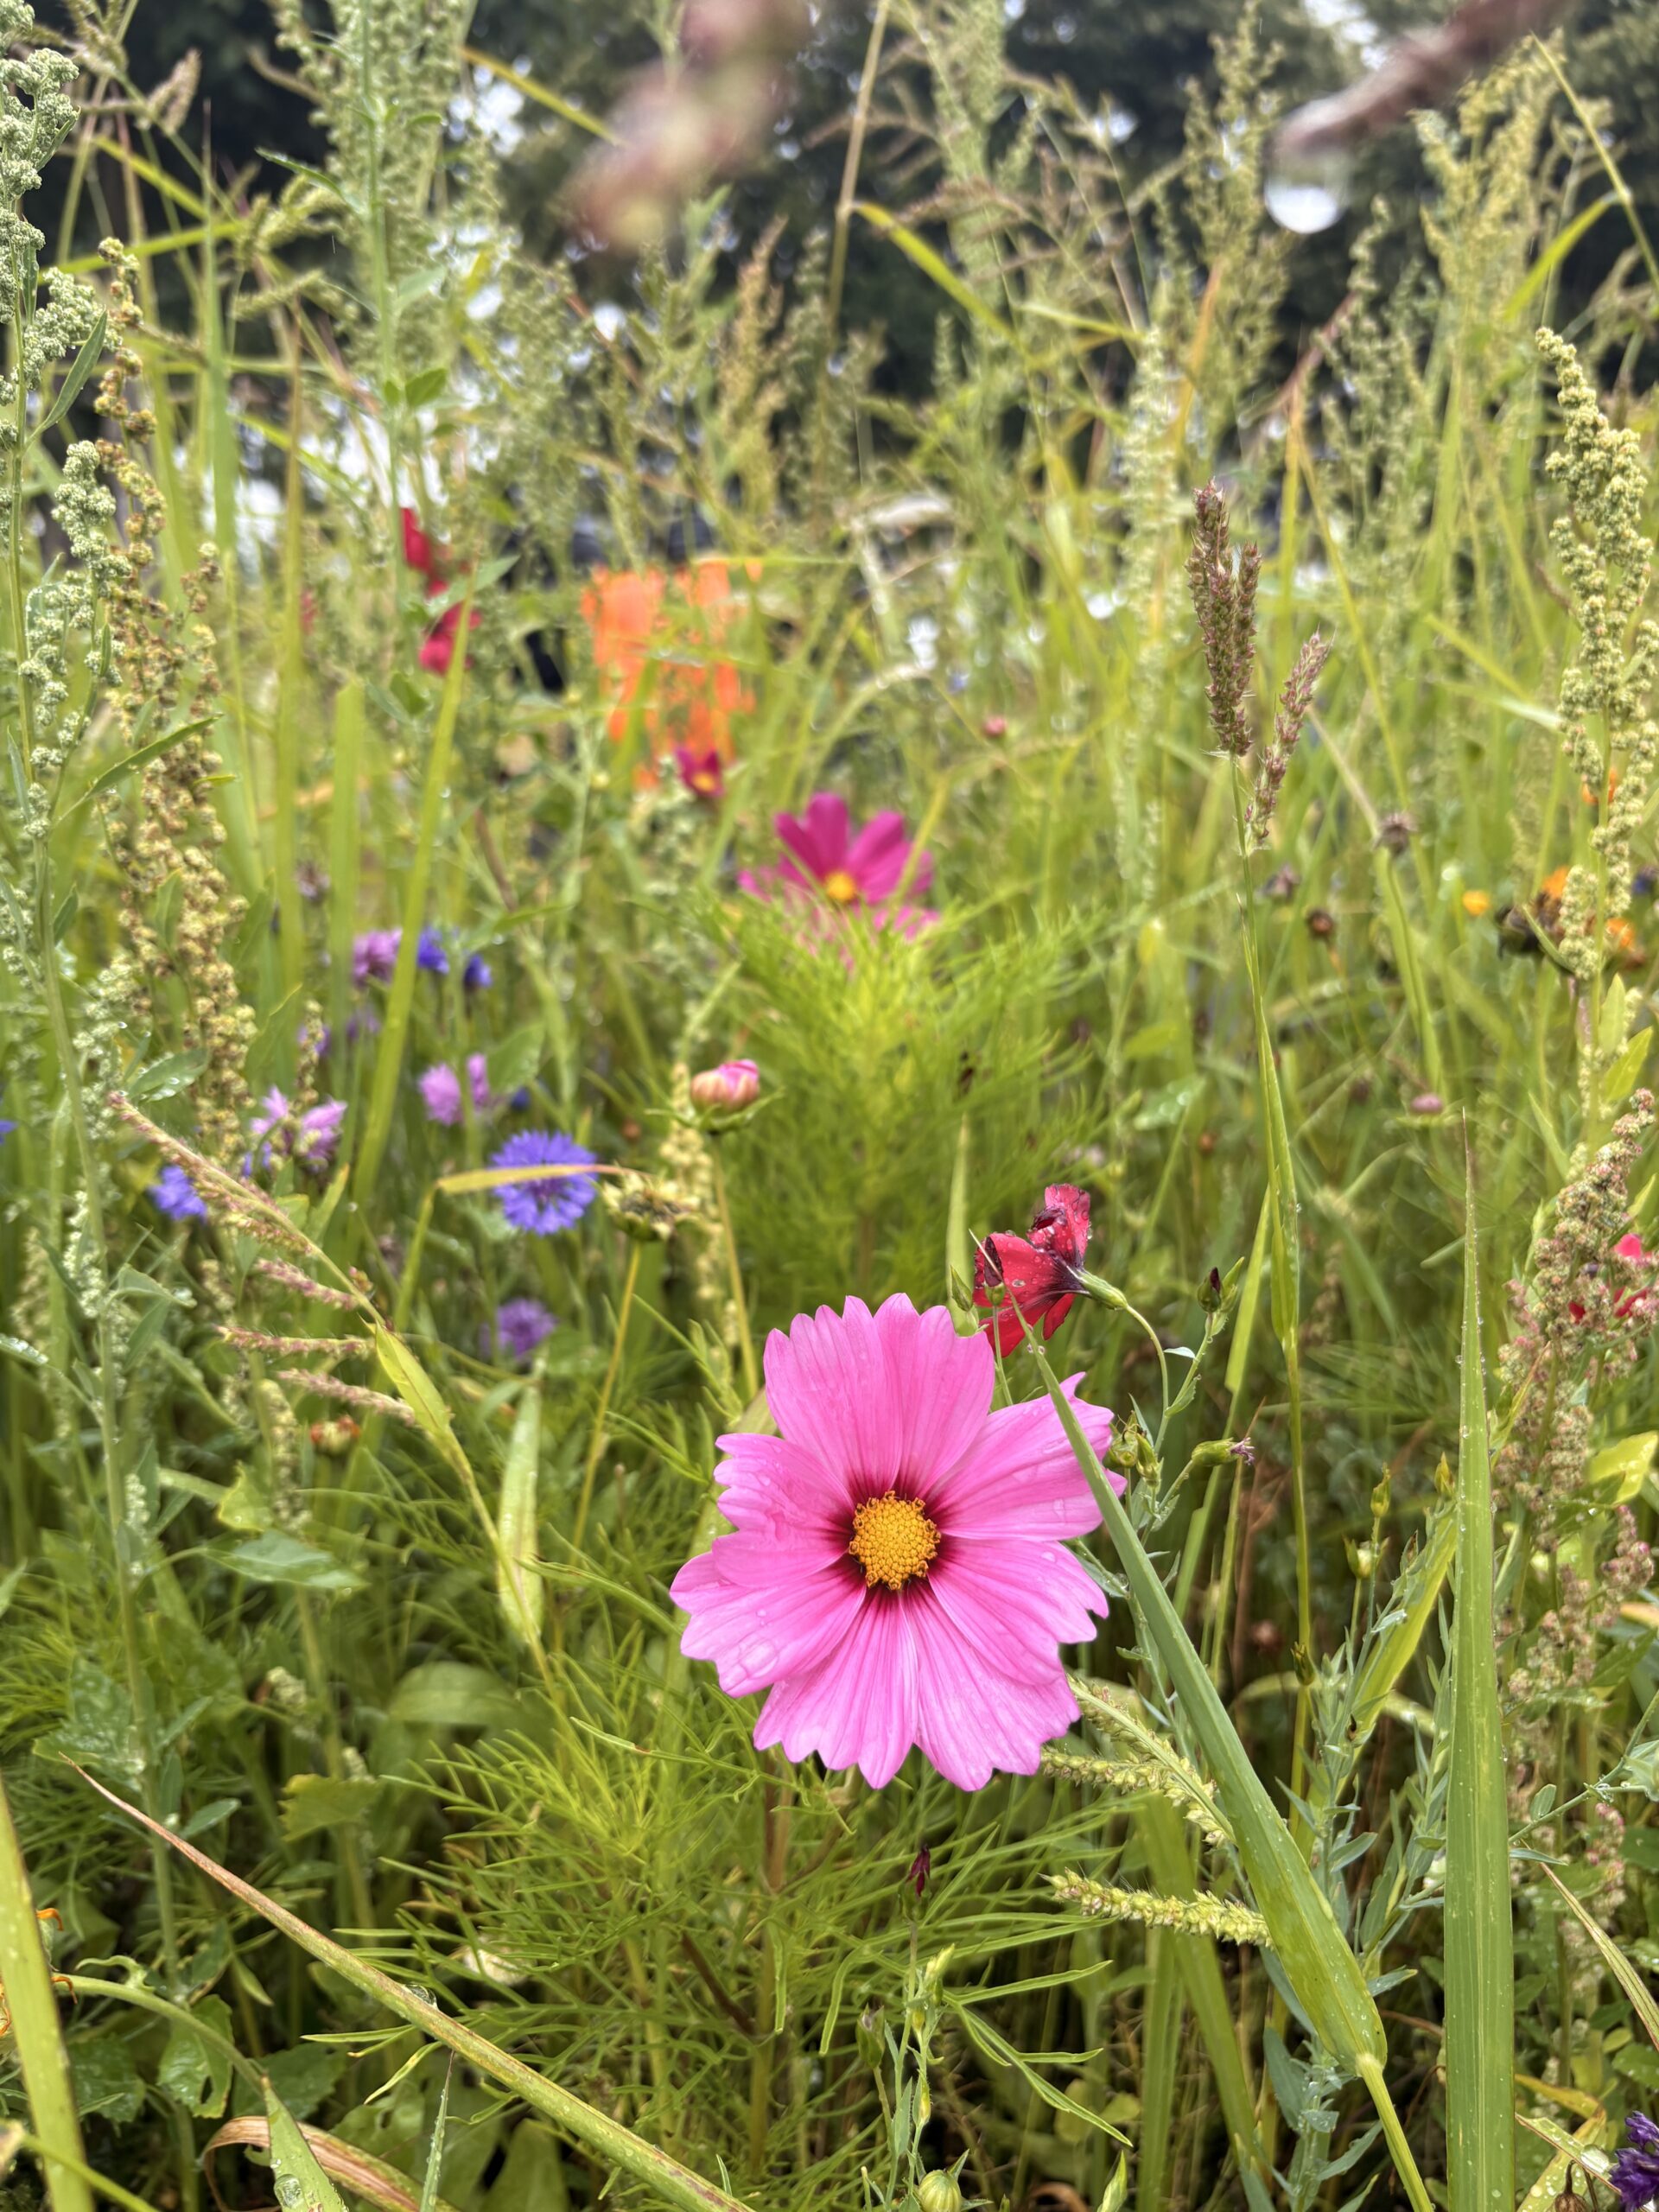
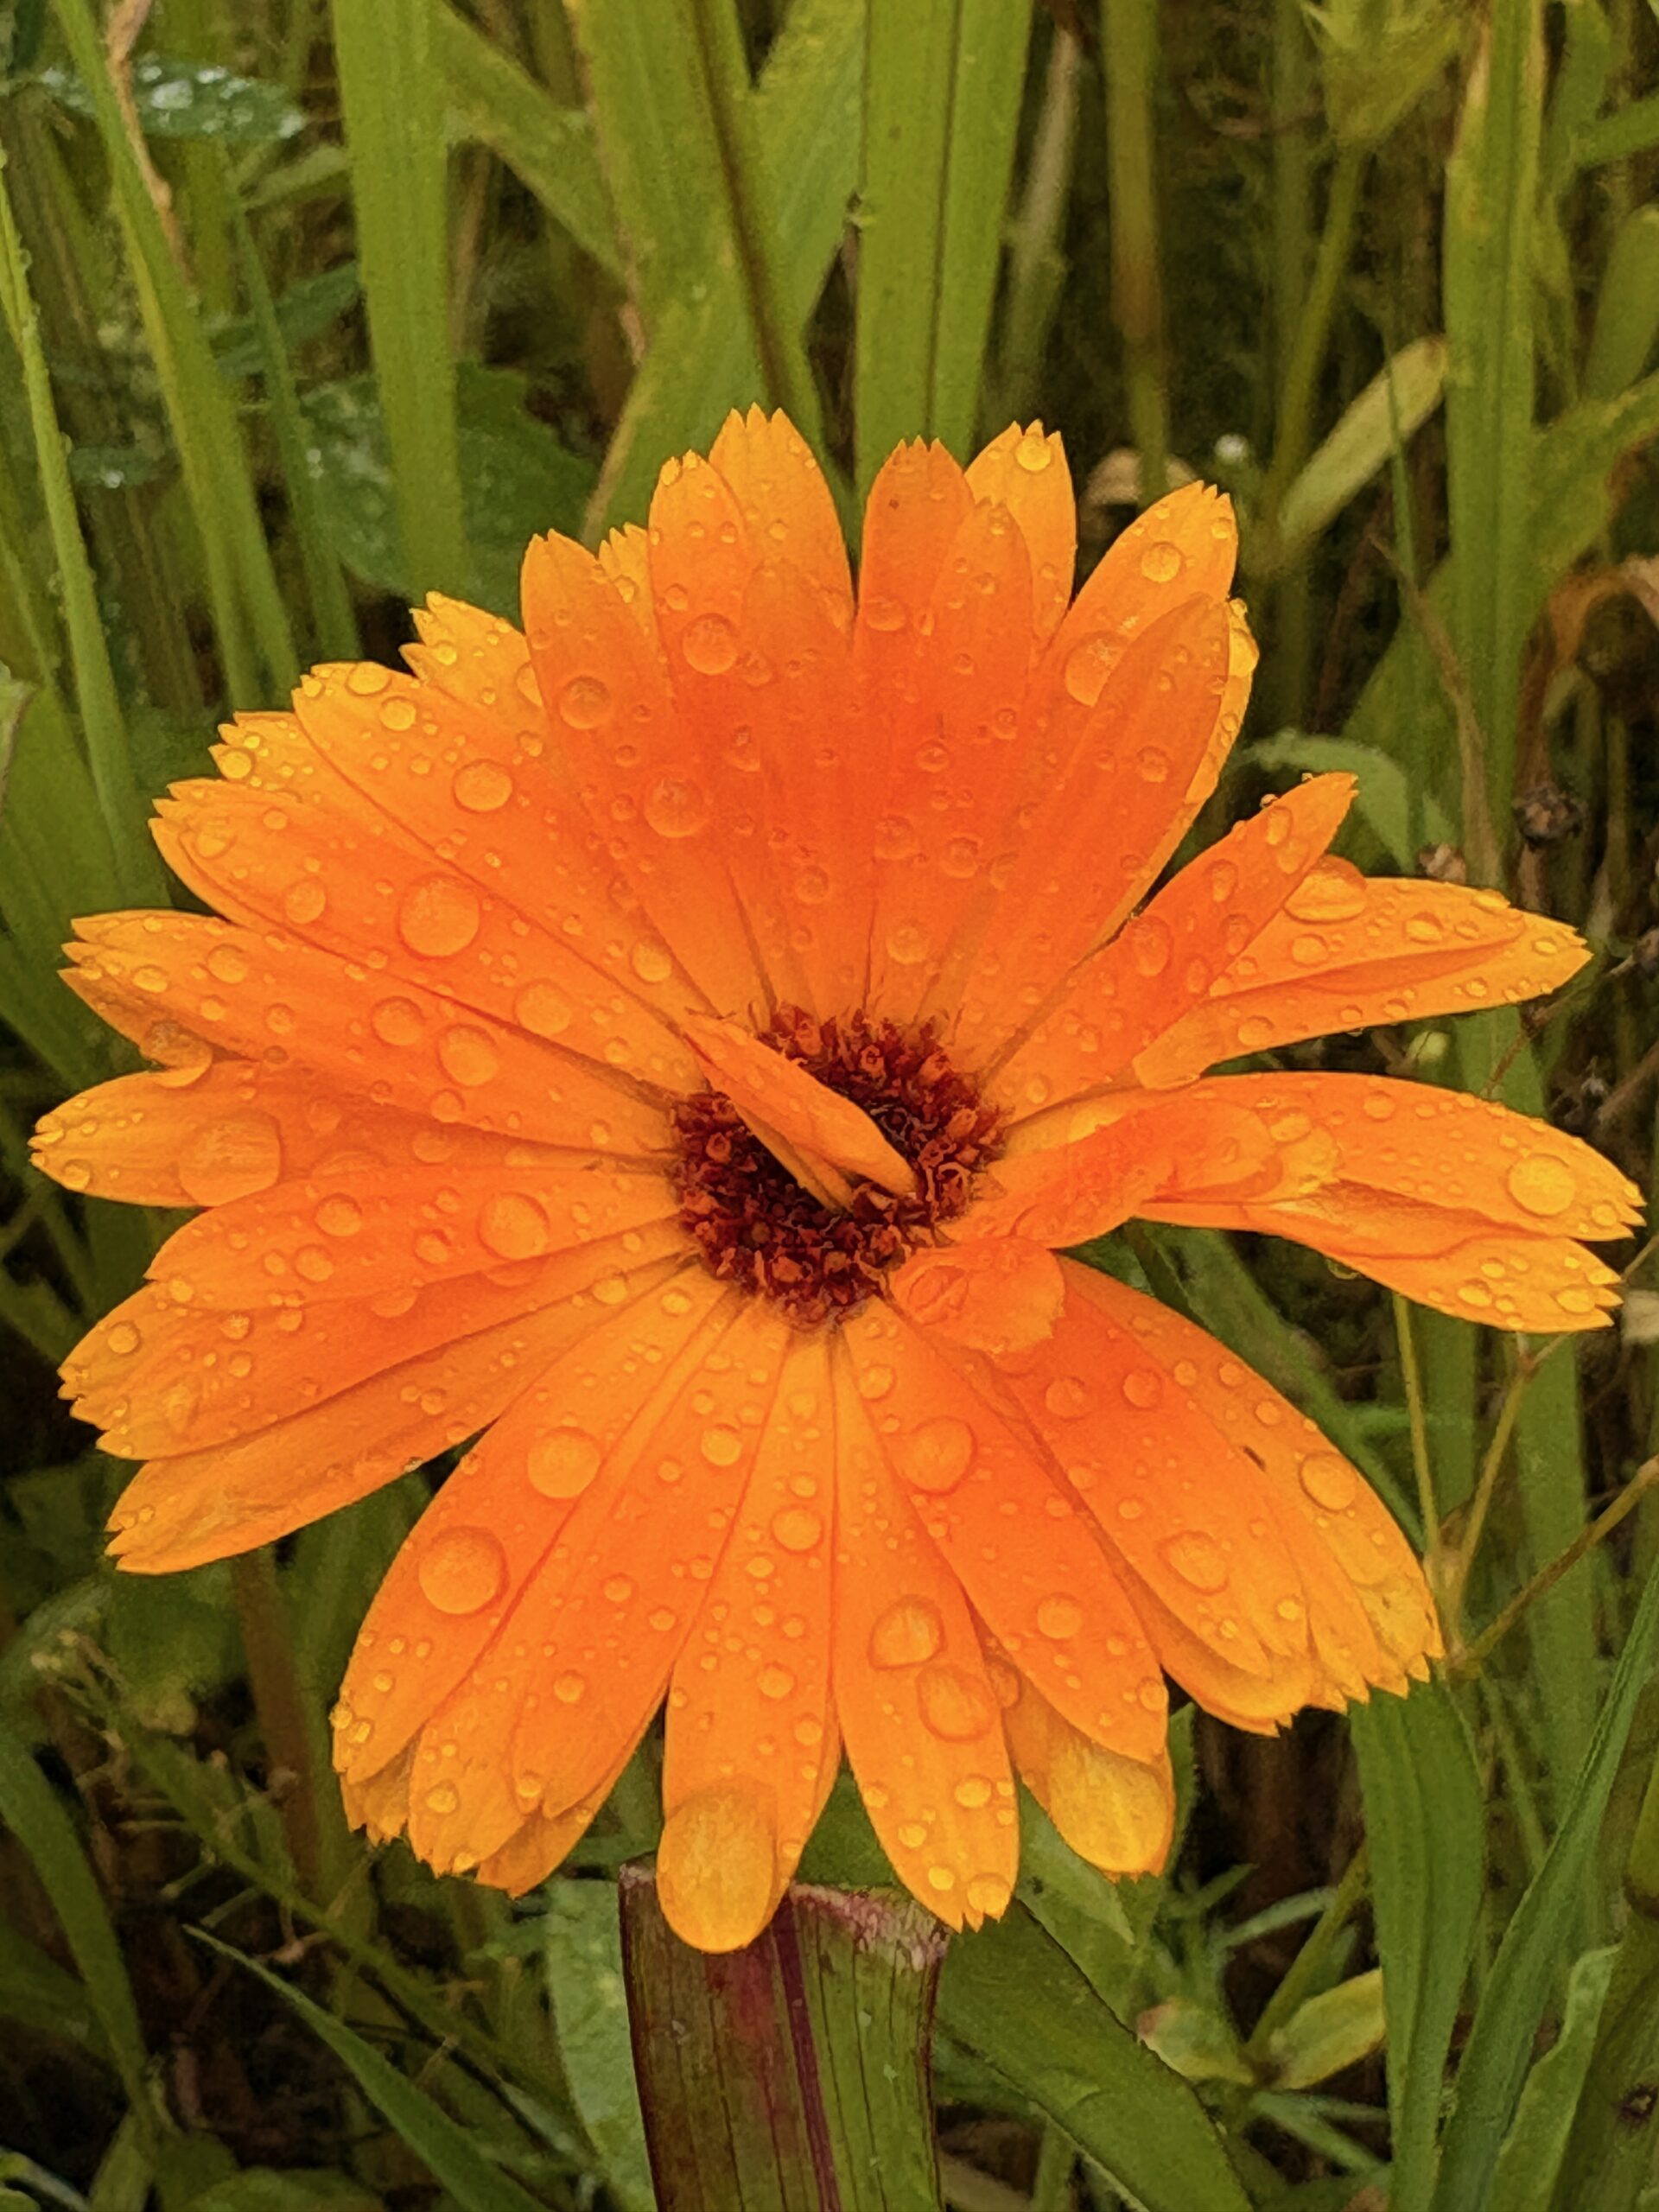
The fields we rode through were beautiful – full of wildflowers. I couldn’t resist taking a few photos along the way. Then came blackberries. Another pause. Flynn’s patience began to show signs of strain. Fair enough. We agreed to tone down the stops.
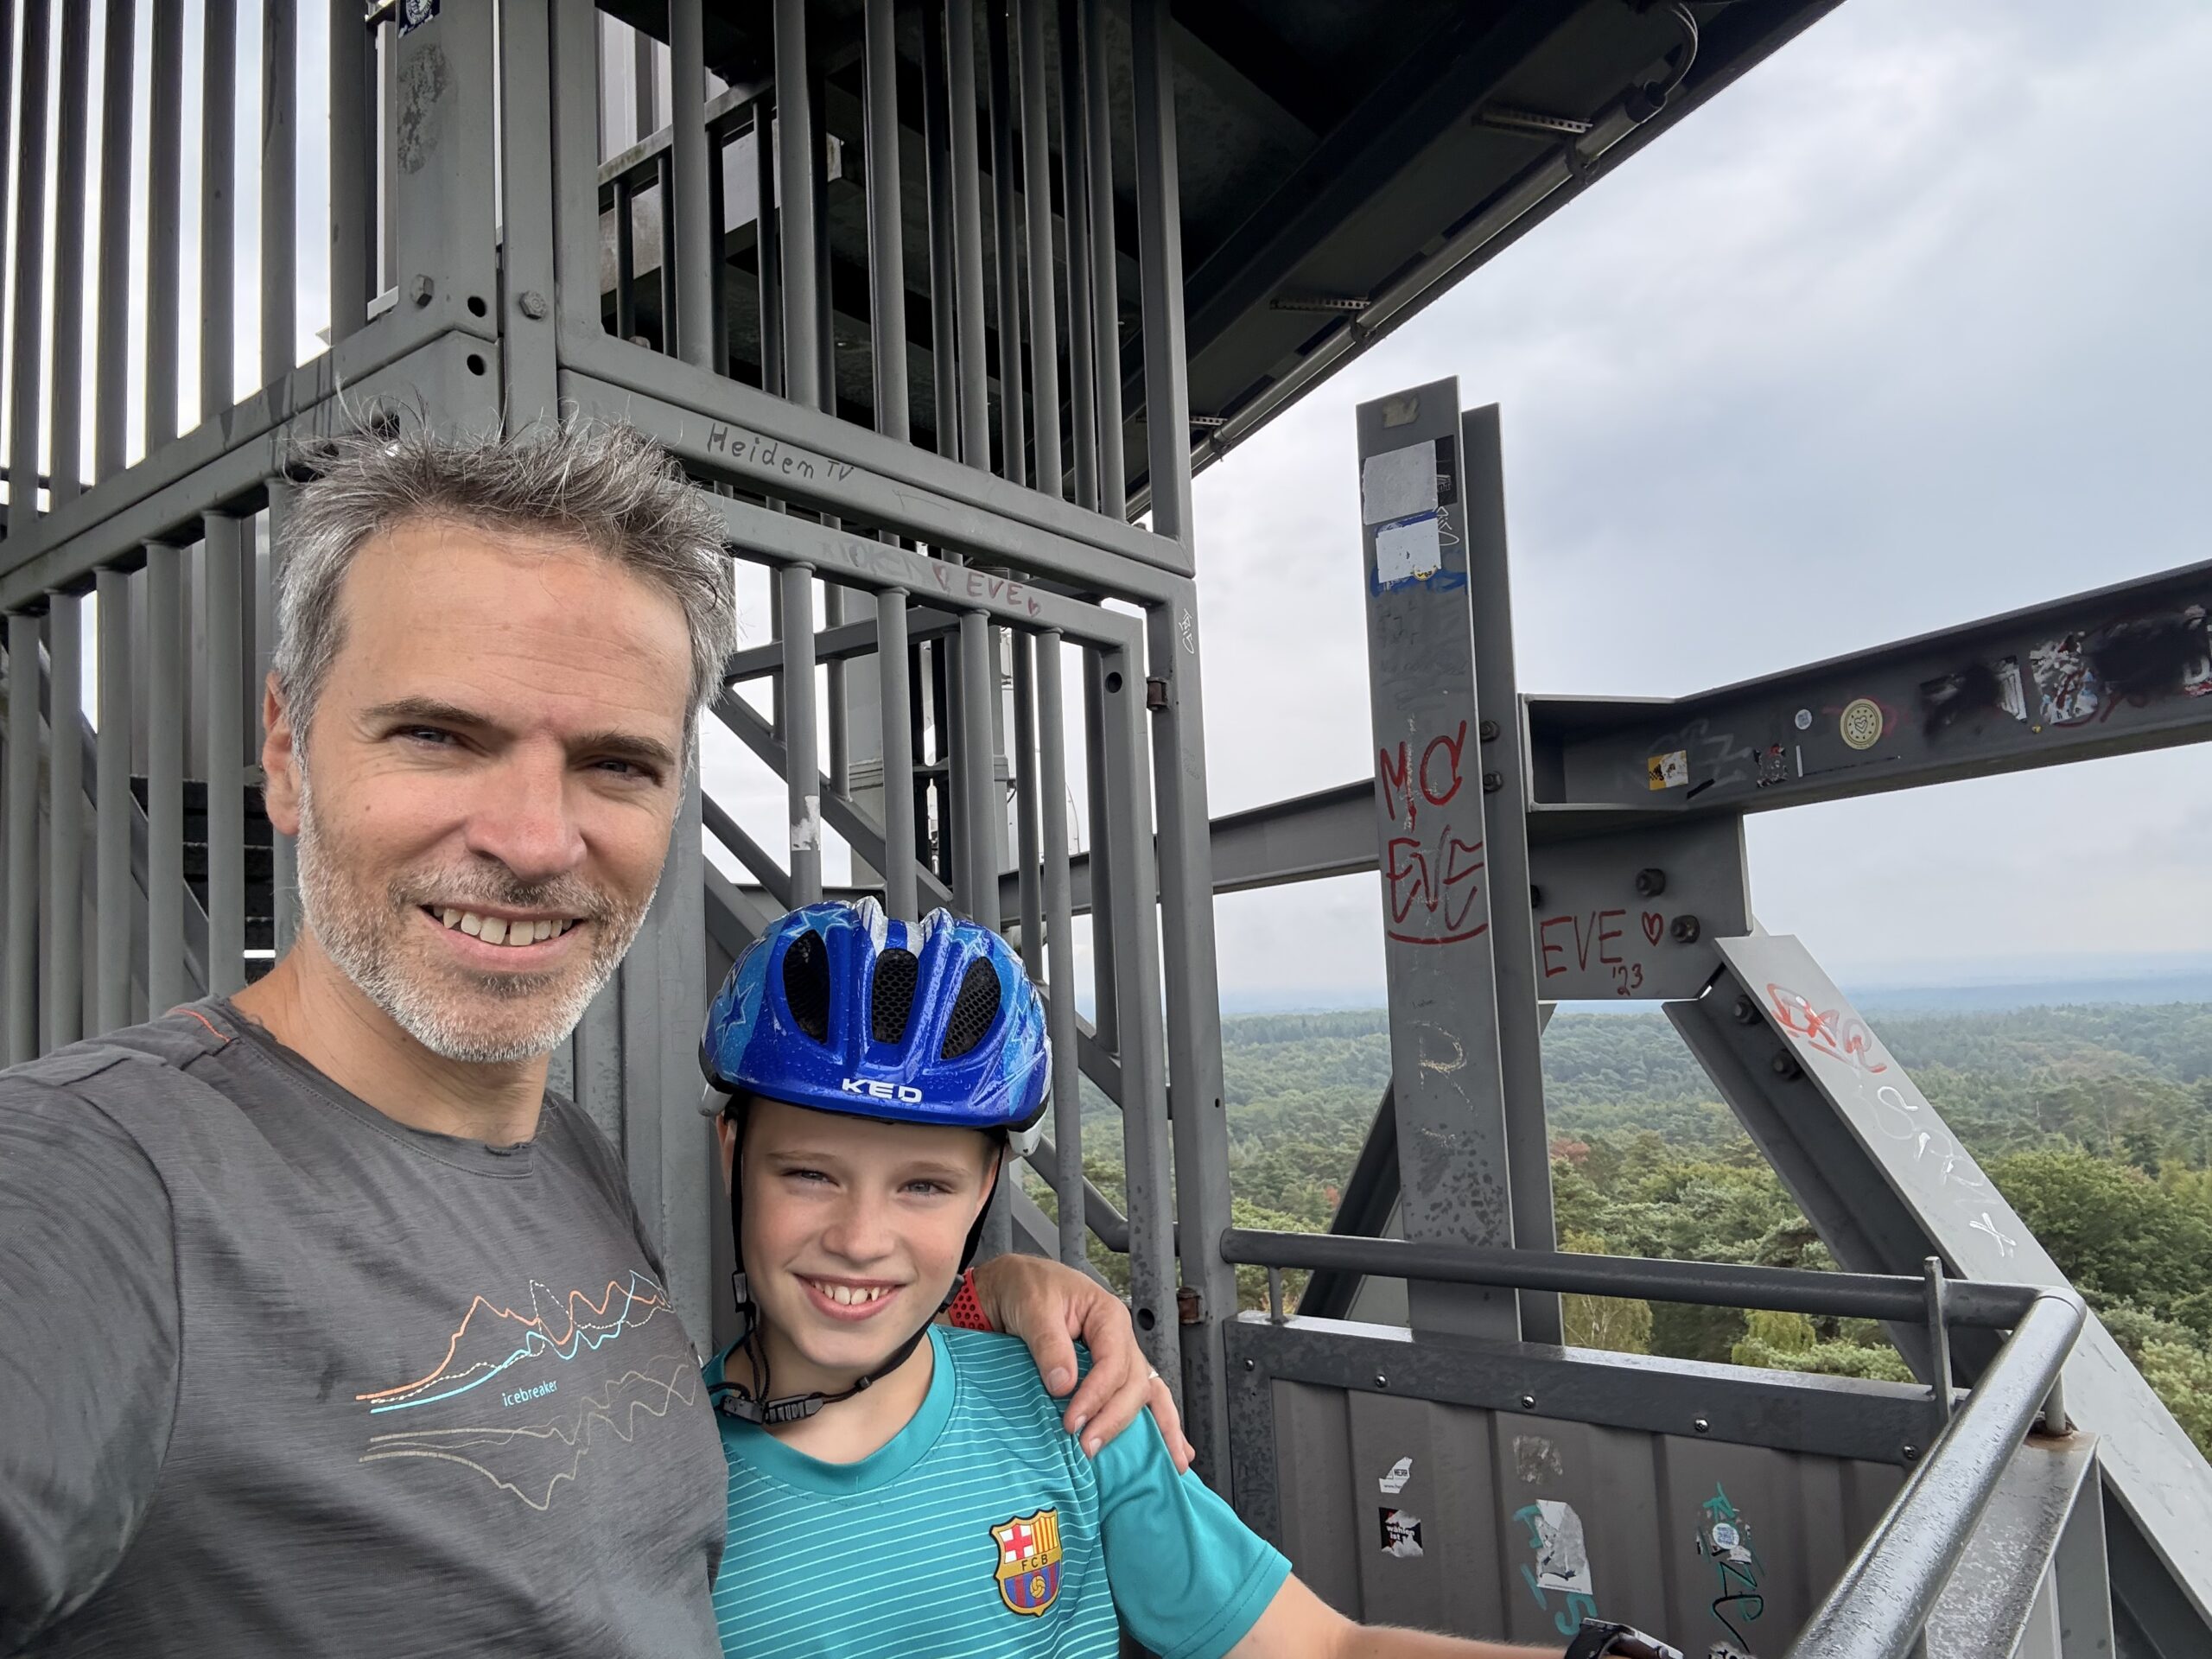
The path through the Haard forest was a highlight – green, peaceful, and definitely uphill. I reassured Flynn it was the last climb, and that from there it would be downhill all the way – at least, that’s what my navigation said. But just like the weather earlier, reality had its own plan. One more hill appeared… and that one was on me – I’d missed a turn. So for once, the forecast had been right – we just didn’t follow it. We passed a firefighter observation tower along the way and, naturally, climbed to the top.
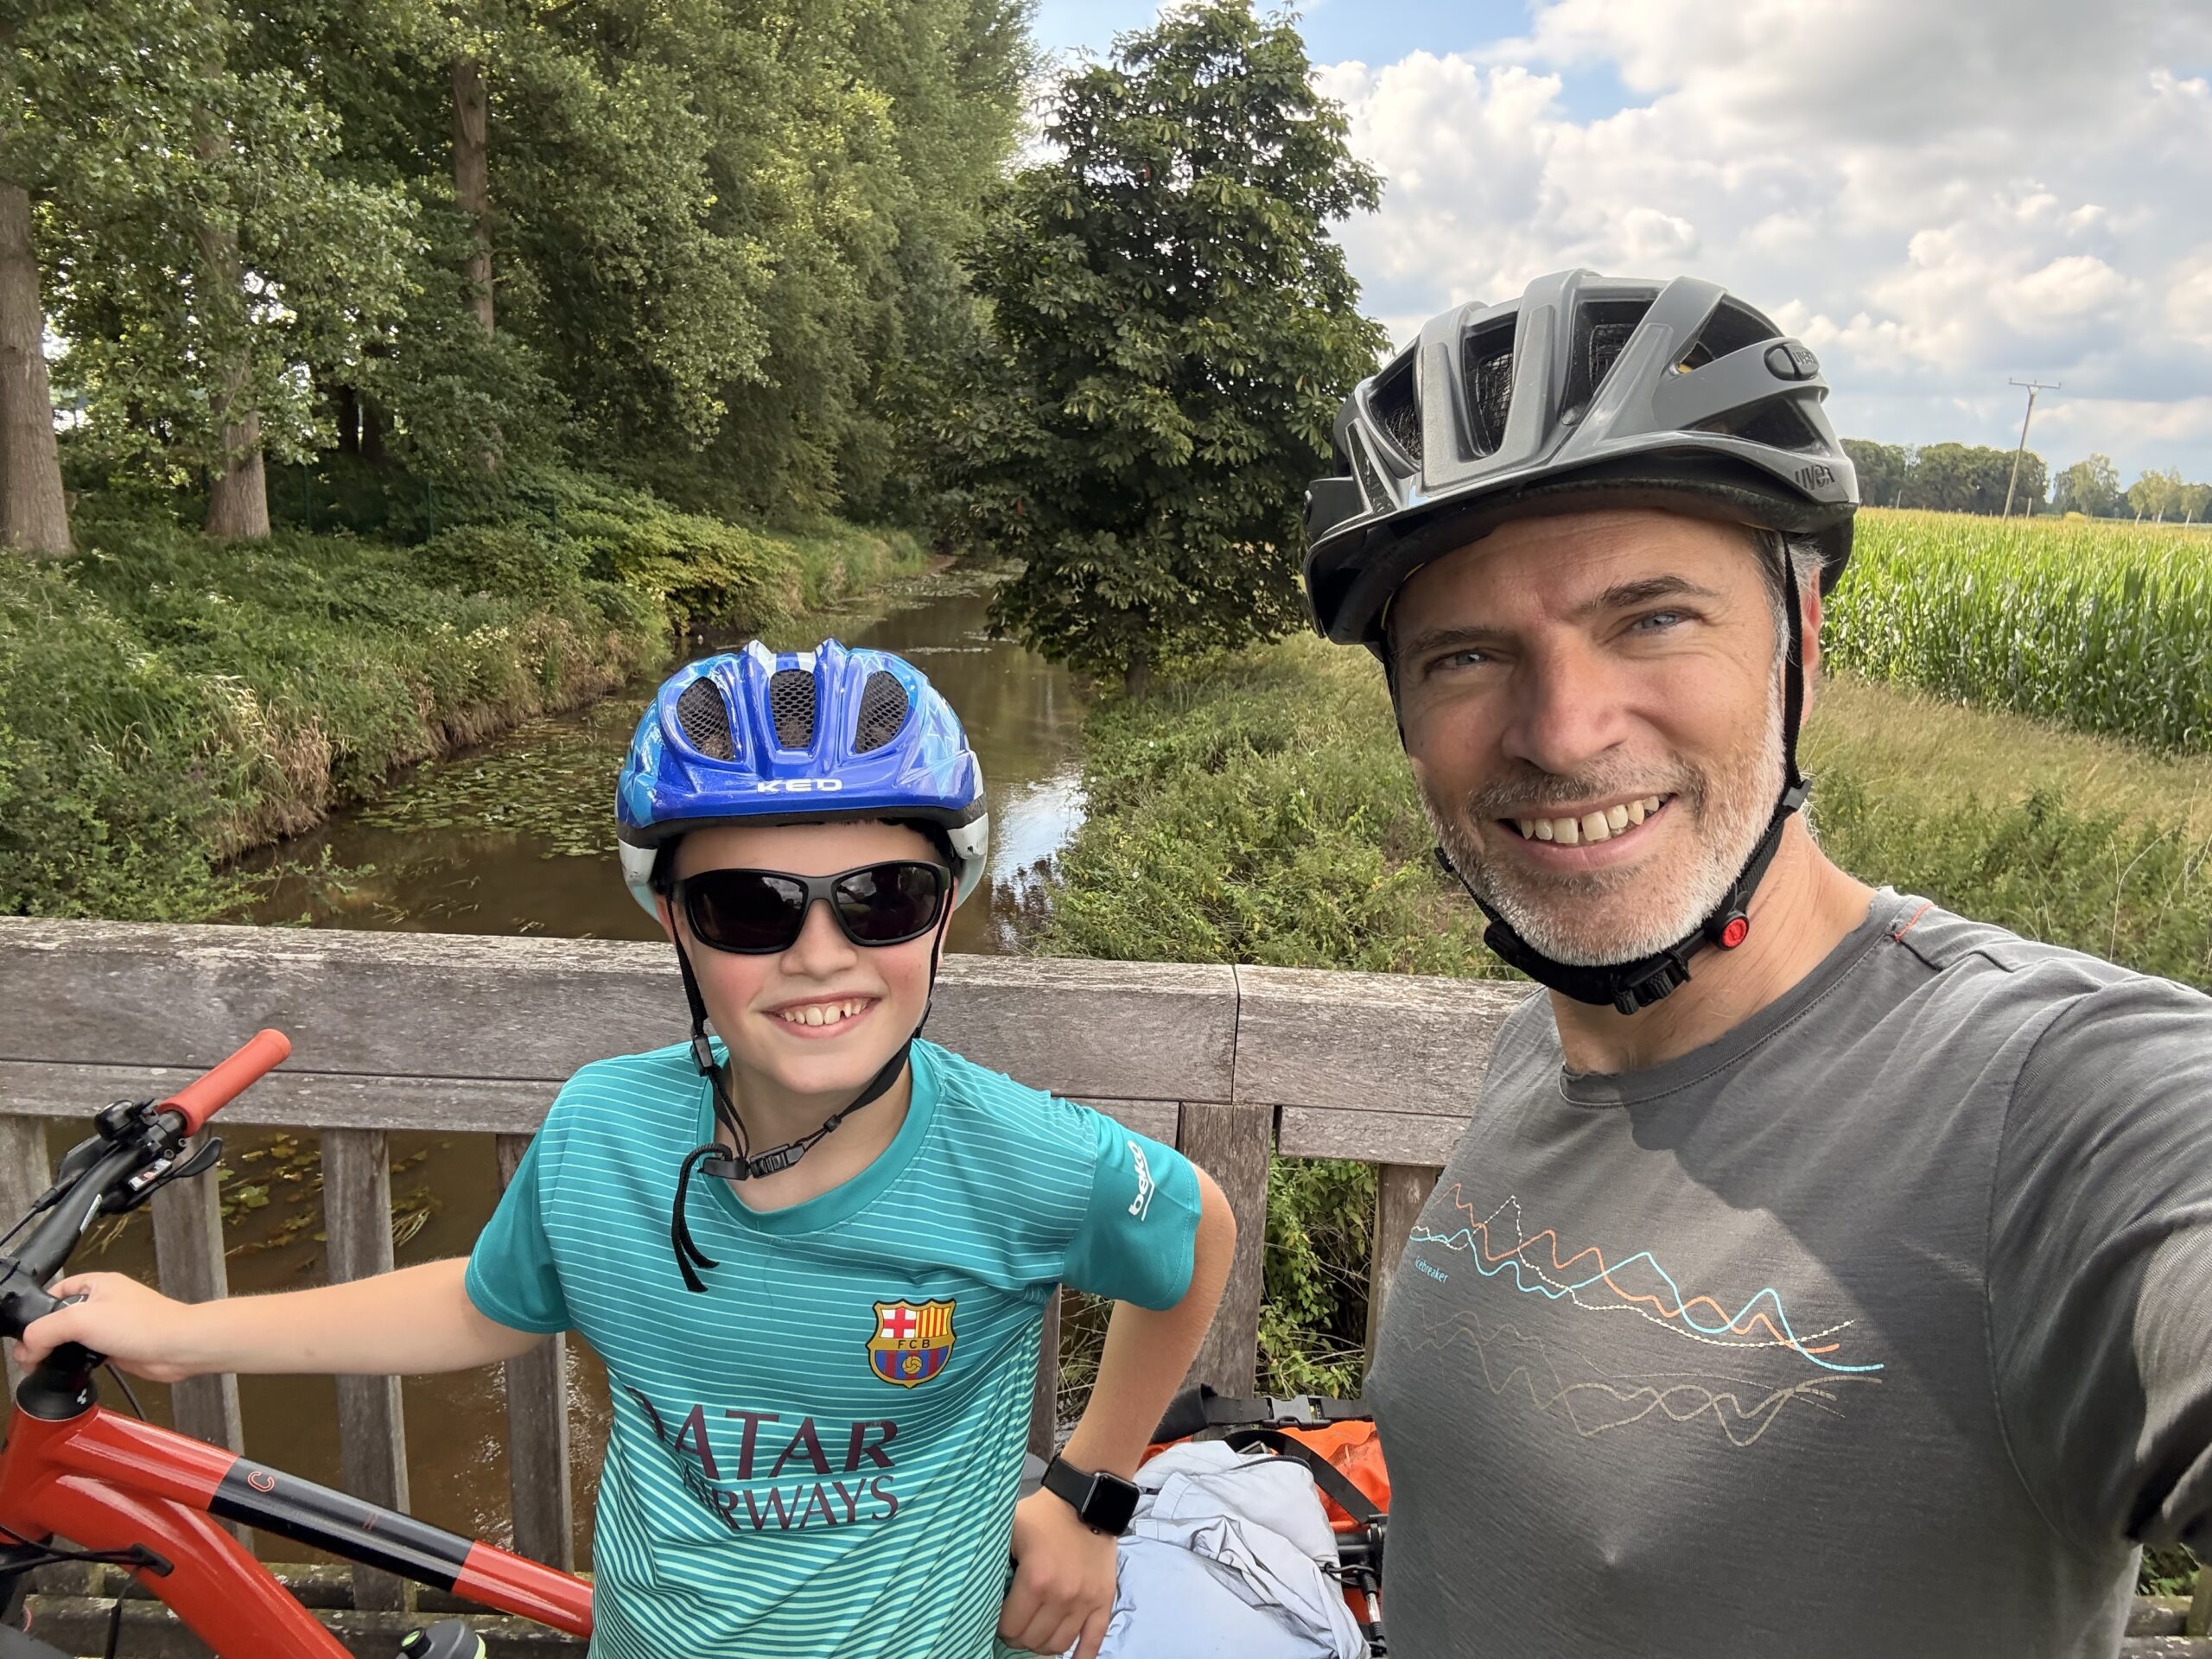
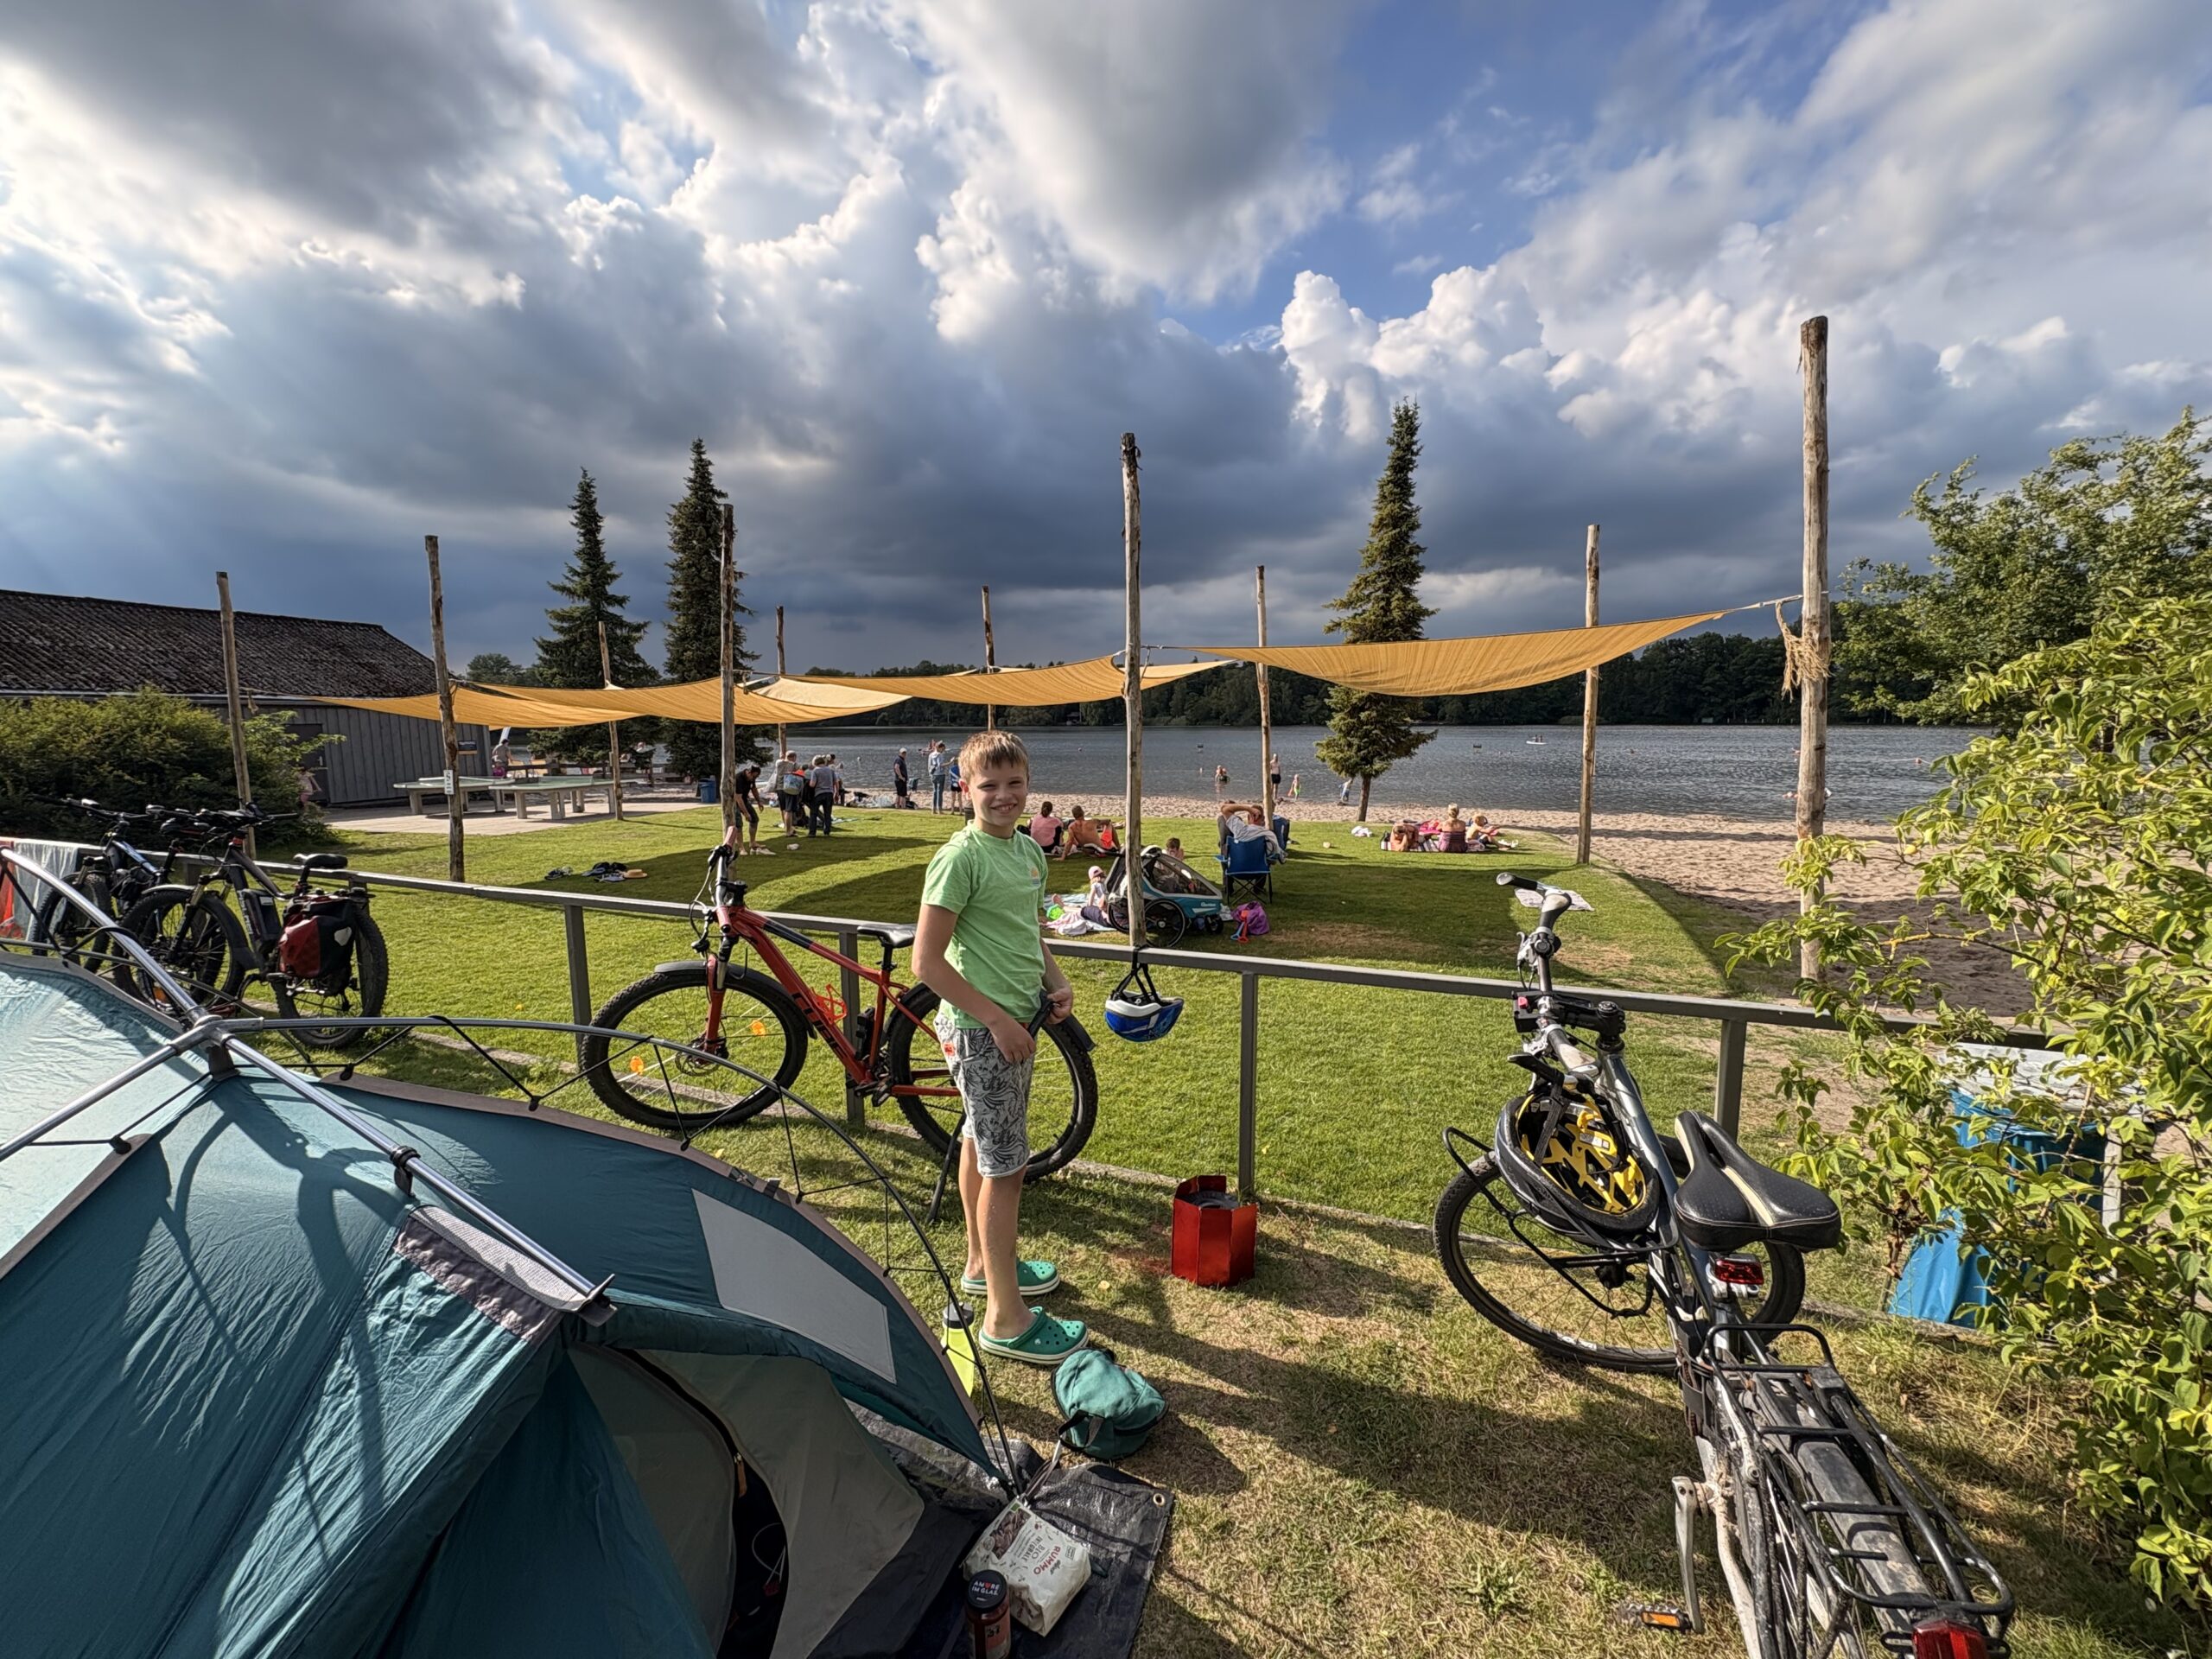
A proper pause in Haltern am See gave us a bit of a breather before heading on toward Dülmen and our campsite near the lake.
Dinner – pasta with Bolognese – was served just as the first raindrops returned. We made it into the tent in time. Outside: a steady downpour. Inside: dry and warm.
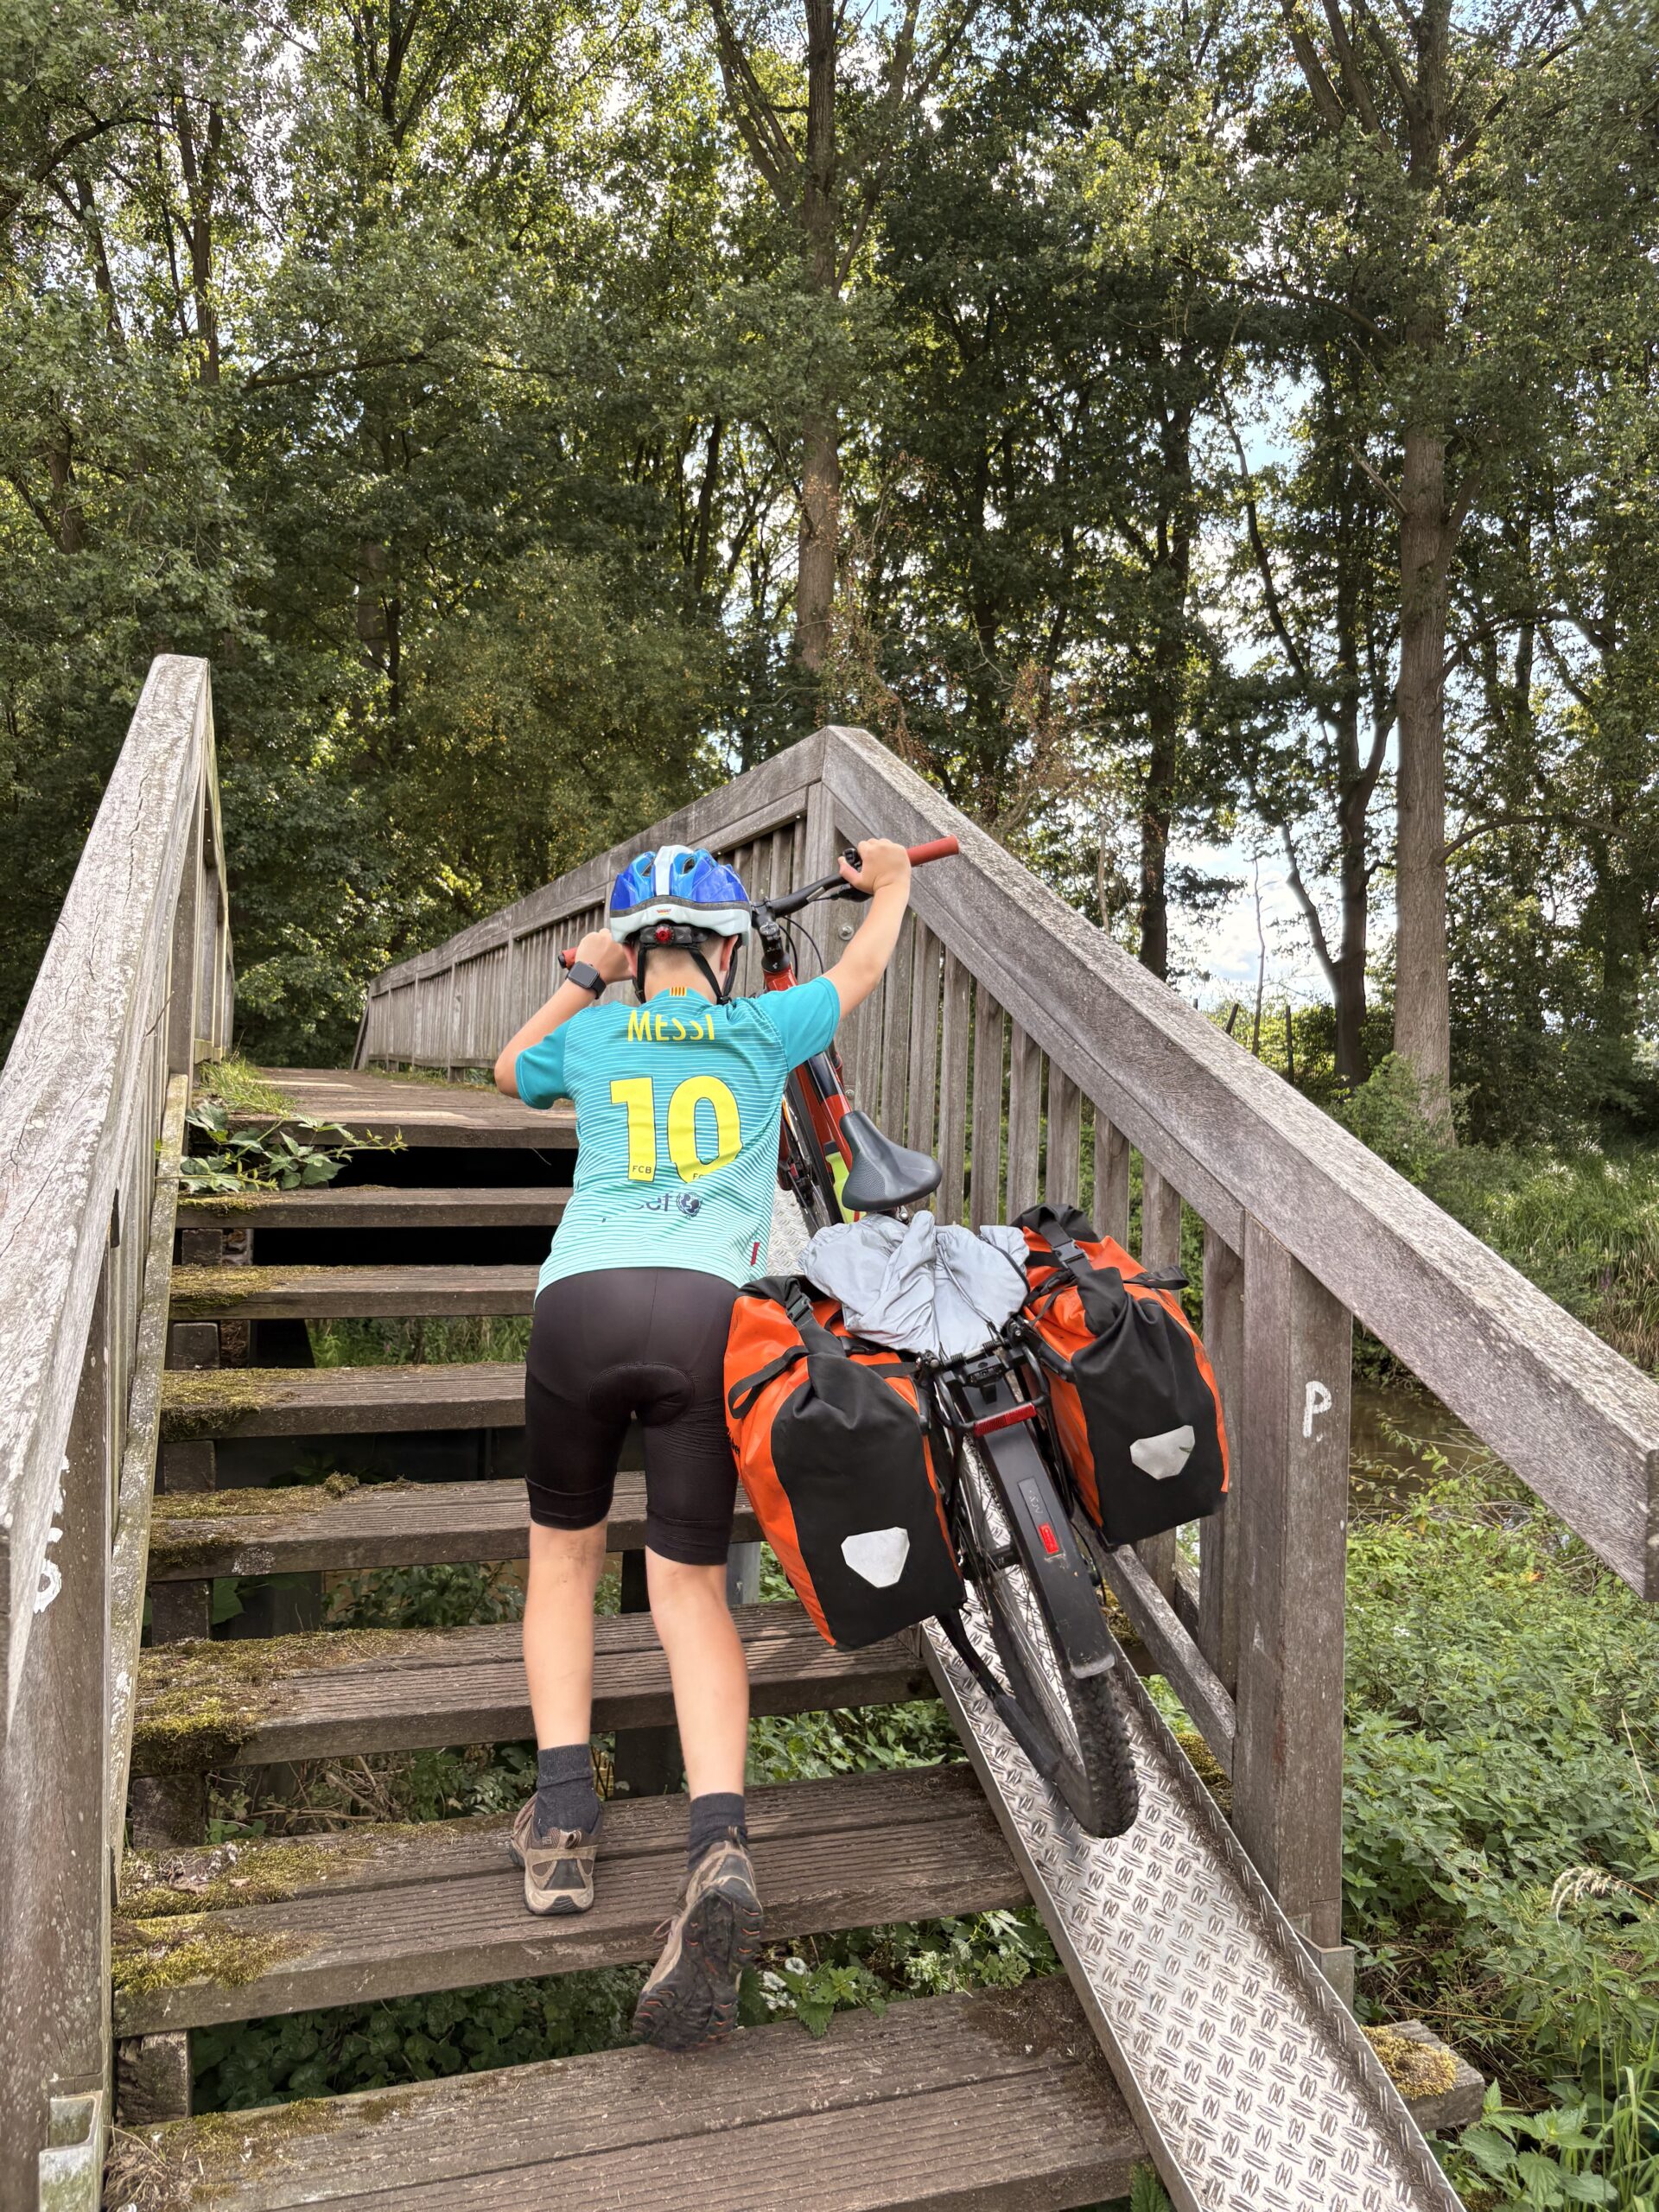
A pink cornflowerCosmos, cornflowers, etc.Marigold after the rainIn the HaardThe fire brigade watch towerAre we in Bavaria? Nope, it’s NRW!Approaching DülmenObstacle…… but nice viewpointTent is up, we are there!
With school now closed, my son’s boredom has started to show – a mix of restlessness and that familiar “what now?” look.
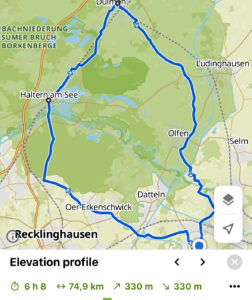
To break the routine a bit, we’re planning a small father-son cycling trip. Over the course of two days, we’ll be riding through the countryside around Haltern, Dülmen, and Lüdinghausen, with a tent strapped to the bikes and no fixed schedule.
Just a chance to slow down, camp outdoors, and spend some time together – away from screens and closer to trees … and the rain gods :-D.
Dies ist die deutsche Übersetzung des Gedichts Le Voilier, wieder in Form eines Kalligramms.
Der Segler

Des  Ostwinds  Hauch  blähte  das  Tuch,  die  Leinen  lösten  sich,
im   stillen   Morgengrauen   erzitterte   das   Segel.
Mit einem sehnsuchtsvollen Röcheln verließ er die Fahrrinne,
und sein Bug zerschnitt die widerspenstige Woge.
Das Stampfen ließ den Rumpf ächzen;
die  Wanten  klagten  im  zarten  Schweigen.
Das Gouvernail – unbeirrt – zeichnete den Kurs, ohne Umweg oder Wiederkehr;
Indessen  hielten  die  Bullaugen   die  Erinnerung   der  verwaisten  Küste  fest.
II
II
Sein Lehen wich zurück - mit unergründlicher Scheu.
II						II
Ungeduldig bäumte sich der Wind auf – die Fock knallte scharf.
Eine trotzige Gischtträne klammerte sich daran.
Sie gab nach – einen Augenblick noch verzögert durch
die raue Bordwand – bevor sie sich im Meeresabgrund verlor.
Ein Tau knarzte sein trübsinniges Lied, ein Seufzer eines schweren Versprechens.
Vom feurigen Böen gepeitscht,  zog sich sein entschlossenes Kielwasser
ins Grau des Vergessens. Sein Schatten dehnte sich in jener blauen Stunde,
gen  Horizont,  in  Aquarell   --   Lavendel  und  Tinte.
Doch hinter sich, verschmolzen mit der Morgenröte,
glaubte er den Hauch eines Blickes zu spüren,
für immer abgewandt.


                                             Jean-Christophe Berthon
Auch hier muss ich am Layout meines Blogthemas arbeiten, da es die Darstellung des Gedichts in Form eines Kalligramms unterbricht, vor allem auf Mobilgeräten.
Voici sûrement la version finale de ce poème. J’ai tenté d’en faire un calligramme, les vers prennent la forme d’un voilier de face. Je dois toutefois adapter le thème de mon blog pour améliorer le rendu. Demain, je commence la traduction allemande.
Le Voilier

La brise du Levant gonfla la toile ; les amarres se délièrent,
Faisant frémir la voile dans la quiétude de l‘aurore.
D’un râle langoureux, il franchit le chenal,
Et  sa  proue  fendit  l’onde  rétive.
Le  tangage  fit  geindre  sa  carène ;
Les  haubans  gémirent  dans  ce  silence  ténu.
Le safran - obstiné - traça le cap sans détour ni retour ;
Tandis que les hublots retenaient la mémoire de la côte désolée.
II
II
Son fief s’éloignait, avec une insondable retenue.
II						II
Le vent, impatient, rua - le foc claqua d’un coup sec.
Une larme rebelle d’écume s’y agrippait.
Elle céda - un instant encore retardée
par le bordé rêche - avant de se perdre dans l’abîme.
Un cordage grinça d’un chant morose, soupir d’une promesse difficile.
Cinglé de bourrasques fougueuses, son sillage décidé se dessinait
dans l’oubli. Son ombre s’étirait en cette heure bleue
vers un horizon en aquarelle - lavande et encre.
Mais derrière lui, fondu dans l’aube, il crut sentir
 le soupçon d’un regard
à jamais tourné.


                                             Jean-Christophe Berthon
En traduisant ce poème en allemand, j’ai dû corriger quelques petites coquilles. Par exemple, j’ai découvert que le vent du Ponant est un vent méditerranéen qui souffle d’ouest en est. Or, j’imaginais plutôt ce voilier quitter la Bretagne en direction de l’ouest. J’ai aussi corrigé quelques termes de marines, parce que ce n’est pas facile de rester sur le pont dans la houle sans trébucher sur un cordage…
J’ai voulu écrire un nouveau poème, après la montagne, c’est vers la mer que je me suis tourné. C’est une première ébauche. J’ai envie de travailler quelques tournures et découpages de vers, et de penser sur le rythme. Mais j’aime bien déjà ce résultat.
Le Voilier

Le souffle du Ponant gonfla sa peau de toile,
Elle frissonna, puis ses amarres se délièrent.
D’un râle discret, il franchit le chenal,
Et de sa proue muette, il fendit l’onde.
Le tangage fit geindre sa carène tendant les haubans
Qui gémirent dans le silence ténu.
Le safran traça le cap, seul maître à bord,
Tandis que les hublots fermés rêvaient la côte désolée.

Son fief s’éloignait, avec une insondable retenue.

À son foc, une larme d’écume s’agrippait,
Glissa sur la bordée, et se perdit dans l’abîme.
Un cordage grinça d’un chant morose,
Soupir d’une promesse difficile.

Propulsé par les vents, porté par les courants,
Son sillage, décidé, se dessinait dans l’oubli.
Son ombre s’étirait en cette heure bleue
Vers un horizon en aquarelle de lavande et d’encre.
Mais derrière lui, fondu dans l’aube,
Flottait le soupçon d’un regard à jamais tourné.
Update: Ich habe die deutsche Übersetzung aktualisiert, die nun besser zu den Gefühlen und Wahrnehmungen des französischen Originals passen sollte. Das französische Gedicht ist jedoch noch nicht fertig (es gibt einige Verse, an denen ich noch arbeiten möchte).
Ich wollte dieses Gedicht auf Deutsch übersetzen. Aber es war mir zu schwer. Ich habe eine KI gefragt, und ich denke, dass das Ergebniss anders klingt, aber trotzdem OK. Und für jeden Vers bat ich um Varianten mit einer Erklärung der Unterschiede. Dann versuchte ich, jeden Vers mit diesen Informationen zu konstruieren, und bat dann um ein Korrekturlesen, um den Text grammatikalisch zu korrigieren. Ich benutzte eine andere KI, um eine Rückübersetzung anzufertigen, um zu sehen, ob die Gegenüberstellung einen französichen Text ergab, der das ausdrückte, was ich beabsichtigt hatte.
Der Segler

Der Hauch des Ponant blähte seine Segelhaut,
er erzitterte, dann gaben seine Leinen nach.
Mit einem leisen Röcheln passierte er die Fahrrinne
und mit stummem Bug durchschnitt er die Flut.
Das Stampfen ließ den Rumpf ächzen,
die Wanten spannten sich und klagten im zarten Schweigen.
Das Gouvernail zeichnete den Kurs, alleiniger Herr an Bord,
während die geschlossenen Bullaugen von der verwaisten Küste träumten.

Sein Lehen entschwand mit unergründlicher Zurückhaltung.

An seinem Fock klammerte sich eine Schaumenträne,
glitt an der Bordwand entlang und verlor sich im Abgrund.
Ein Tau knarrte in klagender Melodie,
Seufzer eines schweren Versprechens.

Von Winden getrieben, von Strömungen getragen,
zeichnete sich seine entschlossene Kielspur ins Vergessen.
Sein Schatten reckte sich in jener Blauen Stunde
einem Horizont aus Lavendel- und Tintenaquarell entgegen.
Doch hinter ihm, im Schmelz der Morgendämmerung,
schwebte der Hauch eines für immer abgewandten Blickes.
Am Anfang lohnt es sich, den Blick kurz zur Ruhe kommen zu lassen. Samstag nutze ich gern, um inspirierende Fotos zusammenzutragen. Werde dabei nicht ungeduldig; eine sorgfältige Auswahl schärft das Auge. Ich sortiere Motive nach Licht, Form und Stimmung. Nicht jedes Bild taugt zum Vorbild – wähle bewusst. Vorbeikommen kann außerdem jederzeit eine spontane Idee, die alles umwirft.
Bevor du überhaupt zum Bleistift greifst, lohnt es sich, eine vielfältige Sammlung von Bildern anzulegen. Suche nach Fotos, die die ganze Pflanze oder sogar ein Beet zeigen, ebenso nach Nahaufnahmen, die den Moment des Aufblühens oder die seidige Oberfläche eines Blütenblatts einfangen. Je mehr Varianten dein Auge sieht, desto tiefer wird dein Verständnis des Motivs.
Vertiefe anschließend dein Wissen: Ein Wikipedia-Artikel oder ein botanischer Führer genügt meist, um die typische Anordnung der Blüten, die Zahl der Blätter und mögliche Farbvariationen kennenzulernen. Diese Recherche verhindert Proportionsfehler und schenkt vor allem das Selbstvertrauen, die Pflanze interpretierend statt mechanisch zu kopieren. Um das Gelernte festzuhalten, gestalte ein Moodboard – analog oder digital. Indem du deine Lieblingsfotos dort sammelst, entsteht eine schnelle Referenz, die dich während des ganzen Prozesses inspiriert.
Die Grundformen skizzieren
Es hilft, mit einer klaren Struktur zu starten. Ist die Mittelachse gesetzt, entsteht sofort Ordnung. Noch bevor Details auftauchen, erkennst du die Proportionen. Zu viele Linien am Anfang verwirren nur. Früh erprobst du leichte Striche, die sich später gut anpassen lassen. Für stabile Formen genügt ein lockerer Griff. Ein gleichmäßiger Druck vermeidet harte Kanten. Wiedersehen wirst du diese ersten Markierungen erst, wenn die Komposition steht.
Grundformen skizzieren
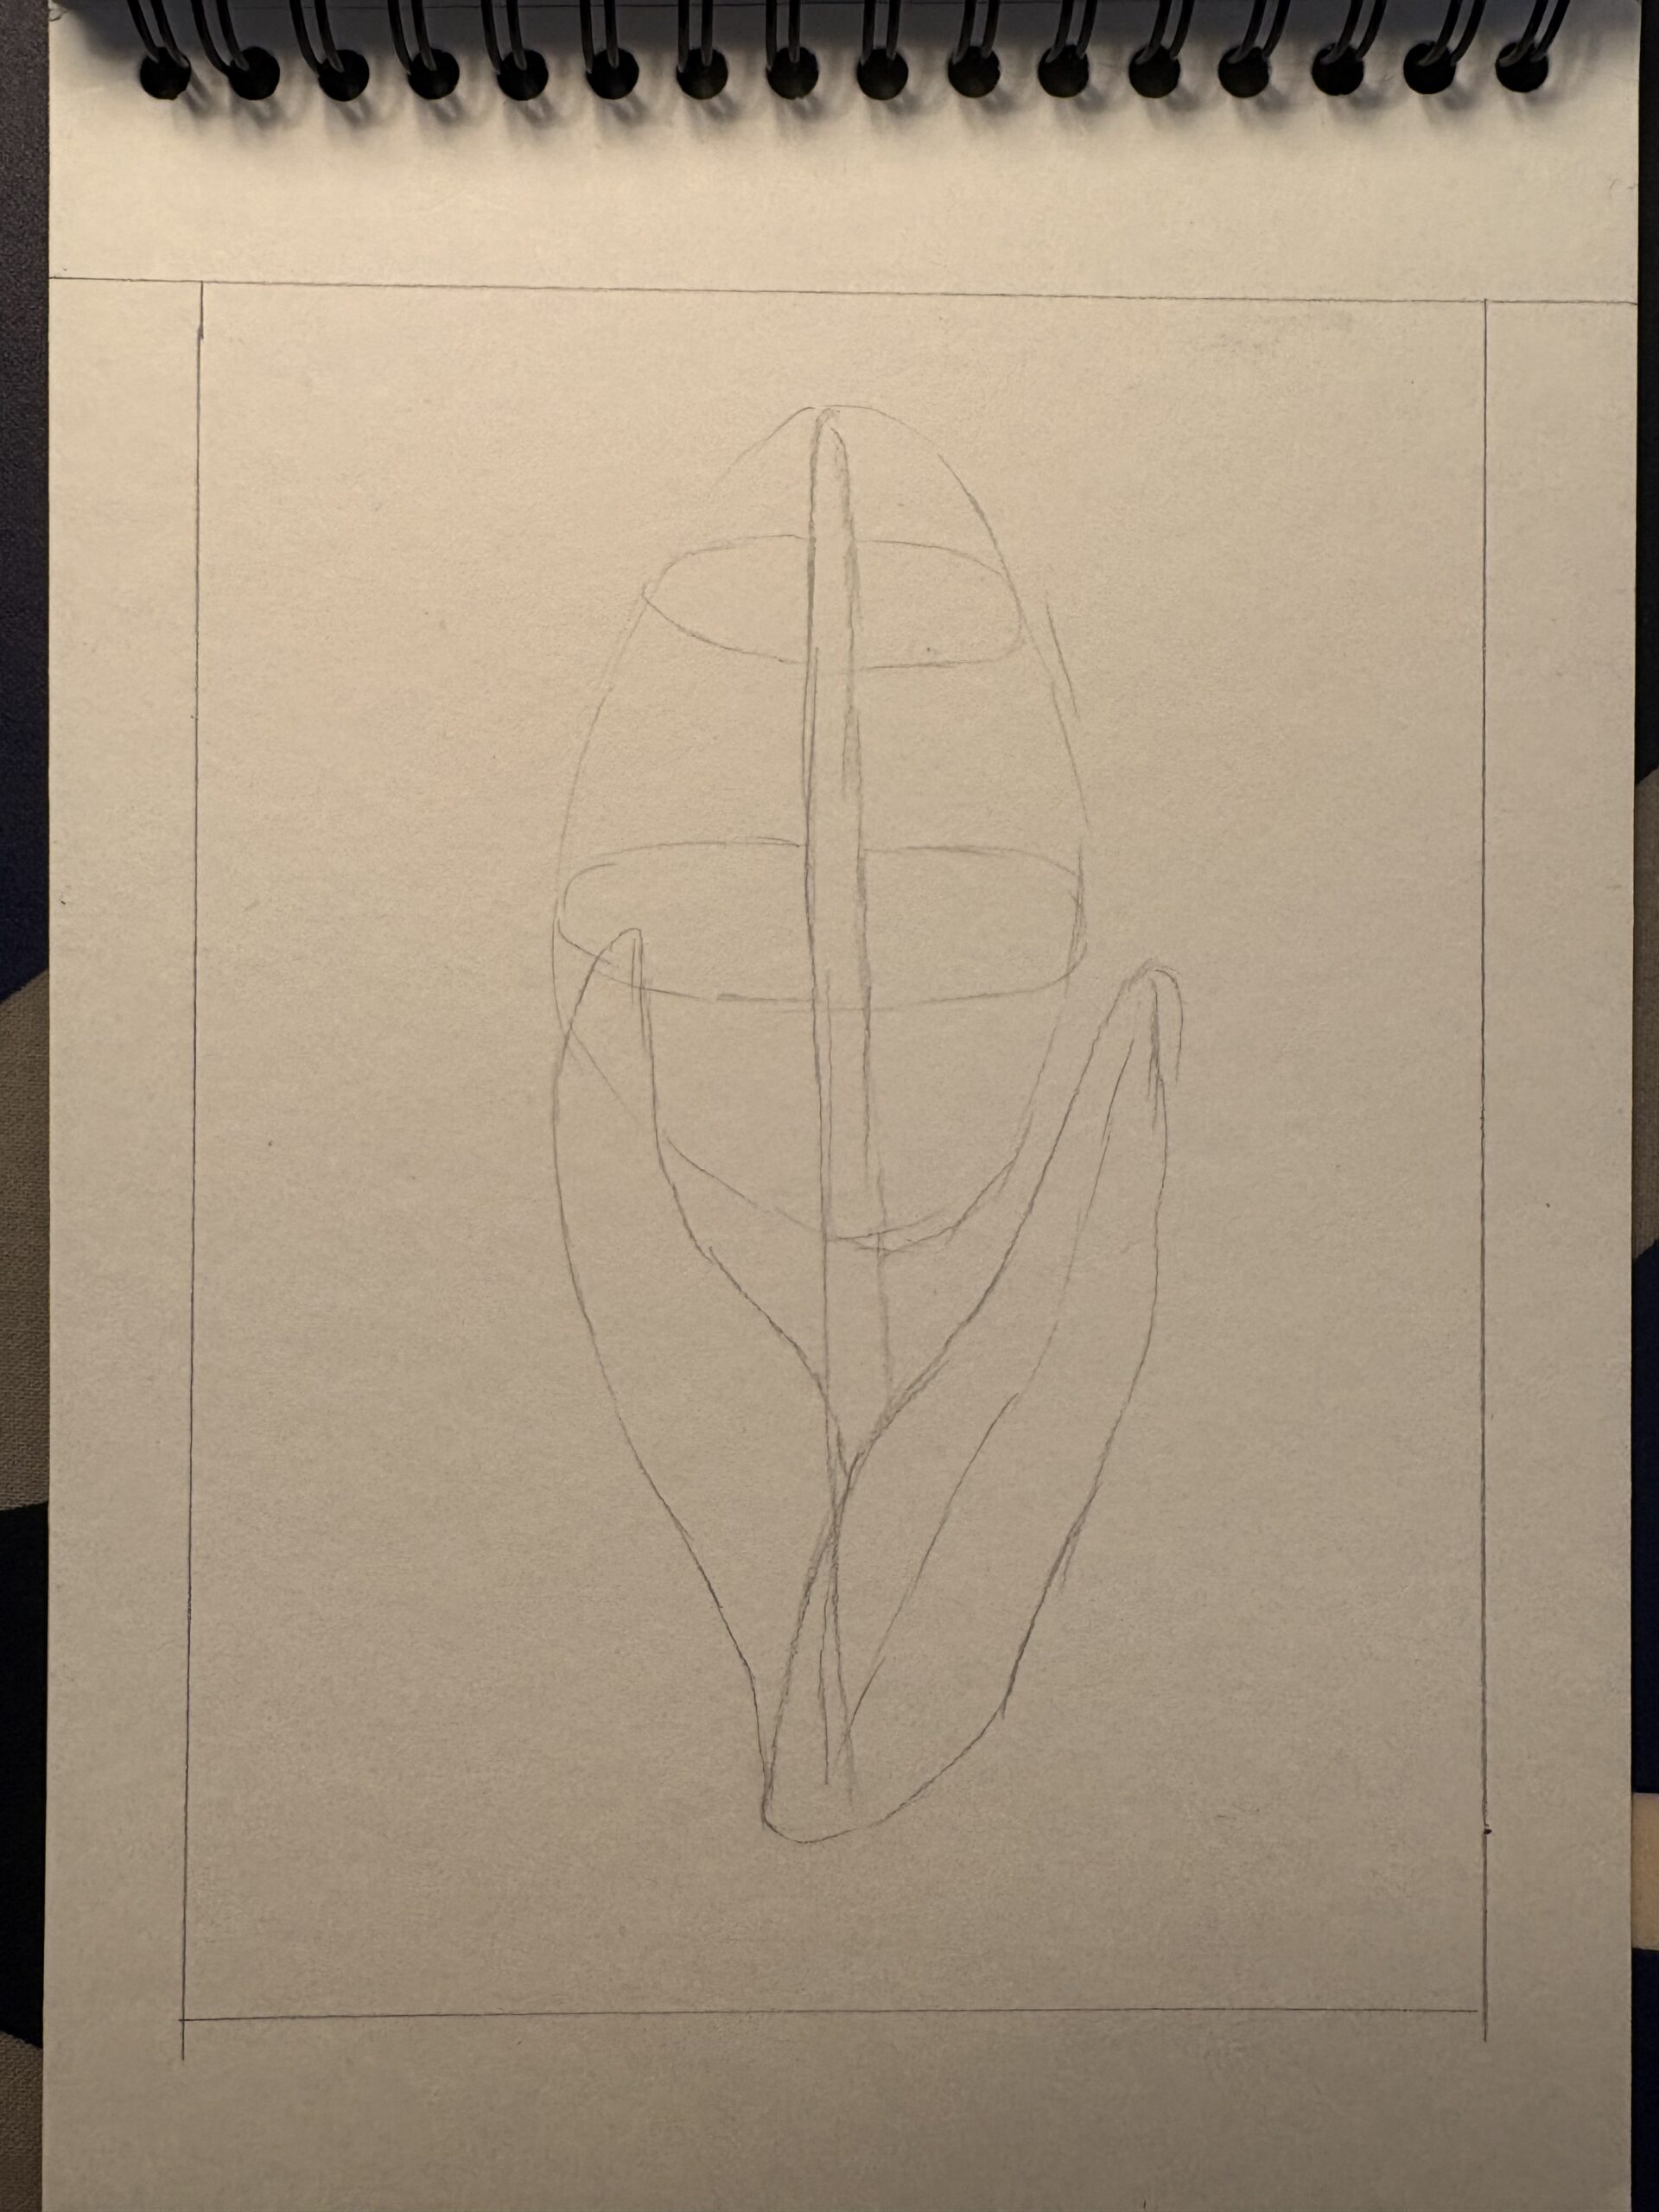
Sobald das Referenzmaterial bereitliegt, setze den ersten Graphitstrich aufs Papier. Zeichne zunächst die vertikale Achse des Stängels – sie bildet die Wirbelsäule deiner Komposition. Skizziere um diese Achse einen hauchzarten Zylinder; darin werden später die Blüten Platz finden. Am Fuß der Pflanze legst du zwei lange, bandförmige Blätter an, bloße Silhouetten, die die Zeichnung erden; weitere Blätter lassen sich bei Bedarf ergänzen. Diese Phase bleibt bewusst grob: Es geht darum, die großen Massen zu positionieren, nicht sofort um Präzision.
Die Blüten Schritt für Schritt aufbauen
Diese Etappe dreht sich um einzelne Blüten. Entscheidung für ihren Rhythmus triffst du schon jetzt. Habe deshalb den Aufbau der sechs Blütenblätter präsent. Ich drehe das Papier leicht, um die Spirale zu prüfen. Aus kurzen Notizen entsteht oft ein konkreteres Bild im Kopf, noch bevor der Stift es zeigt. Respekt vor dem natürlichen Schwung bewahrst du, indem du locker bleibst. Vor jeder neuen Blüte kontrolliere die Gesamtsilhouette. Dir fällt dann auf, wie organisch sich das Muster fortsetzt.
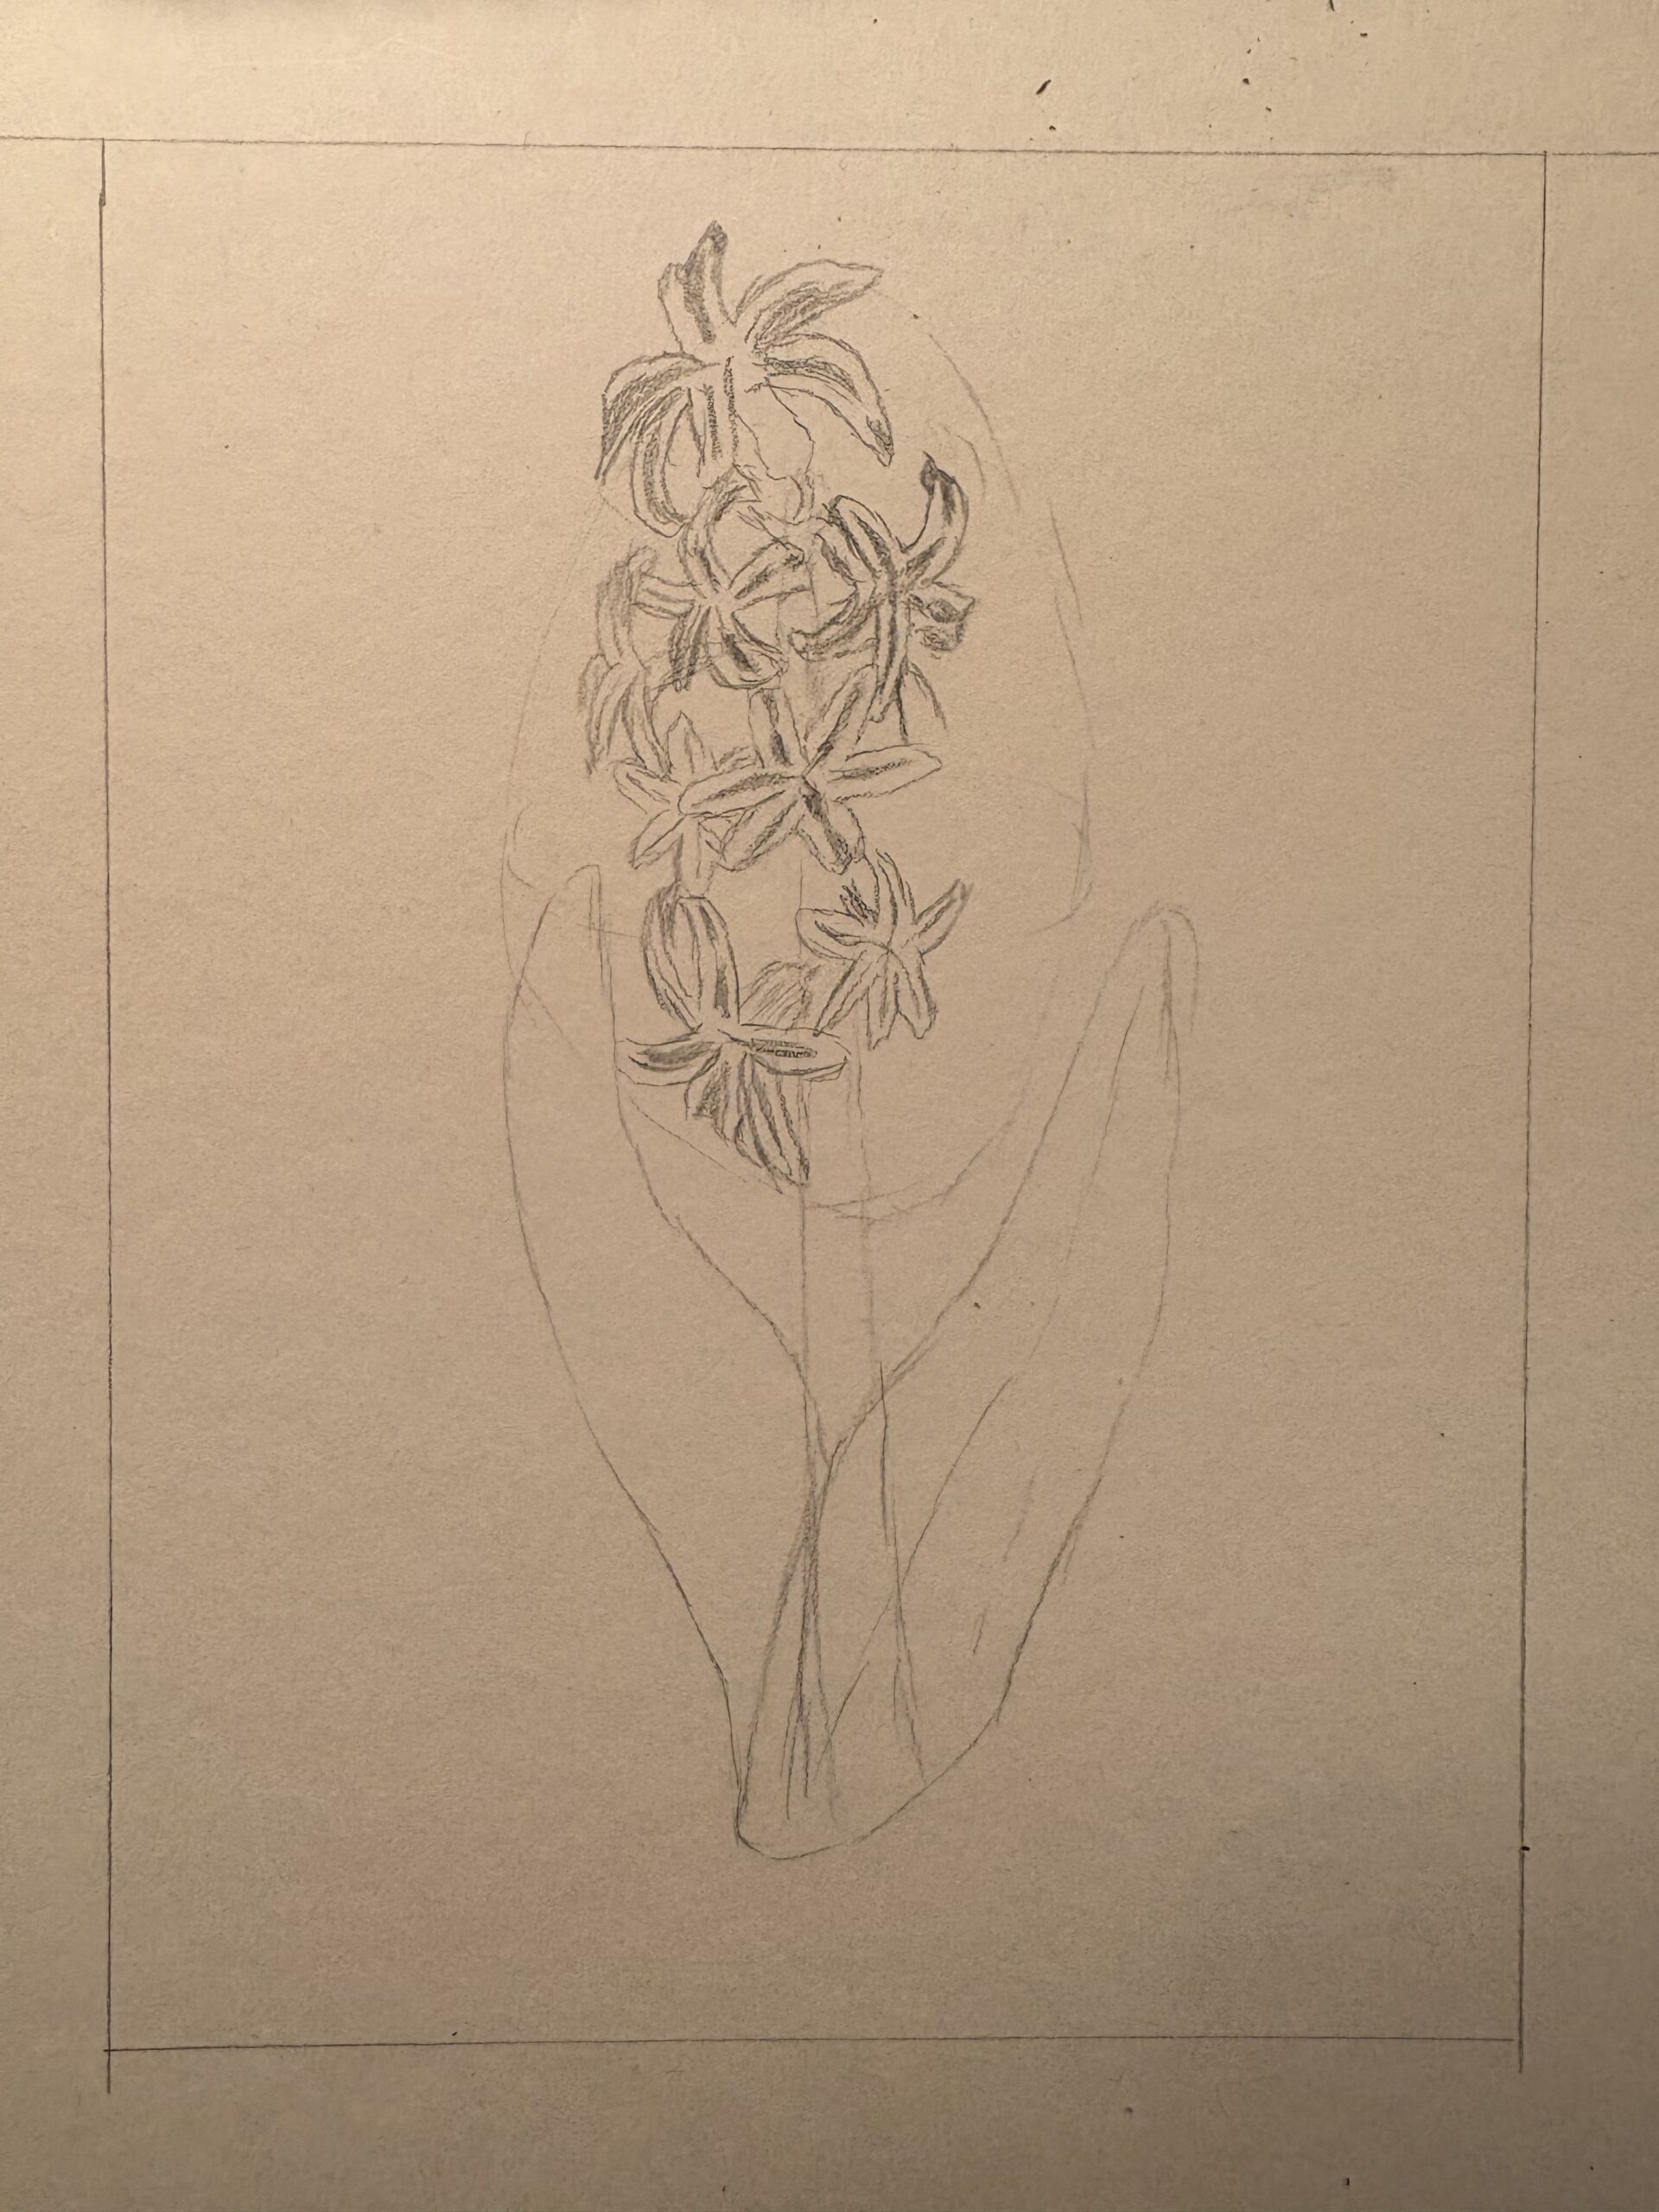
Richte deine Aufmerksamkeit nun auf eine einzige Blüte. Eine Hyazinthe besitzt fast immer sechs Blütenblätter: drei sich gegenüberliegende Paare, die um ein winziges Zentrum kreisen. Um dir diese Struktur einzuprägen, setze zunächst sechs federleichte Striche in Sternform, so zart, dass sie später spurlos wegradiert werden können. Umschließe jedes Segment dann mit dem weichen Umriss eines Blütenblatts.
Wiederhole das Ganze einige Male, bis die Hand den Rhythmus verinnerlicht hat. Sobald die Bewegung vertraut ist, neige die Kronen, platziere einzelne Blüten im Profil oder Dreiviertel-Winkel, damit die natürliche Drehung um den Zylinder erhalten bleibt. Nach kurzer Zeit entsteht ein spiraliges Muster, das die Gesamtsilhouette des Blütenstands deutlich macht.
Blüten und Details aufbauen
Den Blütenstand füllen und verfeinern
Und sobald der Raum dicht wirkt, wechselst du zu den Blättern. Uns helfen dabei dezente Schraffuren, die Volumen andeuten. Getroffen werden Lichtakzente erst ganz zum Schluss.
Arbeite weiter, bis der für die Blüten reservierte Raum dicht und lebendig wirkt. Kehre dann zu den Blättern zurück: Füge ein oder zwei hinzu, betone die Mittelrippe und spiele mit Halbtönen, um ihre fleischige Textur hervorzuheben. Auf dem Stängel setzt du gezielt Lichtakzente; zwischen den Blütenblättern vertiefst du unaufdringliche, aber entschlossene Schatten. Die allmählich aufgebauten Hell-Dunkel-Werte verleihen Volumen, ohne die Frische der ersten Skizze zu ersticken.
Ich muss auch selbst noch weiter daran arbeiten, deshalb habe ich noch keine weiteren Bilder von meiner Zeichnung. Ich hoffe, dass ich sie in den nächsten Tagen hinzufügen kann.
Zeichnen, um zu empfinden
Jede gestalterische Entscheidung – ob du frisch erblühte oder verwelkte Blüten zeichnest, die Pflanze im Topf oder im Gartenboden zeigst, Tau, Regen oder Reif einfügst – ist eine Gelegenheit, eine innere Stimmung auszudrücken. Frage dich: Fühle ich mich zur Lebenskraft eines frühlingshaften Bouquets hingezogen oder zur sanften Melancholie eines verdorrten Stängels? Indem du diese Resonanzen wahrnimmst, übst du Achtsamkeit: Du beobachtest deine Emotionen, nimmst sie ohne Urteil an und verwandelst sie in Linien, Schatten und Nuancen.
Zeichnen als Teil einer emotionalen Selbstfürsorge
Das Zeichnen ist nur eine von vielen Türen zur Gegenwärtigkeit. Ein Spaziergang, ein Musikstück oder einige Yoga-Positionen können dieselbe Funktion übernehmen. Ein persönliches, flexibles „Achtsamkeits-Set“ aus verschiedenen Praktiken zu gestalten hilft oft, kontrastreiche Tage zu meistern: An einem Nachmittag beruhigt der Skizzenblock, am nächsten vervollständigt der Gang durchs Viertel den Prozess. Entscheidend ist das Lauschen auf die Bedürfnisse des Augenblicks und die Freiheit, das Medium zu wechseln, sobald der innere Impuls es verlangt.
Persönlich entdecke ich Aktivitäten wie Zeichnen, Wandern, Radfahren, Beobachten oder Schreiben wieder. Ich schreibe gerne kurze Texte oder Gedichte, oder spiele einfach mit Worten Diesmal haben nur bestimmte Sätze eine andere Bedeutung
Fazit
Ich fasse zum Abschluss die Essenz zusammen. Werde beim Zeichnen bewusst langsamer als gewohnt. Euch wird auffallen, wie sich mit jedem Strich das Bewusstsein klärt. Sehr schnell verschwindet der Drang nach Perfektion. Vermissen wirst du nichts, wenn du ganz im Augenblick zeichnest.
Eine Hyazinthe zu zeichnen ist folglich nicht bloß eine botanische Beobachtungsübung; es ist eine Einladung, das Tempo zu drosseln, bewusst zu atmen und sich selbst wie in einem weichen Spiegel zu betrachten. Ganz gleich, ob du Anfänger*in oder bereits erfahren bist, lass deine Stifte dem Atem folgen; Blütenblatt für Blütenblatt entsteht sowohl eine grafische Blume als auch ein feineres Bewusstsein für den gegenwärtigen Moment. Eine inspirierende Entdeckungsreise wünsche ich allen Zeichnenden.


 )
)