There are many ways to harden a Docker container, one is to make the container layer read-only.
This might be a marginal improvement to security, first your application should not run as root or has special privileges (e.g. CAP_DAC_OVERRIDE), so there is limited risk that an attacker exploiting a vulnerability of your application can modify sensitive applications. However, if you install your application within a Dockerfile as the application user (e.g. using bundle install) make the base layer read-only might protect it from unwanted modification.
I also like the idea of an immutable base layer and clearly identifying the writing data and if they should be persisted or not. I also relate that to security, because the better you know the behaviour of an application, the better you can adapt a confinement for it.
Setting the base layer read-only is somewhat challenging. Setting a container image to read-only is simple, there is a --read-only flag to the docker run command. But identifying which data is written by the containerised application can be a challenge One task is thus to identify all written data and defining of they should be persisted in a volume or not persisted. In the latter case, one could then use a tmpfs volume or a local volume (in a Swarm cluster).
We are going to use Docker layering approach to identify the written data. How to check the difference varies depending on the storage backend and they are too numerous for me to list each cases, I might complete the article in the future but today I will show how to use the BTRFS and Overlay2 backend.
Two years ago I was publishing a post to build docker-compose on an ARM machine. Nowadays, you can find docker-compose on PyPI. However, if you intent to run docker-compose on a platform without Python dependencies, you might still be interested in my guide which generates an ELF binary executable.
My previous guide has worked well until release 1.22.0 after which the Dockerfile.armhf (which was merged) has been upgraded to match the changes for the X86-64 platform but broke my build instructions. The builds seems to work and generate an executable but it fails to run due to missing dependencies:
+ dist/docker-compose-Linux-armv7l version
[446] Failed to execute script docker-compose
 Traceback (most recent call last):
   File "bin/docker-compose", line 5, in
     from compose.cli.main import main
   File "/code/.tox/py36/lib/python3.6/site-packages/PyInstaller/loader/pyimod03_importers.py", line 627, in exec_module
     exec(bytecode, module.dict)
   File "compose/cli/main.py", line 13, in
     from distutils.spawn import find_executable
 ModuleNotFoundError: No module named 'distutils'
I have not found the root-cause of the problem as I am not familiar with tox, but it looks like a configuration problem of that tool. So I decided to simply use Python3 built-in virtualenv.
As in my previous guide, you need to clone the repository and choose a branch. You can take the release branch or a specific version branch (e.g. bump-1.23.2).
The two next shell commands should modify the original build script to use virtualenv and to add the missing dependencies (which are correctly installed in the tox environment but would be missing in ours).
$ sed -i -e 's:^VENV=/code/.tox/py36:VENV=/code/.venv; python3 -m venv $VENV:' script/build/linux-entrypoint
$ sed -i -e '/requirements-build.txt/ i $VENV/bin/pip install -q -r requirements.txt' script/build/linux-entrypoint
Now you can follow the exact same steps as in the previous guide. In summary:
Hard Disk DriveFor one of my Raspberry Pi, I am maintaining myself my own kernel. By that I mean that I’m using the kernel repository from the Raspberry Pi Foundation but I am defining the configuration of the kernel myself. My goal is to make the kernel low latency, hardened and with specific drivers compiled instead of given as modules.
Recently I upgrade it to kernel version 5.0.0-rc8 and now to 5.0.0. At first I thought there was an error in the RC8 because I did not see the CFQ (Complete Fair Queue) or Deadline I/O schedulers (block layer I/O schedulers). But when the stable version was out, there was no longer a doubt, either they had been moved to a new section or removed. The new default scheduler was the mq-deadline Multi-Queue Block scheduler and there are two other alternatives as module: BFQ (Budget Fair Queueing) and Kyber.
Linux kernel 5.0+ is defaulting to blk-mq
I then discovered that Linux kernel 5.0.0 has dropped support for the legacy block schedulers and now only support the multi-queue block (blk mq) schedulers. That is a very interesting move, the multi-queue schedulers should provide better scalability so performances by using parallelism in hardware. On the desktop or a Raspberry Pi, I do not expect to see any improvements, but for servers there could be a win.
This is the fourth blog post about my home network improvements series. I am sorry it is taking me so long to write all those posts, but each takes a lot of hours to write and I am balancing my life more towards family at the moment. I hope you can bear with me until the end.
Walls need to adapt to their environment
In the previous post, we presented installed the OS and set up networking and routing.
We will now see how to add another very important feature the firewall.
Creating a basic router, defining the network and routing (published)
Adding a firewall to our router (this post)
Providing basic network services, DHCP and DNS (to be published)
Testing the firewall (to be published)
Extra services (to be published, could be splitted in more than one post)
So today’s post will present a simple but secure firewall installation.
As I have said in a previous article, I want to try out nftables instead of using iptables. But we will continue iterating on the previous post and use iptables instead one more time. I want to have a working router and then I can think of switching to nftables and solving integration with other tools.
A Basic Firewall
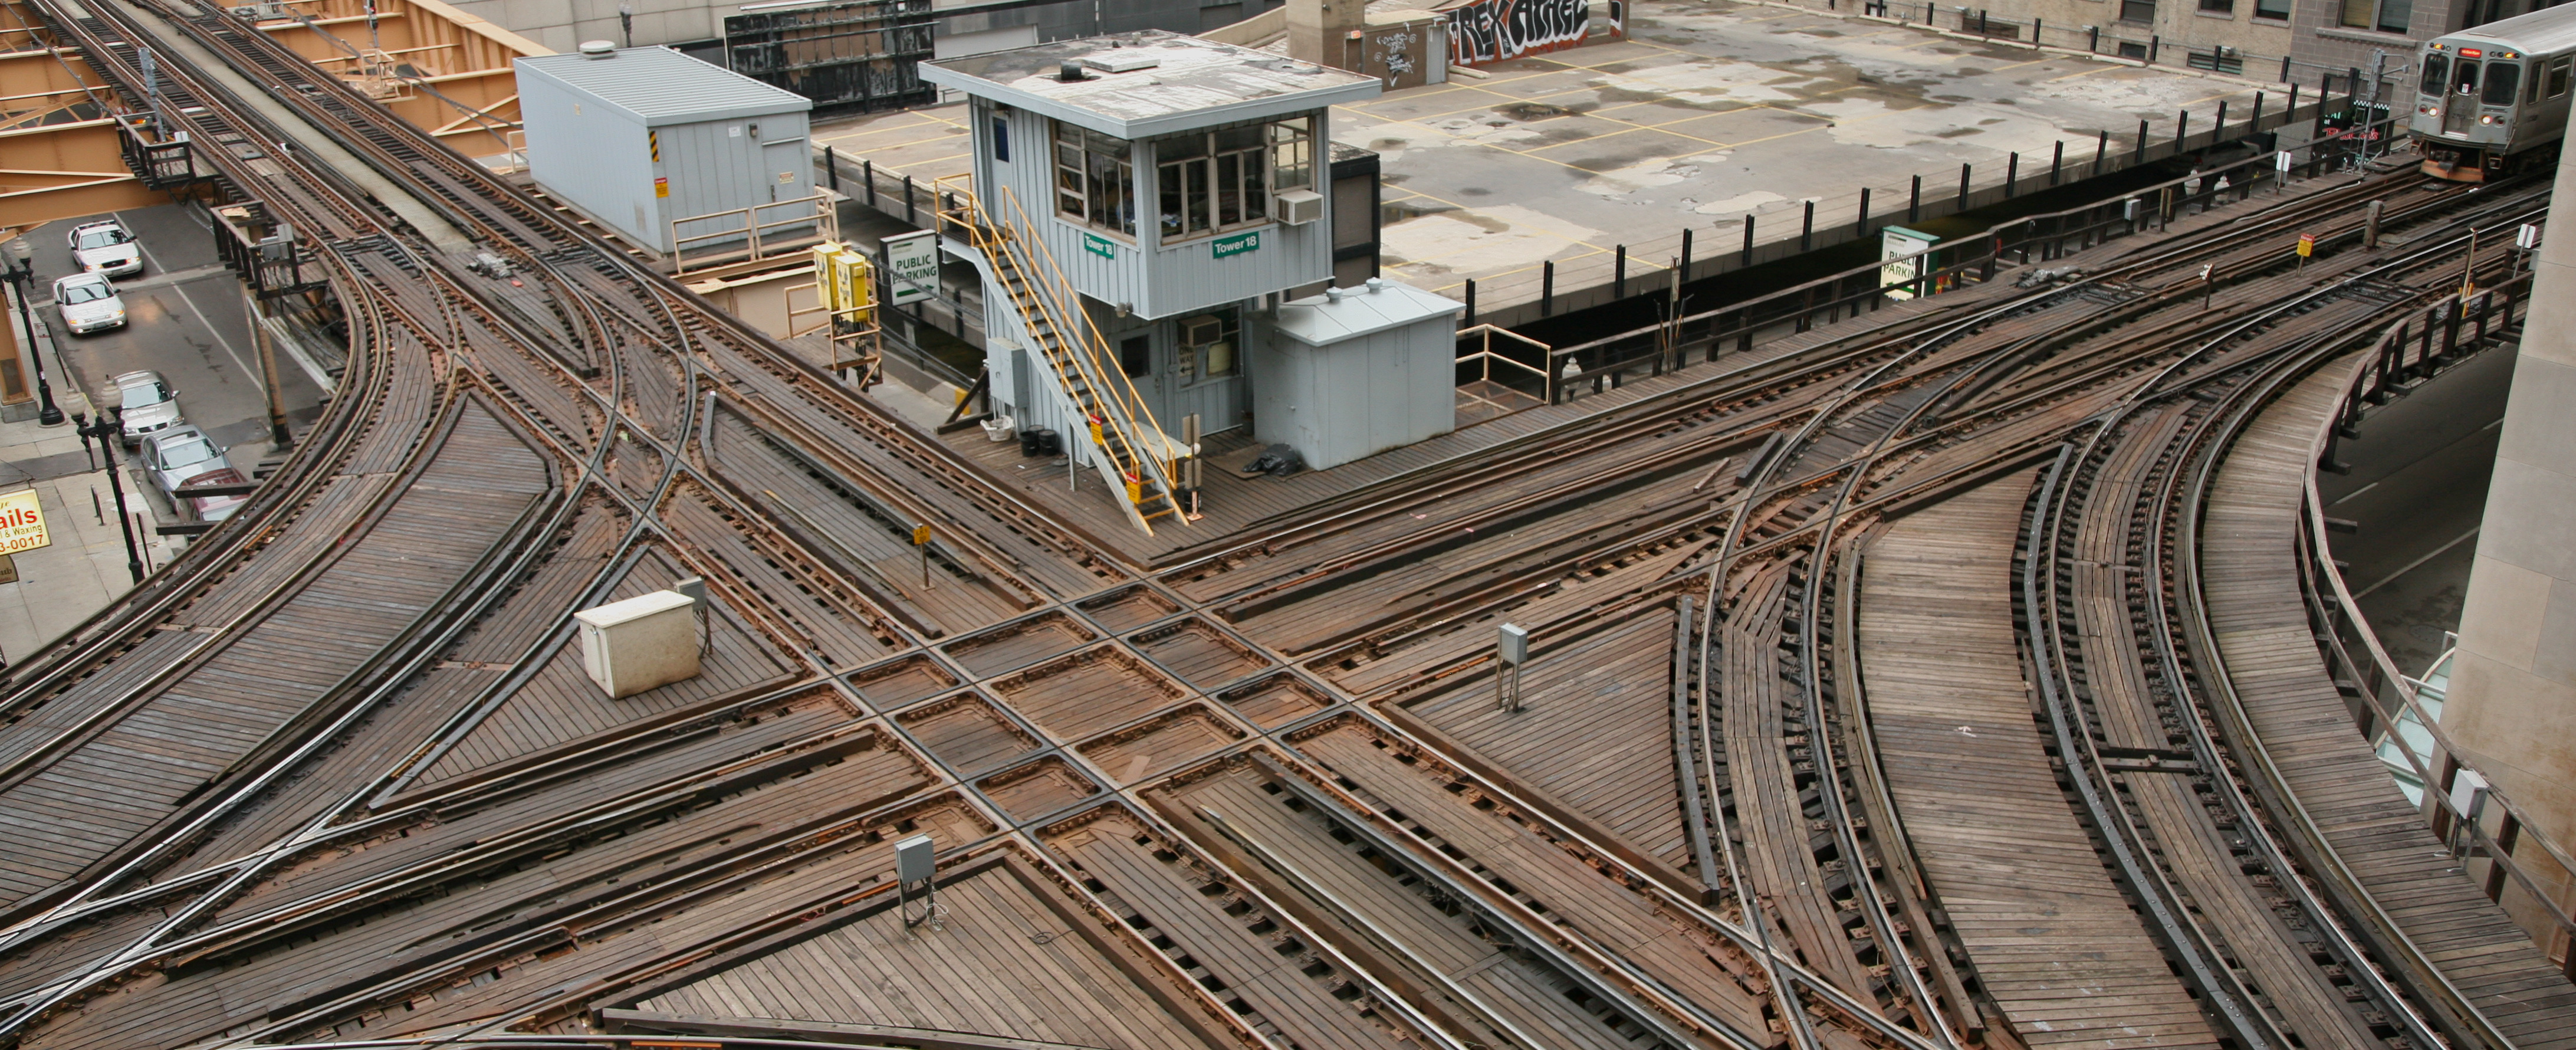
Firewall
We will use iptables command line to populate the firewall rules. As changing those rules from the command line is not persistent, a simple reboot will restore your OS in the previous configuration so if things do not workout or if we get locked out by a wrong rule, just reboot and restart to setup your firewall. Once we will be happy with the firewall, we will save the rule set and make it permanent.
For rules, we obviously do not want any traffic coming from the WAN to establish new connections inside our LAN or on our router. Only established connections should be allowed through, e.g. an HTTP response is allowed through the firewall so that we can browse the internet. We want some network services to still function, like ICMP or DNS messages to pass through the firewall. We do not want to filter the outgoing traffic for the moment, so everything from the LAN is allowed to reach the WAN.
I like to set default policies for the different iptables chains instead of relying on the last rule to do the policy for me. However, in order to avoid getting locked out, we will set those policies at the very end and always start by defining what is allowed. In order to define our firewall, we will work first with the main chains of the filter table (the default one). Mostly caring of incoming packets and IP forwarding rules.
Providing basic network services, DHCP and DNS (to be published)
Extra services (to be published, could be splitted in more than one post)
So today’s post will present in order:
OS installation
Network interfaces configuration
Discussion on what is routing, with activation of packet forwarding, Network Address Translation (NAT) and IP Masquerading
For some items we will see today, we will start with basic functionalities that we will improve or iterate in subsequent posts. As I have said in a previous article, I want to try out nftables instead of using iptables. But many tools I would like to use to quickly create a router are still only supporting iptables as backend, and you cannot mix iptables and nftables. Such tools include systemd-networkd, Docker, or the version of firewalld which Ubuntu is currently supporting (note that firewalld version 0.6+ does support nftables as a backend). So in this first iteration and in order to relatively quickly create a basic router, we will use mostly iptables either through systemd-networkd support or via other tools.
There is a subject which seems to be completely abstruse to many users of containers on Linux, it is about sharing data between a host and a container or between containers.
I do think that solving this problem is not much different than it is without containers on Linux and on Unix. From my perspective, there is no much difference between managing file permissions with or without containers, the big change for me is the introduction of namespaces, especially the user namespaces.
So what is exactly the problem? And where does it come from?
The problem is that when running a process within a container, that process will run with a certain user and group ID (respectively UID and GID) and that those IDs might differ from the ones of the caller (the user creating and running the container), this might not be obvious. This is especially true with container technologies like Docker which by default will run the process within the container as root (unless overridden in the Dockerfile or command line) when any user with write access to the Docker socket can create such container. So you have by default a discrepancy for the UID and GID between the caller – probably a standard user – and a random Docker container.
In traditional Unix / Linux, this is “normal” or “expected” behaviour. You usually cannot run a process as root from your normal user unless you use sudo or a setuid program, so usually you do not have the problem that a program you launch might have different UID/GID than your own user. And when you use a program with sudo you understand that this might become a problem, so if you use sudo to run `tcpdump -w net-trace.pcap` you know the file net-trace.pcap will be owned by root and that you might not be able to access or delete it. This reflex needs to apply to running a container as well.
When you have done Unix/Linux development most of your career – and that you have adopted the principle of least privileges … I still know of few people only using the root account – you are used to create application that will run in the background (as a service) under a dedicated user and for which you need to handle the permissions for the data this application might need to use. So introducing containers (without user namespaces) should not bring any surprise here, it is part of the expectations. But you will see later that you can still be bitten by some edge cases from the container implementation.
So, let us see how to fix this problem of User/Group ID and file permissions. Note that the solution would be similar if you would use containers or not, and applies to all container implementations (e.g. LXC, Docker, etc.). Then, for everyone, we will see how to handle file permissions when using user namespaces (hint, the principles are the same, but it requires a few extra steps to understand what will be the effective UID/GID). Finally, in the case of Docker, we will see a few edge cases where you can still get off guard with respect to file permissions and volume declaration inside a Dockerfile.
Gateway Appliance – License CC BY-SA by Cuda-mwolfe
In the previous post, we have evaluated our options for a new router and the conclusion was to build the hardware from PC parts and to install OPNsense. However, given that our selected PC parts are a bit too recent, the embedded NIC (a i219V) inside the intel B360 chipset is not yet recognised by the underlying FreeBSD core.
Therefore, we will now see how to build a router from scratch based on Ubuntu 18.04 LTS. I will only configure it for IPv4 as currently my ISP provides only IPv4 connectivity. I am currently planning a series of several posts including that one, I will update that list along the newer articles:
Router features list (this post)
Creating a basic router (to be published, could be splitted in more than one post)
Extra services (to be published, could too be splitted in more than one post)
Disclaimer: I am not a security engineer, although I am very familiar with many aspects of security and security analysis. I am also not a network engineer, although I am very knowledgeable in network protocols, network programming and network security. This article is an exercise for me to see how far I can build a router for SOHO purpose. I make no warranty that it works as intended, nor that I will maintain this article to keep it up to date with respect to network technology and threats. Use at your own risk.
Note: I am mostly going to avoid using any Ubuntu specific tools but of course some will be unavoidable (e.g. network IP address configuration). So this guide should apply to other Linux distributions. Of course there will be some adaptations to do, especially with respect to configuring the network interfaces as there are so many different tools to do that.
Currently my home network is pretty simple … at least for a computer scientist!
Gateway Appliance – License CC BY-SA by Cuda-mwolfe
My ISP provided an all-in-one box with TV, landline and network router. The latter being very limited and with a crap WiFi access point (AP). So I’ve been using my old Asus RT-AC68U router as a gateway, a 24 ports switch and a Ubiquiti Unifi AP for providing WiFi in the complete house (and garden). The router and switch went into the basement whereas I’ve placed the AP roughly in the house centre. The ISP box could not be configured as bridge but supported to set a DMZ host, so I’ve configure the Asus router to be the DMZ.
So I’m using only 2 ports on my router (or more exactly network gateway), the WAN and one on the LAN. This router is the peace in my current network I want to change and I will explain why and how.
If you administer a Ubuntu server or if you are a power user, you might have a look at these particular changes in Ubuntu before and after upgrading. They can impact your installation and the way you use it.
NTP is no longer supported (part of Universe), you should use now Chrony. My opinion is that Chrony is not a bad choice either, it’s perhaps smoother in handling leap seconds (via smearing) but obviously less accurate than NTP in the case.
The local DNS resolver is no longer dnsmasq but systemd-resolvd. For most user this should be transparent. Note that if systemd-resolvd does not receive a DNS configuration, it will fallback to using Google Public DNS.
Network will be now managed by systemd-networkd (or still by NetworkManager on the desktop) for new installation. If you upgrade, you will still have the old `/etc/network/interfaces` file (and al) and the ifup and ifdown scripts. But this is no longer installed on new installation. Instead you have systemd-networkd and netplan. For people upgrading there is (not yet) clear path to switch to the new tools if wished.
Ubuntu 18.04 offers many more changes and I’m looking forward to upgrade my desktop and server. There are other changes not mentioned above which should be evaluated before upgrading. But I consider the above ones as core element which everybody needs whatever the purpose of the server is.
For developers, I would take care with Java and the OpenJDK. Ubuntu 16.04 LTS came with OpenJDK 8 which is the current LTS version of Java. The next LTS version of Java is 11 which is not yet published. Ubuntu 18.04 will come with OpenJDK 10 (a short-term support edition) by default and will switch the default to OpenJDK 11 when it will be released (hopefully only for new installation). Ubuntu will still provide OpenJDK 8 in universe for 18.04 with security support provided until EOL of Ubuntu 16.04 LTS (so until April 2021) to offer developer a transition time (while waiting for Java 11 to be published, matured and application migrated/validated on this new platform).
I have a (now old) HP microserver with 4 HDDs. I installed Ubuntu 14.04 (then in beta) on it on a quiet Sunday in February 2014. It is now running Ubuntu 16.04 and still working perfectly. However, I’m not sure what I thought on that Sunday more than 3 years ago. I had partitioned the 4 HDDs in a similar fashion each with a partition for /boot, one for swap and the last one for a BTRFS volume (with subvolumes to separate / from other spaces like /var or /home). My idea was to have the 4 partitions for /boot in RAID10 and the 4 ones for swap in RAID0. I realised today that I only used 2 partitions for /boot and configured them in RAID1, and only used 3 partitions for swap in RAID0.
I have a recurrent problem that because each partition for /boot was 256MB, therefore instead of having 512 (RAID10 with 4 devices) I ended up having only 256MB (RAID1), and that’s not much especially if you install the Ubuntu HWE (Hardware Enablement) kernels, then you quickly have problems with unattended-update failing to install security update because there is no space left on /boot, etc. It was becoming high maintenance and with 4 kids to attend I had to remediate that quickly.
But here is the magic with Linux, I did an online reshaping from RAID1 to RAID10 (via RAID0) and an online resizing of /boot (ext4). And in 15 minutes I went from 256MB problematic /boot to 512MB low maintenance one without rebooting!
That’s how I did it, and it will only work if you have mdadm 3.3+ (could work with 3.2.1+ but not tested) and a recent kernel (I had 4.10, but should have worked with the 4.4 shipped with Ubuntu 16.04 and probably older Kernel). Note that you should backup, test your backup and know how to recover your /boot (or whatever partition you are trying to change).
Increasing the size a RAID0 array (for swap)
First this is how I fixed the RAID0 for the swap (no backup necessary, but you should make sure that you have enough free space to release the swap). The current RAID0 is called md0 and is composed of sda3, sdb3 and sdc3. The partition sdd3 is missing.
What I just did is tell MD that I need to grow the array from 3 to 4 devices and add the new device. After that, one can see that the reshape is taking place (it was rather fast because the partitions were small, only 256MB). After that first operation, the array is bigger but the swap size is still the same. So I “unmounted” or turn off the swap, recreated it using the full device and “remounted” it. I grepped for the swap in my `/etc/fstab` file in order to see how it was mounted, here it is using the UUID. So when formatting I reused the same UUID so I did not need to change my `/etc/fstab`.
Converting a RAID1 to RAID10 array online (without copying the data)
Now a bit more complex. I want to migrate the array from RAID1 to RAID10 online. There is no direct path for that, so we need to go via RAID0. You should note that RAID0 is very dangerous, so you should really backup as advised earlier.
Converting from RAID1 to RAID0 online
The current RAID1 array is called m1 and is composed of sdb2 and sdc2. I’m going to convert it to a RAID0. After the conversion, only one disk will belong to the array.
$ sudo mdadm --grow /dev/md1 --level=0 --backup-file=/home/backup-md0
$ cat /proc/mdstat
md1 : active raid0 sdc2[1]
      249728 blocks super 1.2 64k chunks
$ sudo mdadm --misc --detail /dev/md1
/dev/md1:
        Version : 1.2
  Creation Time : Sun Feb  9 15:13:33 2014
     Raid Level : raid0
     Array Size : 249664 (243.85 MiB 255.66 MB)
   Raid Devices : 1
  Total Devices : 1
    Persistence : Superblock is persistent

    Update Time : Tue Jul 25 19:27:56 2017
          State : clean
 Active Devices : 1
Working Devices : 1
 Failed Devices : 0
  Spare Devices : 0

     Chunk Size : 64K

           Name : jupiter:1  (local to host jupiter)
           UUID : b95b33c4:26ad8f39:950e870c:03a3e87c
         Events : 68

    Number   Major   Minor   RaidDevice State
       1       8       34        0      active sync   /dev/sdc2
I printed some extra information on the array to illustrate that it is still the same array but in RAID0 and with only 1 disk.
Converting from RAID0 to RAID10 online
$ sudo mdadm --grow /dev/md1 --level=10 --backup-file=/home/backup-md0 --raid-devices=4 --add /dev/sda2 /dev/sdb2 /dev/sdd2
mdadm: level of /dev/md1 changed to raid10
mdadm: added /dev/sda2
mdadm: added /dev/sdb2
mdadm: added /dev/sdd2
raid_disks for /dev/md1 set to 5
$ cat /proc/mdstat
md1 : active raid10 sdd2[4] sdb2[3](S) sda2[2](S) sdc2[1]
      249728 blocks super 1.2 2 near-copies [2/2] [UU]
$ sudo mdadm --misc --detail /dev/md1
/dev/md1:
        Version : 1.2
  Creation Time : Sun Feb  9 15:13:33 2014
     Raid Level : raid10
     Array Size : 249664 (243.85 MiB 255.66 MB)
  Used Dev Size : 249728 (243.92 MiB 255.72 MB)
   Raid Devices : 2
  Total Devices : 4
    Persistence : Superblock is persistent

    Update Time : Tue Jul 25 19:29:10 2017
          State : clean
 Active Devices : 2
Working Devices : 4
 Failed Devices : 0
  Spare Devices : 2

         Layout : near=2
     Chunk Size : 64K

           Name : jupiter:1  (local to host jupiter)
           UUID : b95b33c4:26ad8f39:950e870c:03a3e87c
         Events : 91

    Number   Major   Minor   RaidDevice State
       1       8       34        0      active sync set-A   /dev/sdc2
       4       8       50        1      active sync set-B   /dev/sdd2

       2       8        2        -      spare   /dev/sda2
       3       8       18        -      spare   /dev/sdb2
As the result of the conversion, we are in RAID10 but with only 2 devices and 2 spares. We need to tell MD to use the 2 spares as well if not we just have a RAID1 named differently.
$ sudo mdadm --grow /dev/md1 --raid-devices=4
$ cat /proc/mdstat
md1 : active raid10 sdd2[4] sdb2[3] sda2[2] sdc2[1]
      249728 blocks super 1.2 64K chunks 2 near-copies [4/4] [UUUU]
      [=============>.......]  reshape = 68.0% (170048/249728) finish=0.0min speed=28341K/sec
$ sudo mdadm --misc --detail /dev/md1
/dev/md1:
        Version : 1.2
  Creation Time : Sun Feb  9 15:13:33 2014
     Raid Level : raid10
     Array Size : 499456 (487.83 MiB 511.44 MB)
  Used Dev Size : 249728 (243.92 MiB 255.72 MB)
   Raid Devices : 4
  Total Devices : 4
    Persistence : Superblock is persistent

    Update Time : Tue Jul 25 19:29:59 2017
          State : clean, resyncing
 Active Devices : 4
Working Devices : 4
 Failed Devices : 0
  Spare Devices : 0

         Layout : near=2
     Chunk Size : 64K

  Resync Status : 99% complete

           Name : jupiter:1  (local to host jupiter)
           UUID : b95b33c4:26ad8f39:950e870c:03a3e87c
         Events : 111

    Number   Major   Minor   RaidDevice State
       1       8       34        0      active sync set-A   /dev/sdc2
       4       8       50        1      active sync set-B   /dev/sdd2
       3       8       18        2      active sync set-A   /dev/sdb2
       2       8        2        3      active sync set-B   /dev/sda2
Once again, the reshape is very fast but this is due to the small size of the array. Here what we can see is that the array is now 512MB but only 256MB are used. Next step is to increase the file system size.
Increasing file system to use full RAID10 array size online
This cannot be done online with all file systems. But I’ve tested it with XFS or ext4 and it works perfectly. I suspect other file systems support that too, but I never tried it online. In all cases, as already advised, make a backup before continuing.
$ sudo resize2fs /dev/md1
resize2fs 1.42.13 (17-May-2015)
Filesystem at /dev/md1 is mounted on /boot; on-line resizing required
old_desc_blocks = 1, new_desc_blocks = 2
The filesystem on /dev/md1 is now 499456 (1k) blocks long.

$ df -Th /boot/
Filesystem     Type  Size  Used Avail Use% Mounted on
/dev/md1       ext4  469M  155M  303M  34% /boot
When changing the /boot array, do not forget GRUB
I already had a RAID array before. So the Grub configuration is correct and does not need to be changed. But if you reshaped your array from something different than RAID1 (e.g. RAID5), then you should update Grub because it is possible that you need different module for the initial boot steps. On Ubuntu run `sudo update-grub`, on other platform see `man grub-mkconfig` on how to do it (e.g. `sudo grub-mkconfig -o /boot/grub/grub.cfg`).
It is not enough to have the right Grub configuration. You need to make sure that the GRUB bootloader is installed on all HDDs.


 – you are used to create application that will run in the background (as a service) under a dedicated user and for which you need to handle the permissions for the data this application might need to use. So introducing containers (without user namespaces) should not bring any surprise here, it is part of the expectations. But you will see later that you can still be bitten by some edge cases from the container implementation.