Für die deutsche Version gehen Sie bitte zu Seite 2 dieses Artikels (siehe Ende des Artikels).
Matin sans stress
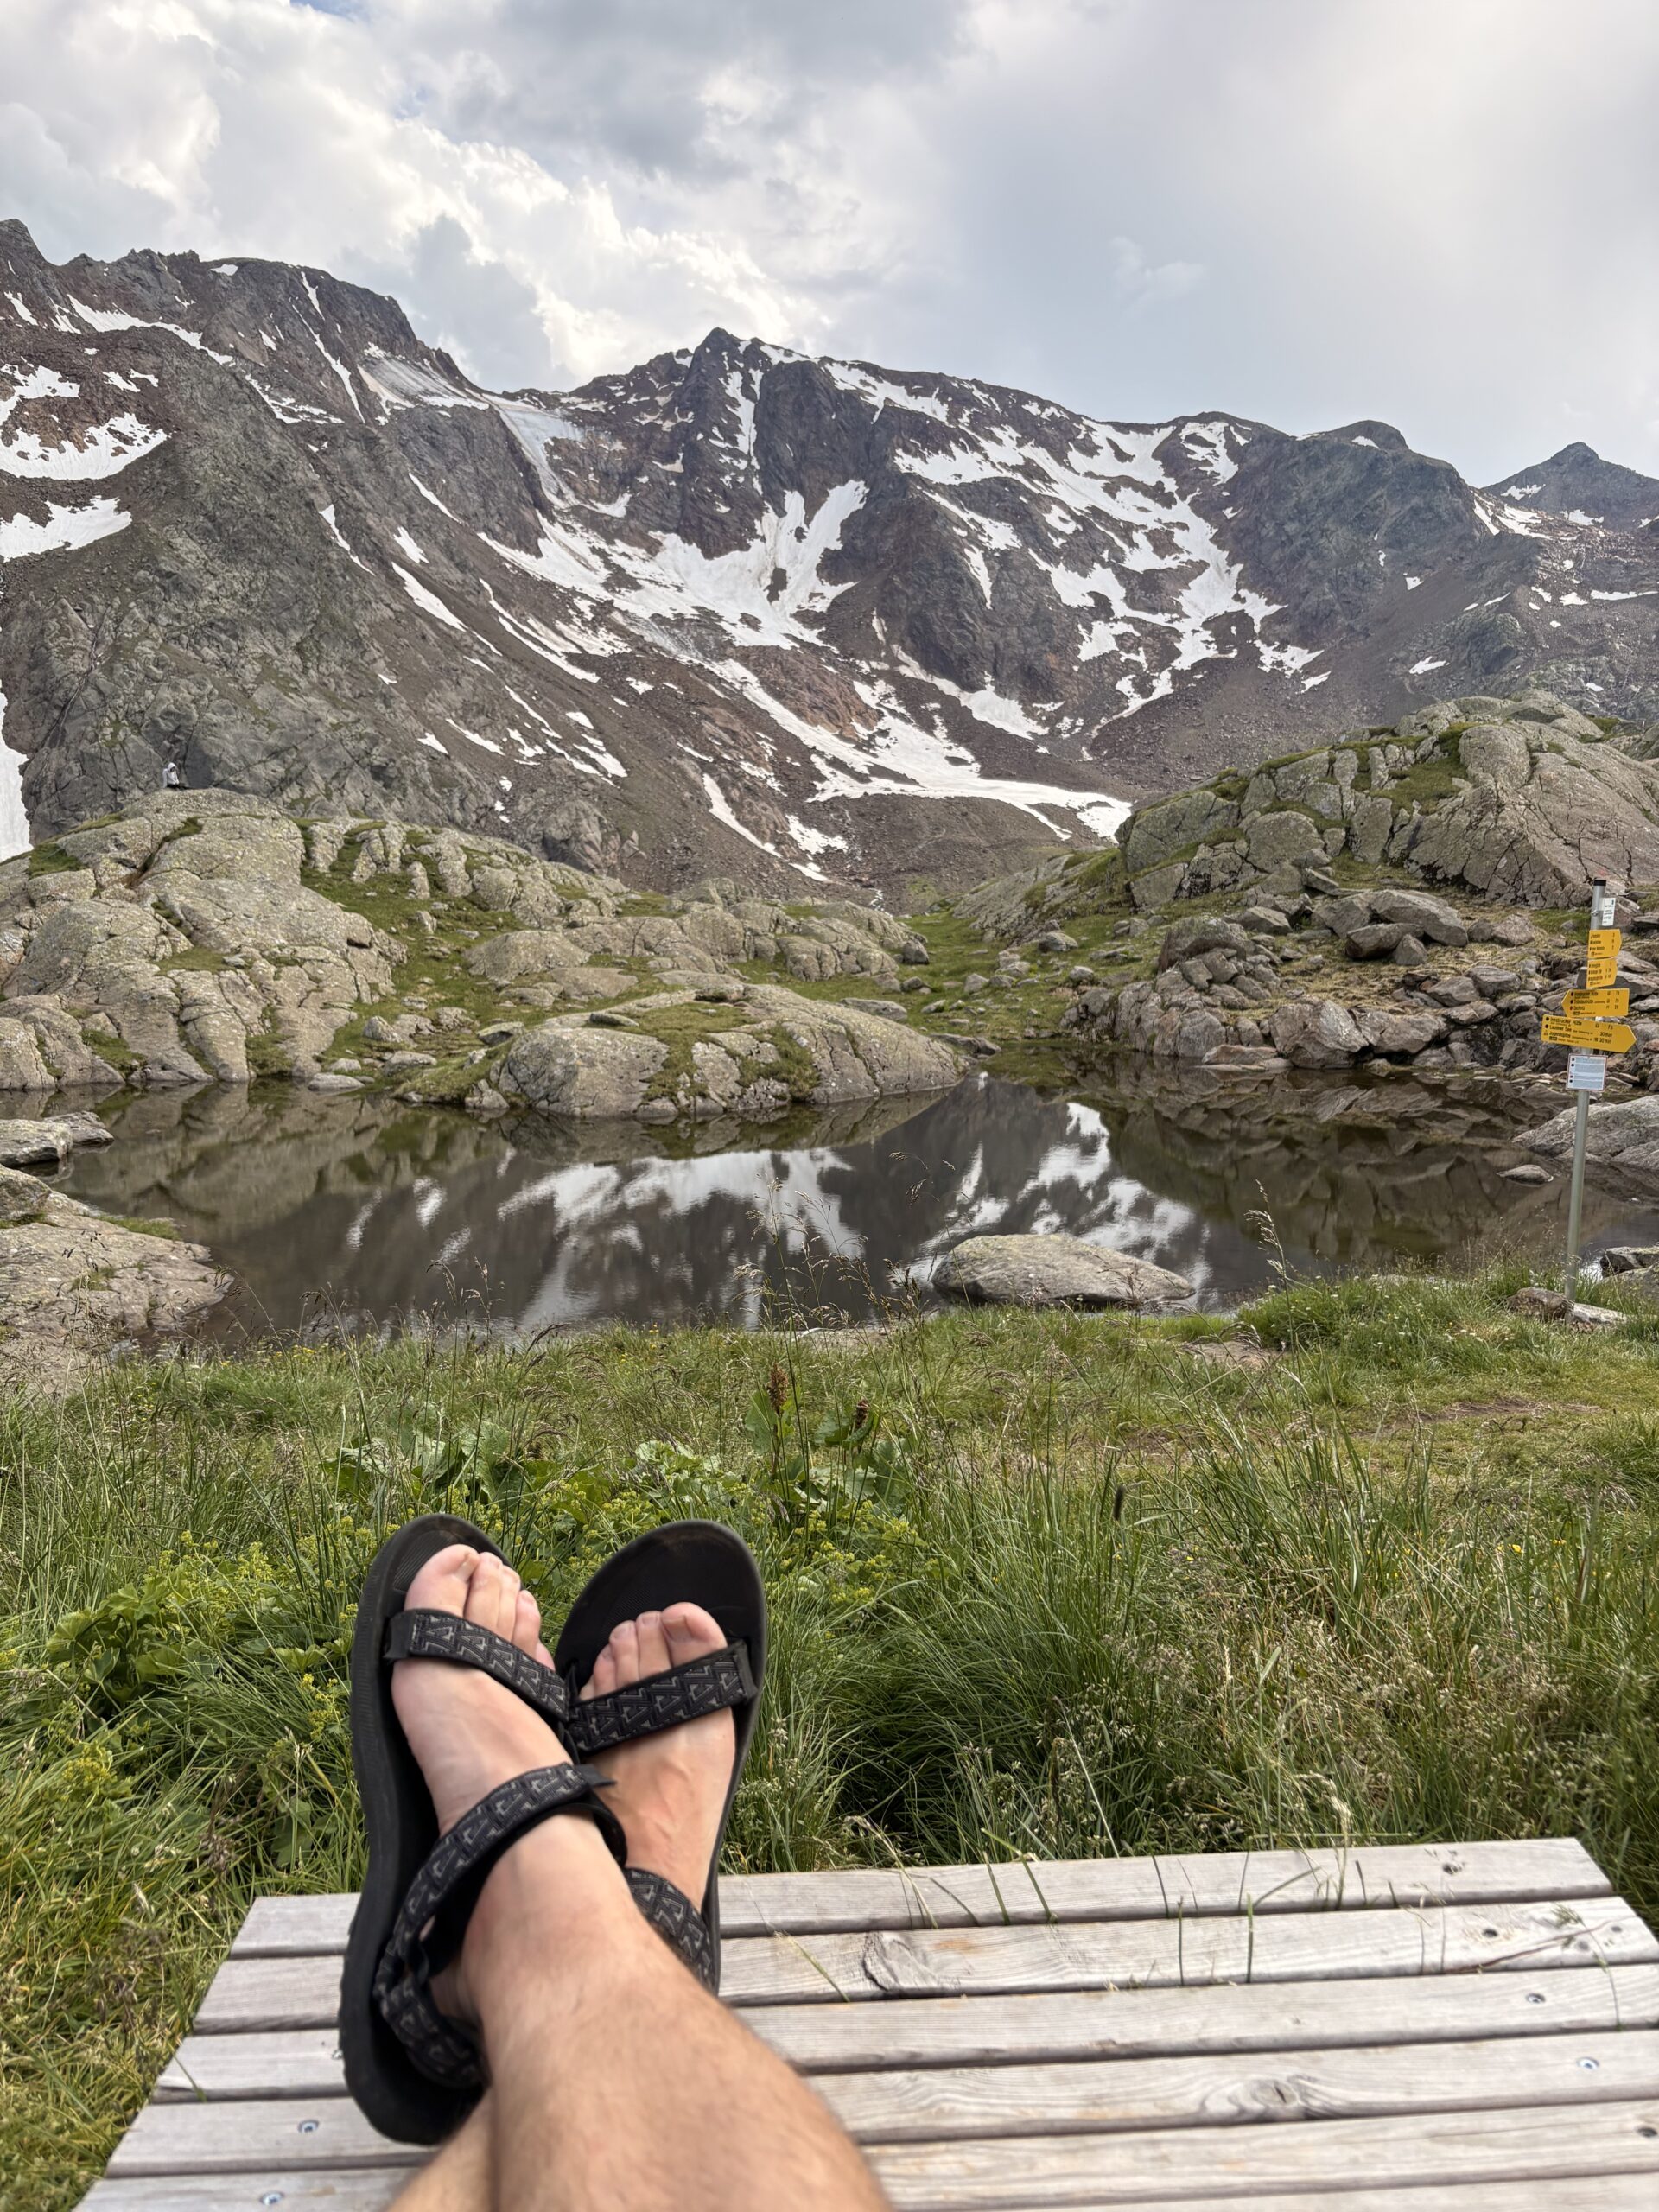
Après l’étape éprouvante d’hier, la promesse d’un orage cet après-midi ne nous fait même pas lever un sourcil : seulement 3 à 4 heures de marche au programme, et surtout du dénivelé négatif – pour le plus grand plaisir de Jean-Christophe… Nous traînons donc un peu, savourant le silence du refuge avant de reprendre le sentier.
Entre tourbières et souvenirs d’Islande
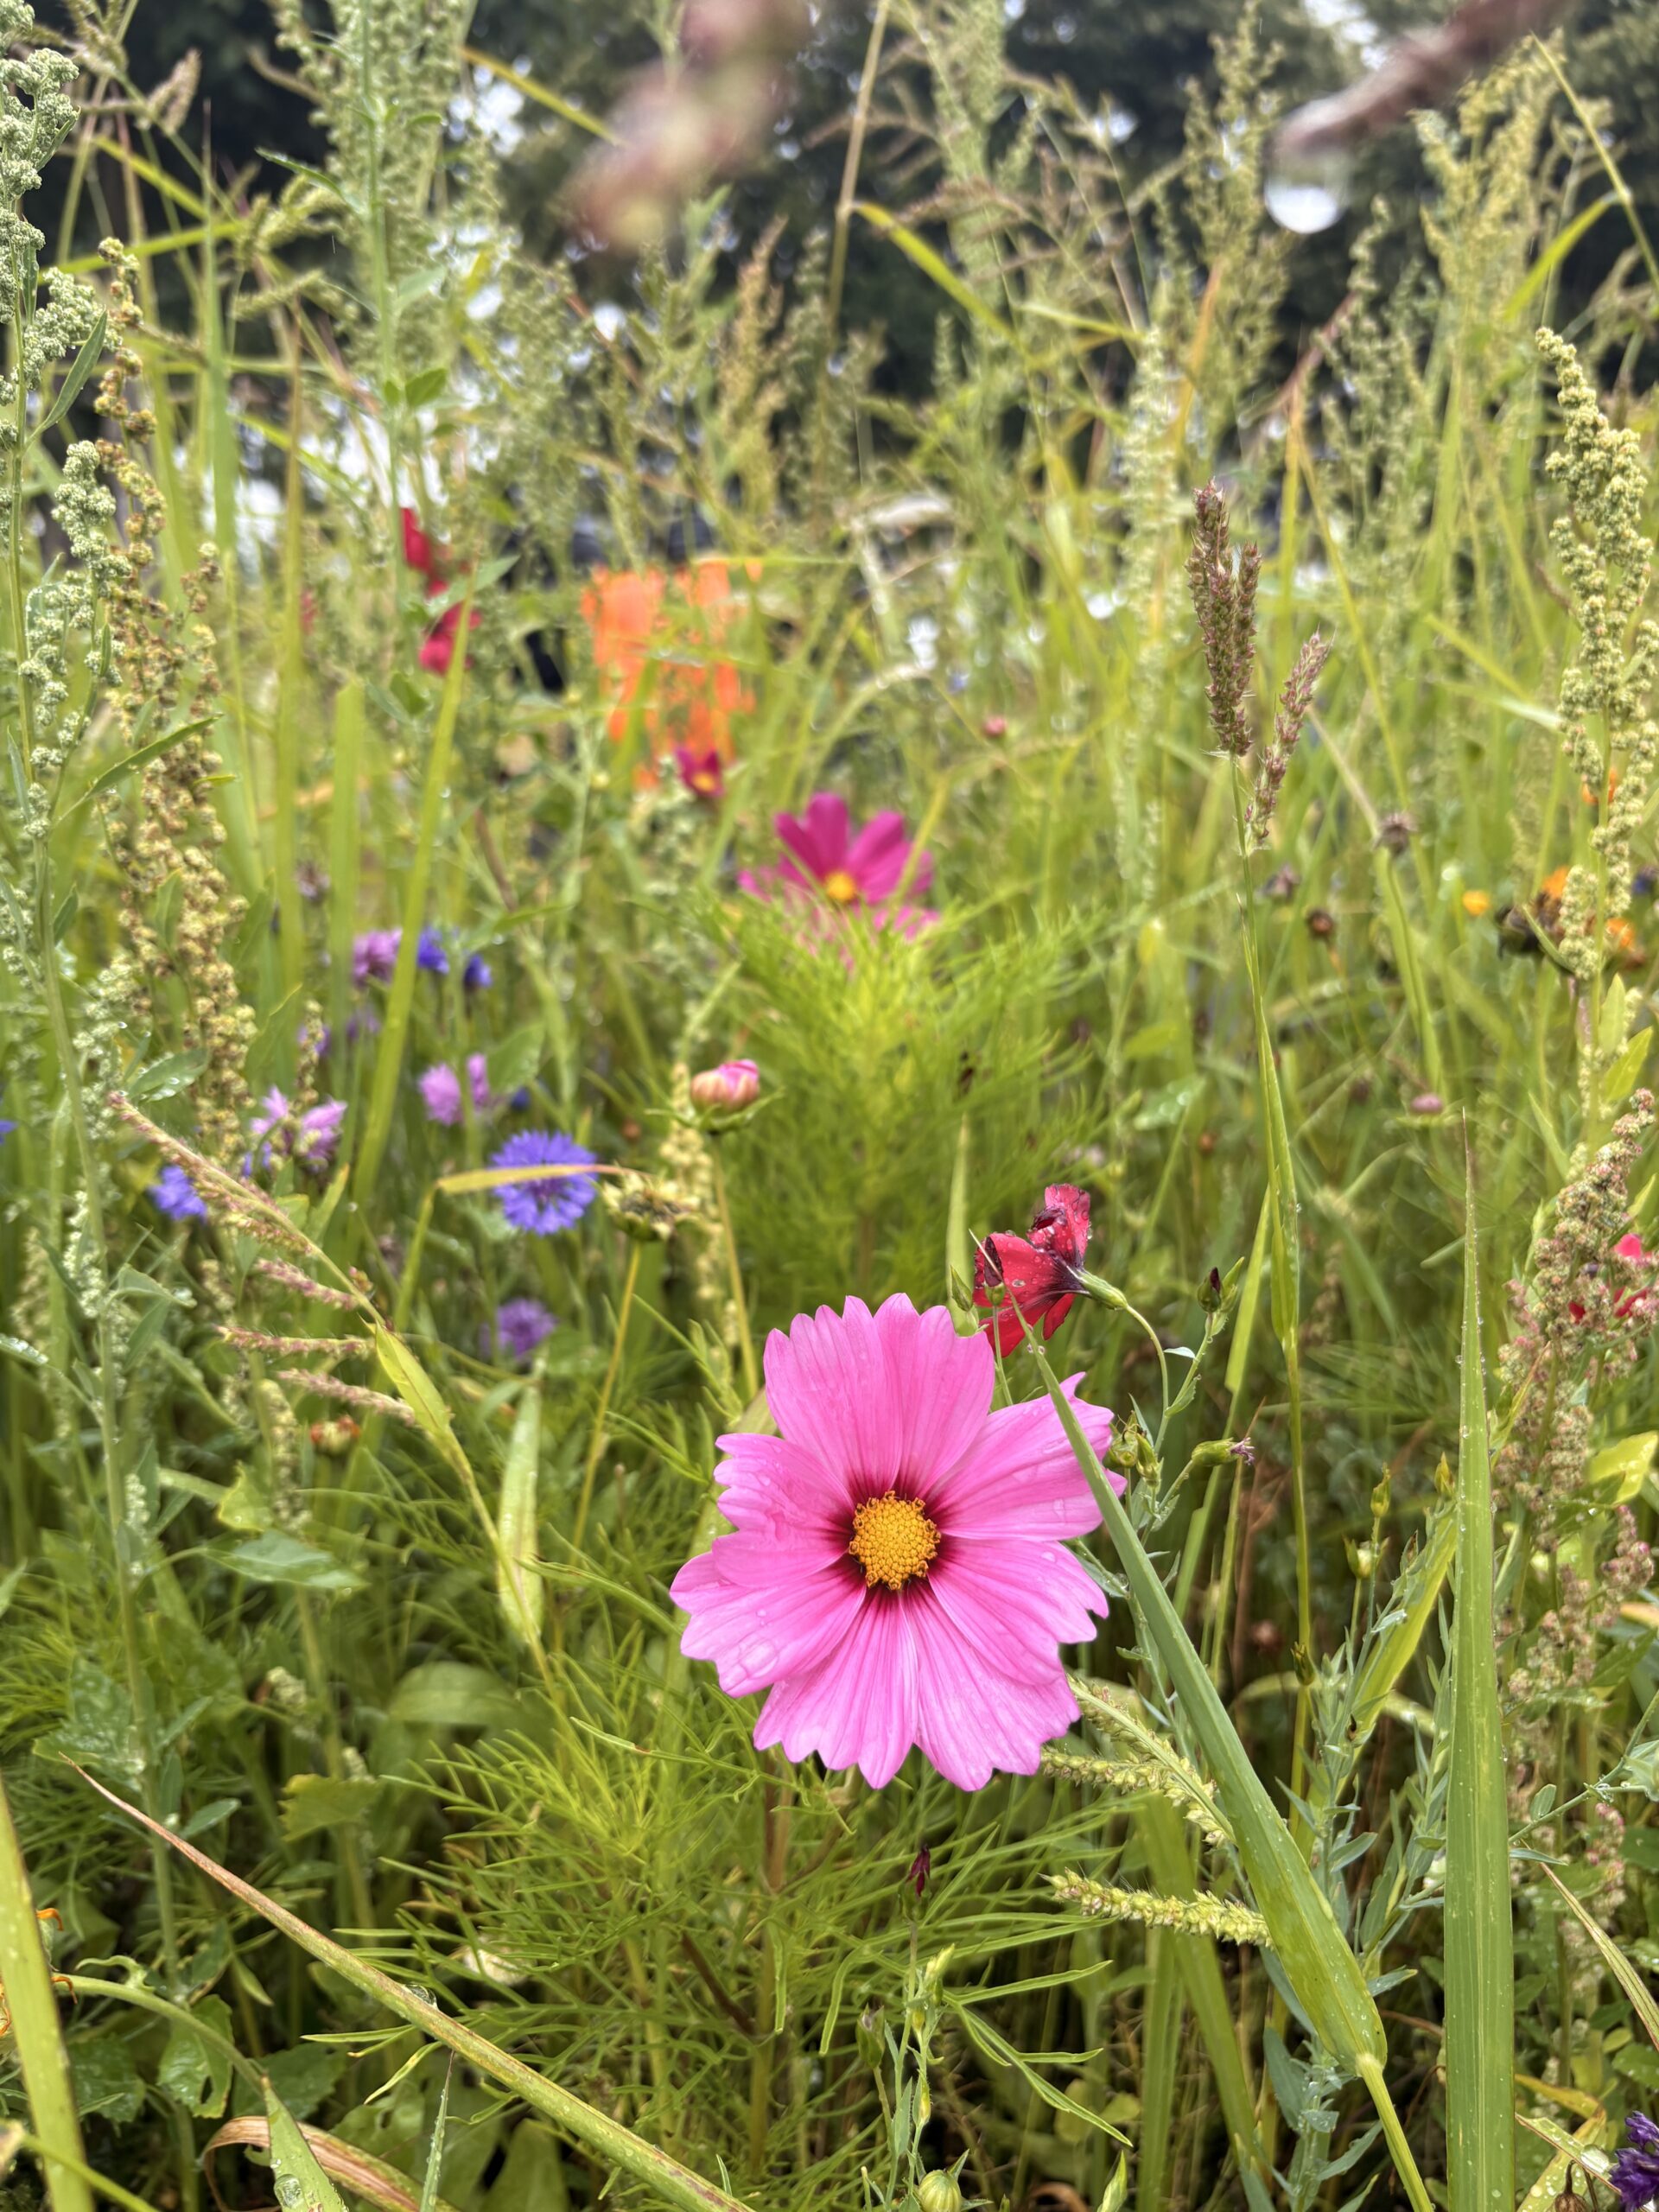
Le chemin serpente d’abord entre plans d’eau et tourbières de montagne ; les linaigrettes – herbes à coton – agitent leurs pompons blancs comme des coton-tiges géants. Instantanément, les paysages d’Islande nous reviennent en mémoire. La montée est douce, on peut profiter pleinement du paysage sans risquer un faux-pas… puis, soudain, elle se cabre : pente raide, nous rangeons nos bâtons et utilisons pieds et mains pour monter, et pour finir une via ferrata aisée mais délicieusement ludique avec une pointe d’acrobatie.
Col du Simmingjöchl
Au sommet, l’ancienne Zollhütte sert encore d’abri de secours. Le vent pique, tout le monde enfile pulls et coupe-vent… sauf quelqu’un, devinez qui ?
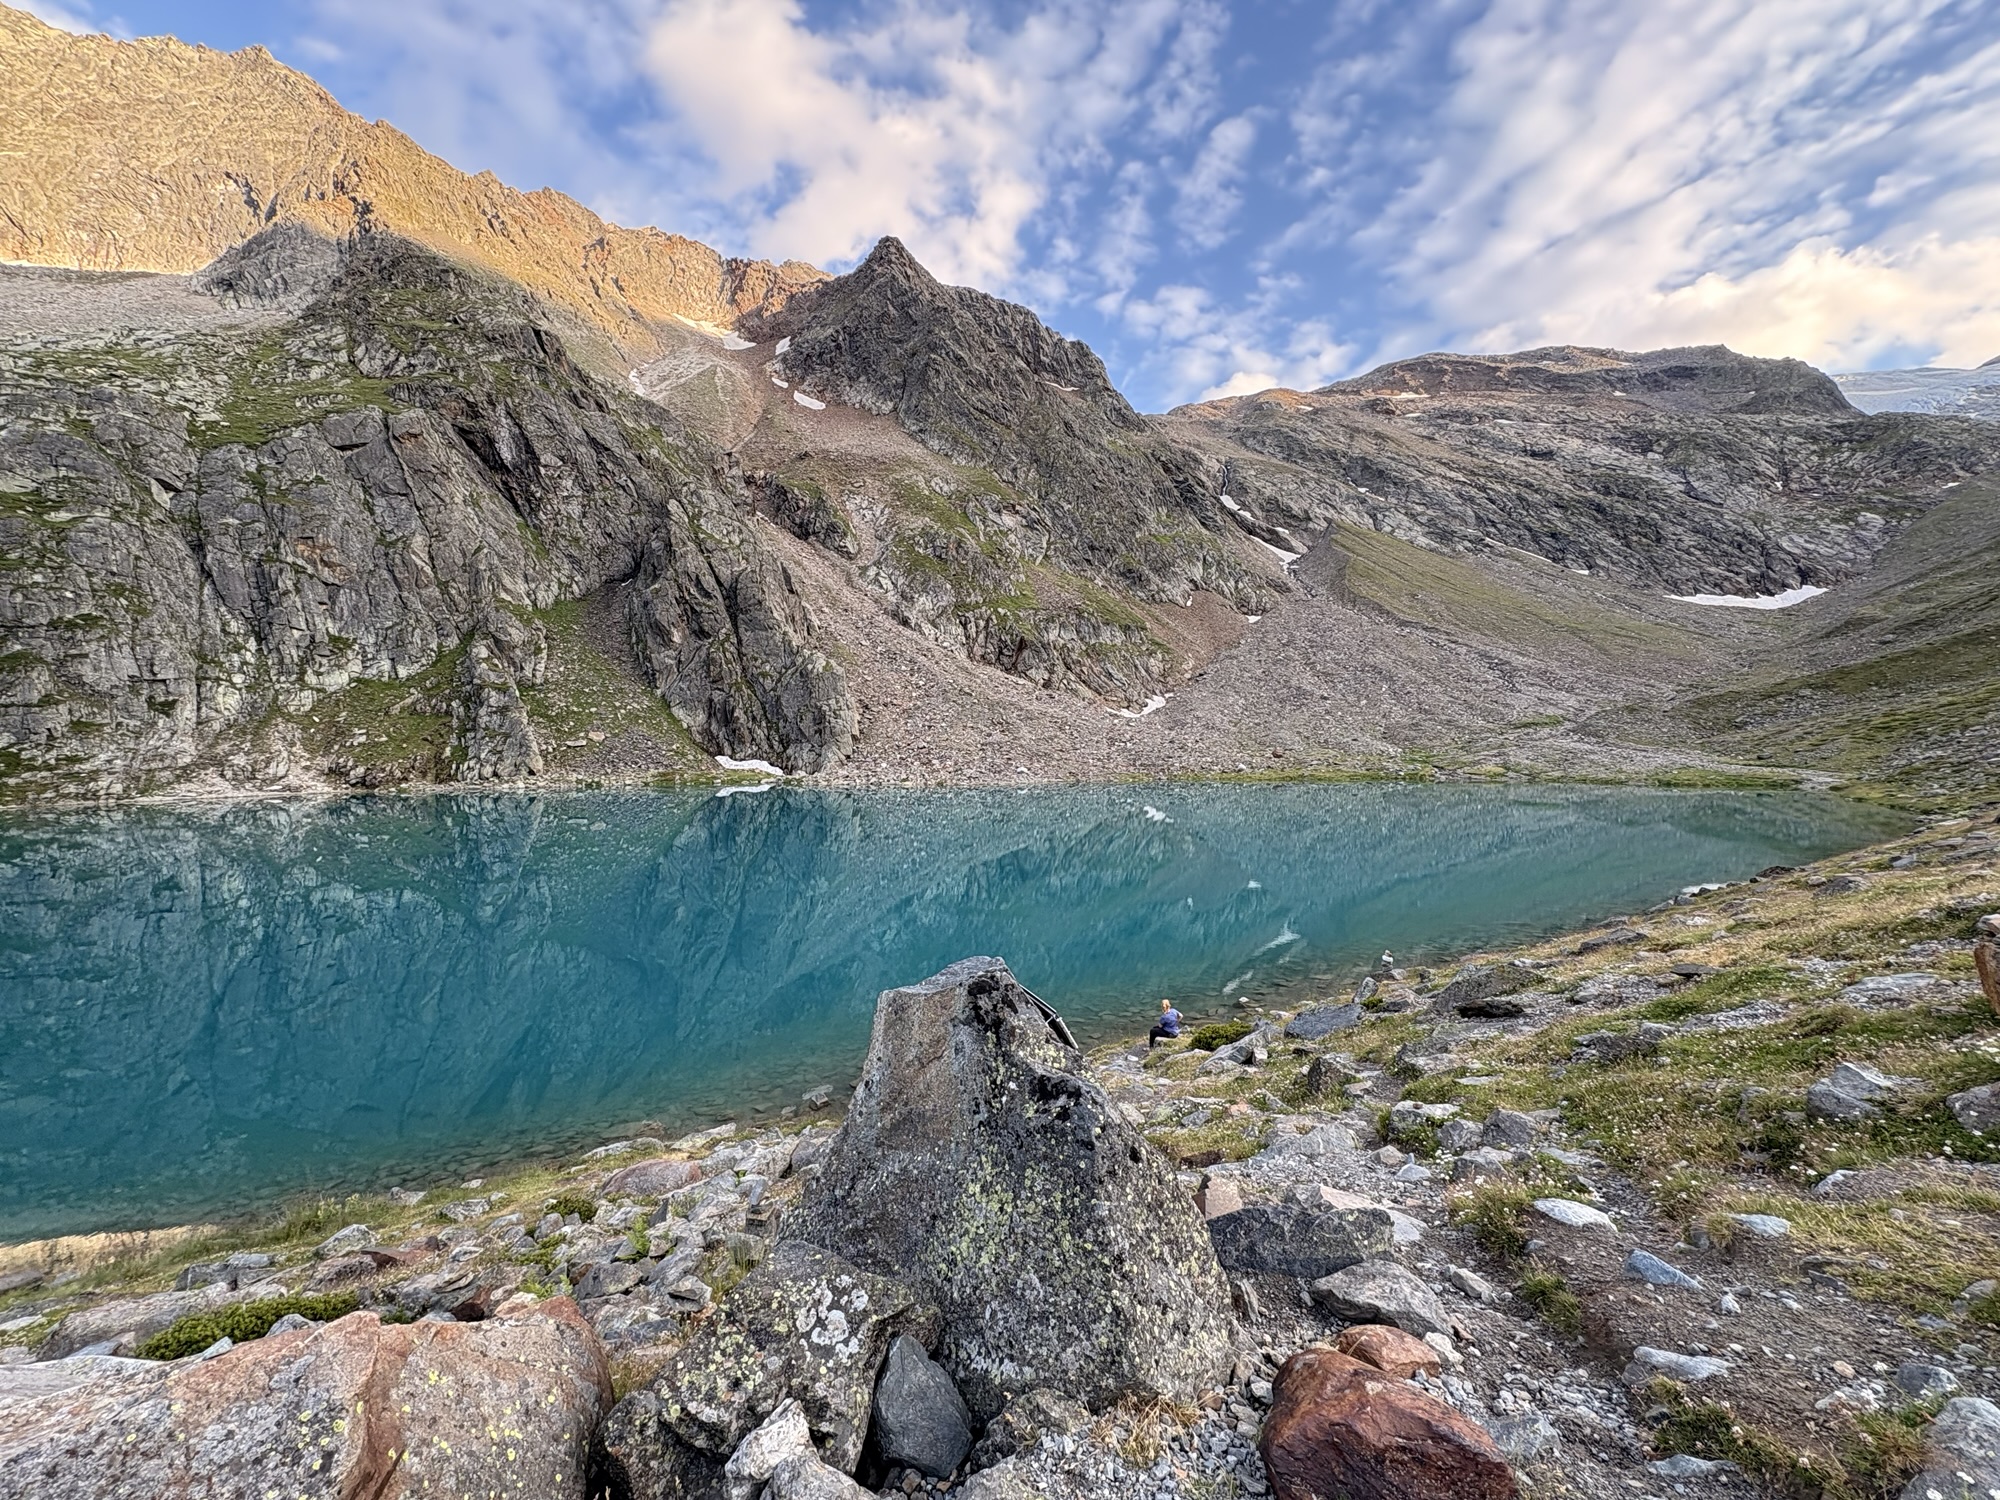
Devant nous, un nouveau versant se déploie : des blocs de gneiss brut, tel un chaos rocheux idéal pour bondir de pierre en pierre, plus bas des torrents, petits lacs et cascades. Jean-Christophe – euphorique – se transforme en chamois, sous le regard étonné de Vera qui se demande ce qu’il a dû manger.
Rencontre avec un troupeau de bouquetins
Un mouvement attire son attention : deux longues cornes comme des cimeterres émergent de la crête. En un instant, nous repérons un troupeau entier de bouquetins. Pause déjeuner improvisée, regards pointés. Le mâle dominant reste impassible, allongé, ne se levant qu’à la fin pour se gratter le dos avec ses cornes. Autour de lui, les jeunes jouent au bélier.
Les joies des noms d’animaux qui se baladent d’une langue à l’autre
Jean-Christophe, amoureux de la montagne et de la nature, montre ces bouquetins à des randonneurs croisés en chemin. « Regardez ces animaux ! » dit-il en pointant du bâton, car il ne connait pas le terme dans les autres langues (anglais, allemand ou néerlandais). Et là, les visiteurs internationaux sortent leur arsenal linguistique. En allemand ? “Gämse”. En néerlandais ? “Gems”. En anglais ? “Gems”. Oups… sauf que non, ce sont tous là des mots pour décrire un chamois, or ce sont des bouquetins !
Mais d’où vient cette confusion ? En Afrique du Sud, les anglophones appellent une certaine antilope “gemsbok”. Et le “steenbok” ? Encore une autre antilope là-bas. Est-ce que cette confusion viendrait de là ?
Les vrais termes sont “Steinbock” en allemand, “steenbok”en néerlandais et “steinbock” ou “ibex” en anglais. On y perdrait presque notre latin ! … il faudrait d’ailleurs adapter cette expression française pour la circonstance, car on y perdrait plutôt son germain !
Bref, entre les bouquetins, les chamois, les antilopes et les traductions approximatives, il y a de quoi donner le vertige. Après tout, ce sont les mêmes anglophones qui appellent les Néerlandais “Dutch” et les Allemands “German”. La confusion ? Une tradition ancestrale !
Il faut bien l’admettre, ce jeu est aussi le petit péché mignon de Jean-Christophe. D’ailleurs, c’est lui-même qui a eu la brillante idée de rebaptiser la charmante ville de Gschnitz en « Gschwitzt ». Pourquoi ? Eh bien, après avoir affronté la chaleur torride de lundi dernier 🥵, il s’est senti comme dans un bain turc, souvenez-vous. En allemand, « j’ai beaucoup transpiré » se dit « ich habe viel geschwitzt », et visiblement, Jean-Christophe a voulu immortaliser son exploit en sueur dans la toponymie locale !
Gneiss et pierres rouillées
La descente commence sur de vastes dalles grises, polies et striées par d’anciens glaciers. Certaines plaques scintillent, d’autres virent au brun-rouge : le fer qu’elles contiennent s’oxyde et, chauffé par le soleil, rend la pierre plus tiède sous la main que d’autres.
Petit paradis et marmotte timide
Le sentier franchit des névés, traverse un désert de pierraille, puis débouche sur une clairière idyllique : un torrent paresseux, des mares teintées d’ocre par la rouille, des touffes de linaigrettes. Vera file, tandis que Jean-Christophe se fige pour guetter une marmotte. Patience récompensée : museau pointé, clic-clac, souvenir capturé.
Vertigo à répétition
La suite n’est qu’un enchaînement de descentes abruptes, ponctuées de petites vie ferrate – certaines faciles, d’autres un brin plus techniques, et toujours spectaculaires. Tout en bas, un pont branlant enjambe un torrent mugissant ; il oscille sous nos pas, souvenir lointain de l’Annapurna.
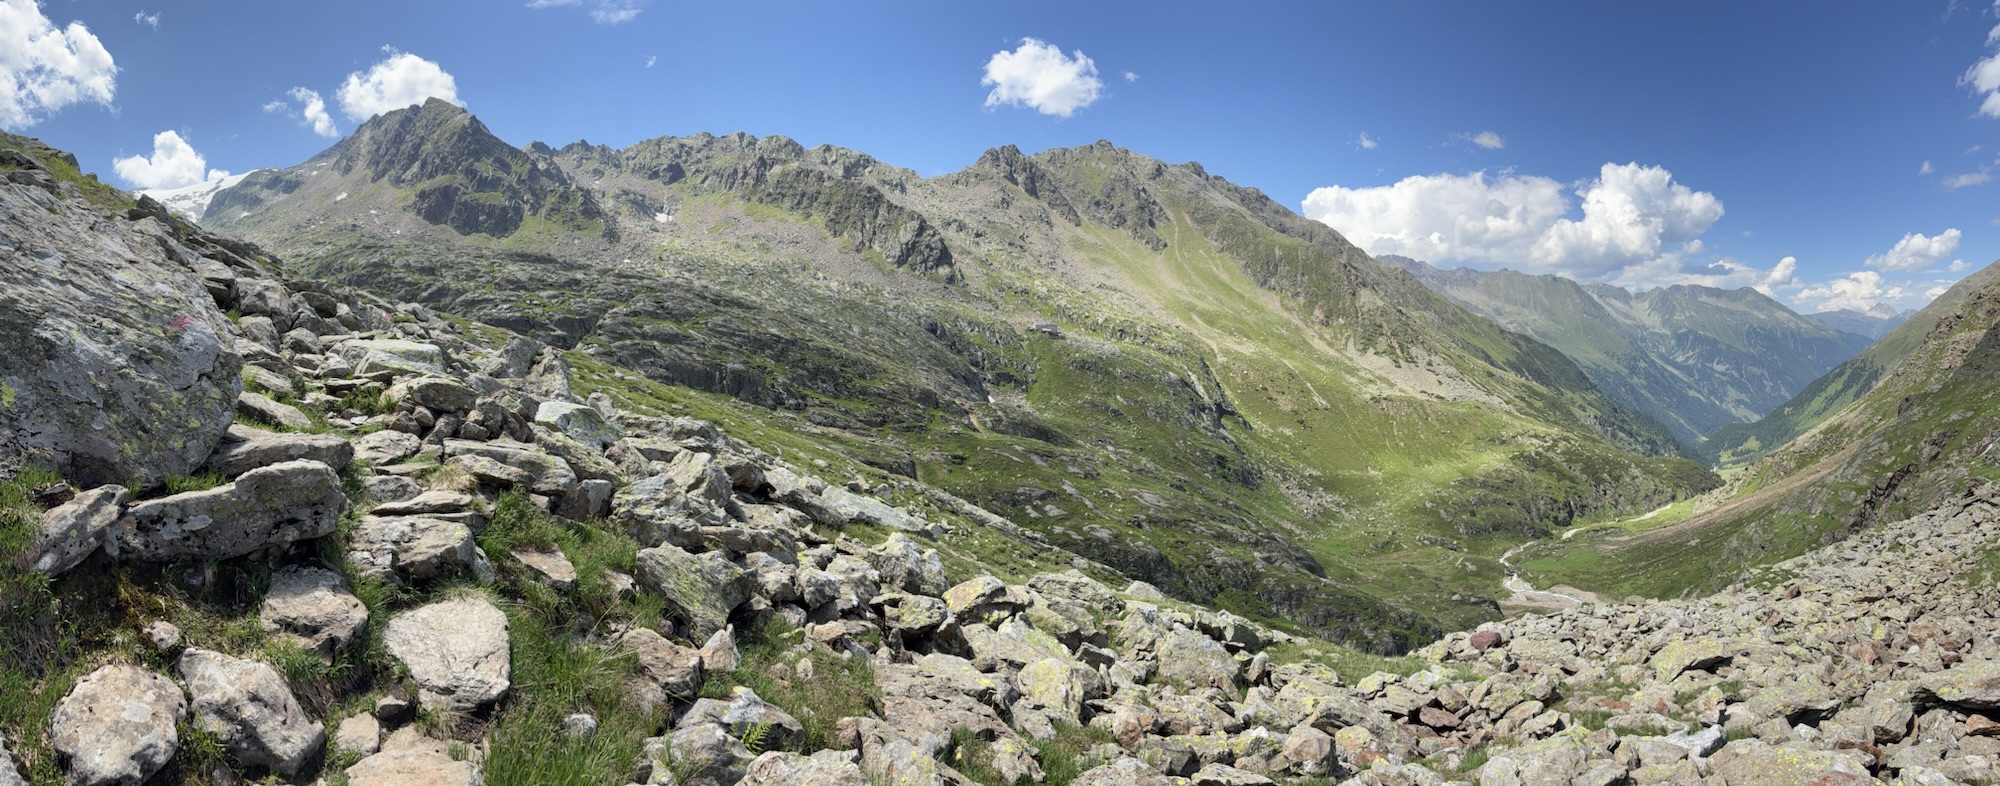
Balade bucolique finale
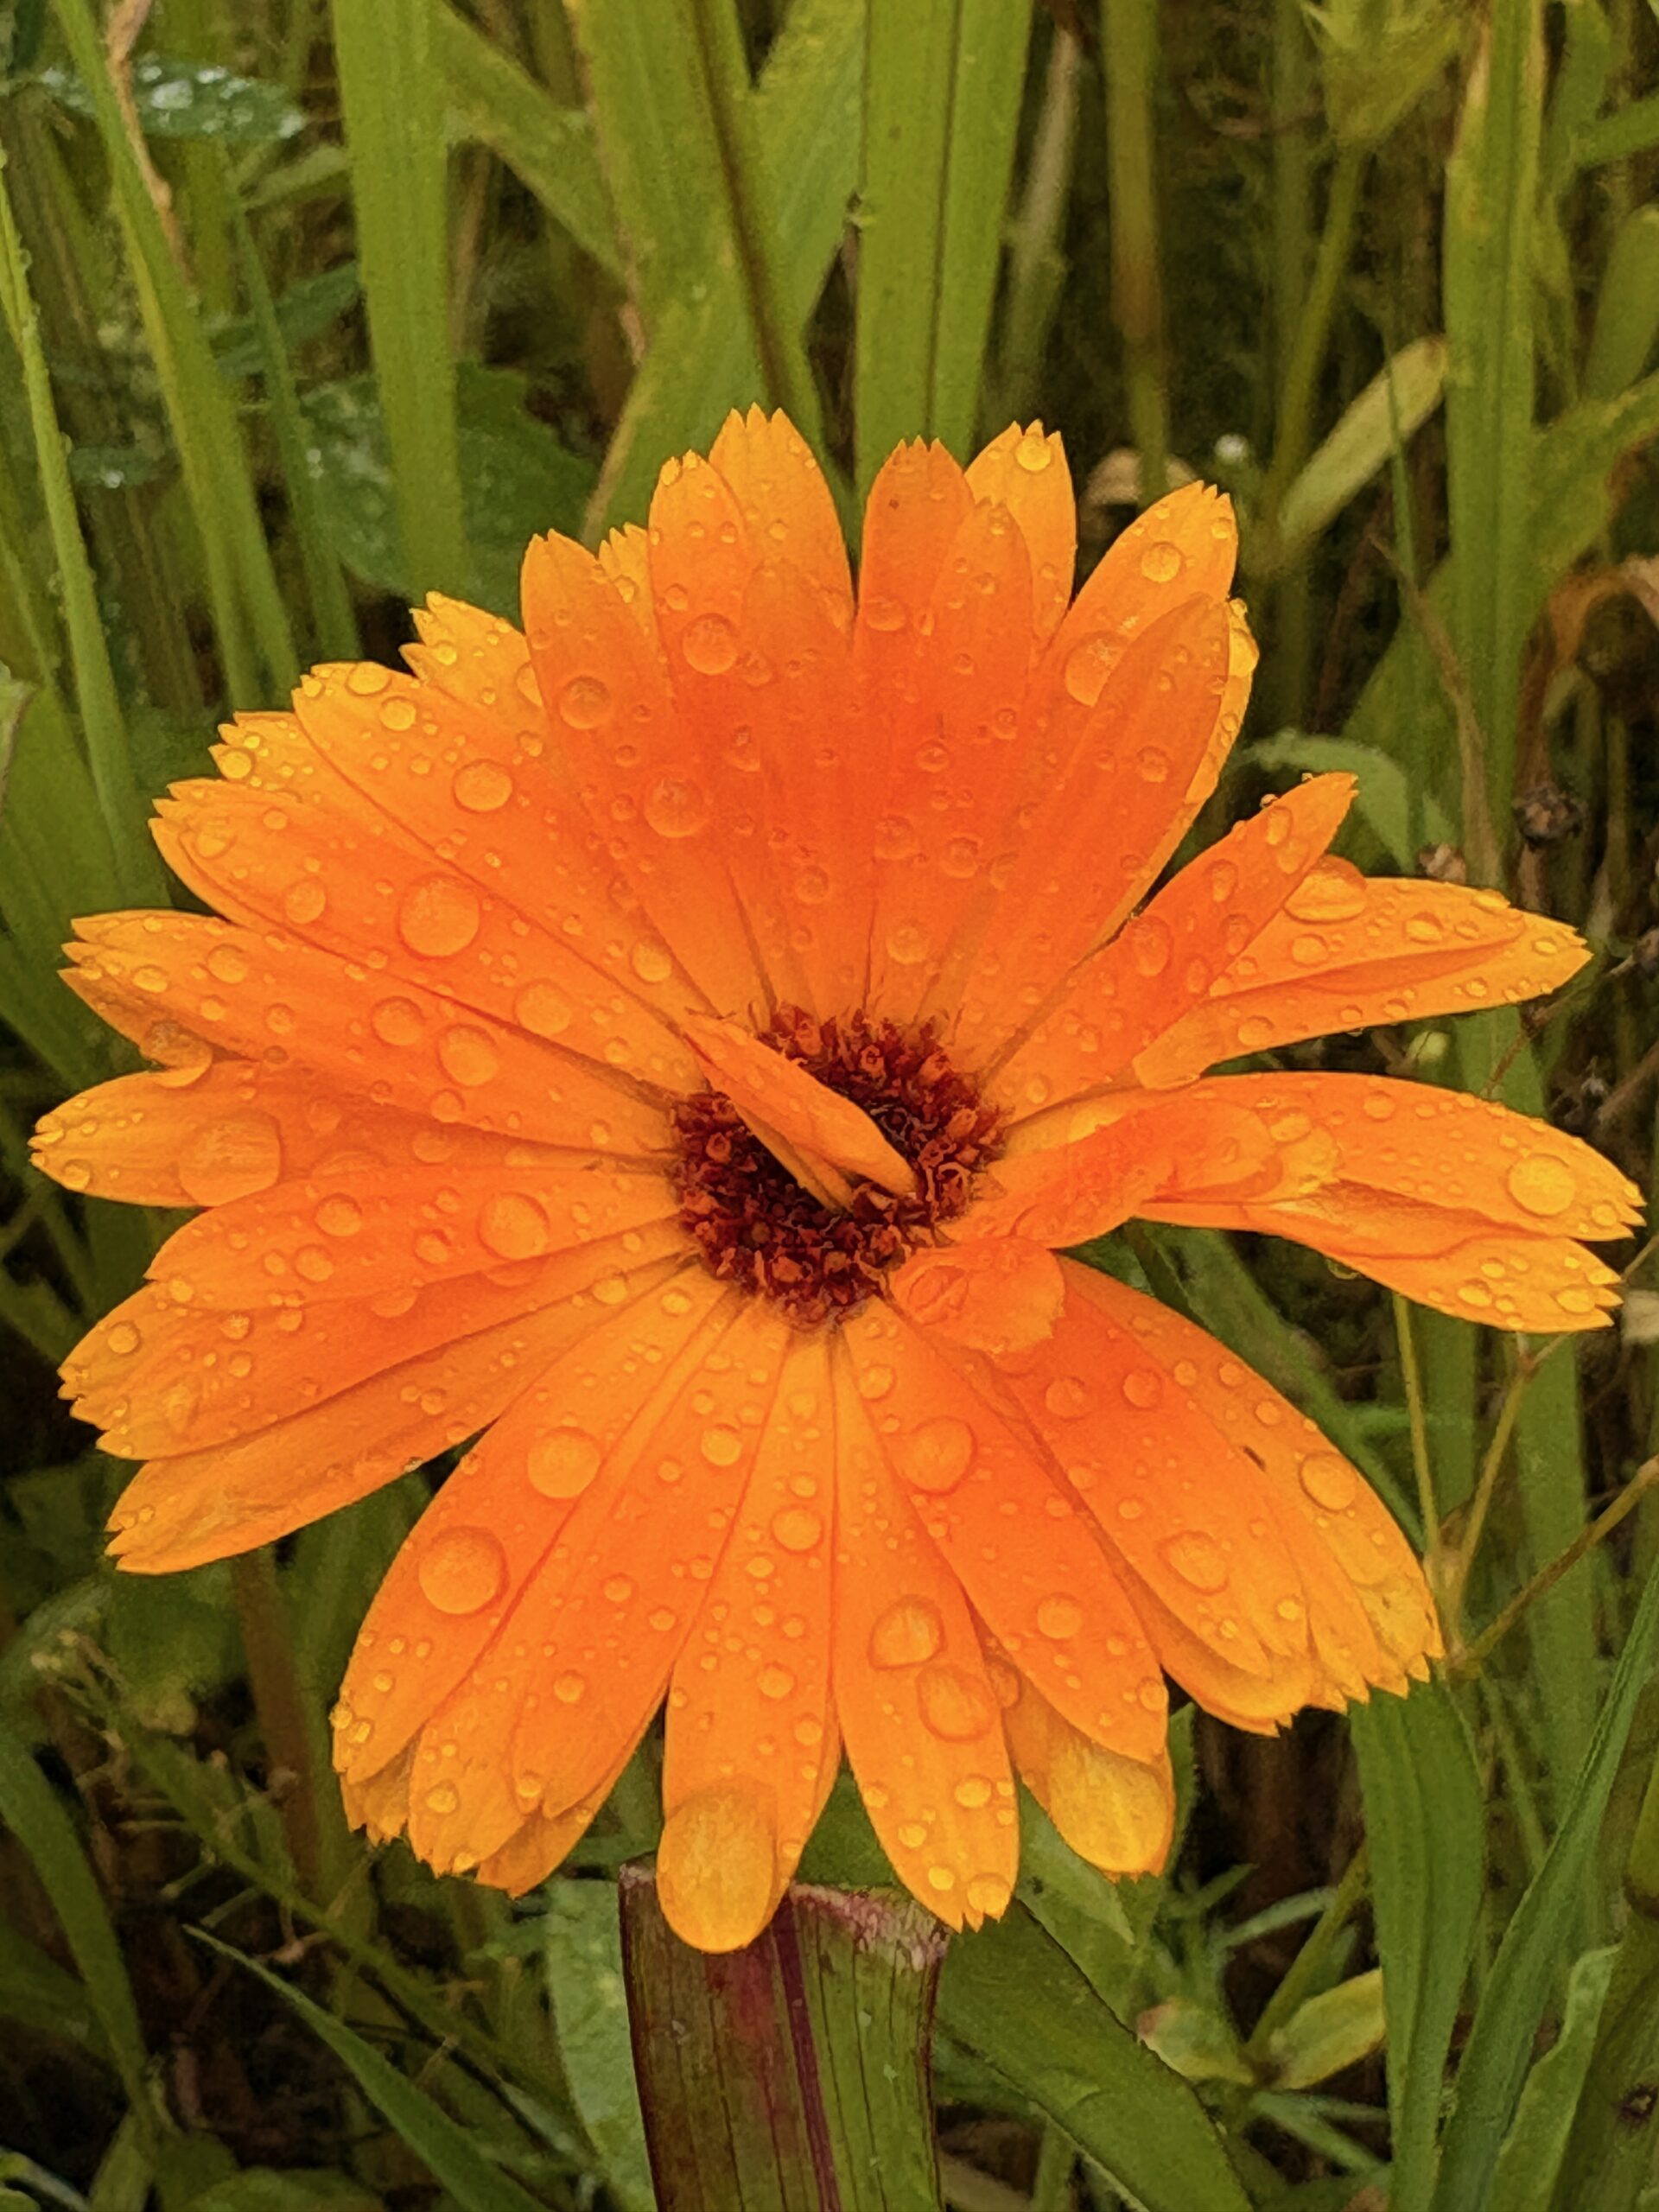
Le relief s’adoucit enfin : rochers lustrés, ruisselets chantants, trilles d’oiseaux-sentinelles, tapis de fleurs odorantes. Vera détecte même du thym sauvage dont le parfum embaume les derniers mètres.
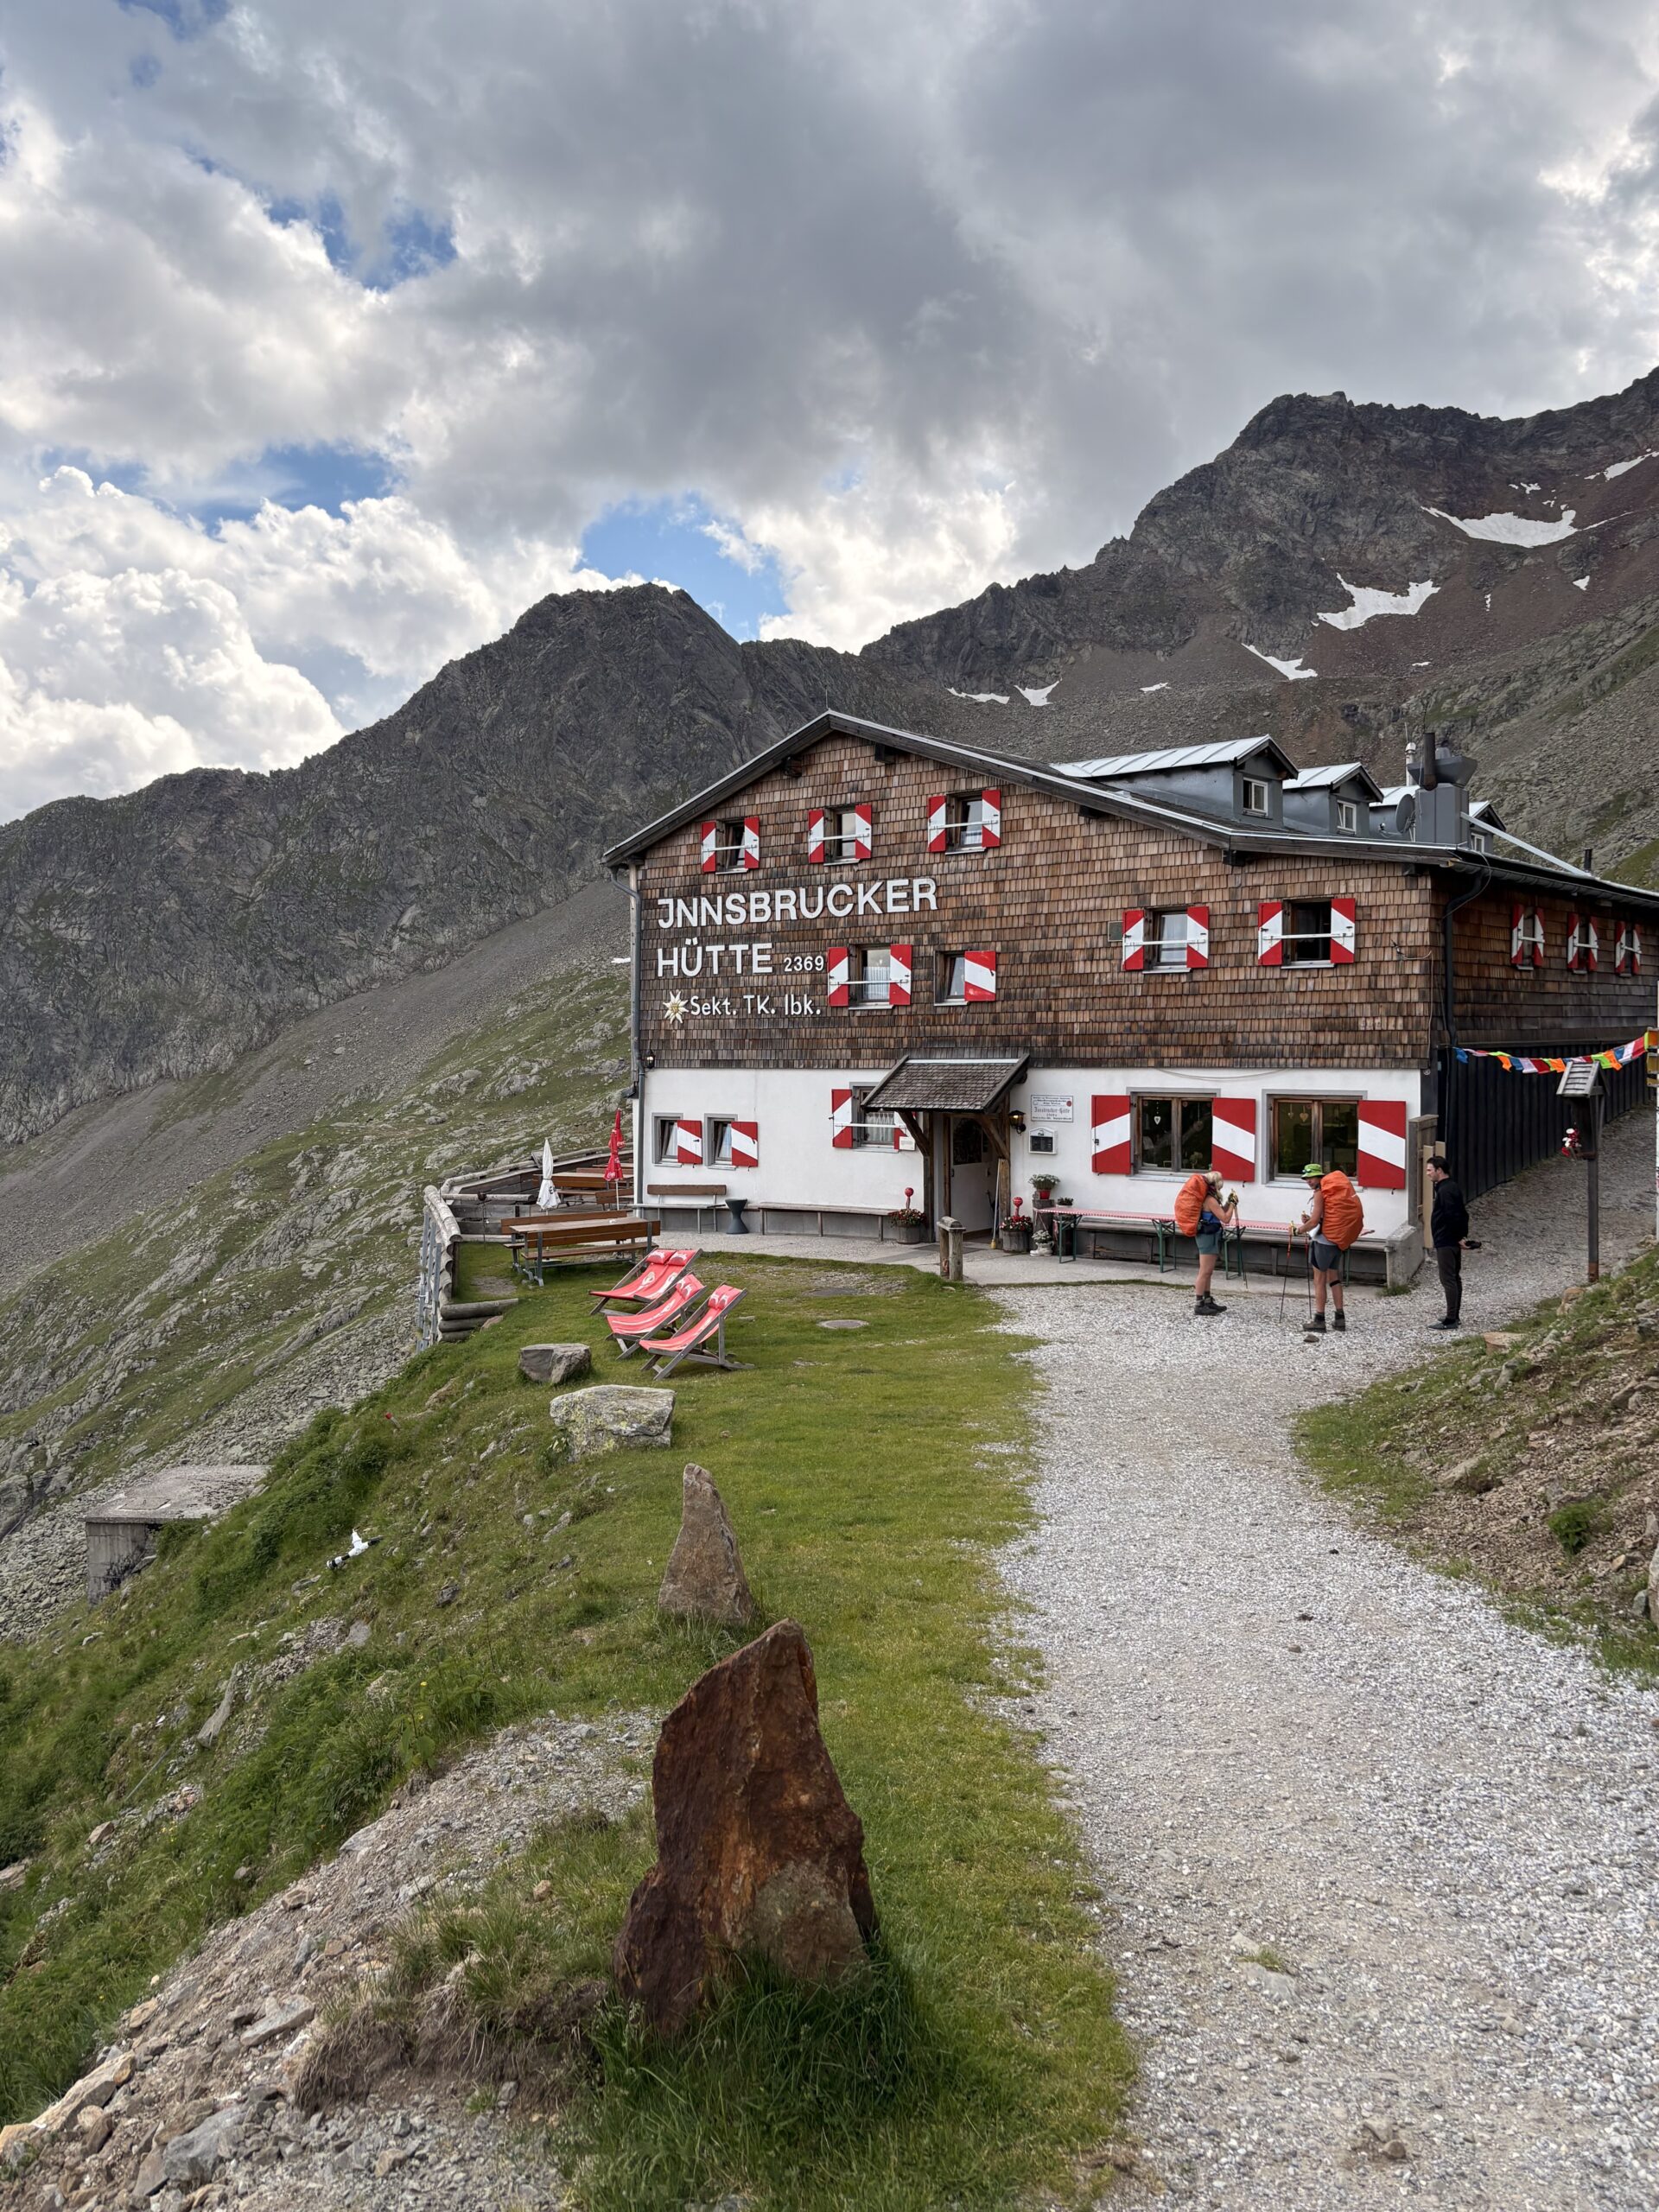
Arrivée à la Nürnberger Hütte
Le refuge apparaît. Jean-Christophe, affamé depuis hier, fond sur le comptoir : énorme assiette de spaghetti bolognaise (le fameux Bergsteigeressen) suivie d’une portion de Kaiserschmarrn, plat sucré typiquement autrichien. Il rayonne, repu, tandis que l’orage gronde au-dehors.
Bilan du jour : marche plutôt courte, mais une mosaïque de paysages, une harde de bouquetins sur une crête abrupte et un cours express de linguistique montagnarde. Demain ? On verra bien : la météo peut bien faire la grimace, nous avons retrouvé nos forces… et notre sens de l’humour.