Cette semaine, Vera et moi faisons une randonnée dans les montagnes du Stubaital. Départ aujourd’hui de Innsbruck en train et bus jusqu’à Gschnitz, départ de notre rando.
Il fait chaud mais il devrait faire de 12 à 25°C dans les hauteurs. Sans ombre, ça sera chaud mais au moins les nuits seront fraîches.
Je n’ai pas de photos de Innsbruck. Pas de temps pour faire du tourisme.
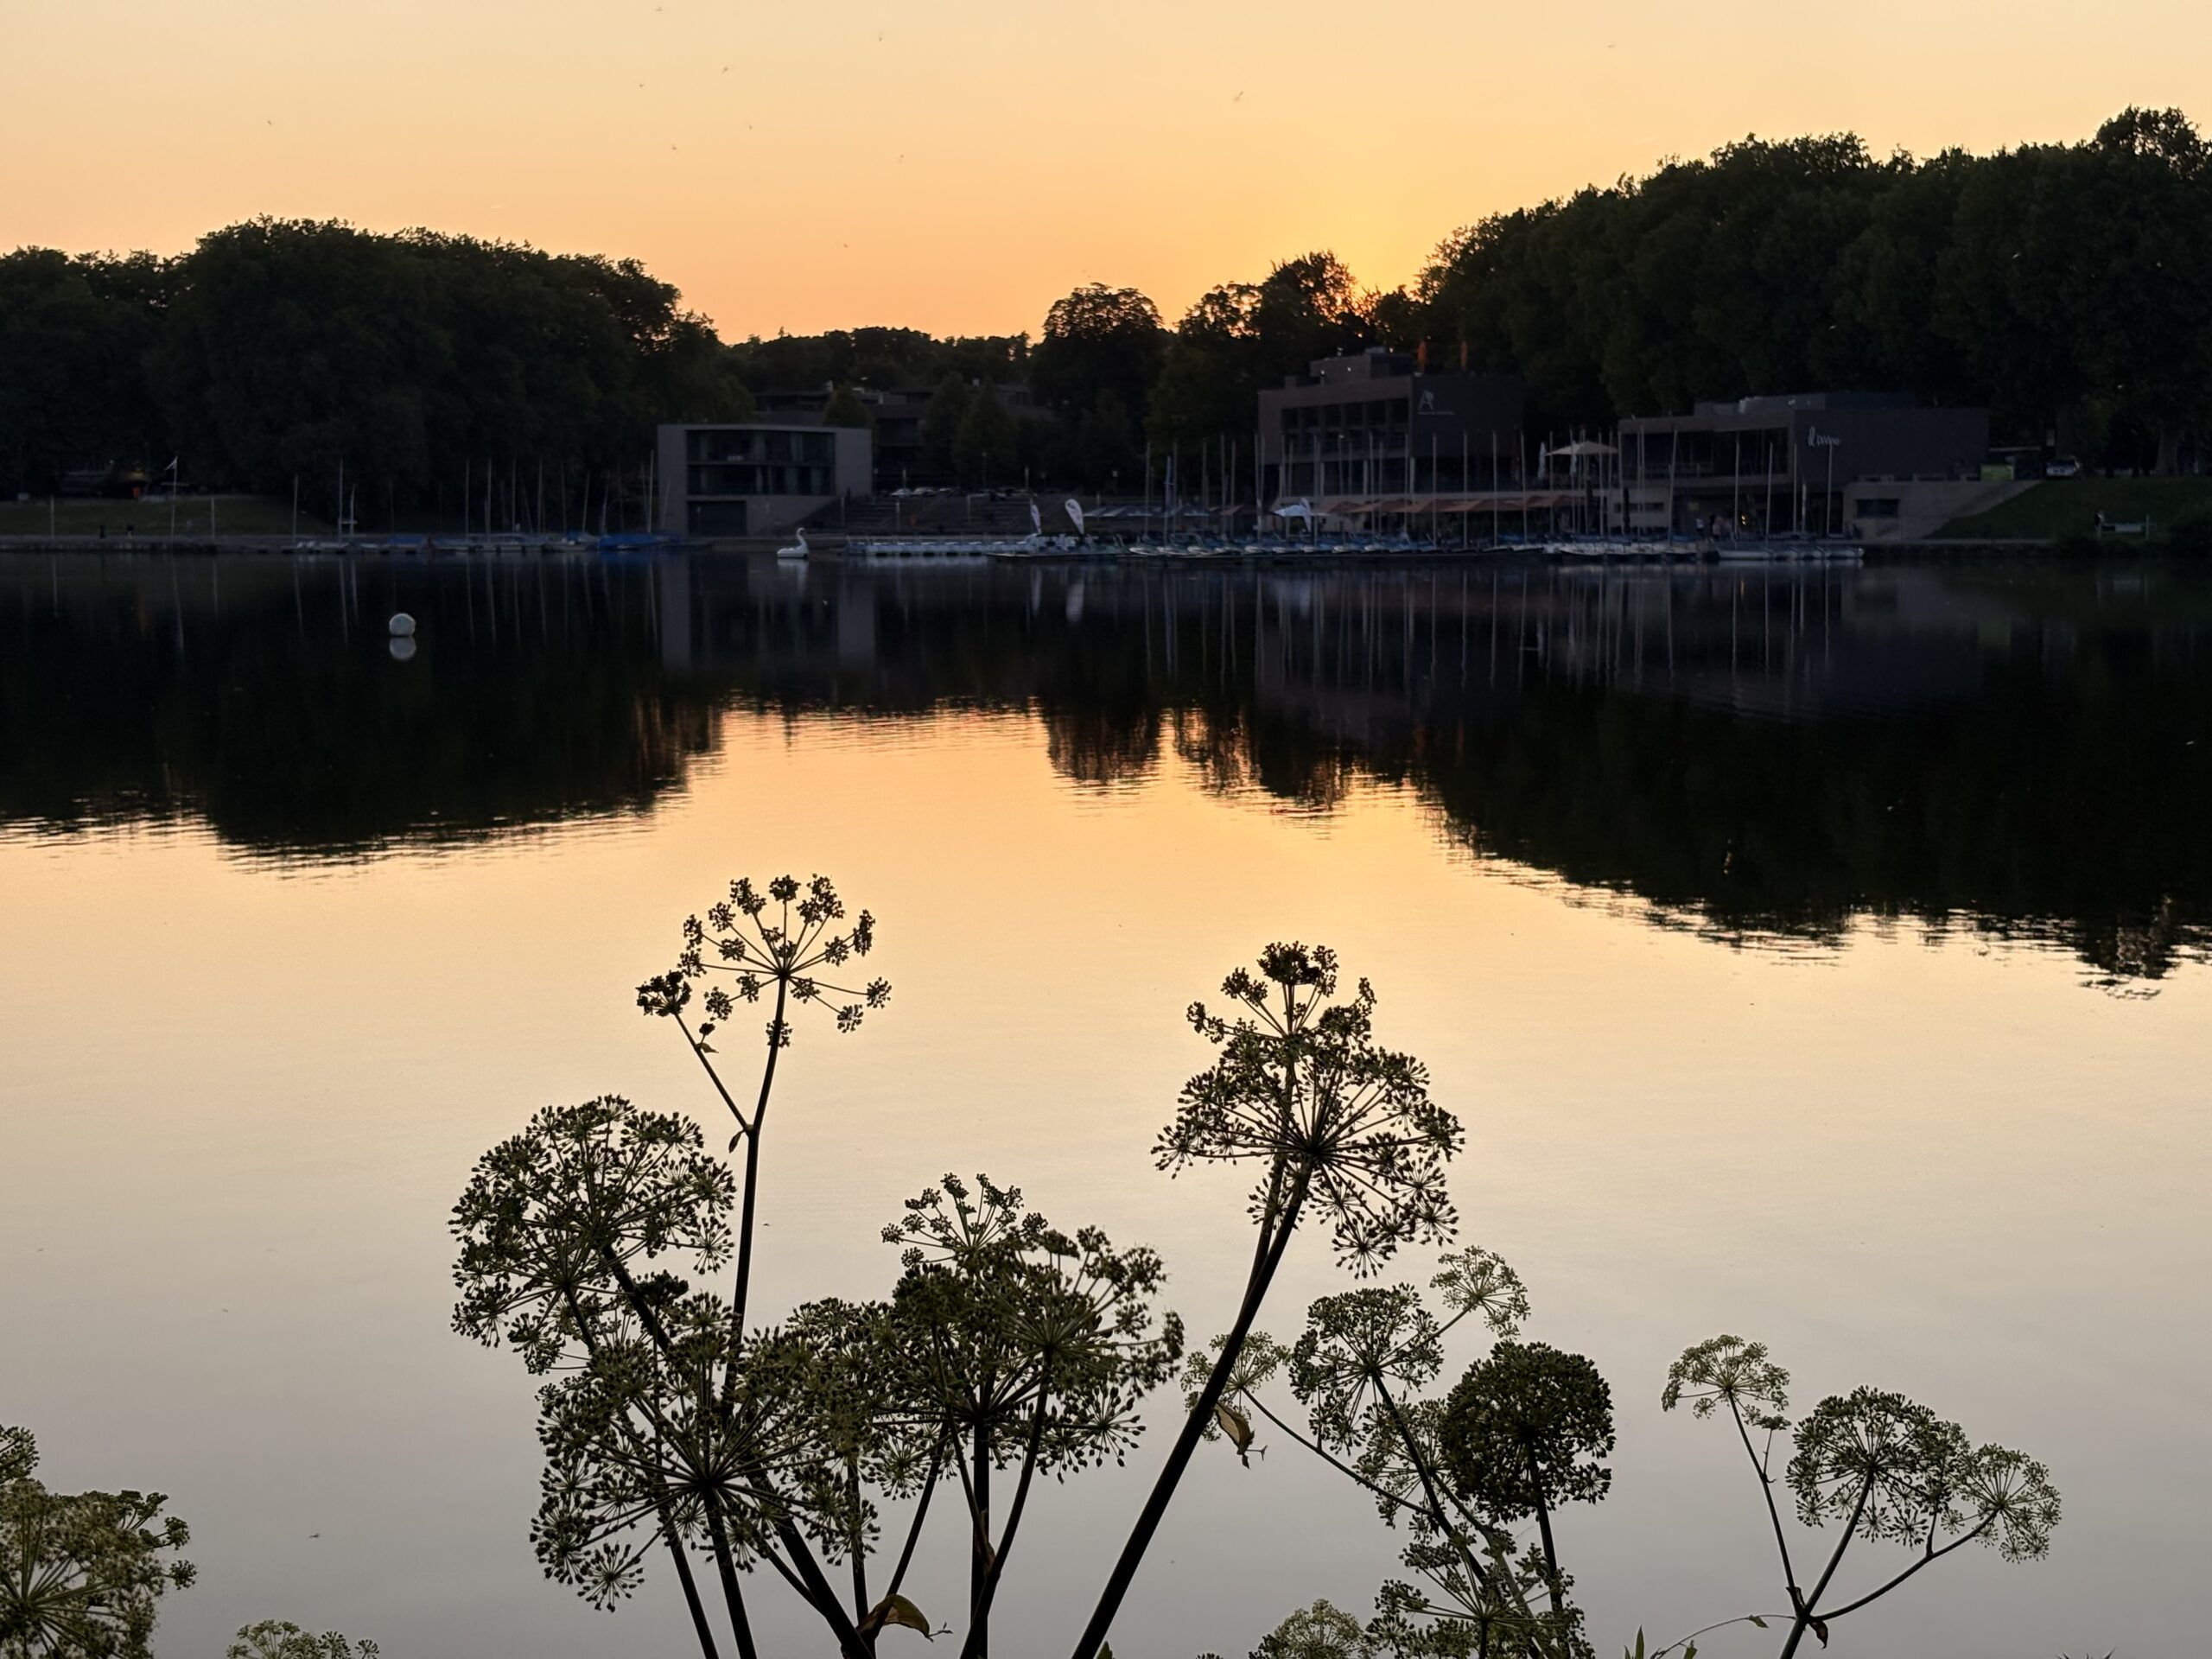
Brise fraîche Une table sous l’ombre D’un tilleul fleuri qui s’étire.
Inspiration — senteur de l’été approchant
Croooc Note caramélisée envahissante Poursuivie Par un cœur doux-amer
Expiration — l'amandine prend sa place
Une tasse approche des lèvres Pschhhh Déchirement feutré d’une mousse lactée Sliiiirp Suave et aérien d’abord Prolongé par l’âpreté arrondie d’un cacao — hmmm
Il s’agit là de mon tout premier essai d’écrirture d’un haïku.
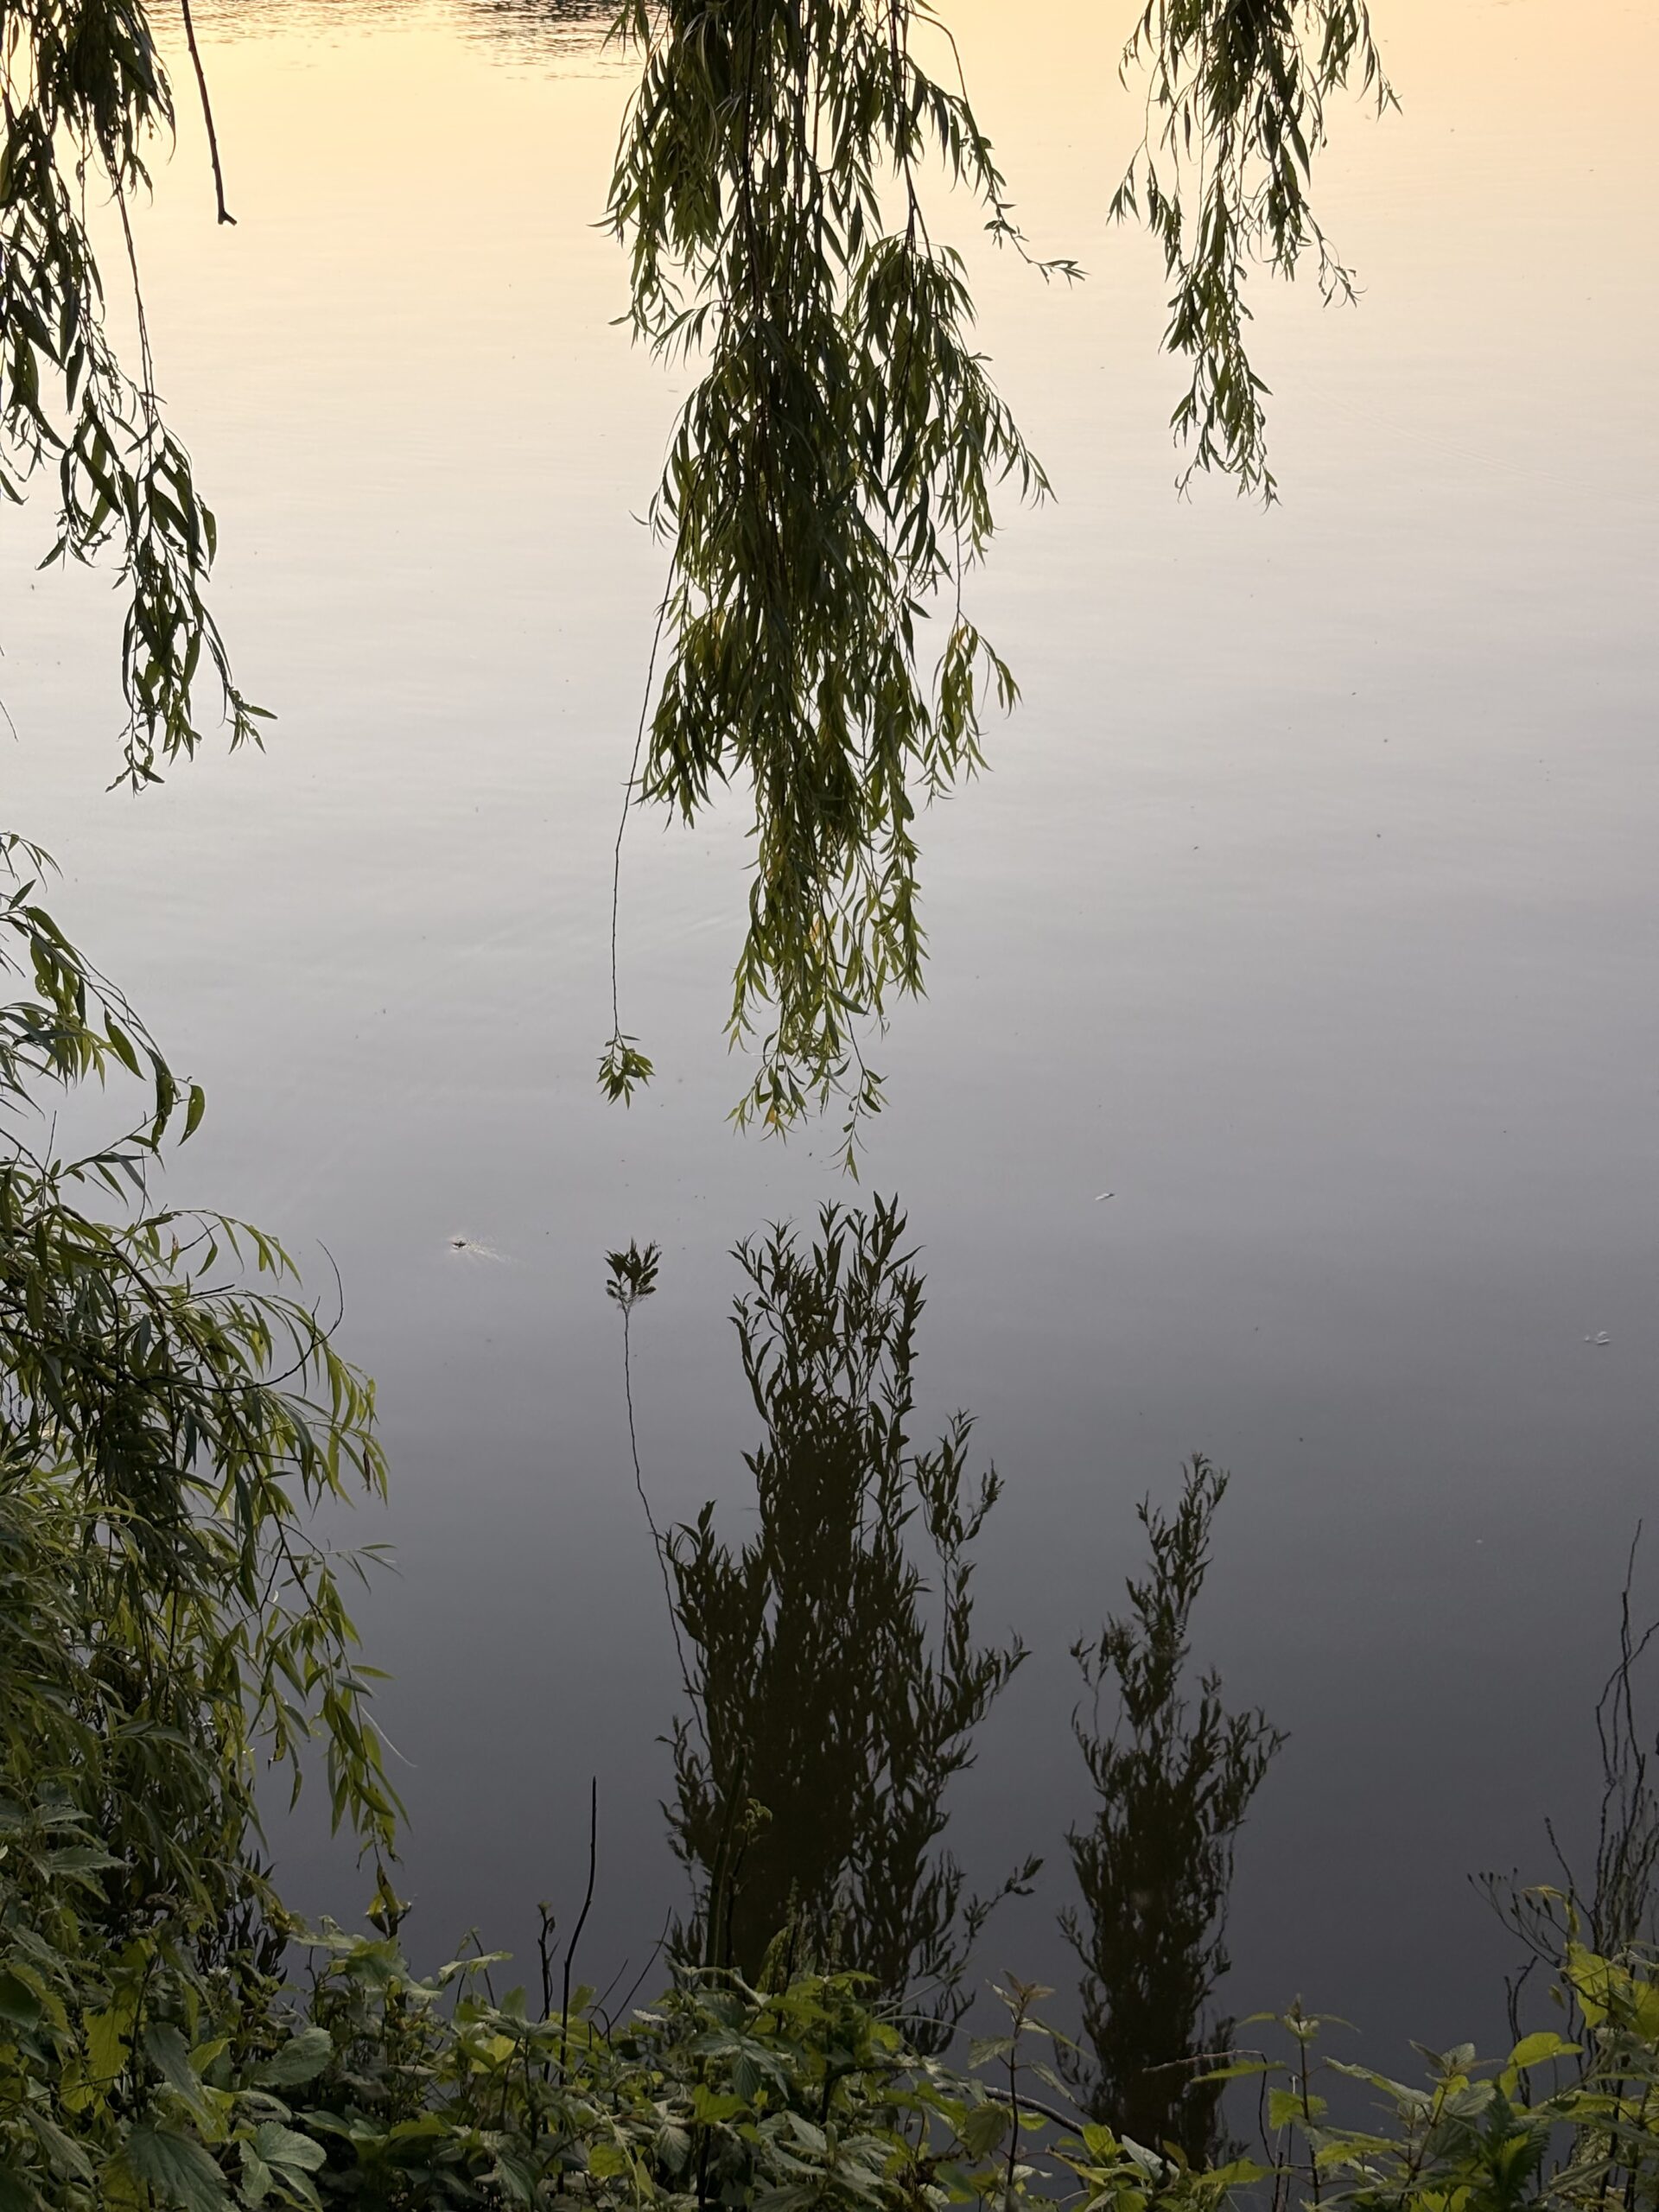
Écho Silencieux

Nuit silencieuse —
La Lune est là, distante,
La regardes-tu ?
Un haïku est un poème japonais court qui en 3 vers de 5-7-5 syllabes exprime un instant, une émotion ou une scène. J’aimais bien ce premier essai qui sort un peu du genre traditionnel en interpellant directement le lecteur par une question. Mais par la suite, alors que j’essayais de le traduire en allemand, je me suis rendu compte que les termes utilisés étaient trop simples et crus. En reprenant le champ lexical de ce thème et l’émotion que j’avais perçue, j’ai écrit deux nouvelles versions qui me plaisent beaucoup mieux. Chacune d’entre elles présente une touche d’originalité qui ne respecte donc pas strictement les règles du haïku, mais qui ne dénature pas l’idée de ce type de poème.
Je ne suis pas français pour rien après tout
Une lune rousse
Déchire l’obscurité —
Bruissement d’une pensée.
Voici le deuxième :
Nuit feutrée — frisson !
La lune m’éclabousse
d’un lointain murmure.
Les amateurs de Prévert feront peut-être le lien avec l’un de ses poèmes (indice : une orange et un prisonnier).
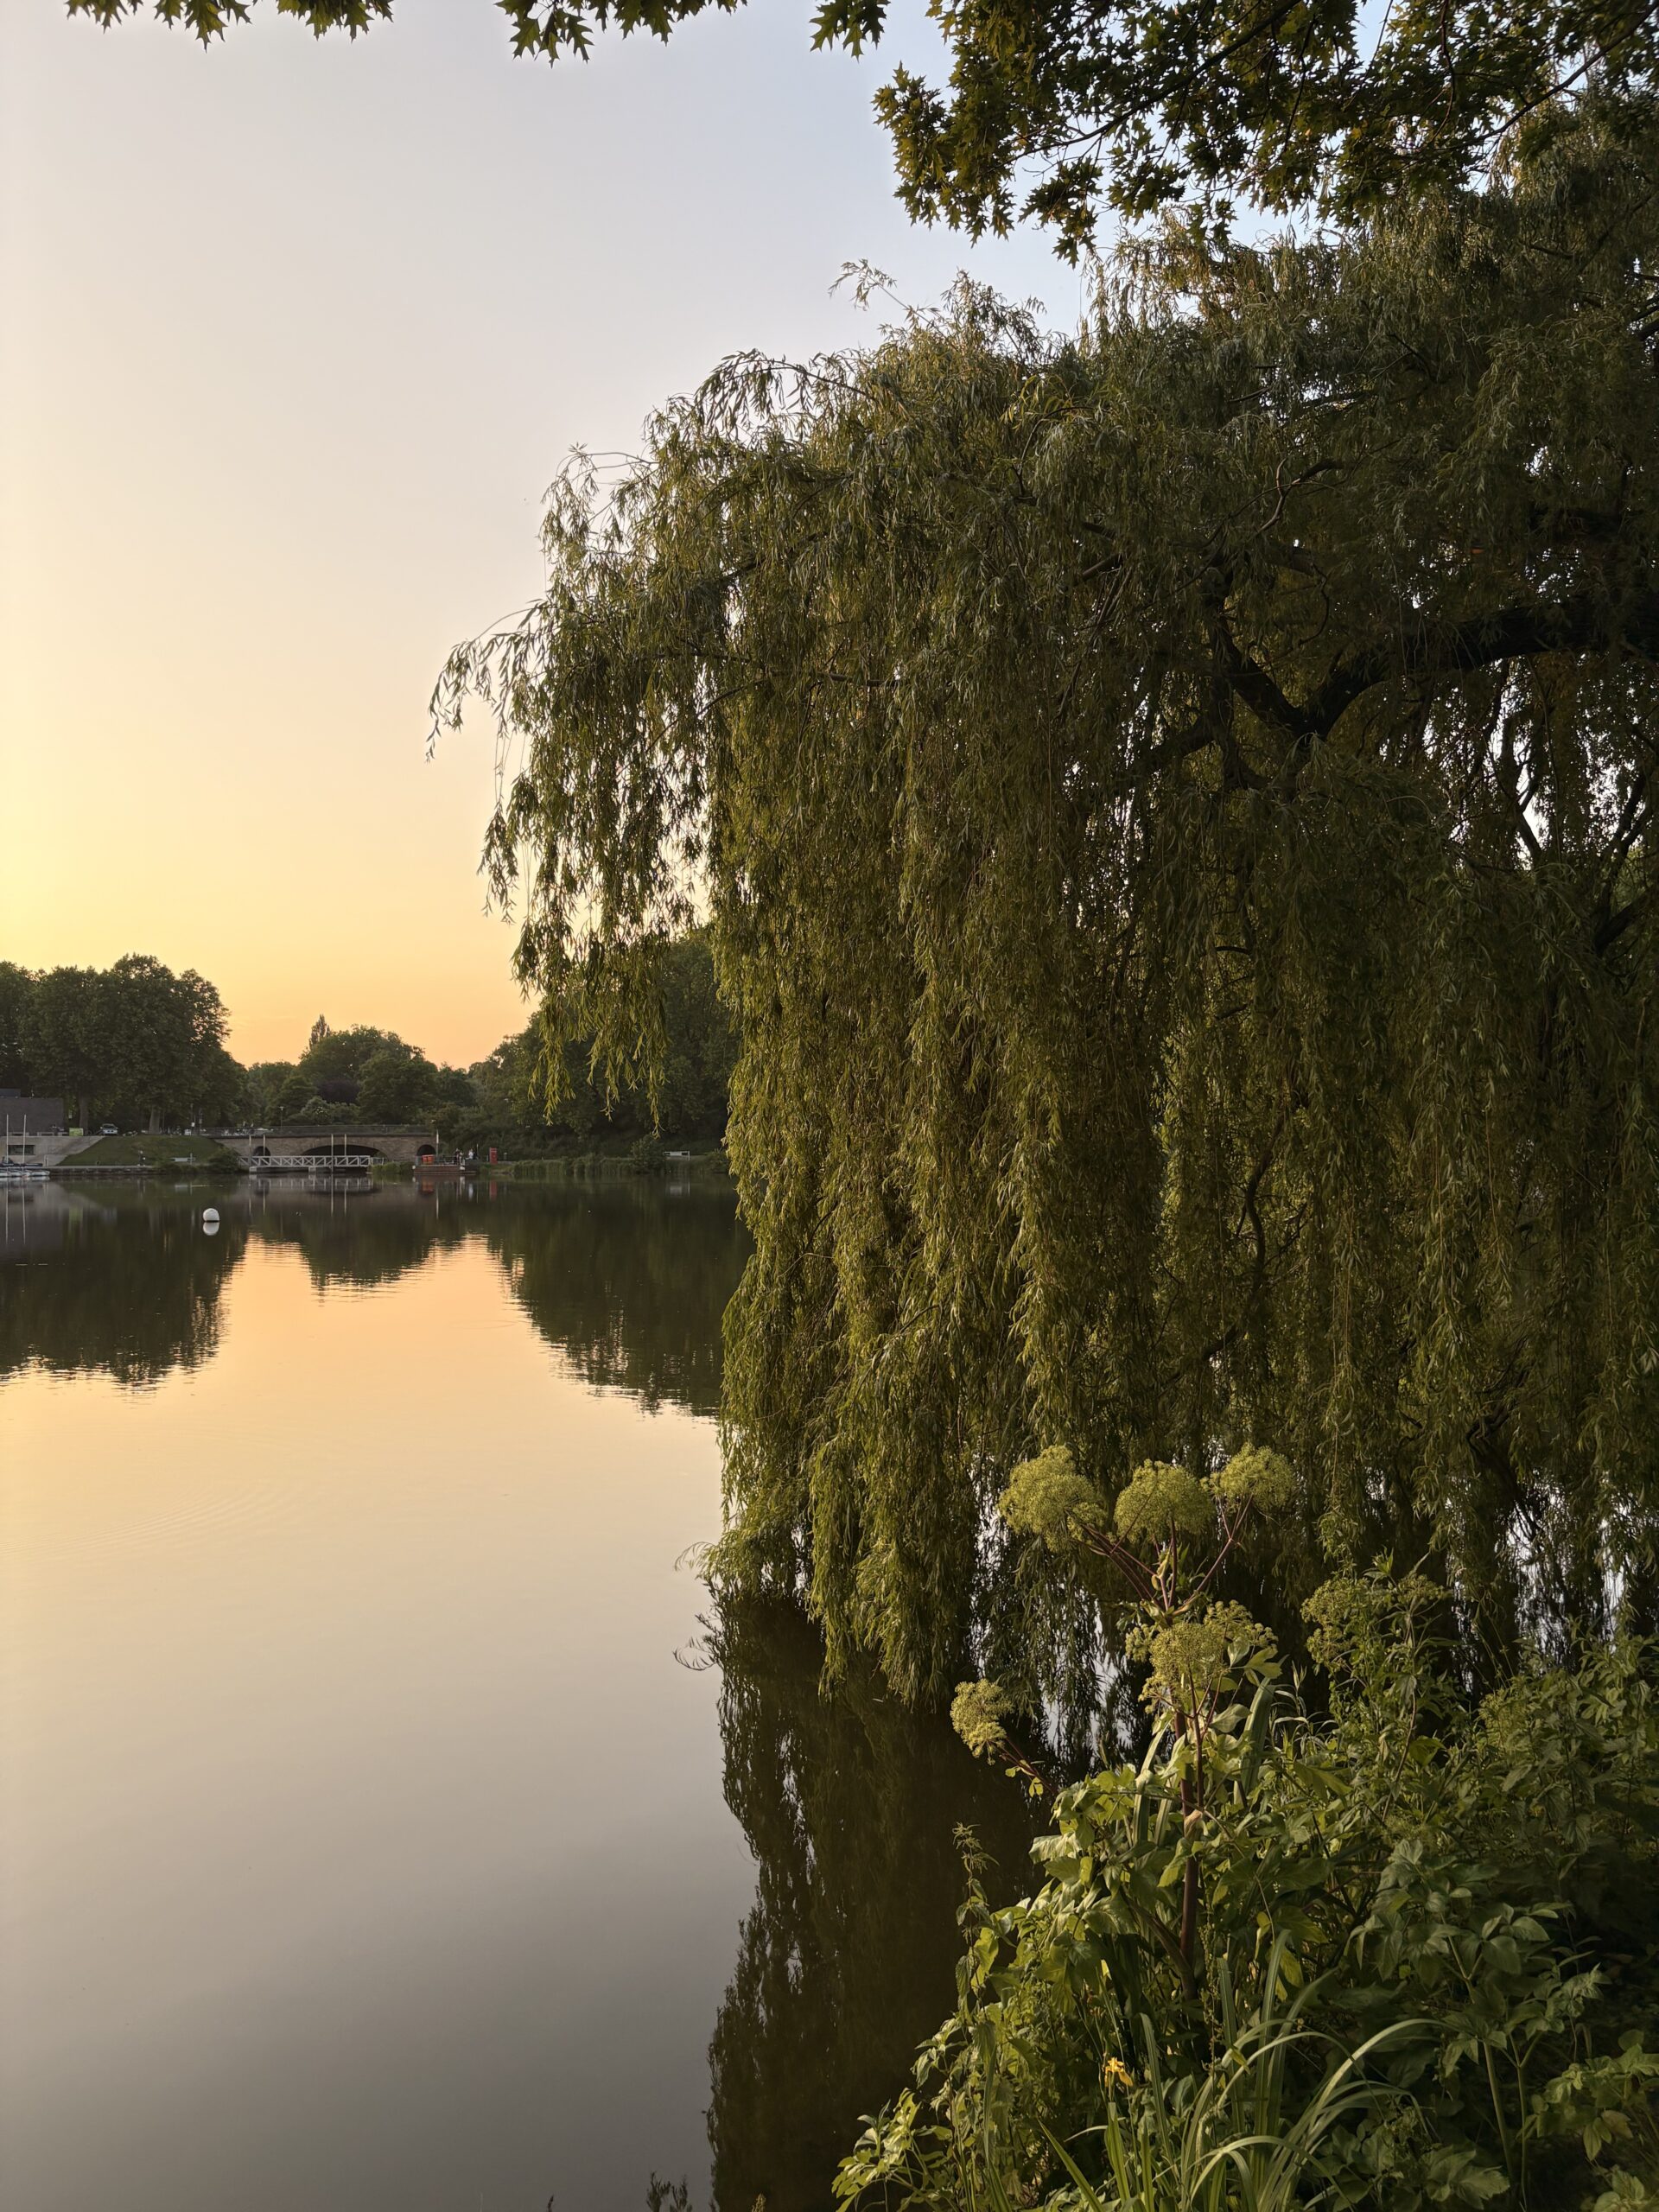
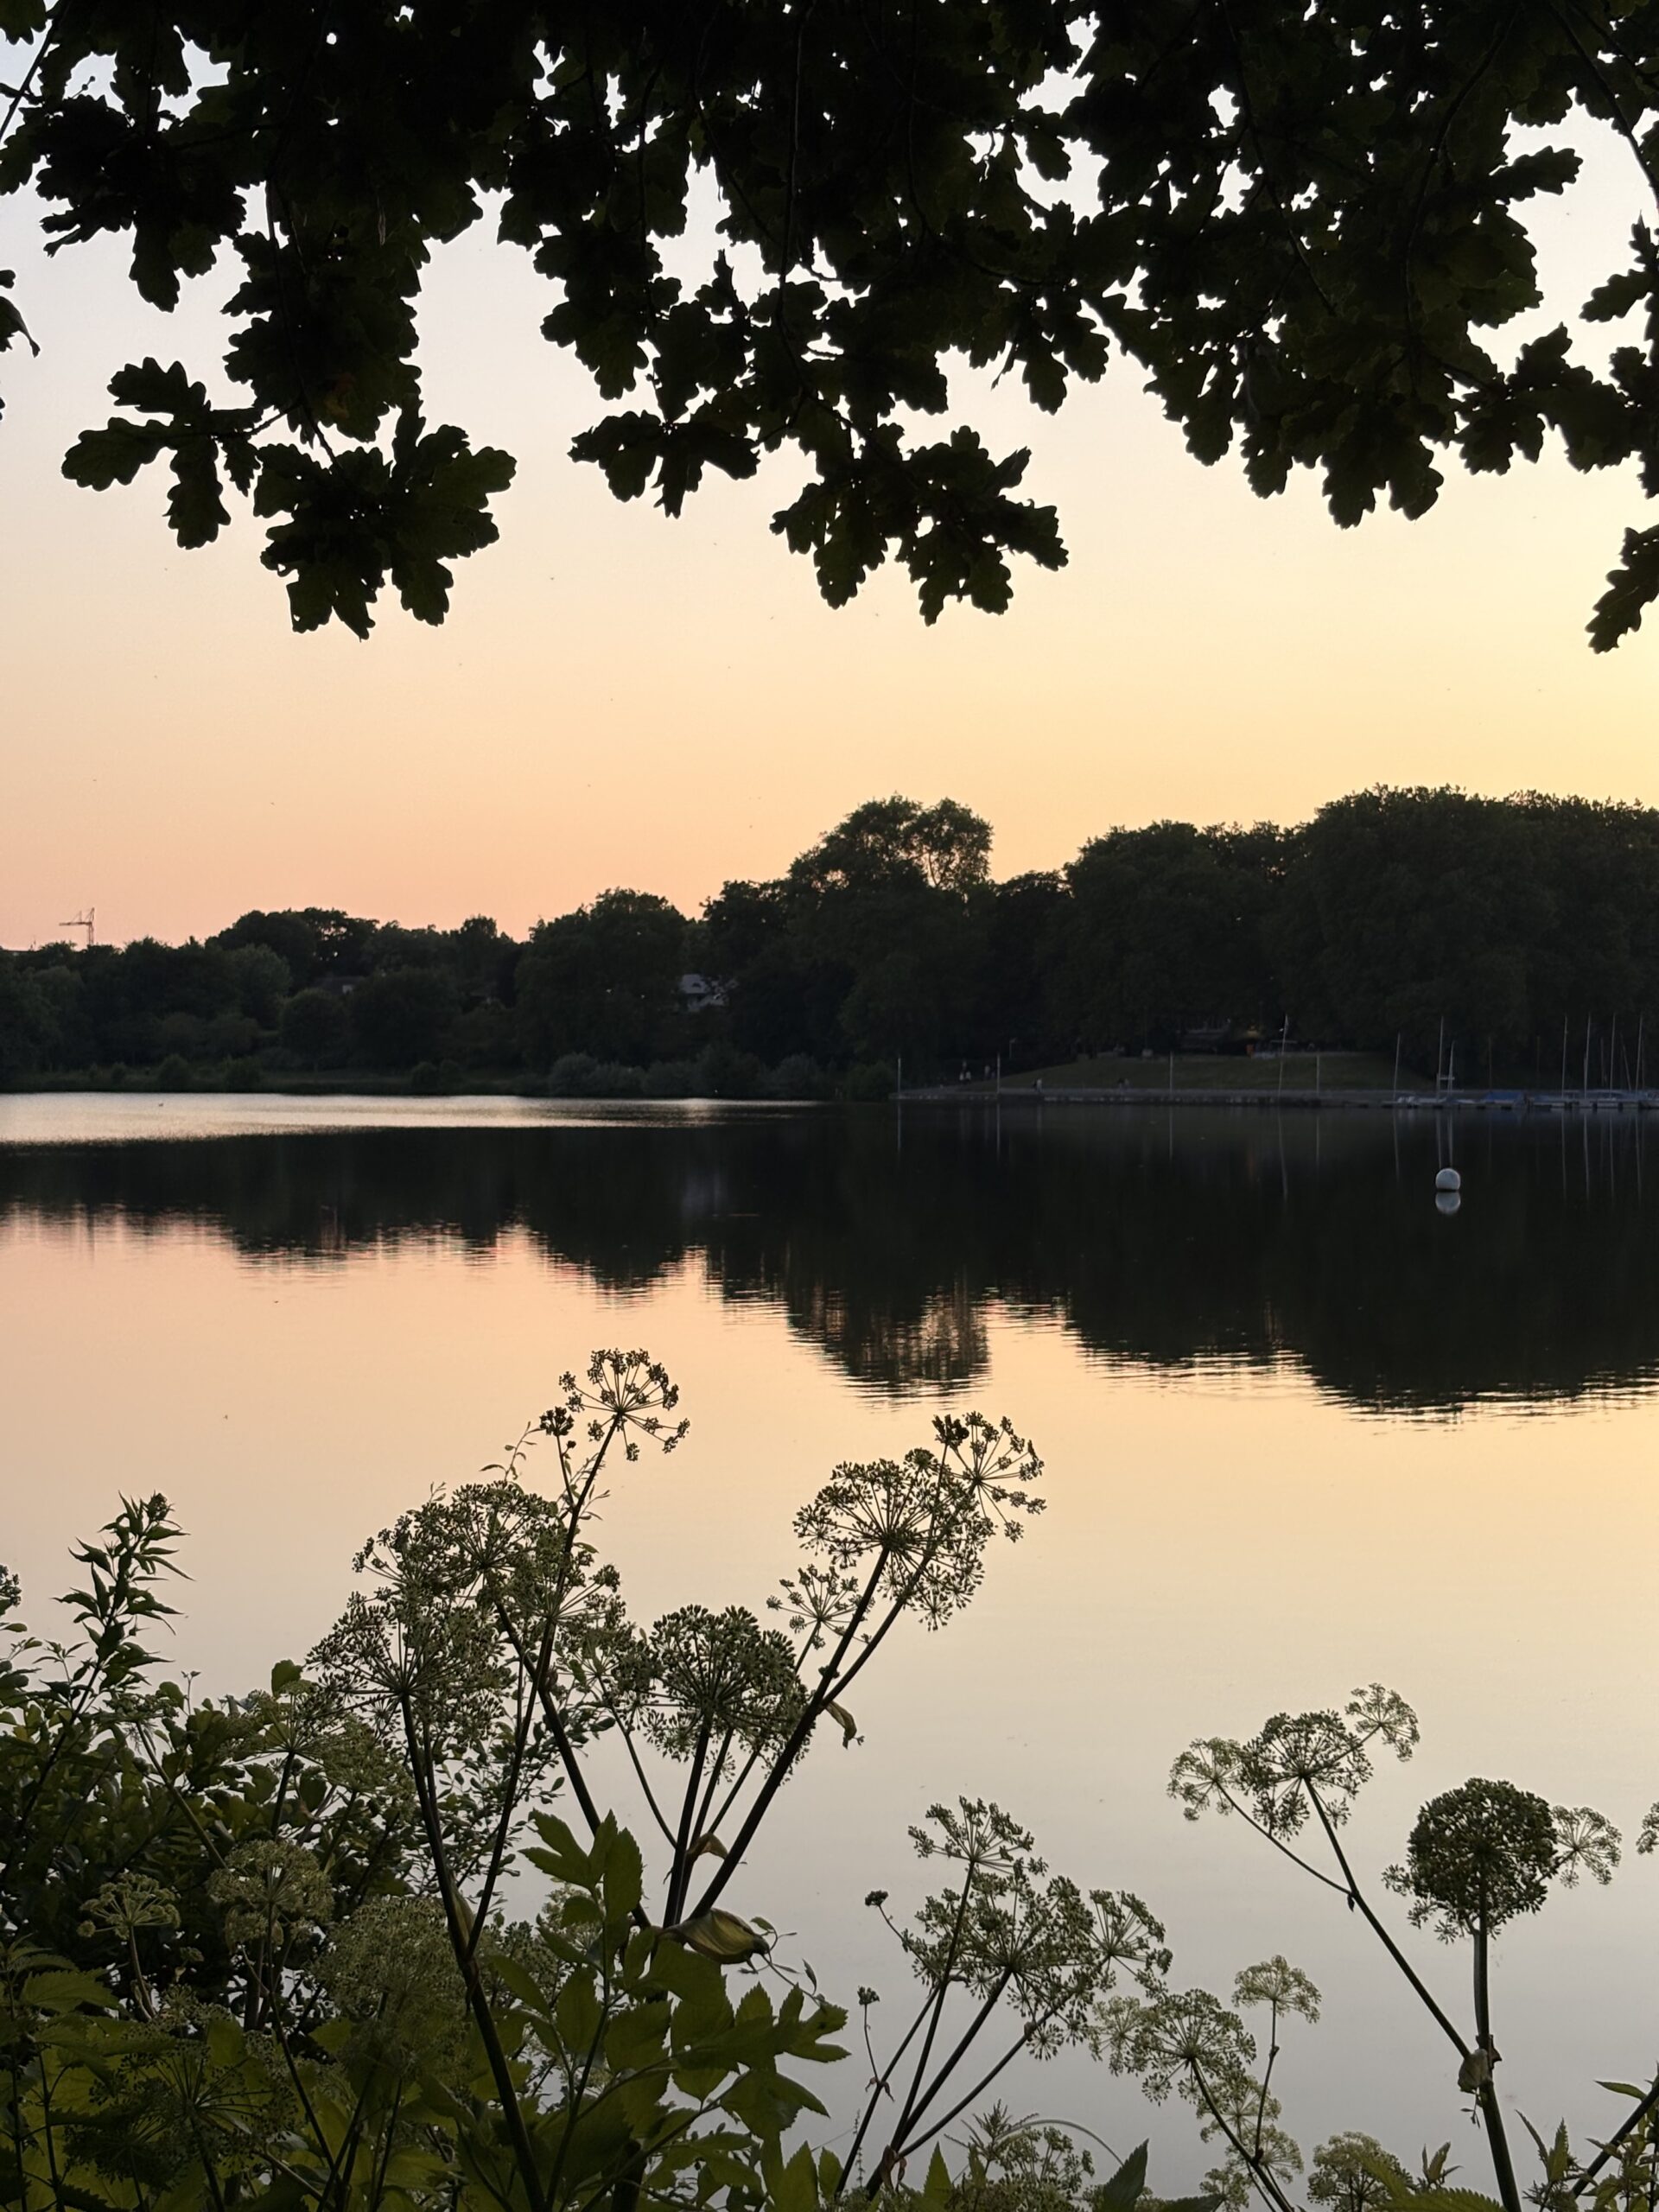
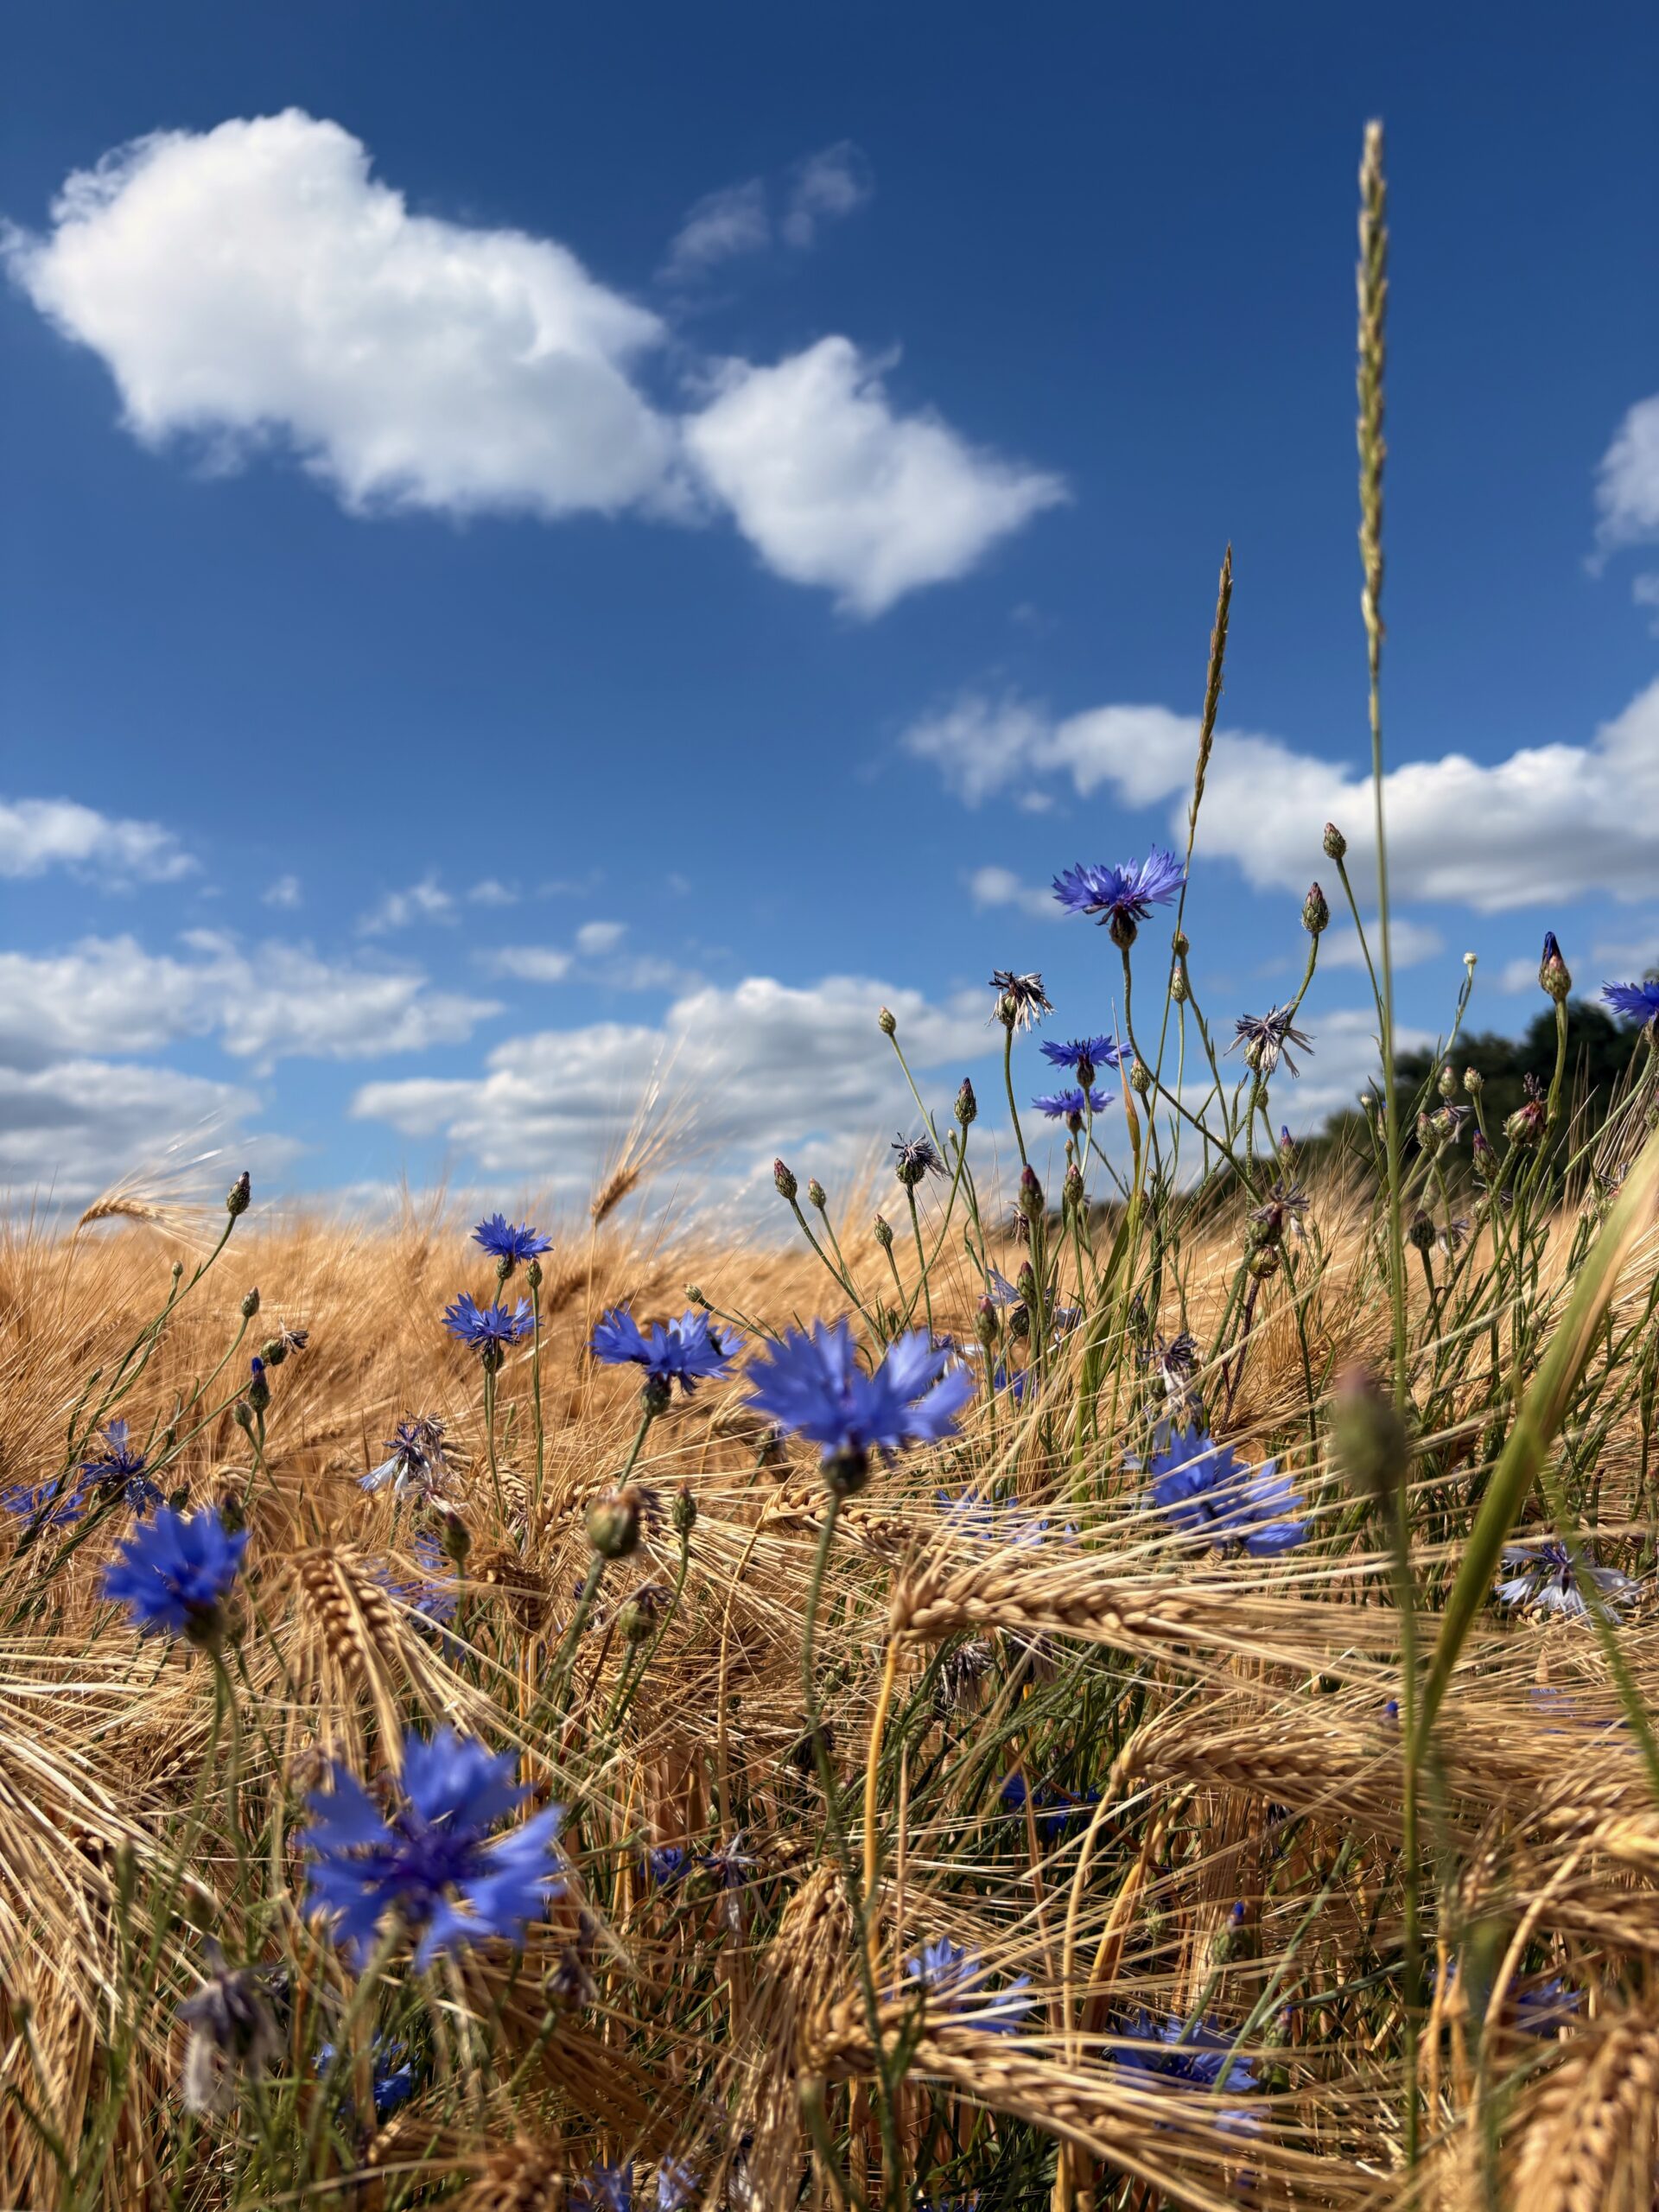
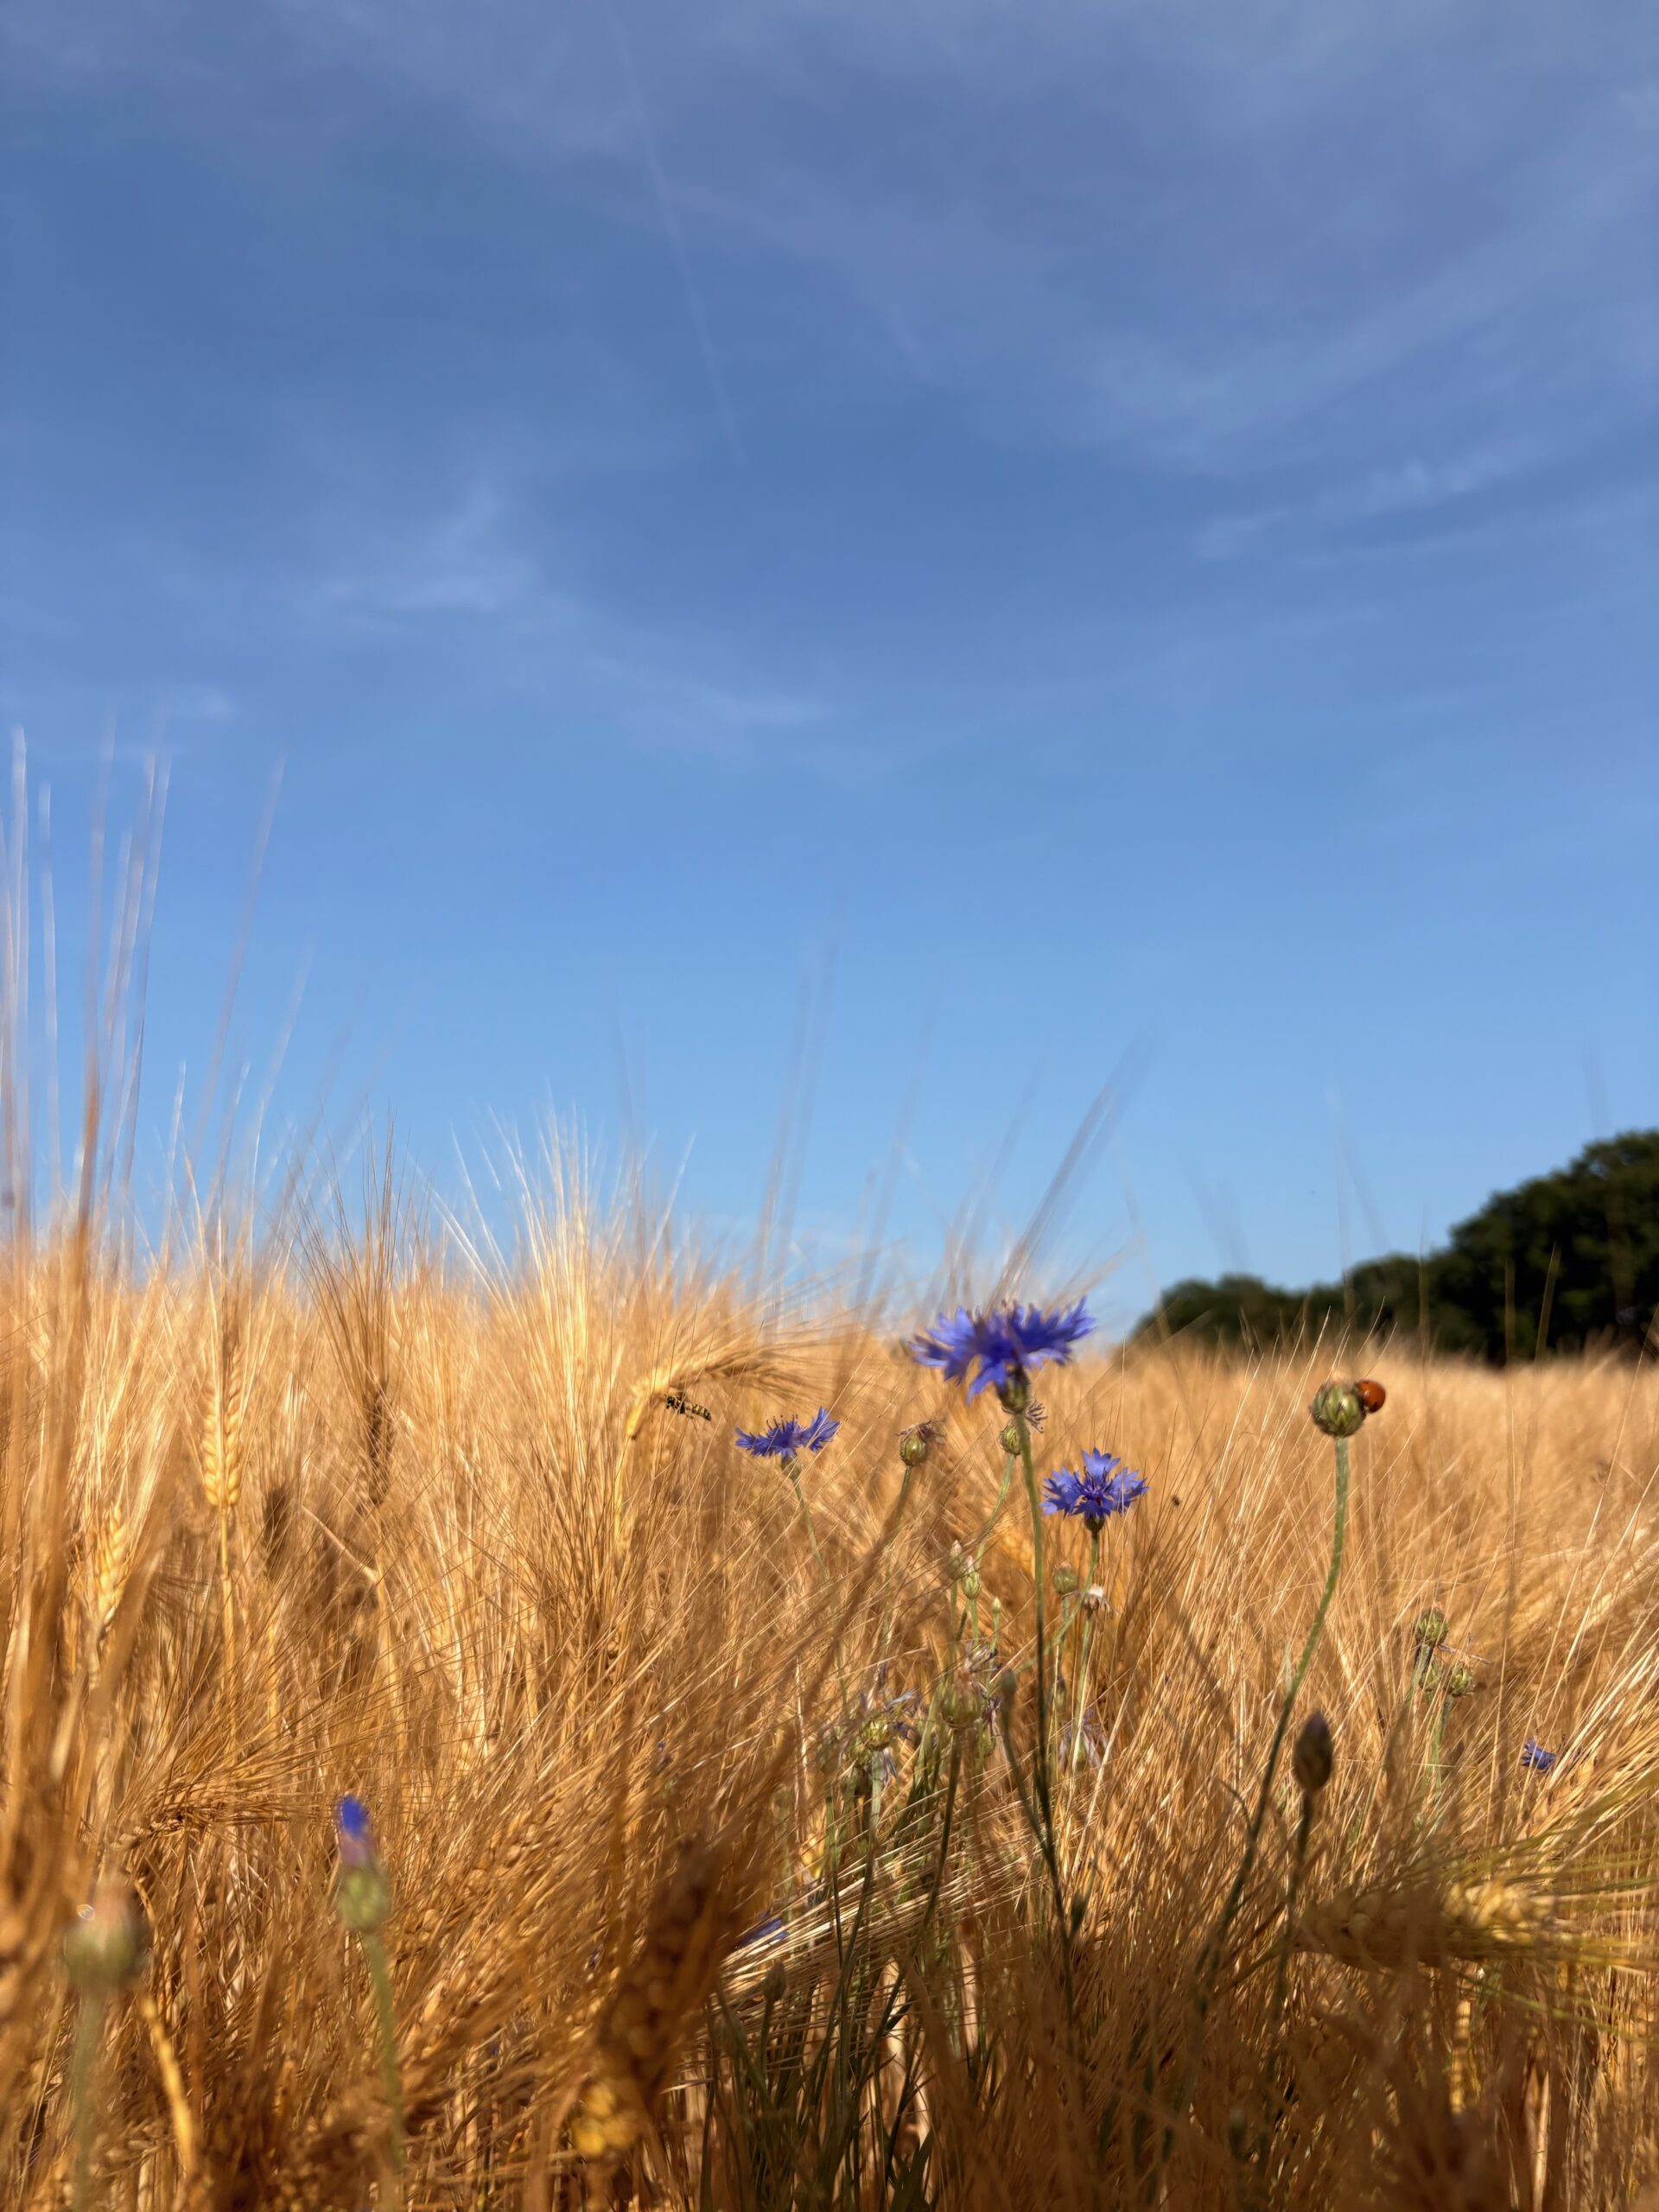
Le titre de ce billet de blog est la traduction du vers latin « carpe diem, quam minimum credula postero ». Il s’associe parfaitement avec le thème de mon escapade à Münster. Alors je suis allé cueillir les bleuets de ma pensée.
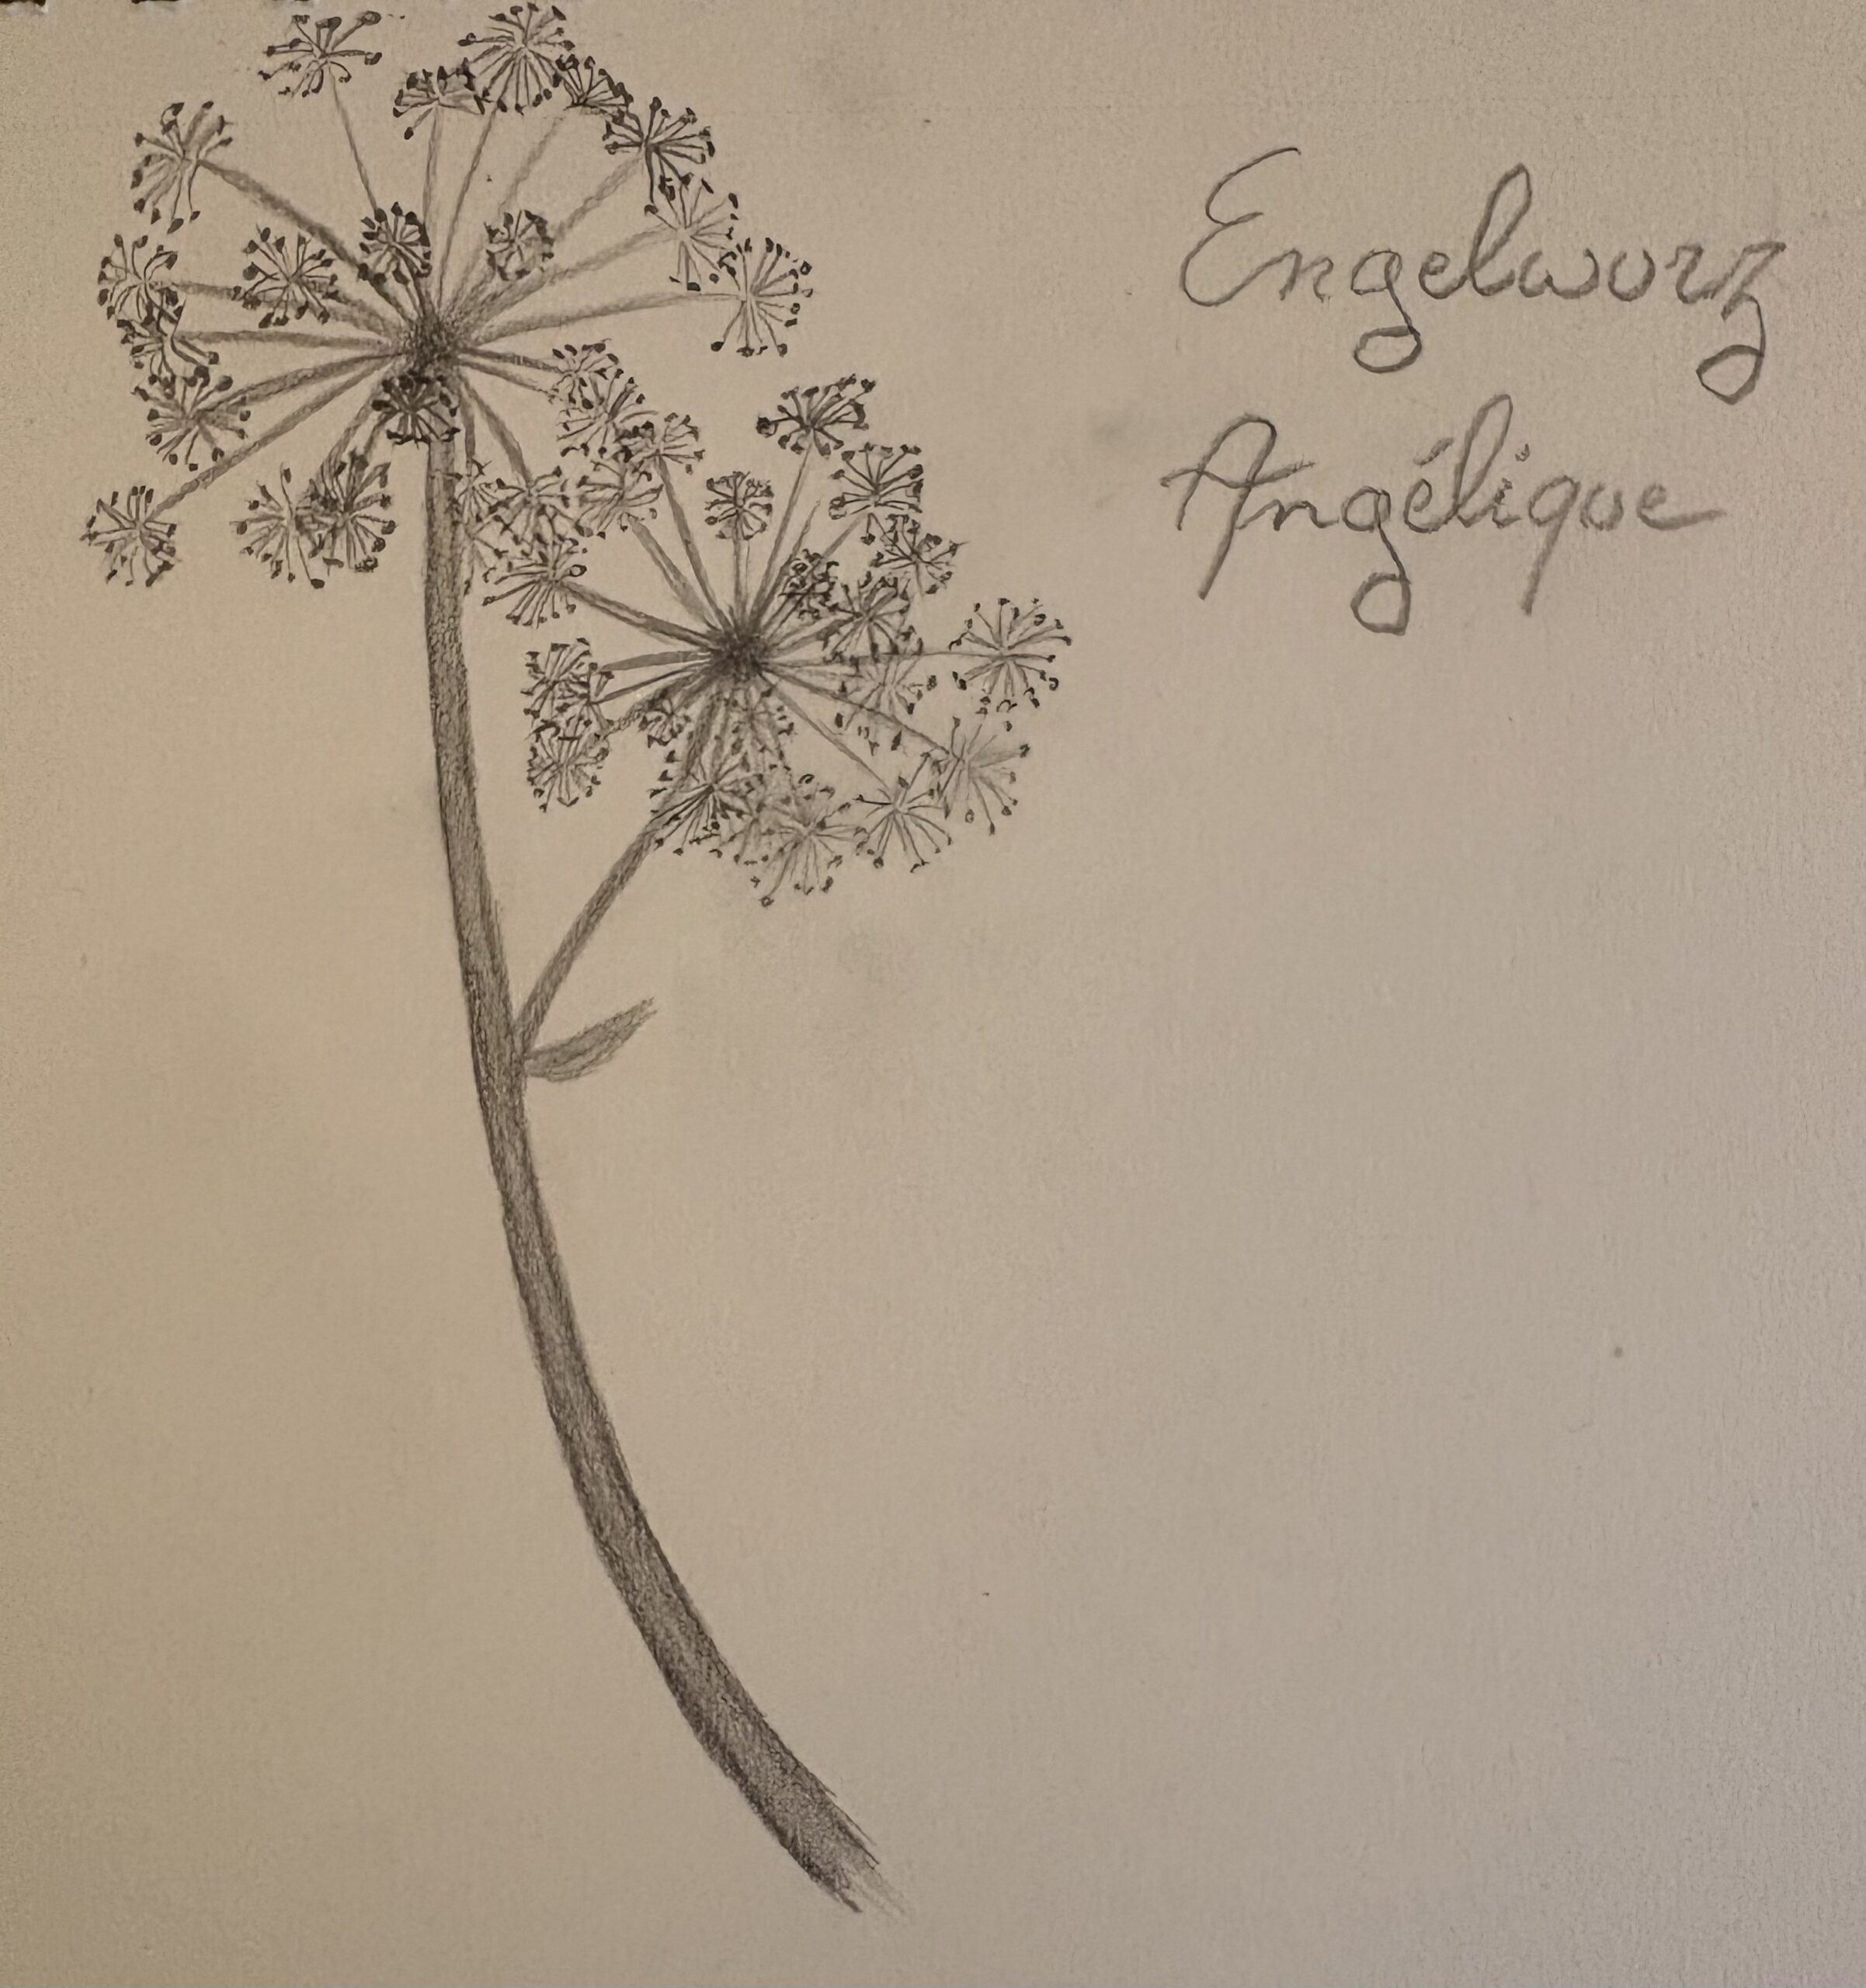
Prendre conscience de ce que l’on vit, c’est d’abord ralentir, observer et écouter. C’est ouvrir ses sens sur le présent, cet instant fugitif. Les Allemands parlent d’Achtsamkeit : une attention simple, vigilante. Il s’agit de consciemment prendre une photo de ses sens et de l’explorer. La marche l’incarne très bien : on regarde vraiment où l’on met les pieds, on écoute sa respiration, on hume l’air, on laisse les détails du chemin remonter – on devient spectateur attentif d’une odeur d’herbe coupée, d’un parfum de fleur de sureau, de trilles d’un mignon roi de l’hiver perché sur une clôture, ou de la lumière qui change au passage d’un nuage. Cette conscience de la musique de notre monde présent s’entretient admirablement dans le souffle régulier de la promenade.
Le rythme du pas peut alors devenir un trait de crayon ou un jet d’encre, les sens externes peuvent s’éteindre et nos sens internes s’activent. Les impressions ressenties pendant la marche consciente, les souvenirs, les formes, les odeurs peuvent maintenant guider notre main. Quand on trace un contour ou rédige quelques lignes, on se focalise : le cerveau met les notifications externes en sourdine et ouvre la porte à l’imaginaire ; en quelques minutes on peut voir un champ de blé différemment, sous une lumière crépusculaire. Concentration et créativité peuvent bien s’accorder : l’une tient la lampe, l’autre explore.
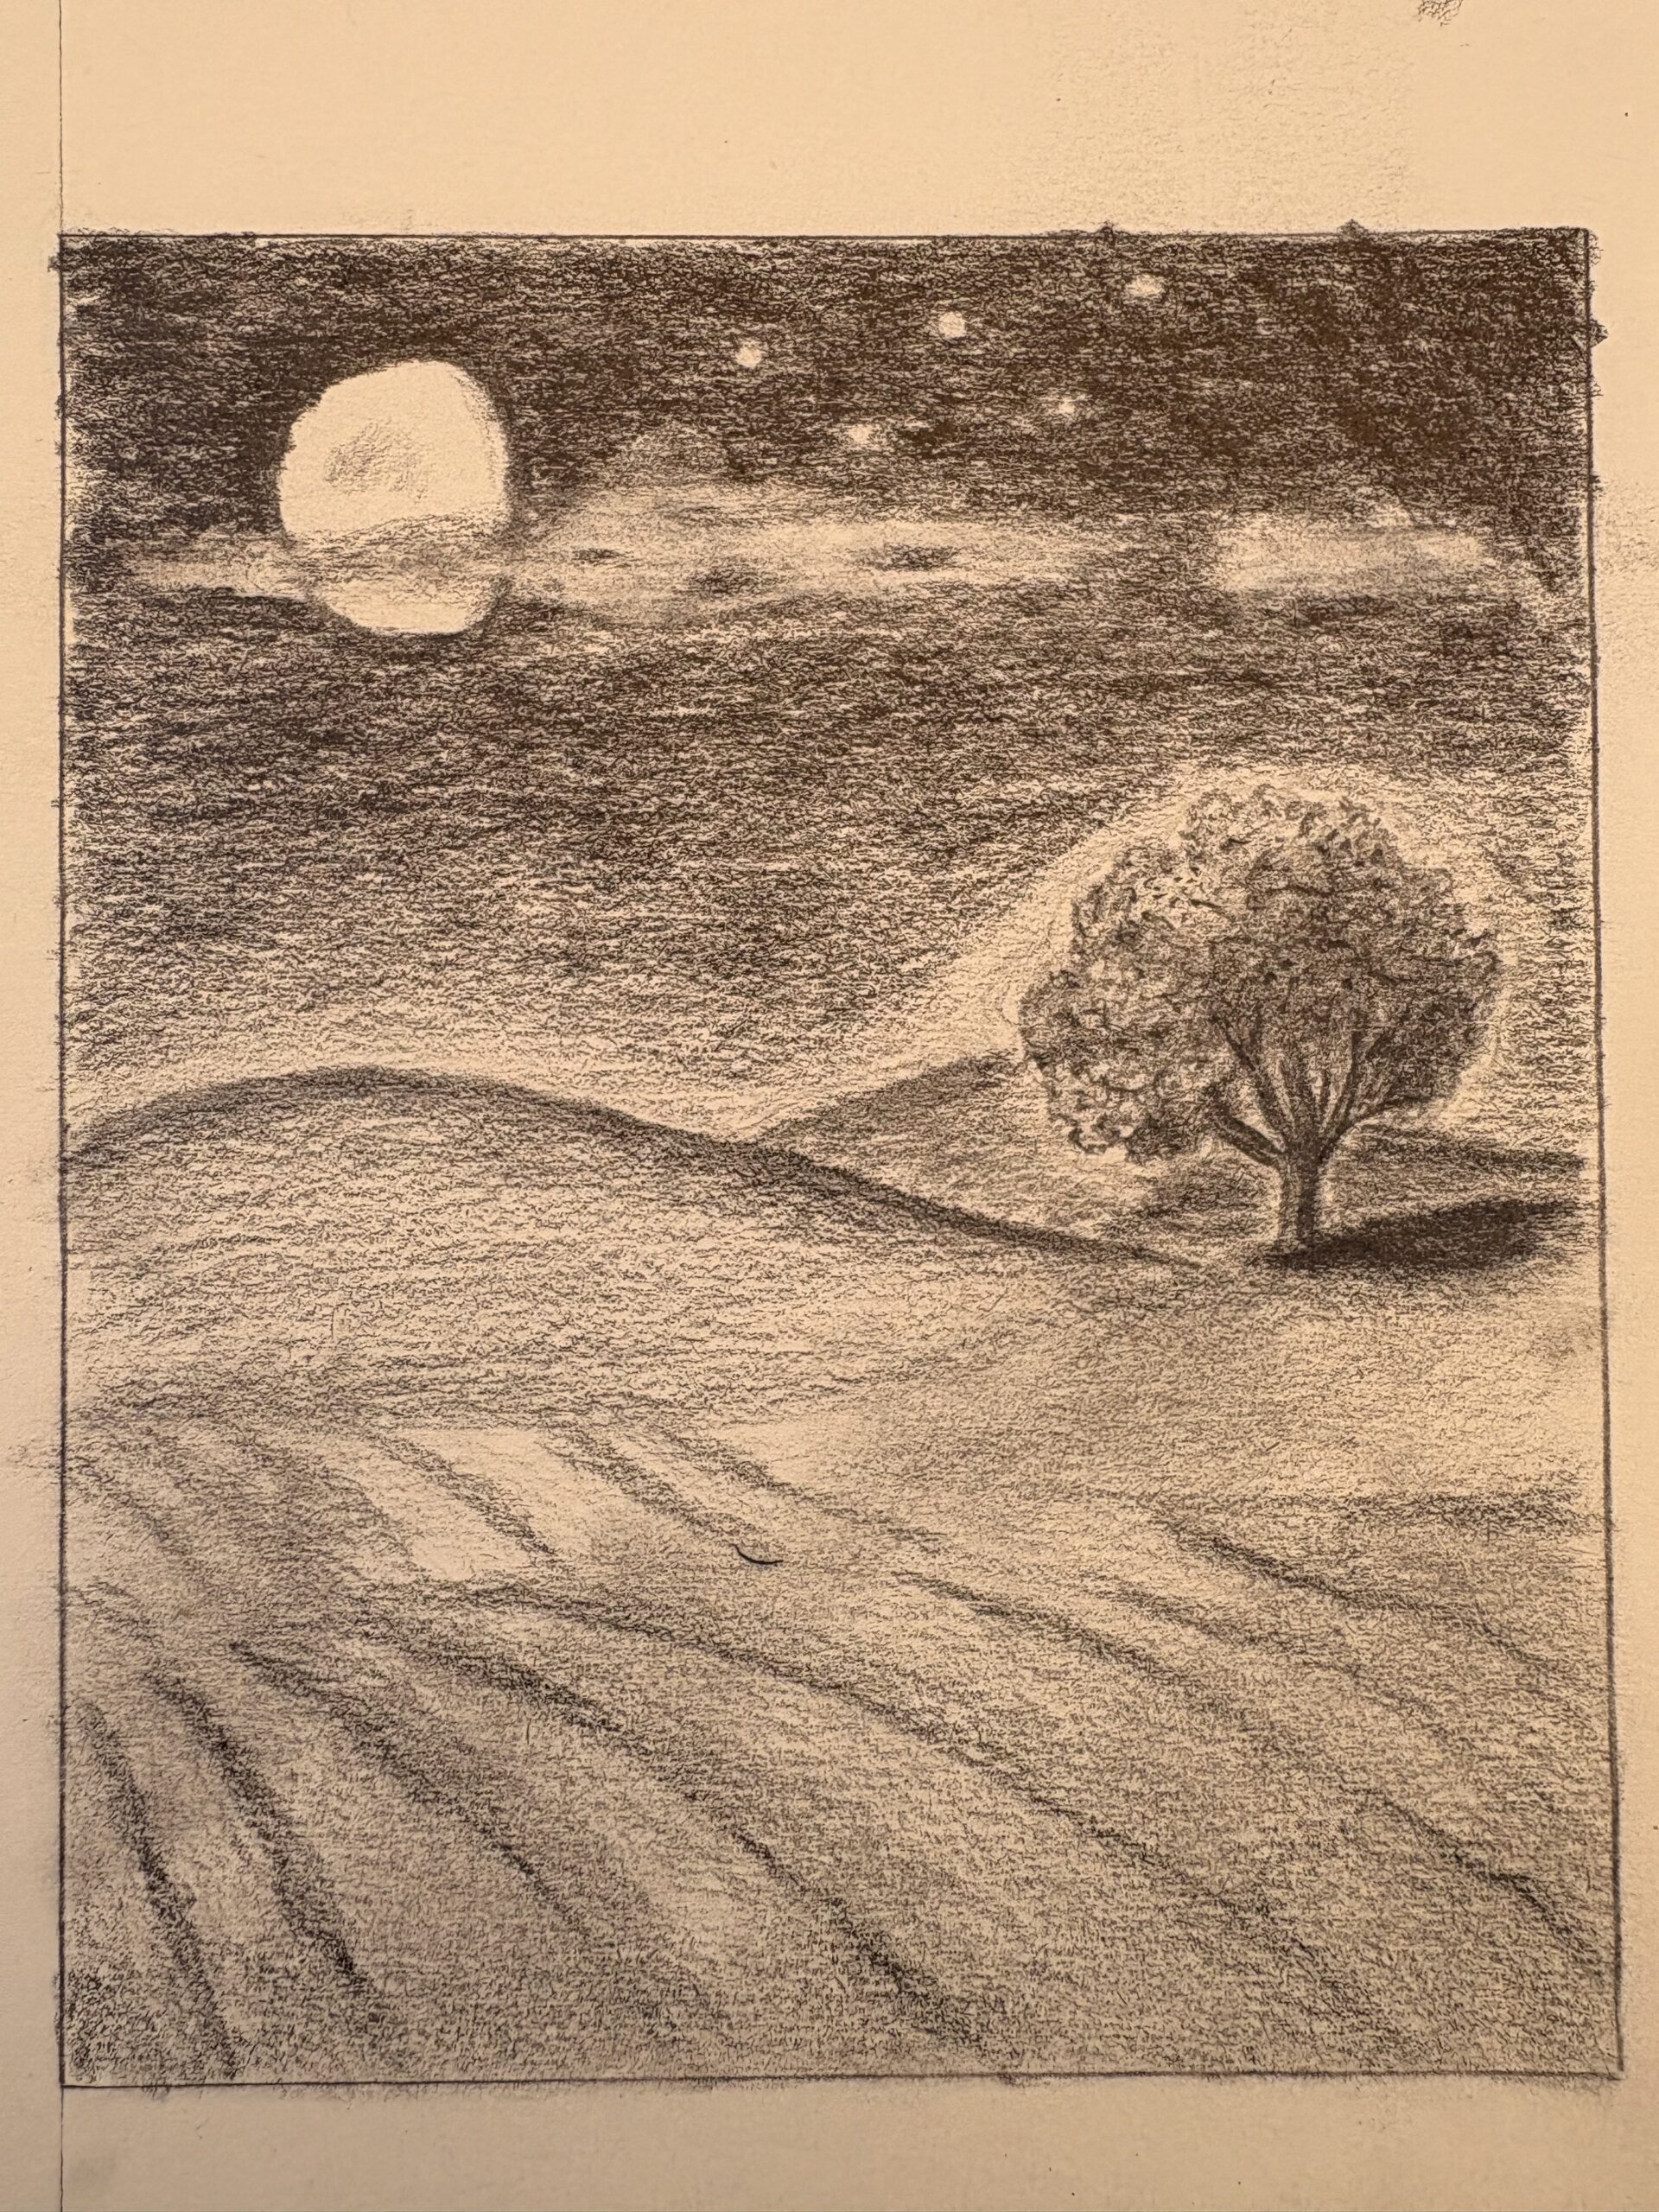
Dessin en cours d’un paysage sous une lune gibbeuseBleuets cassant la monotonie des blés dorésBleuets, reflet du ciel
Dans les trois cas – marcher, dessiner, écrire – l’idée est la même : cultiver un regard frais et disponible, changer son point de vue, commencer une nouvelle exploration, itérer. C’est un exercice modeste, mais au combien précieux. Essayez : sortez pour dix minutes, croquez un paysage, ou griffonnez trois vers en haïku. Vous verrez, votre point de vue n’a pas besoin de système de navigation pour se déplacer.
Voici un haïku (poème court japonais à l’origine) composé d’après les photos ci-dessus et avec l’impression que ce moment m’a fait ressentir.
Blés jaunes dorés —
Un bleuet perdu éclate,
Une note espiègle.
Hier n’était pas la meilleure journée pour profiter du parc naturel de Rieselfelder Münster : il faisait très chaud, sans nuage ni beaucoup d’arbres. Mais c’était très joli et j’y retournerais avec plaisir.
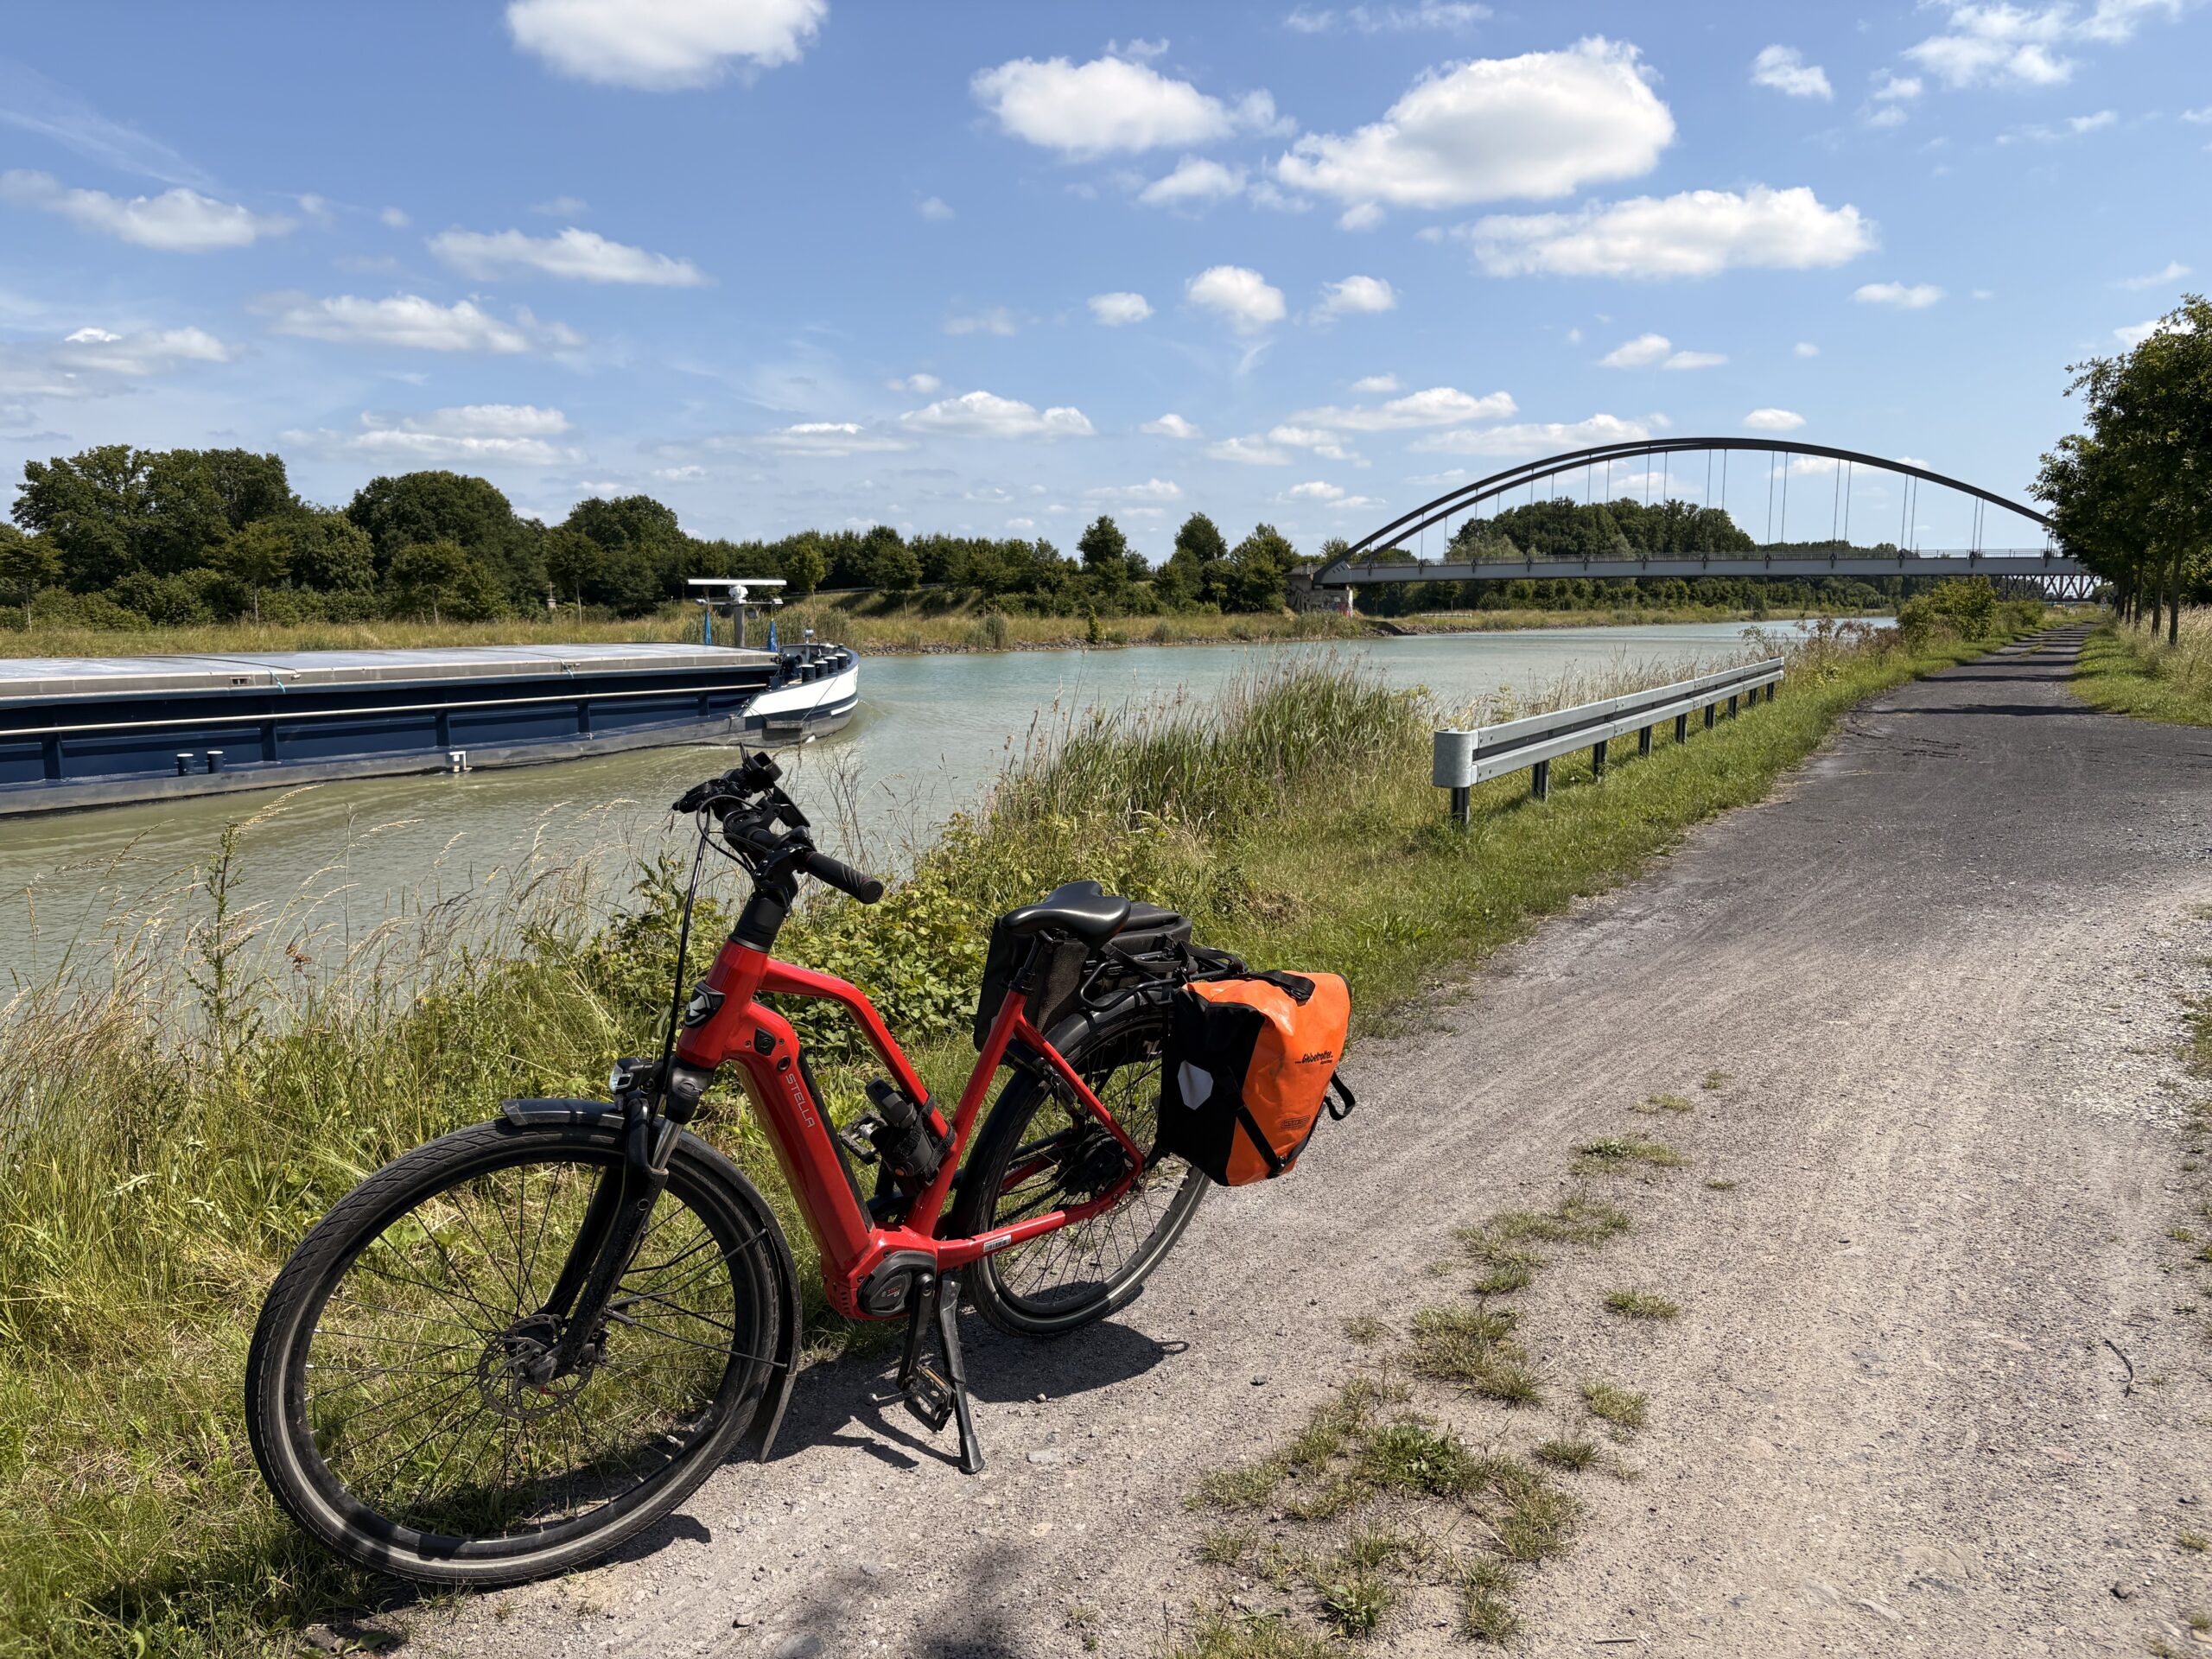
Je suis donc reparti sur la route en direction de la maison. Il faisait très chaud pour faire du vélo, il faut donc s’hydrater régulièrement et j’avais bêtement oublié de prendre de la crème solaire. Ces derniers temps, il faisait frais et il fallait naviguer entre les nuages de pluie. Bref, j’ai légèrement rougi au niveau du nez et dans la nuque, et à mon arrivée, je ne me sentais pas au mieux.
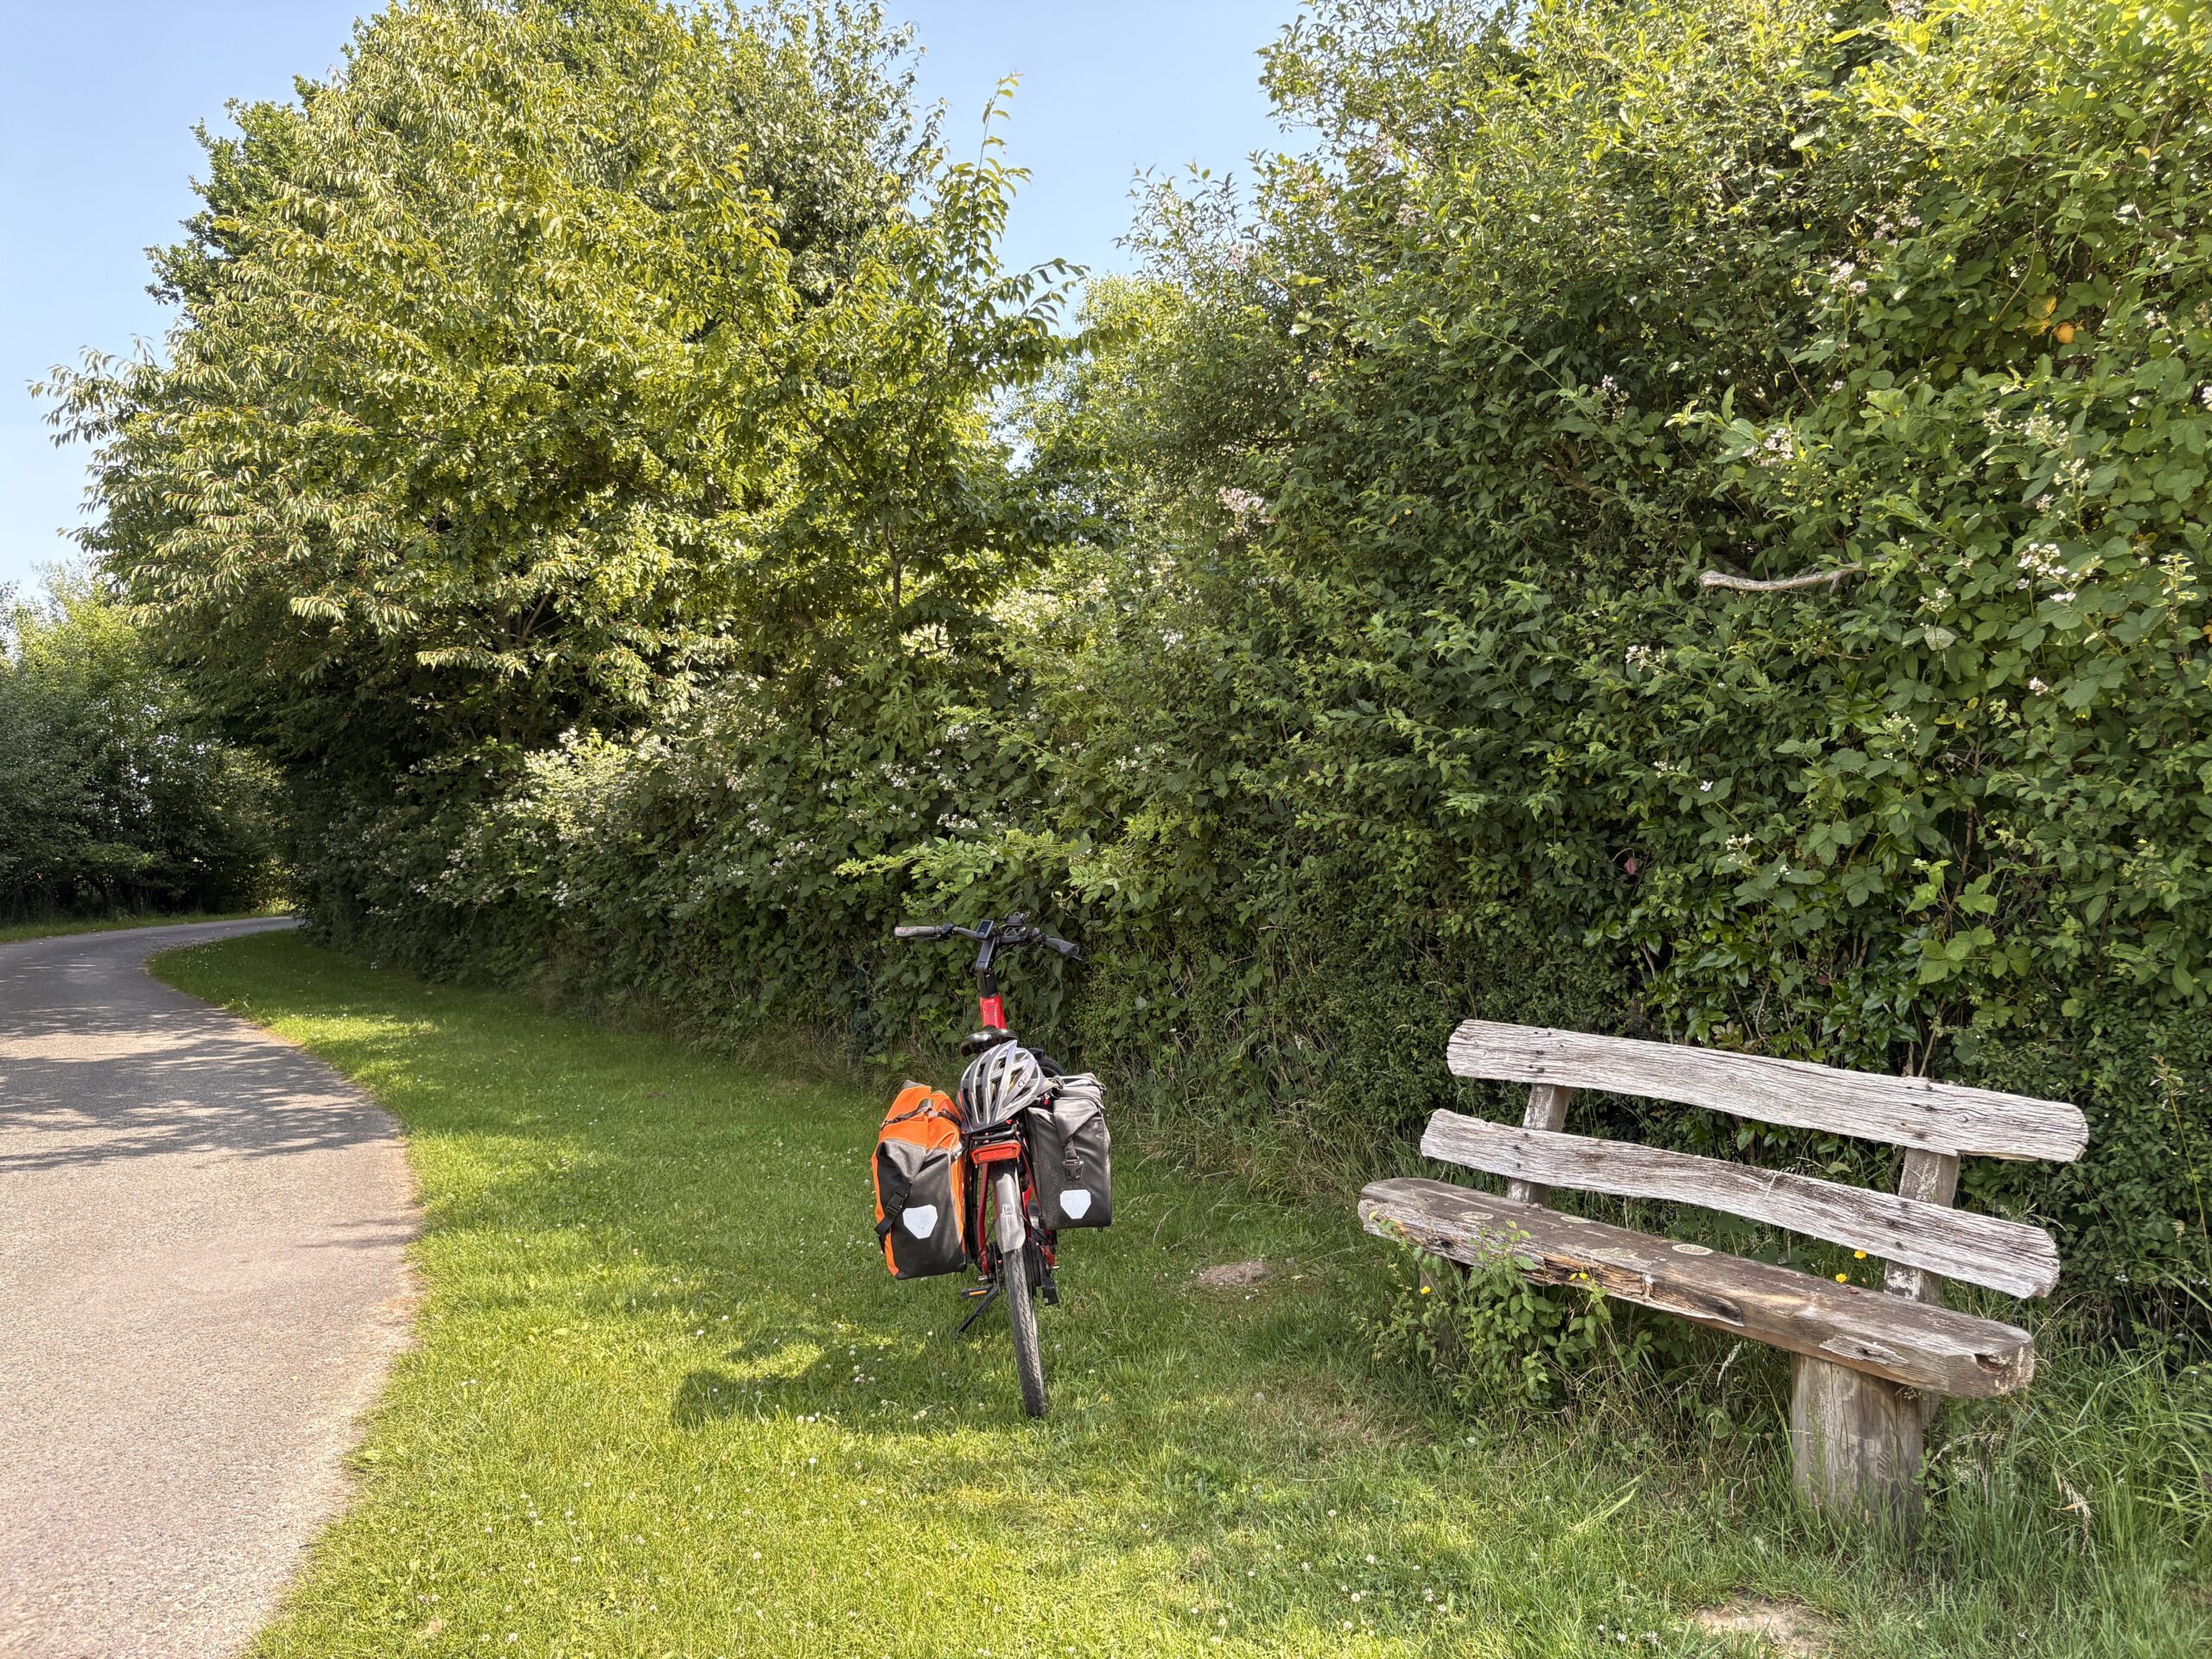
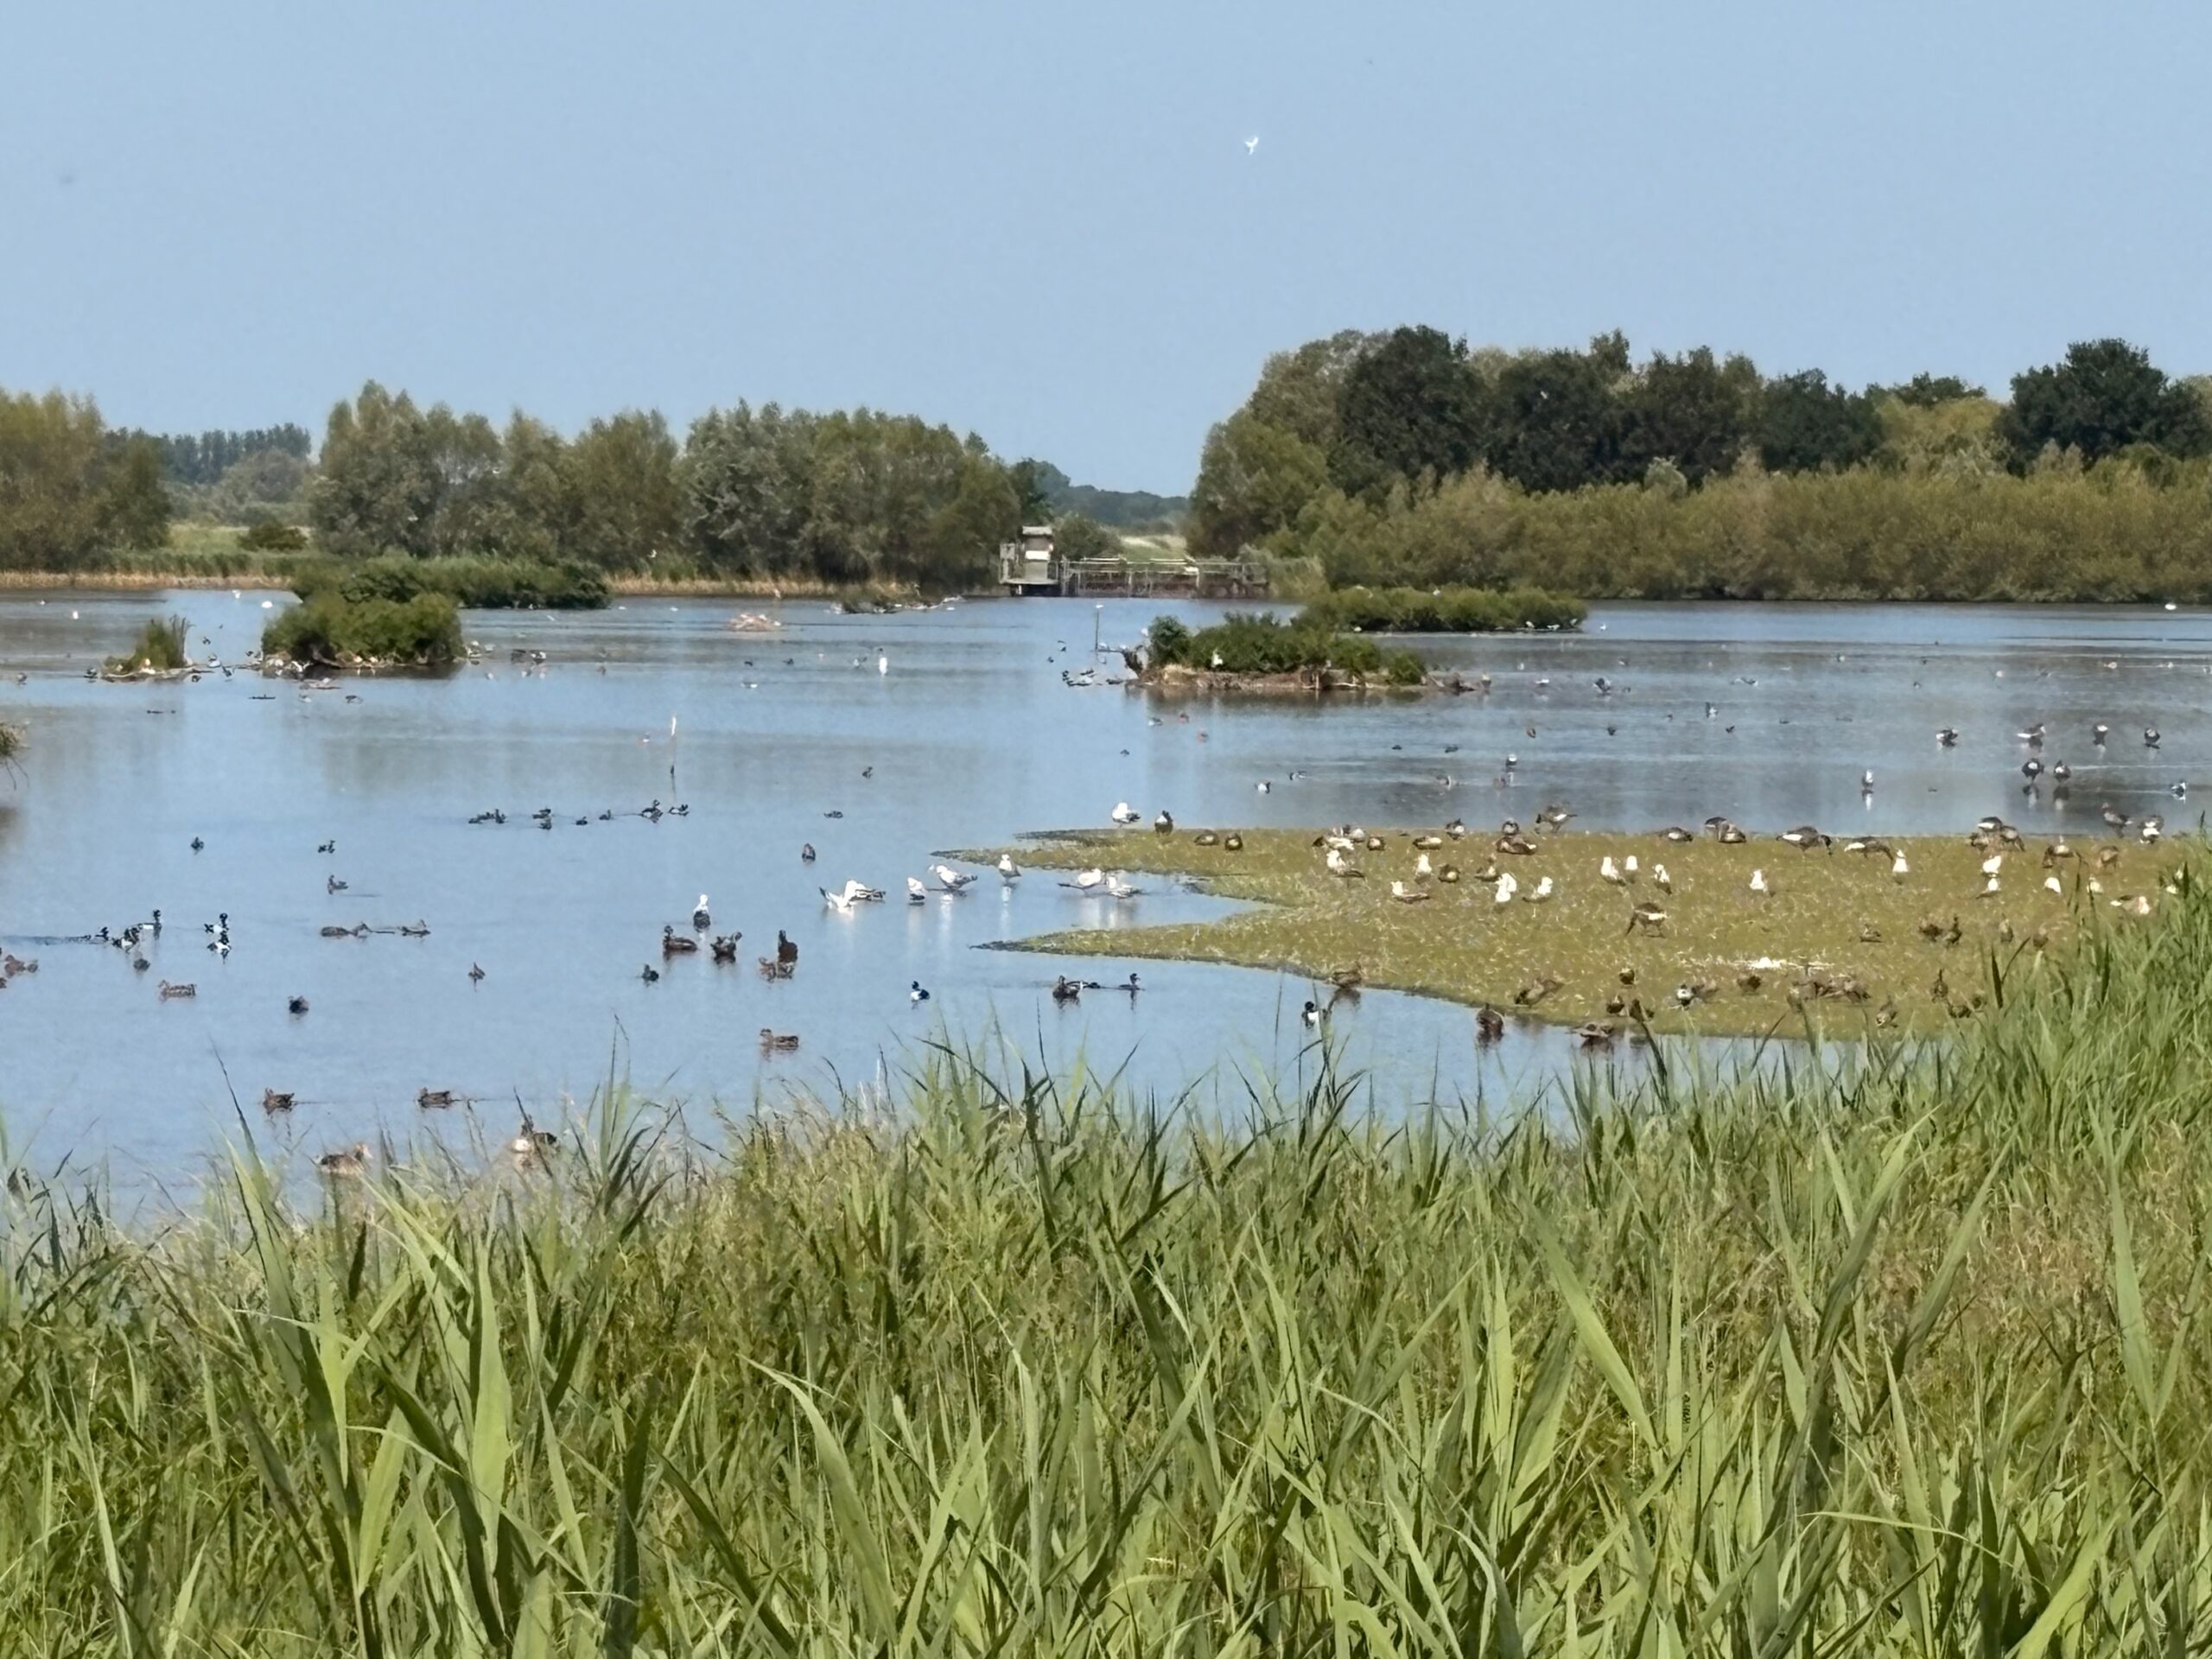
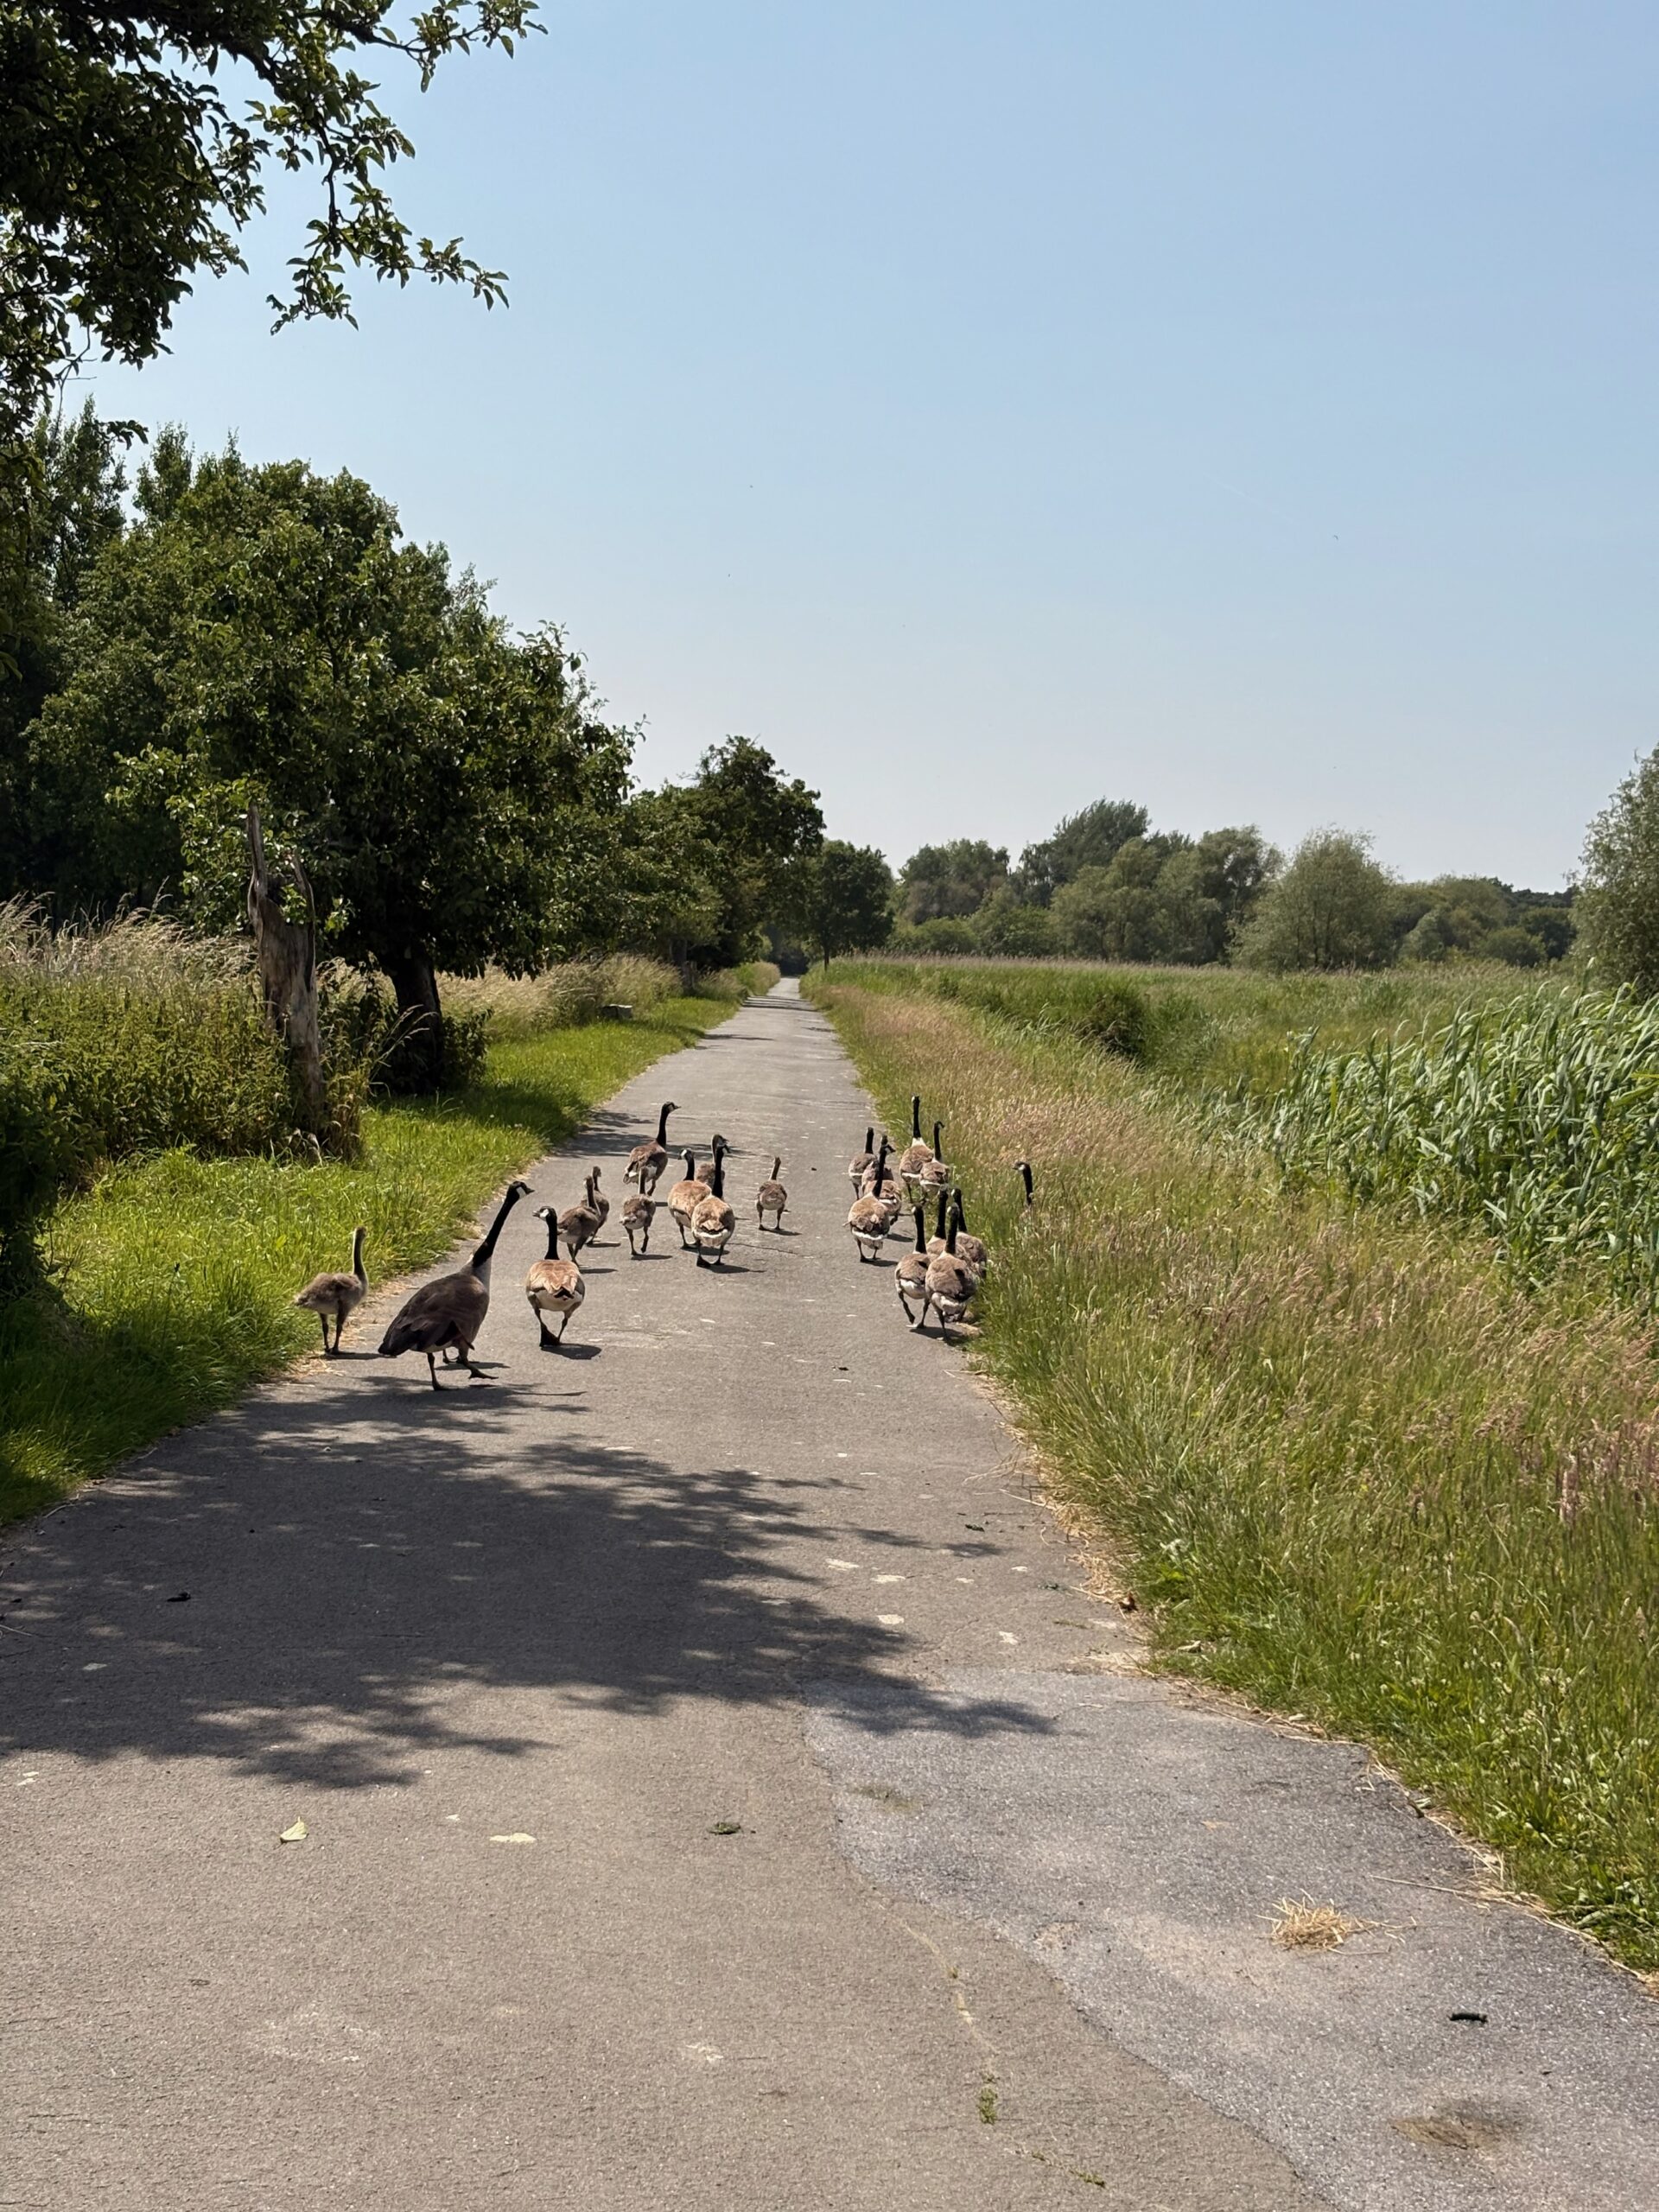
Je n’ai pris que peu de photos sur le retour, car le chemin était le même qu’à l’aller, et je n’ai fait des pauses que pour m’hydrater. Voici tout de même quelques souvenirs jolis glanés le long de mon chemin, dont notamment un bouchon sur la piste cyclable !
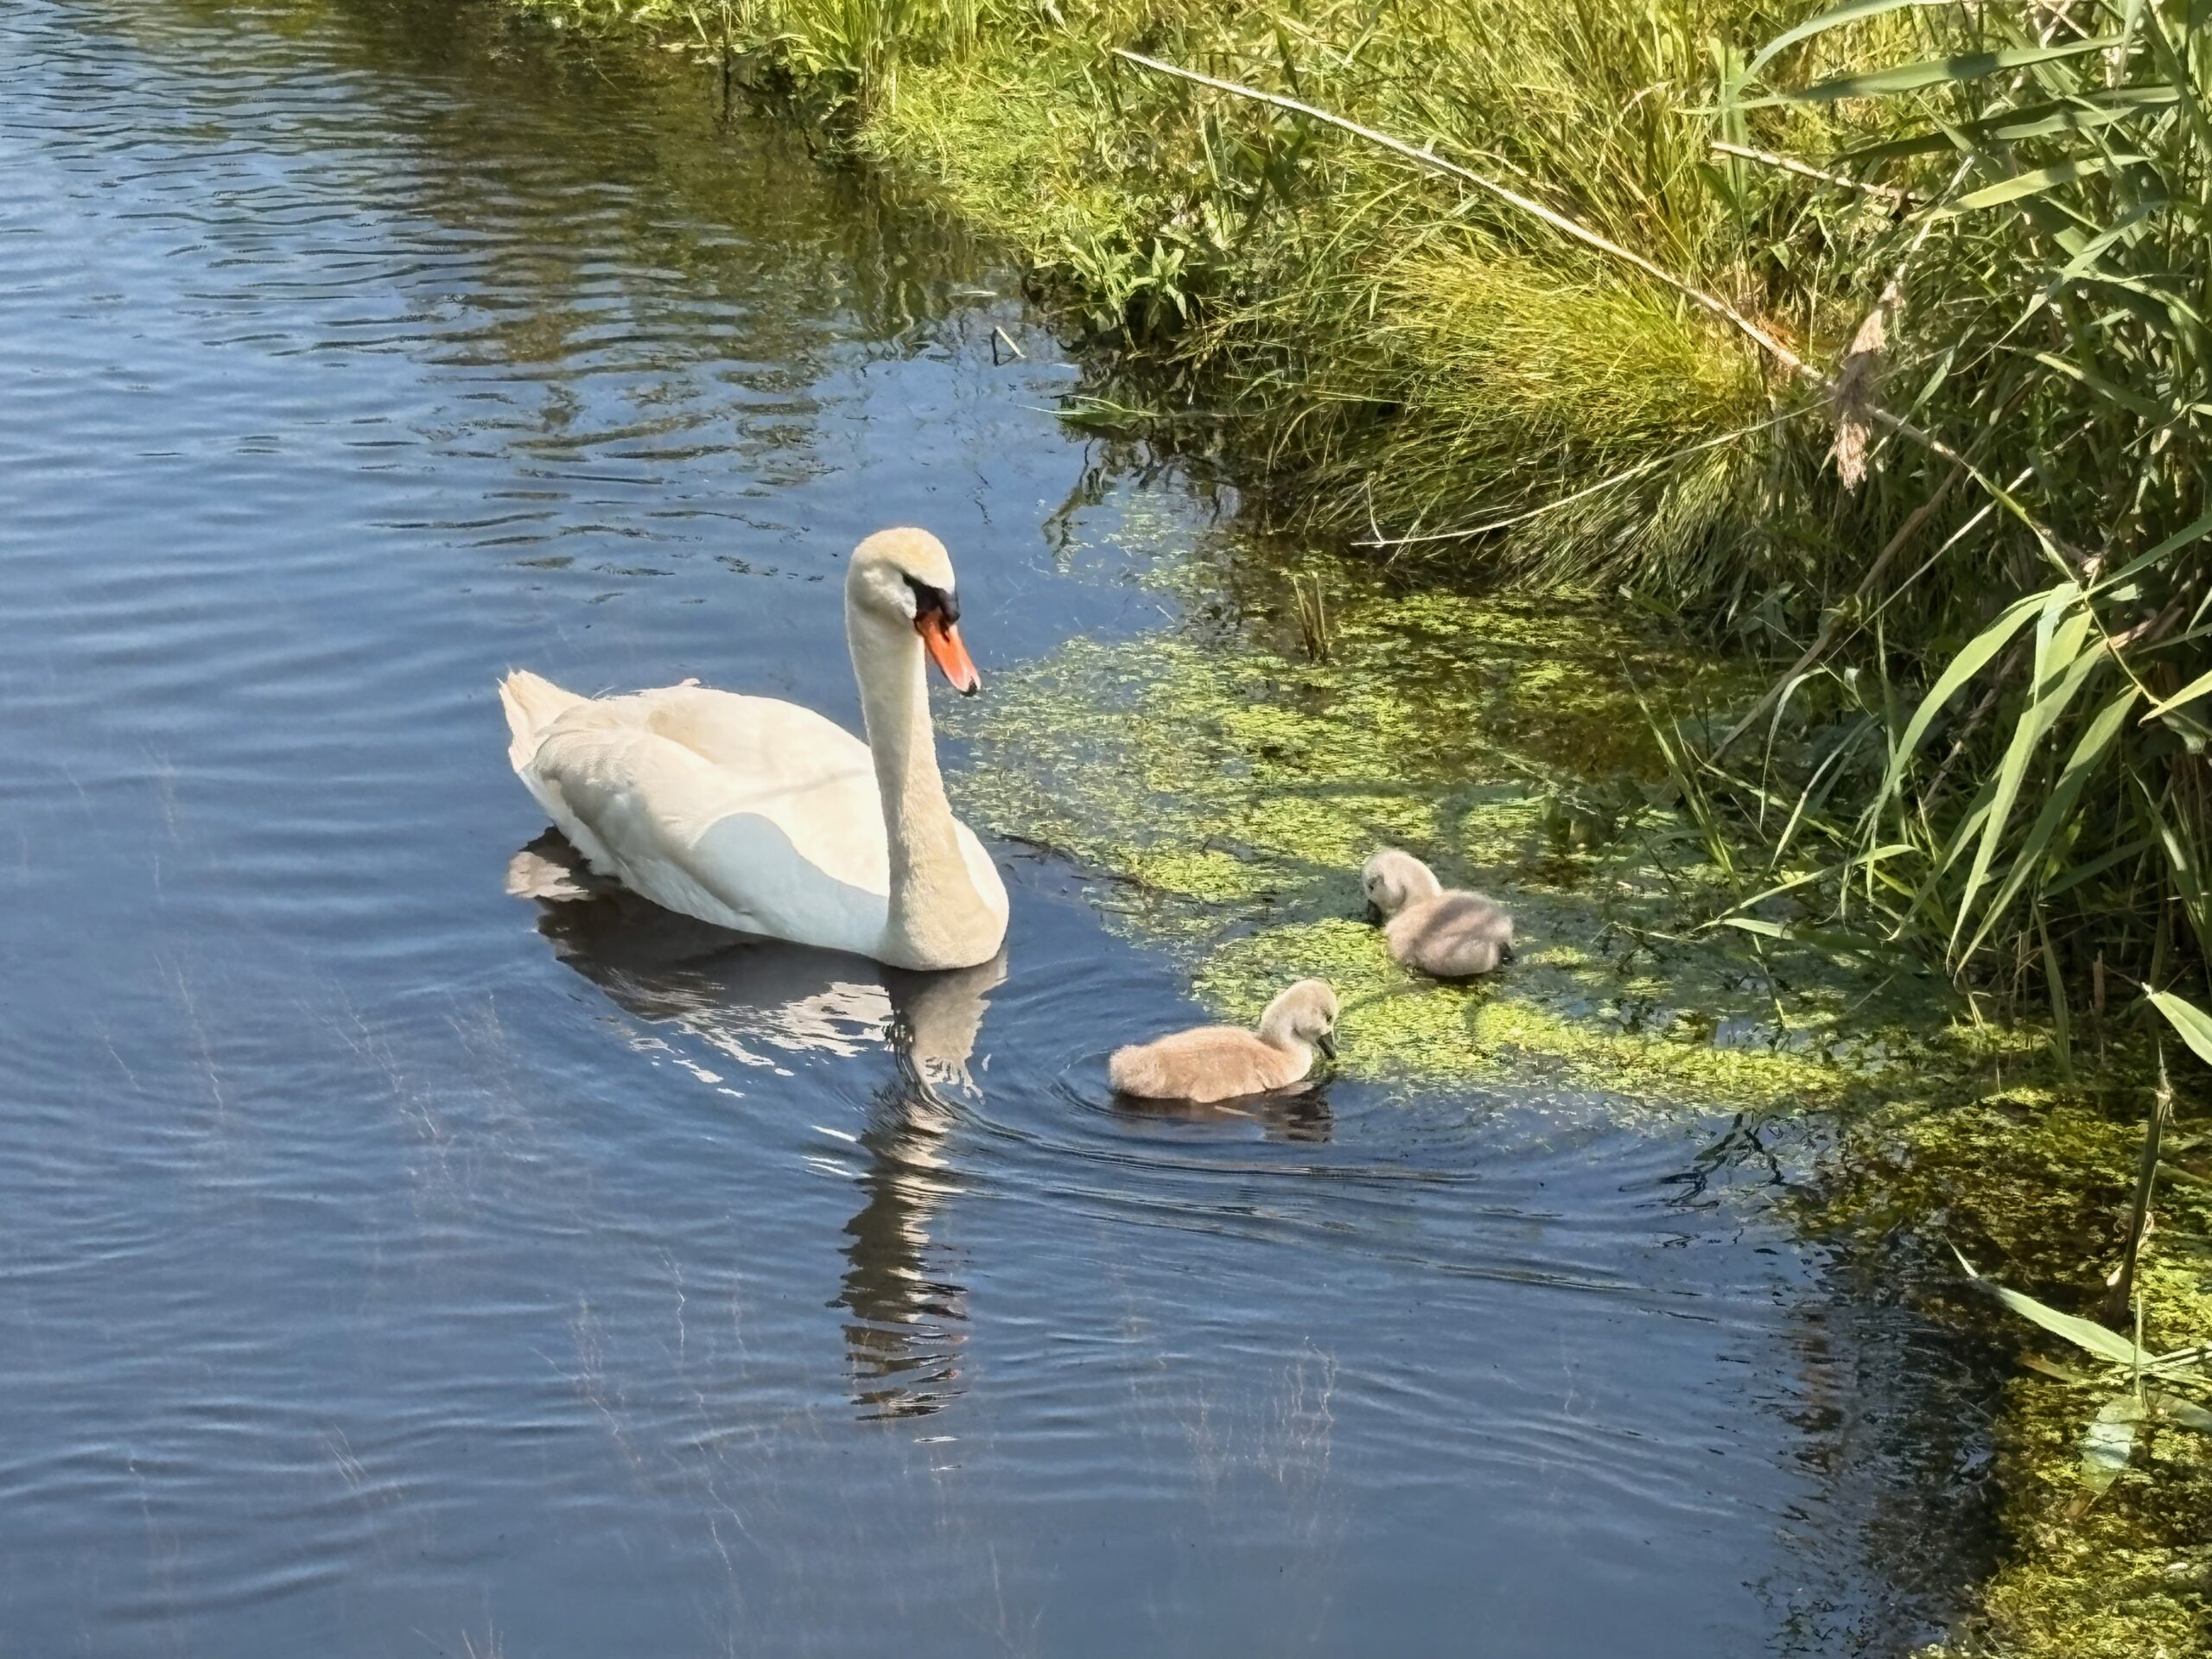
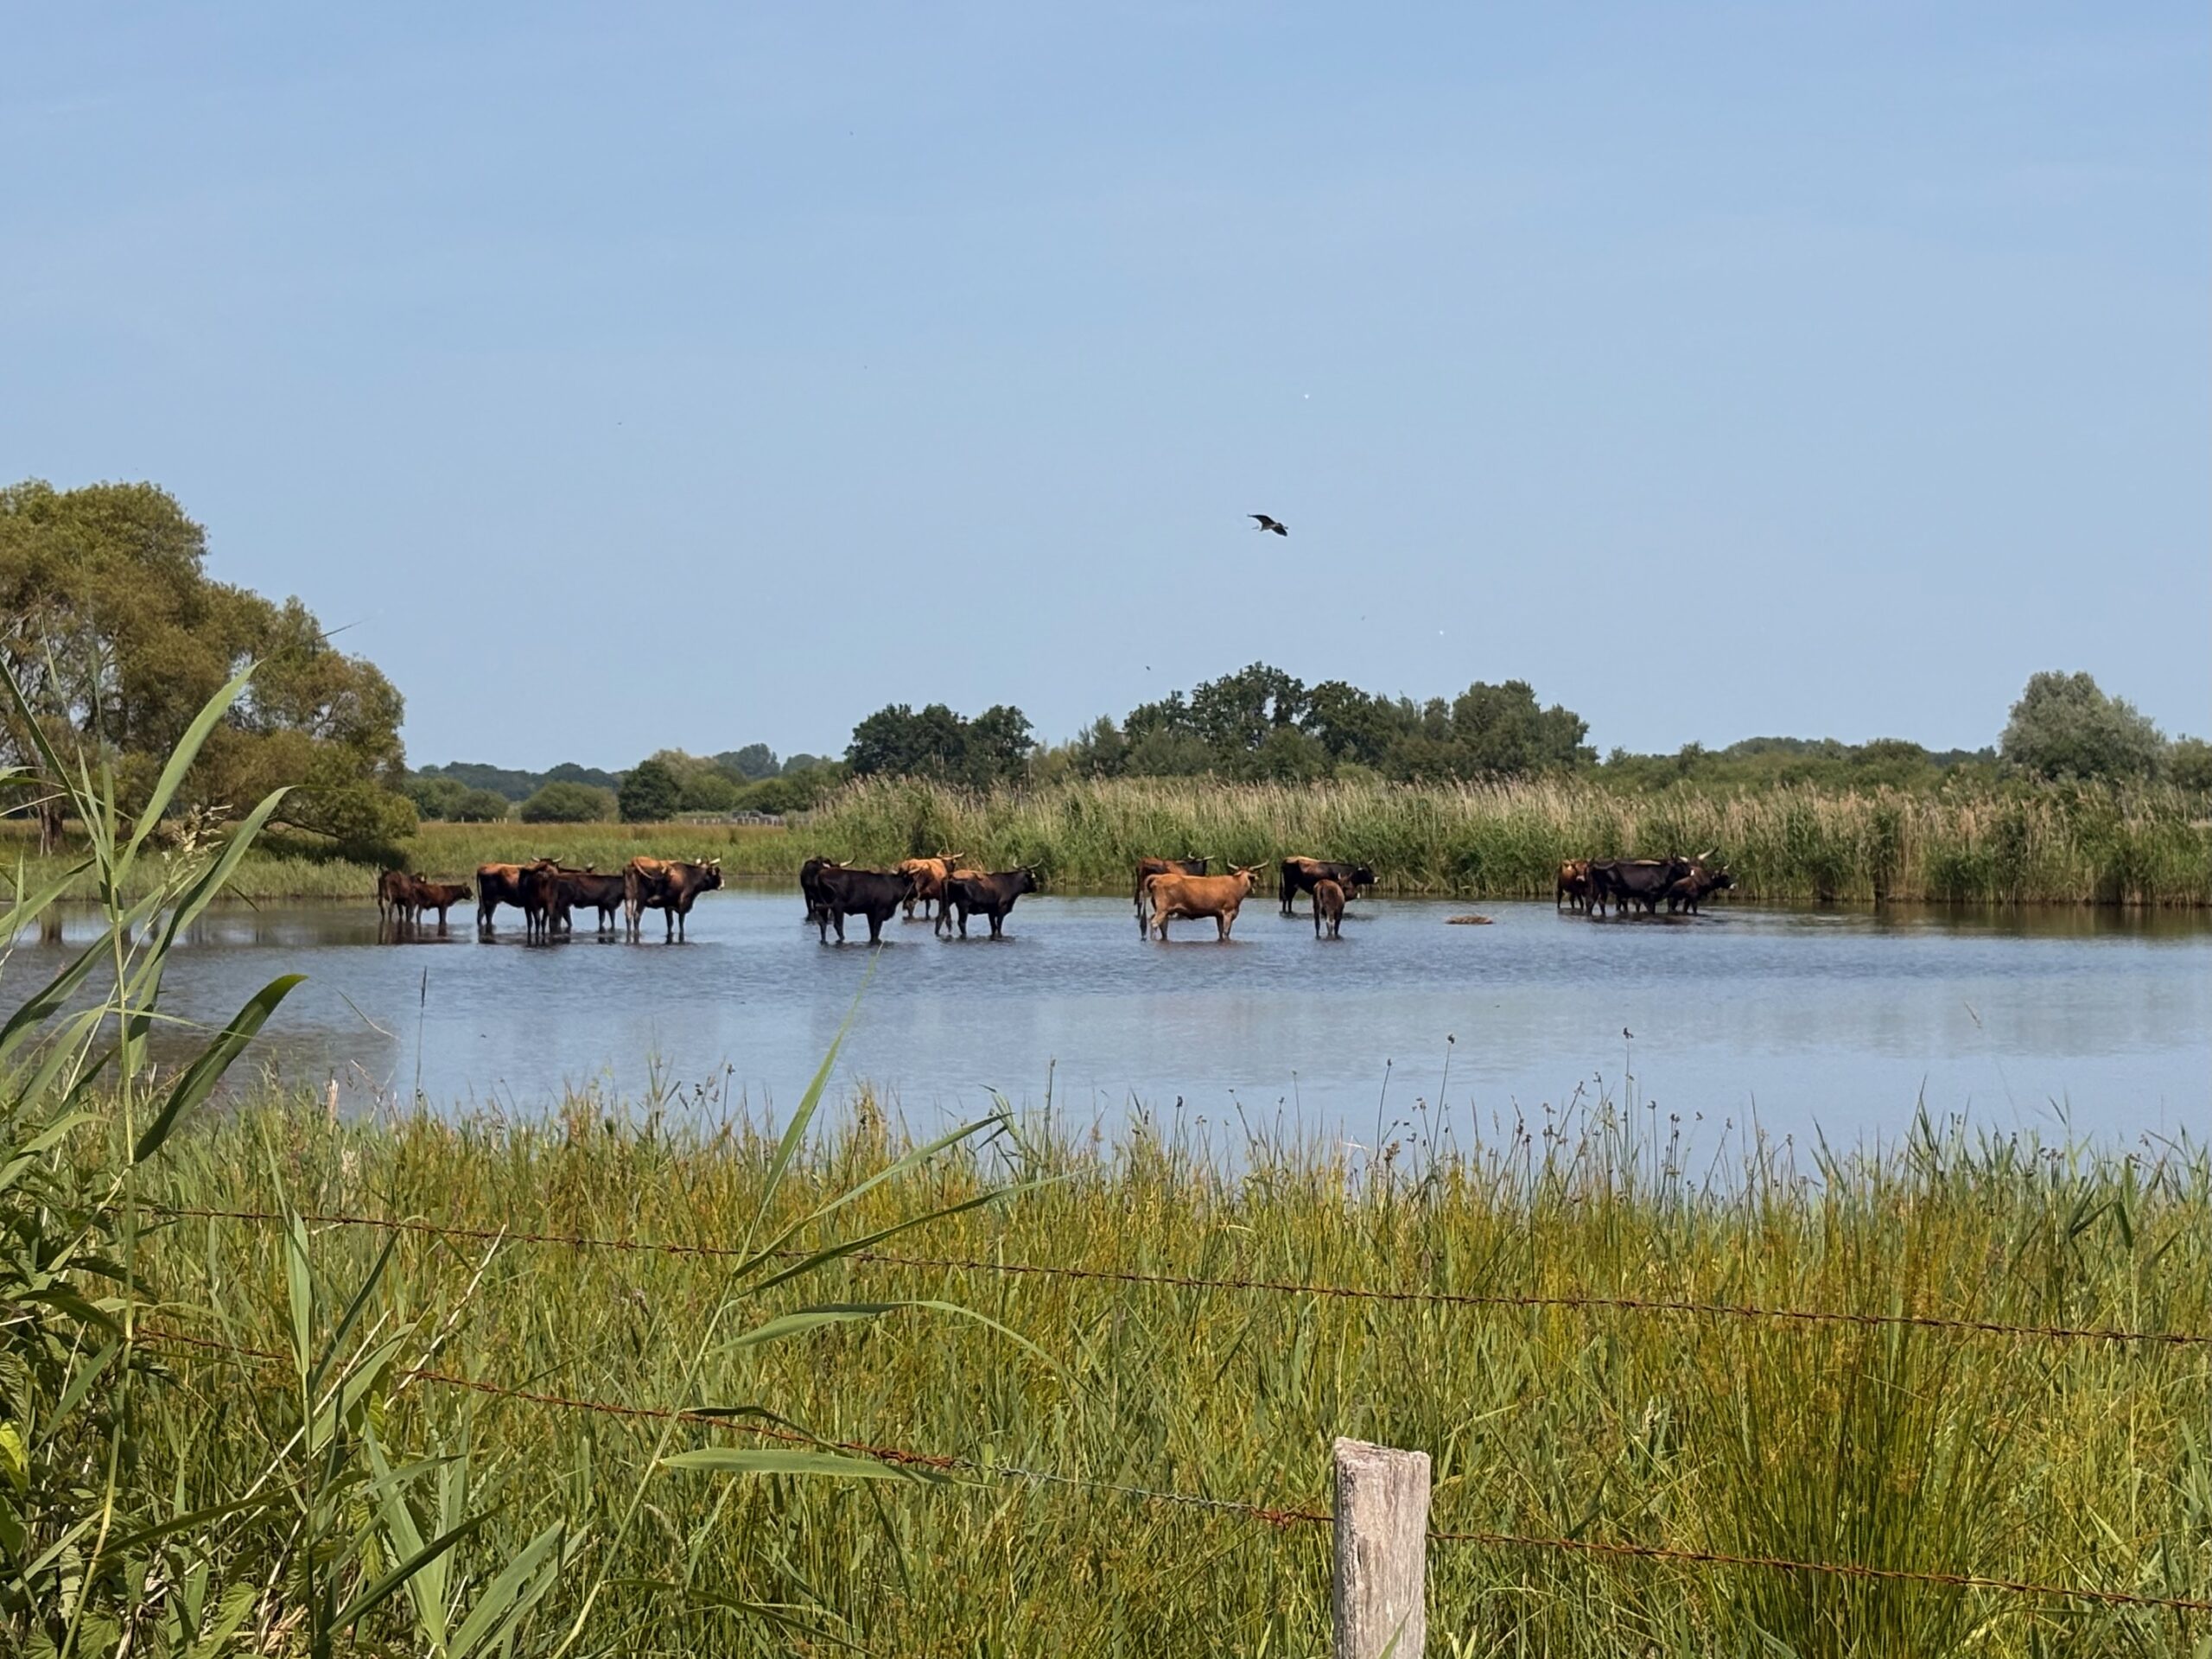
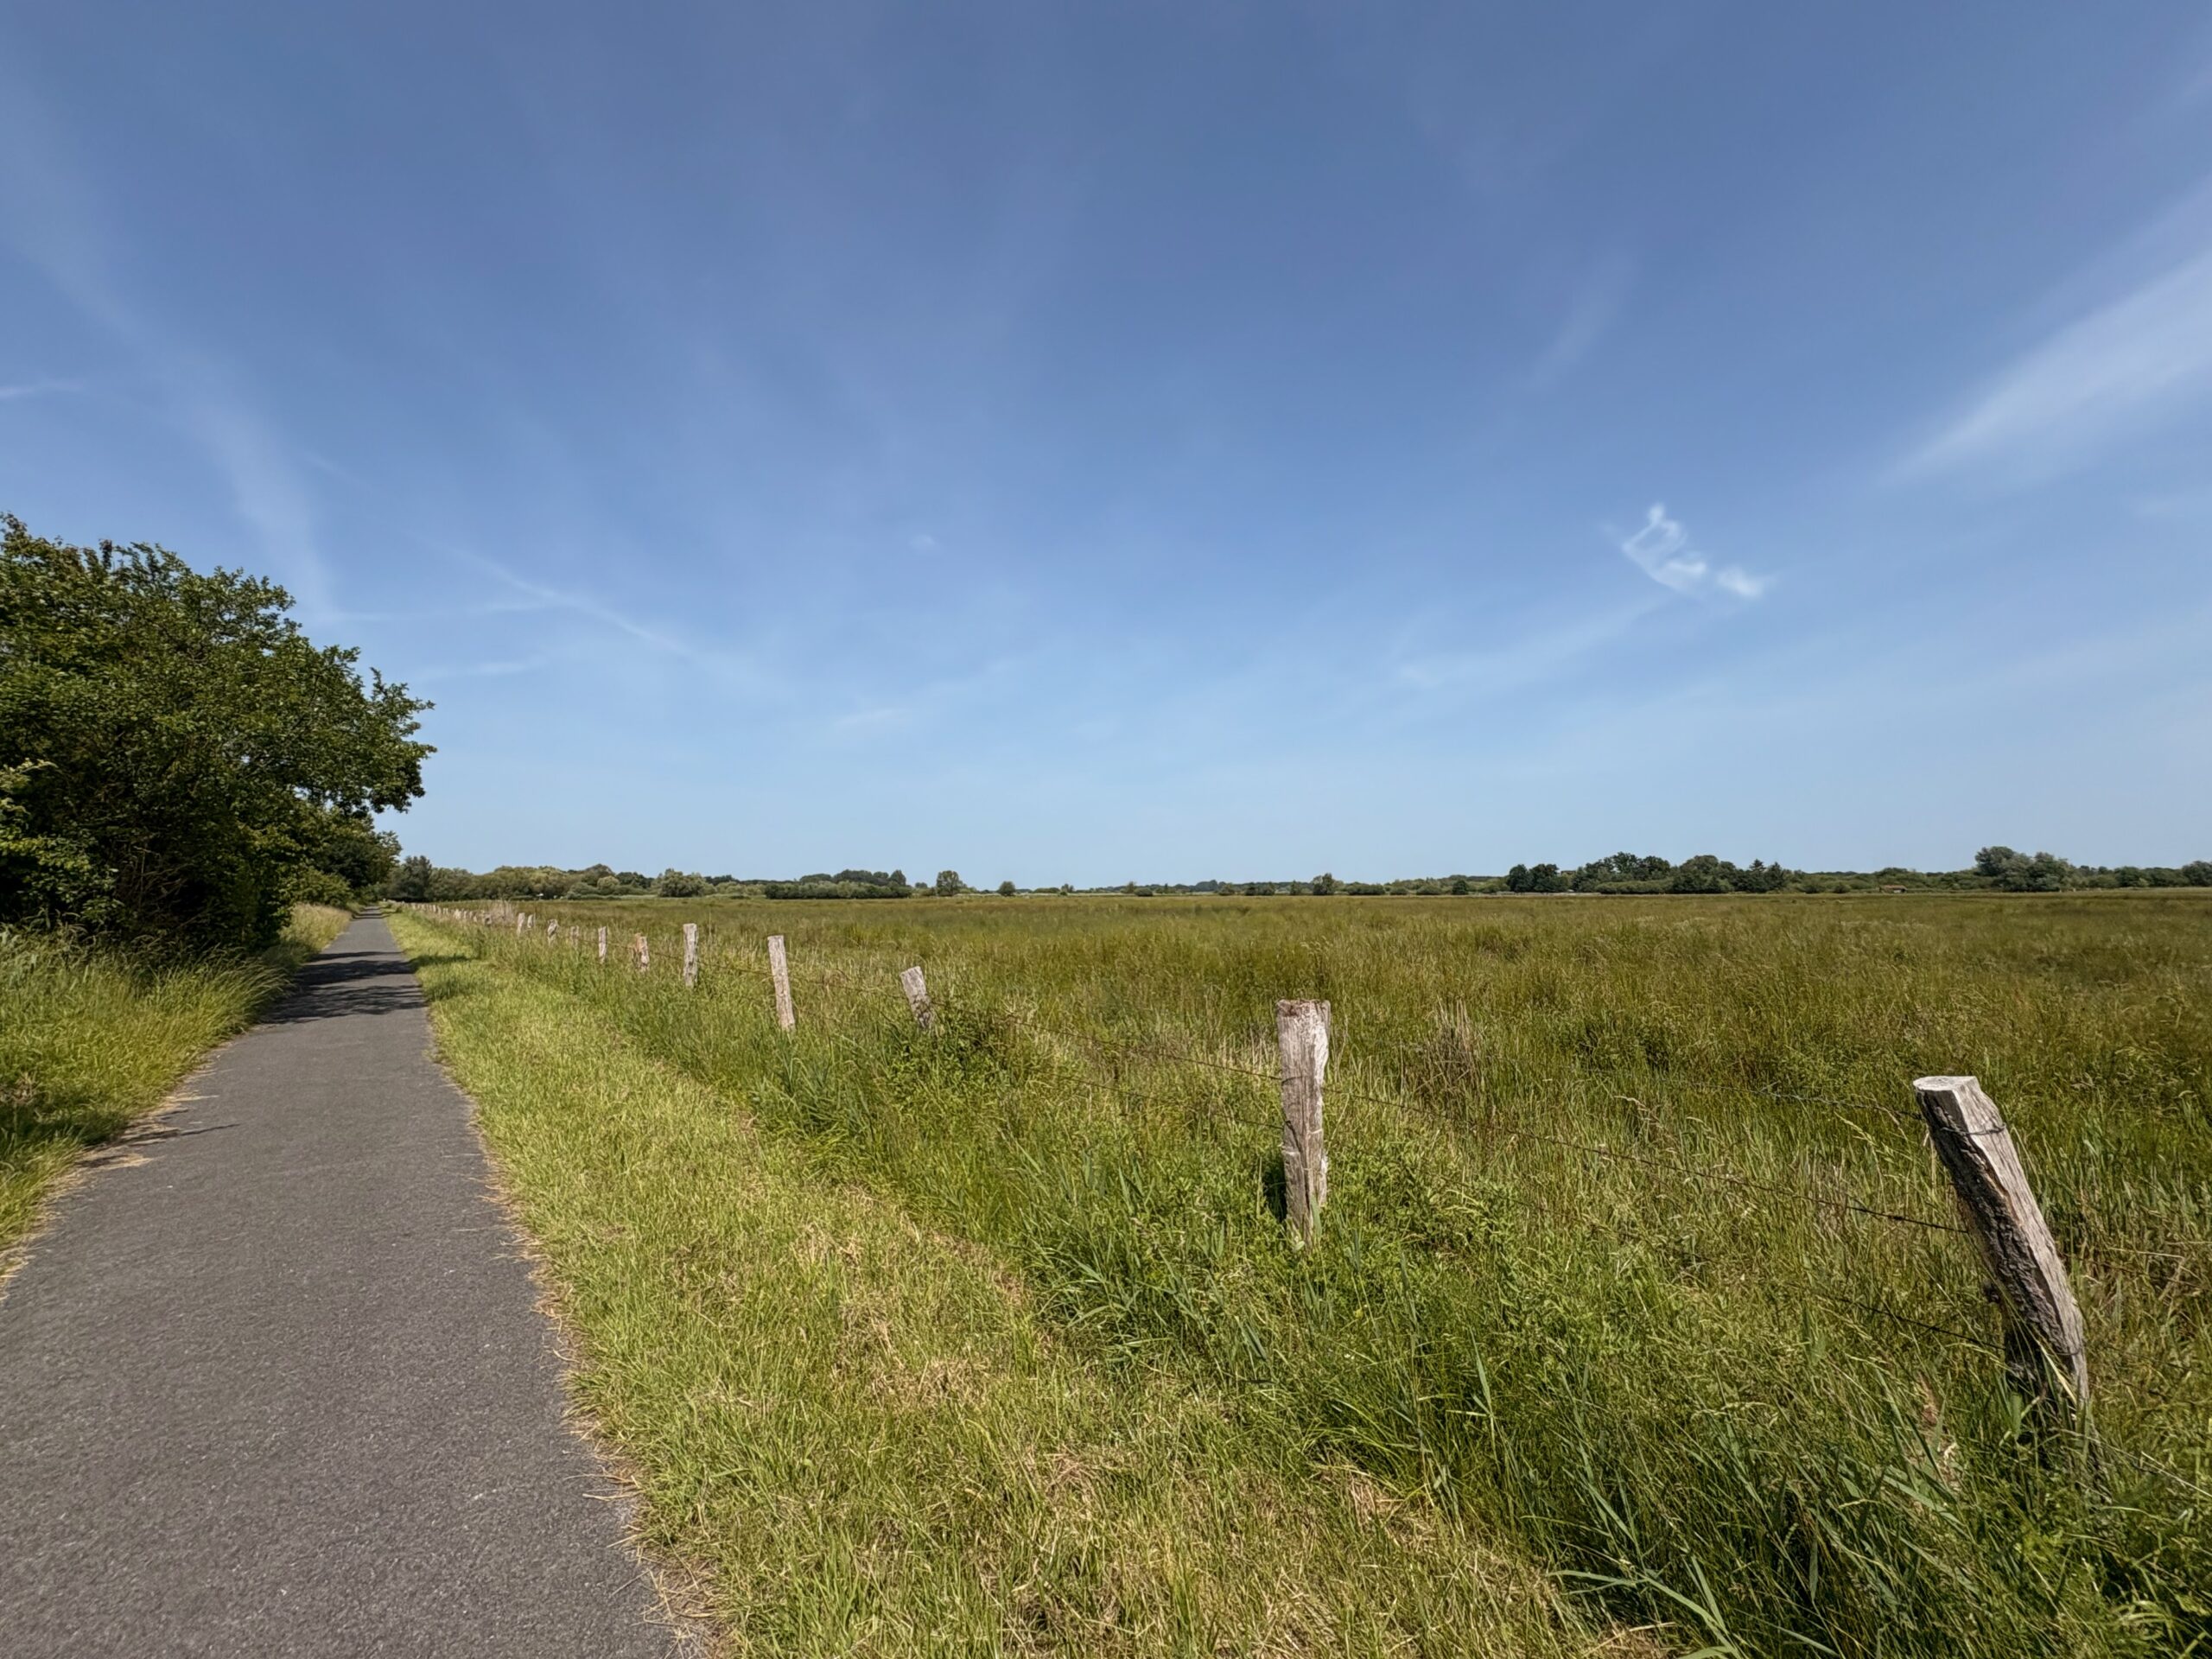
Étang aux oiseaux – Rieselfelder MünsterEmbouteillage sur la piste cyclableLe Villain Petit CanardOn se croirait en CamargueChemin typique à vélo – Liberté
Un Rieselfeld est un lit filtrant ou champ d’épuration. Le mot allemand est très poétique, car il fait référence au ruissellement léger de l’eau dans de vastes champs. C’est une jolie métaphore du temps qui passe, lentement et patiemment. Parfait pour clôturer mon petit périple. Vous vous demandez sûrement si je n’aurais pas pèté un câble car où diable trouver le calme et la ressource dans un lieu de traitement des eaux usées !
Ce site a été transformé en zone naturelle protégée vers 1978. À l’origine, il s’agissait d’une lande qui a été transformée au début du XXe siècle pour filtrer les eaux usées. Mais depuis, elle ne sert plus à cet usage et la nature y a repris ses droits. Ici, le calme règne, les nombreux oiseaux chantent et les insectes vrombissent de plaisir. Un petit paradis du ruissellement lent du temps.
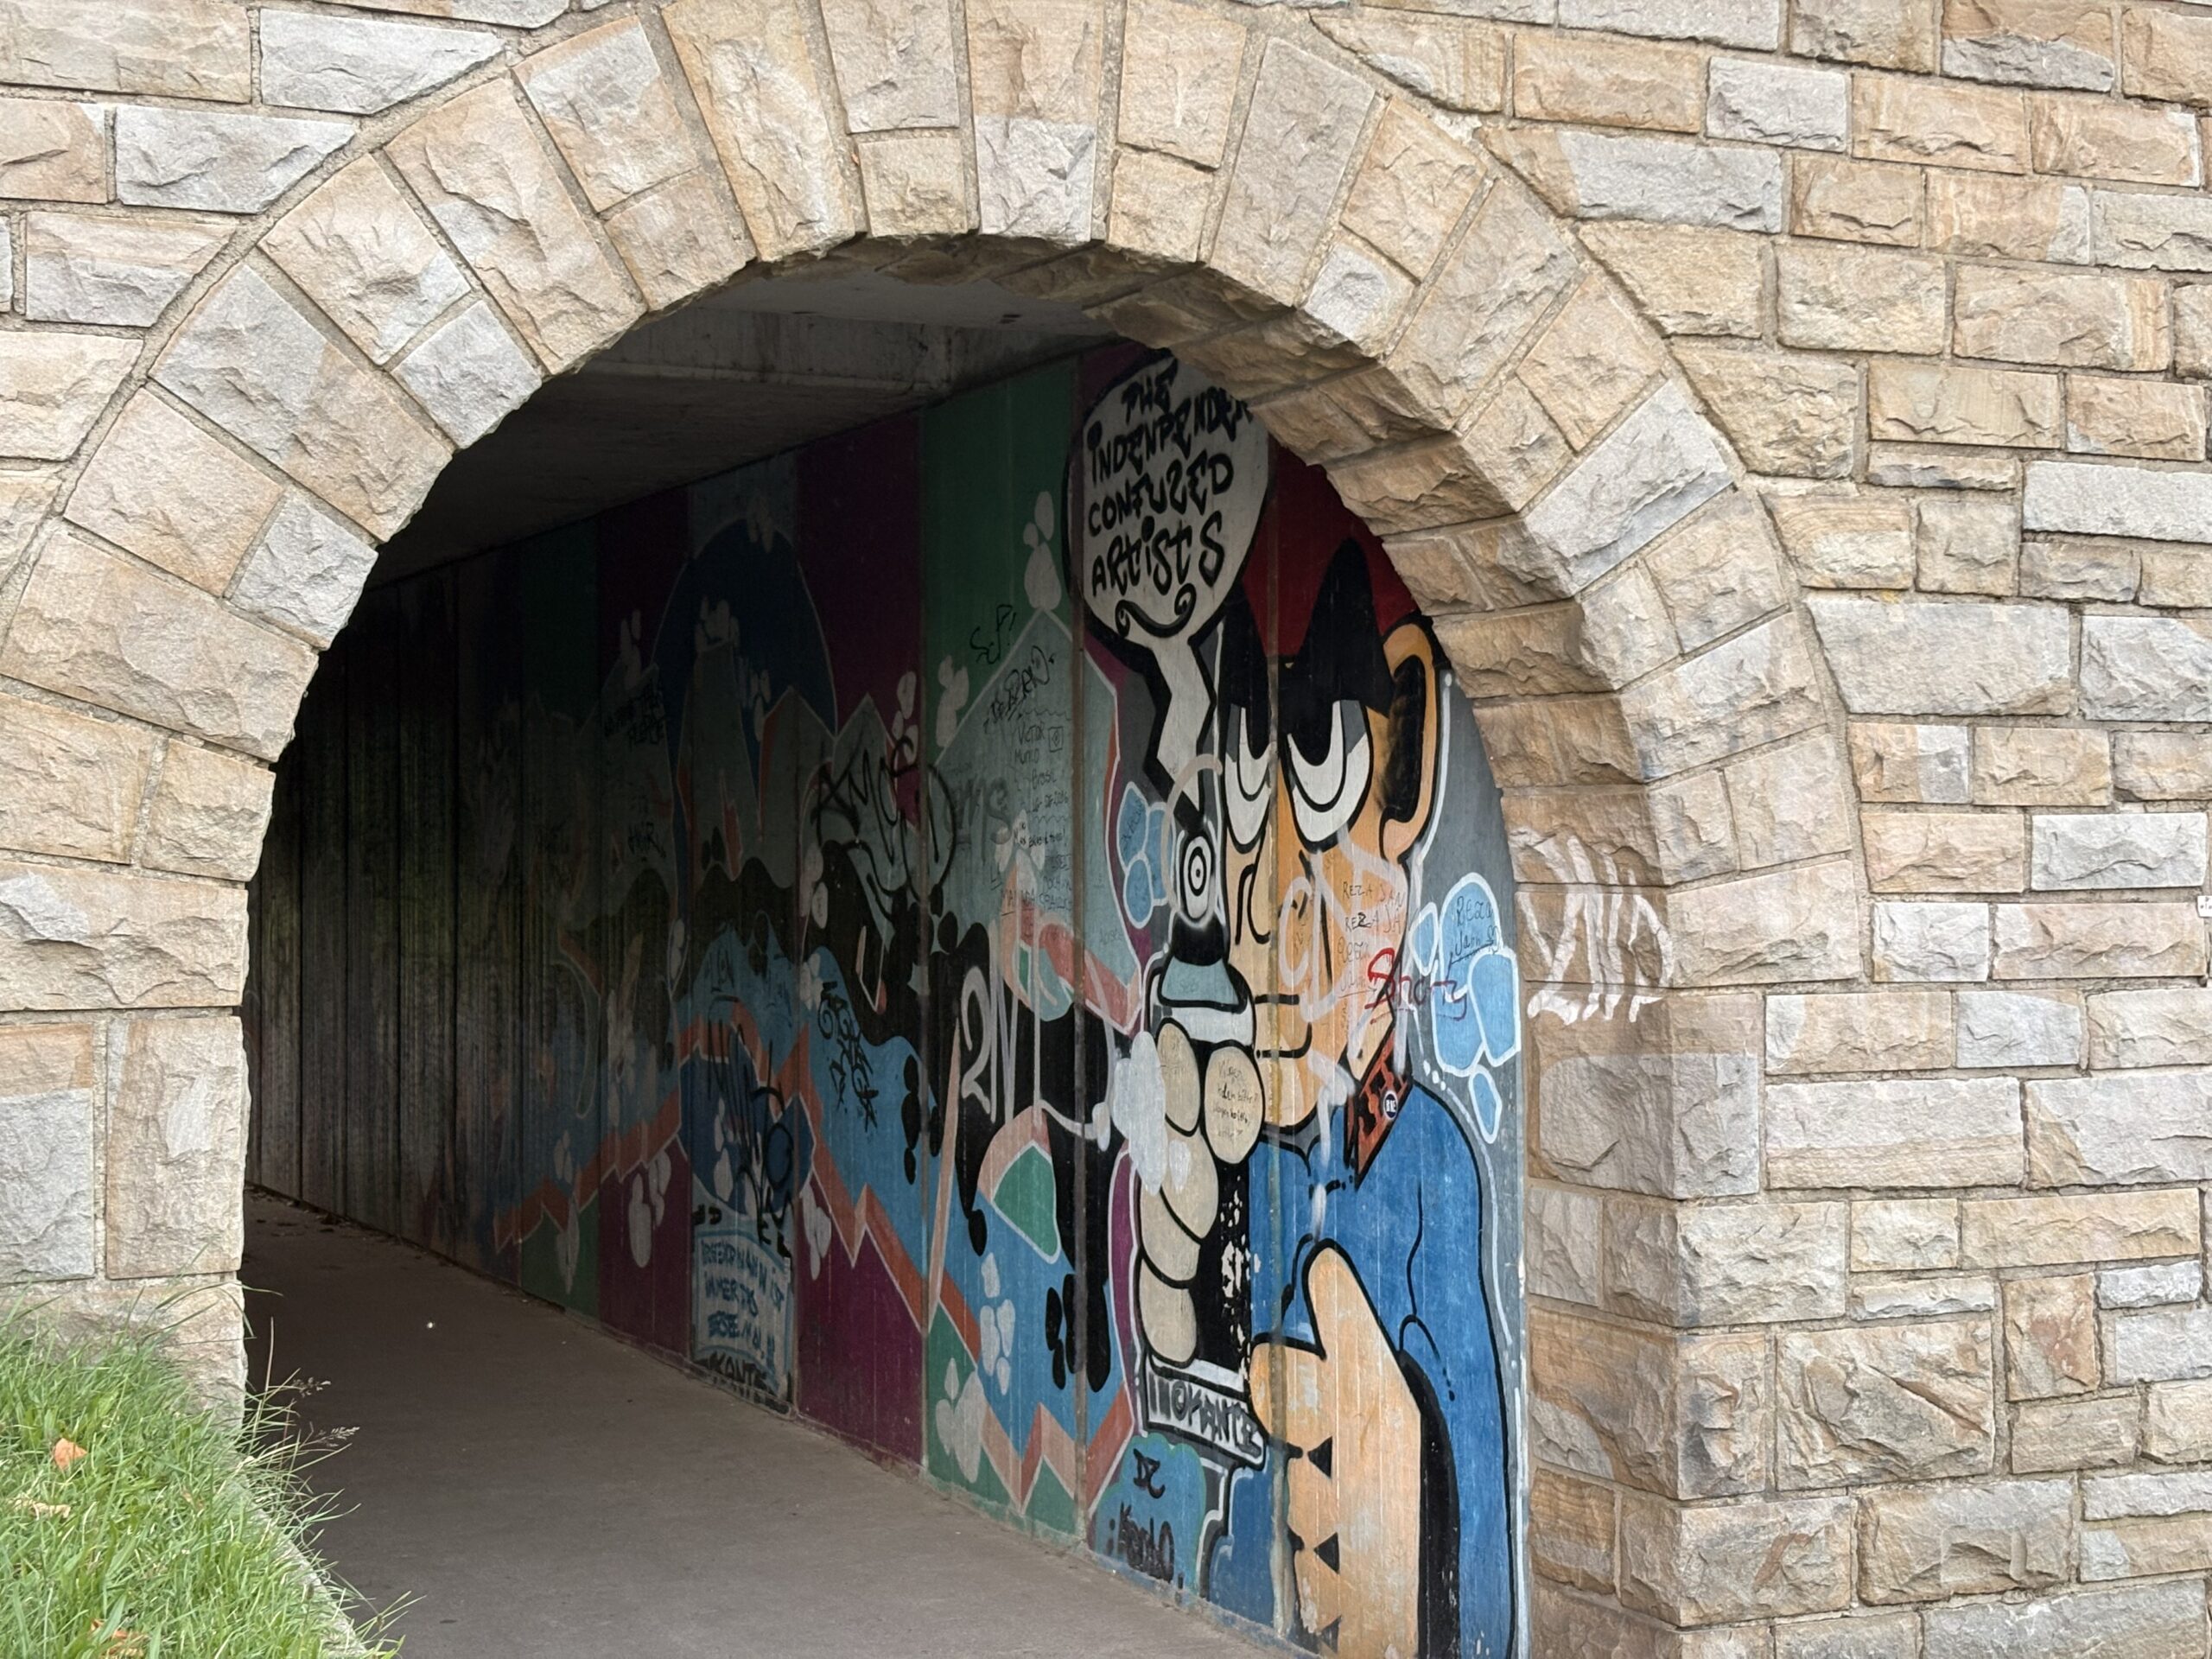
Graffiti – piste cyclable Münster
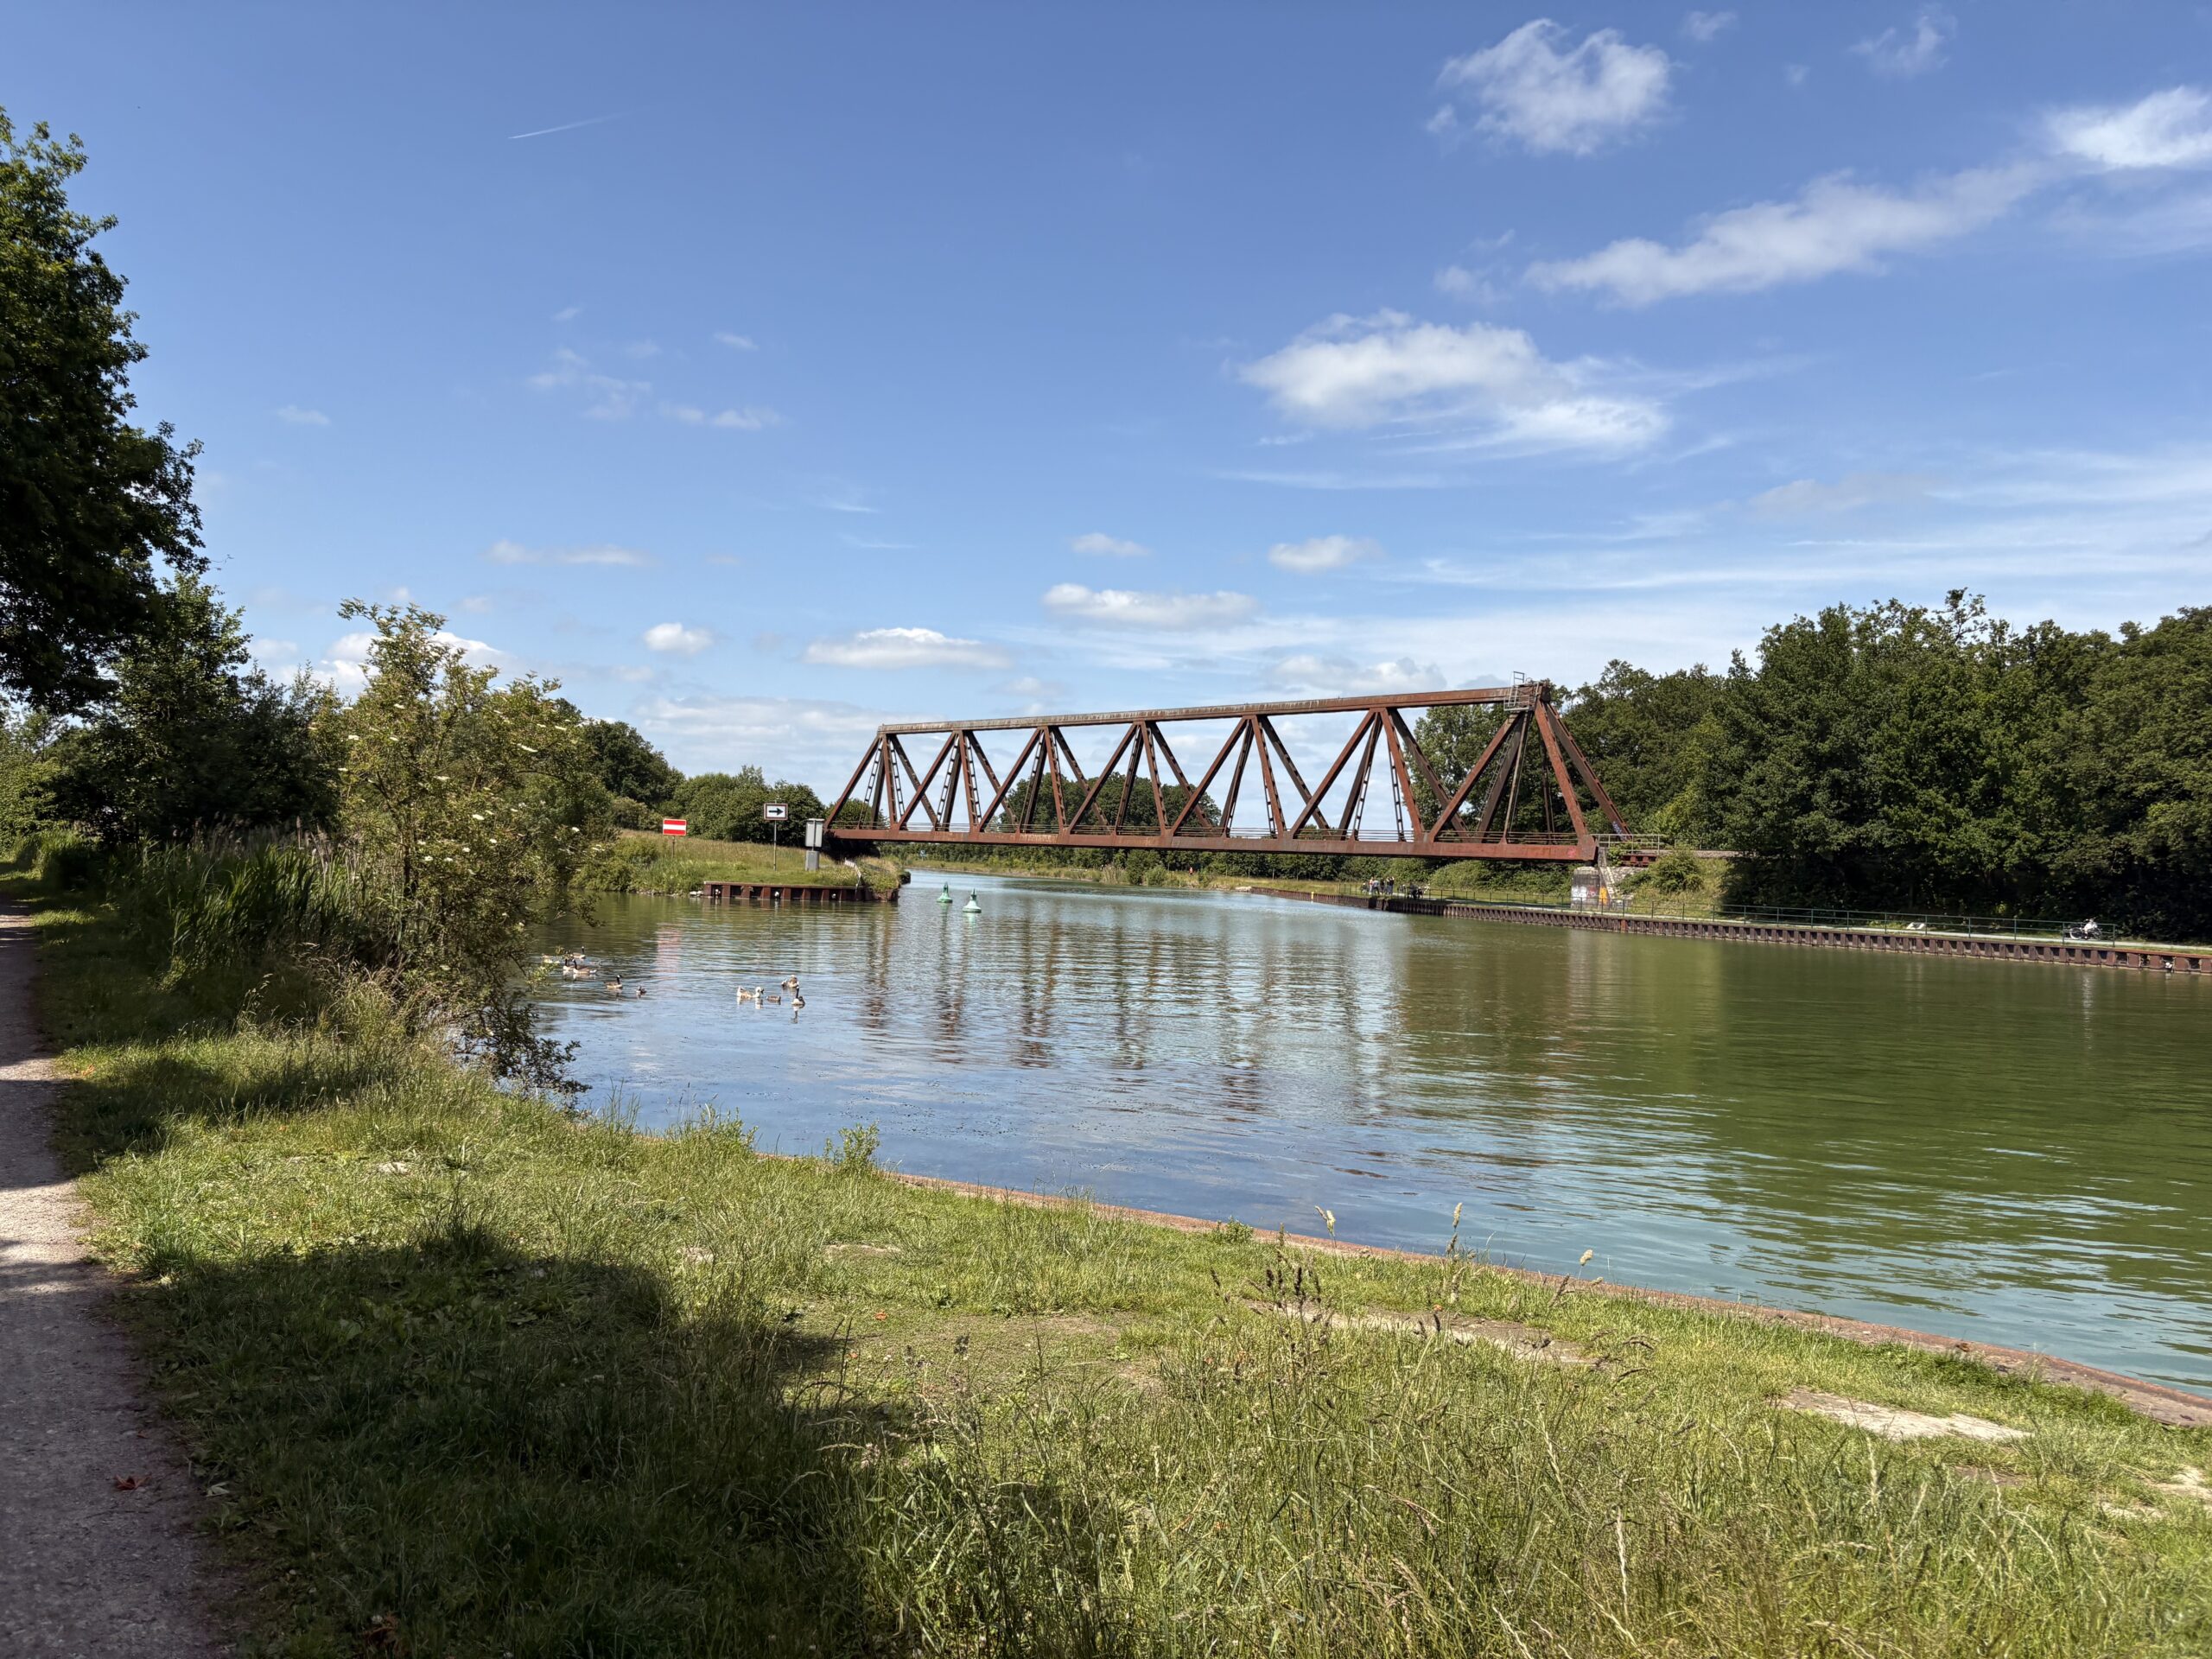
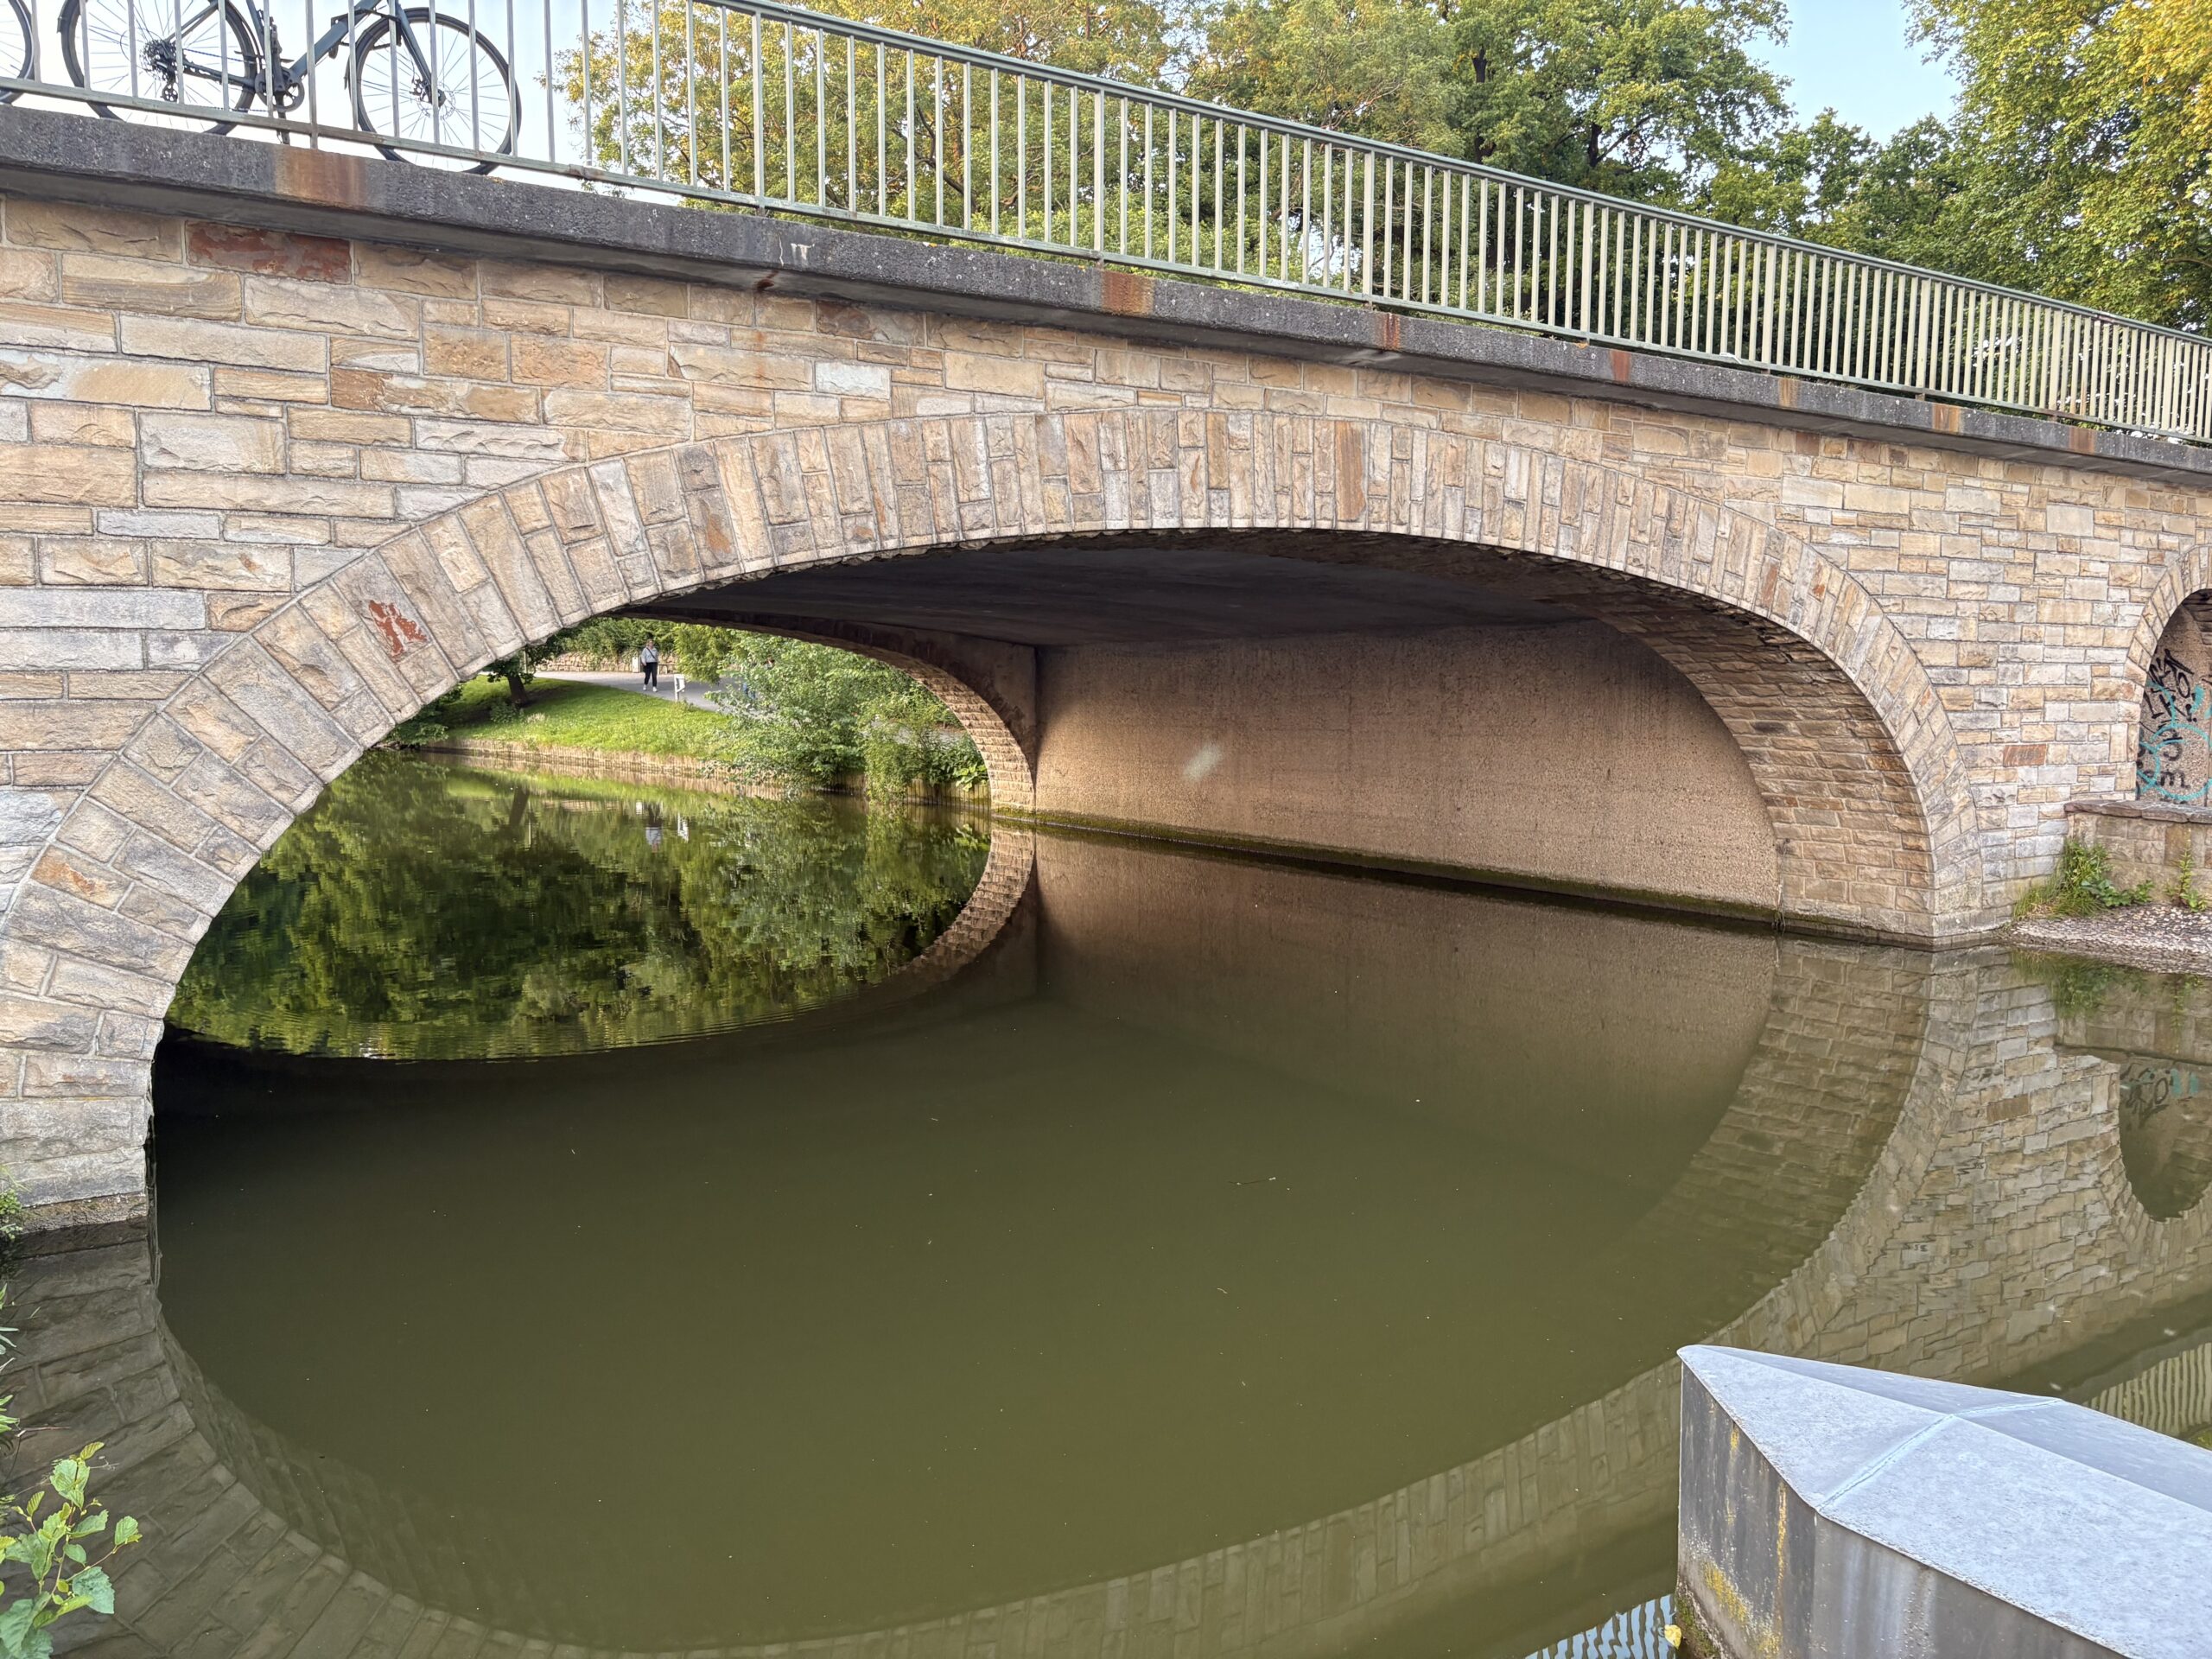
Écluse de Münster – Canal Dortmund-Ems
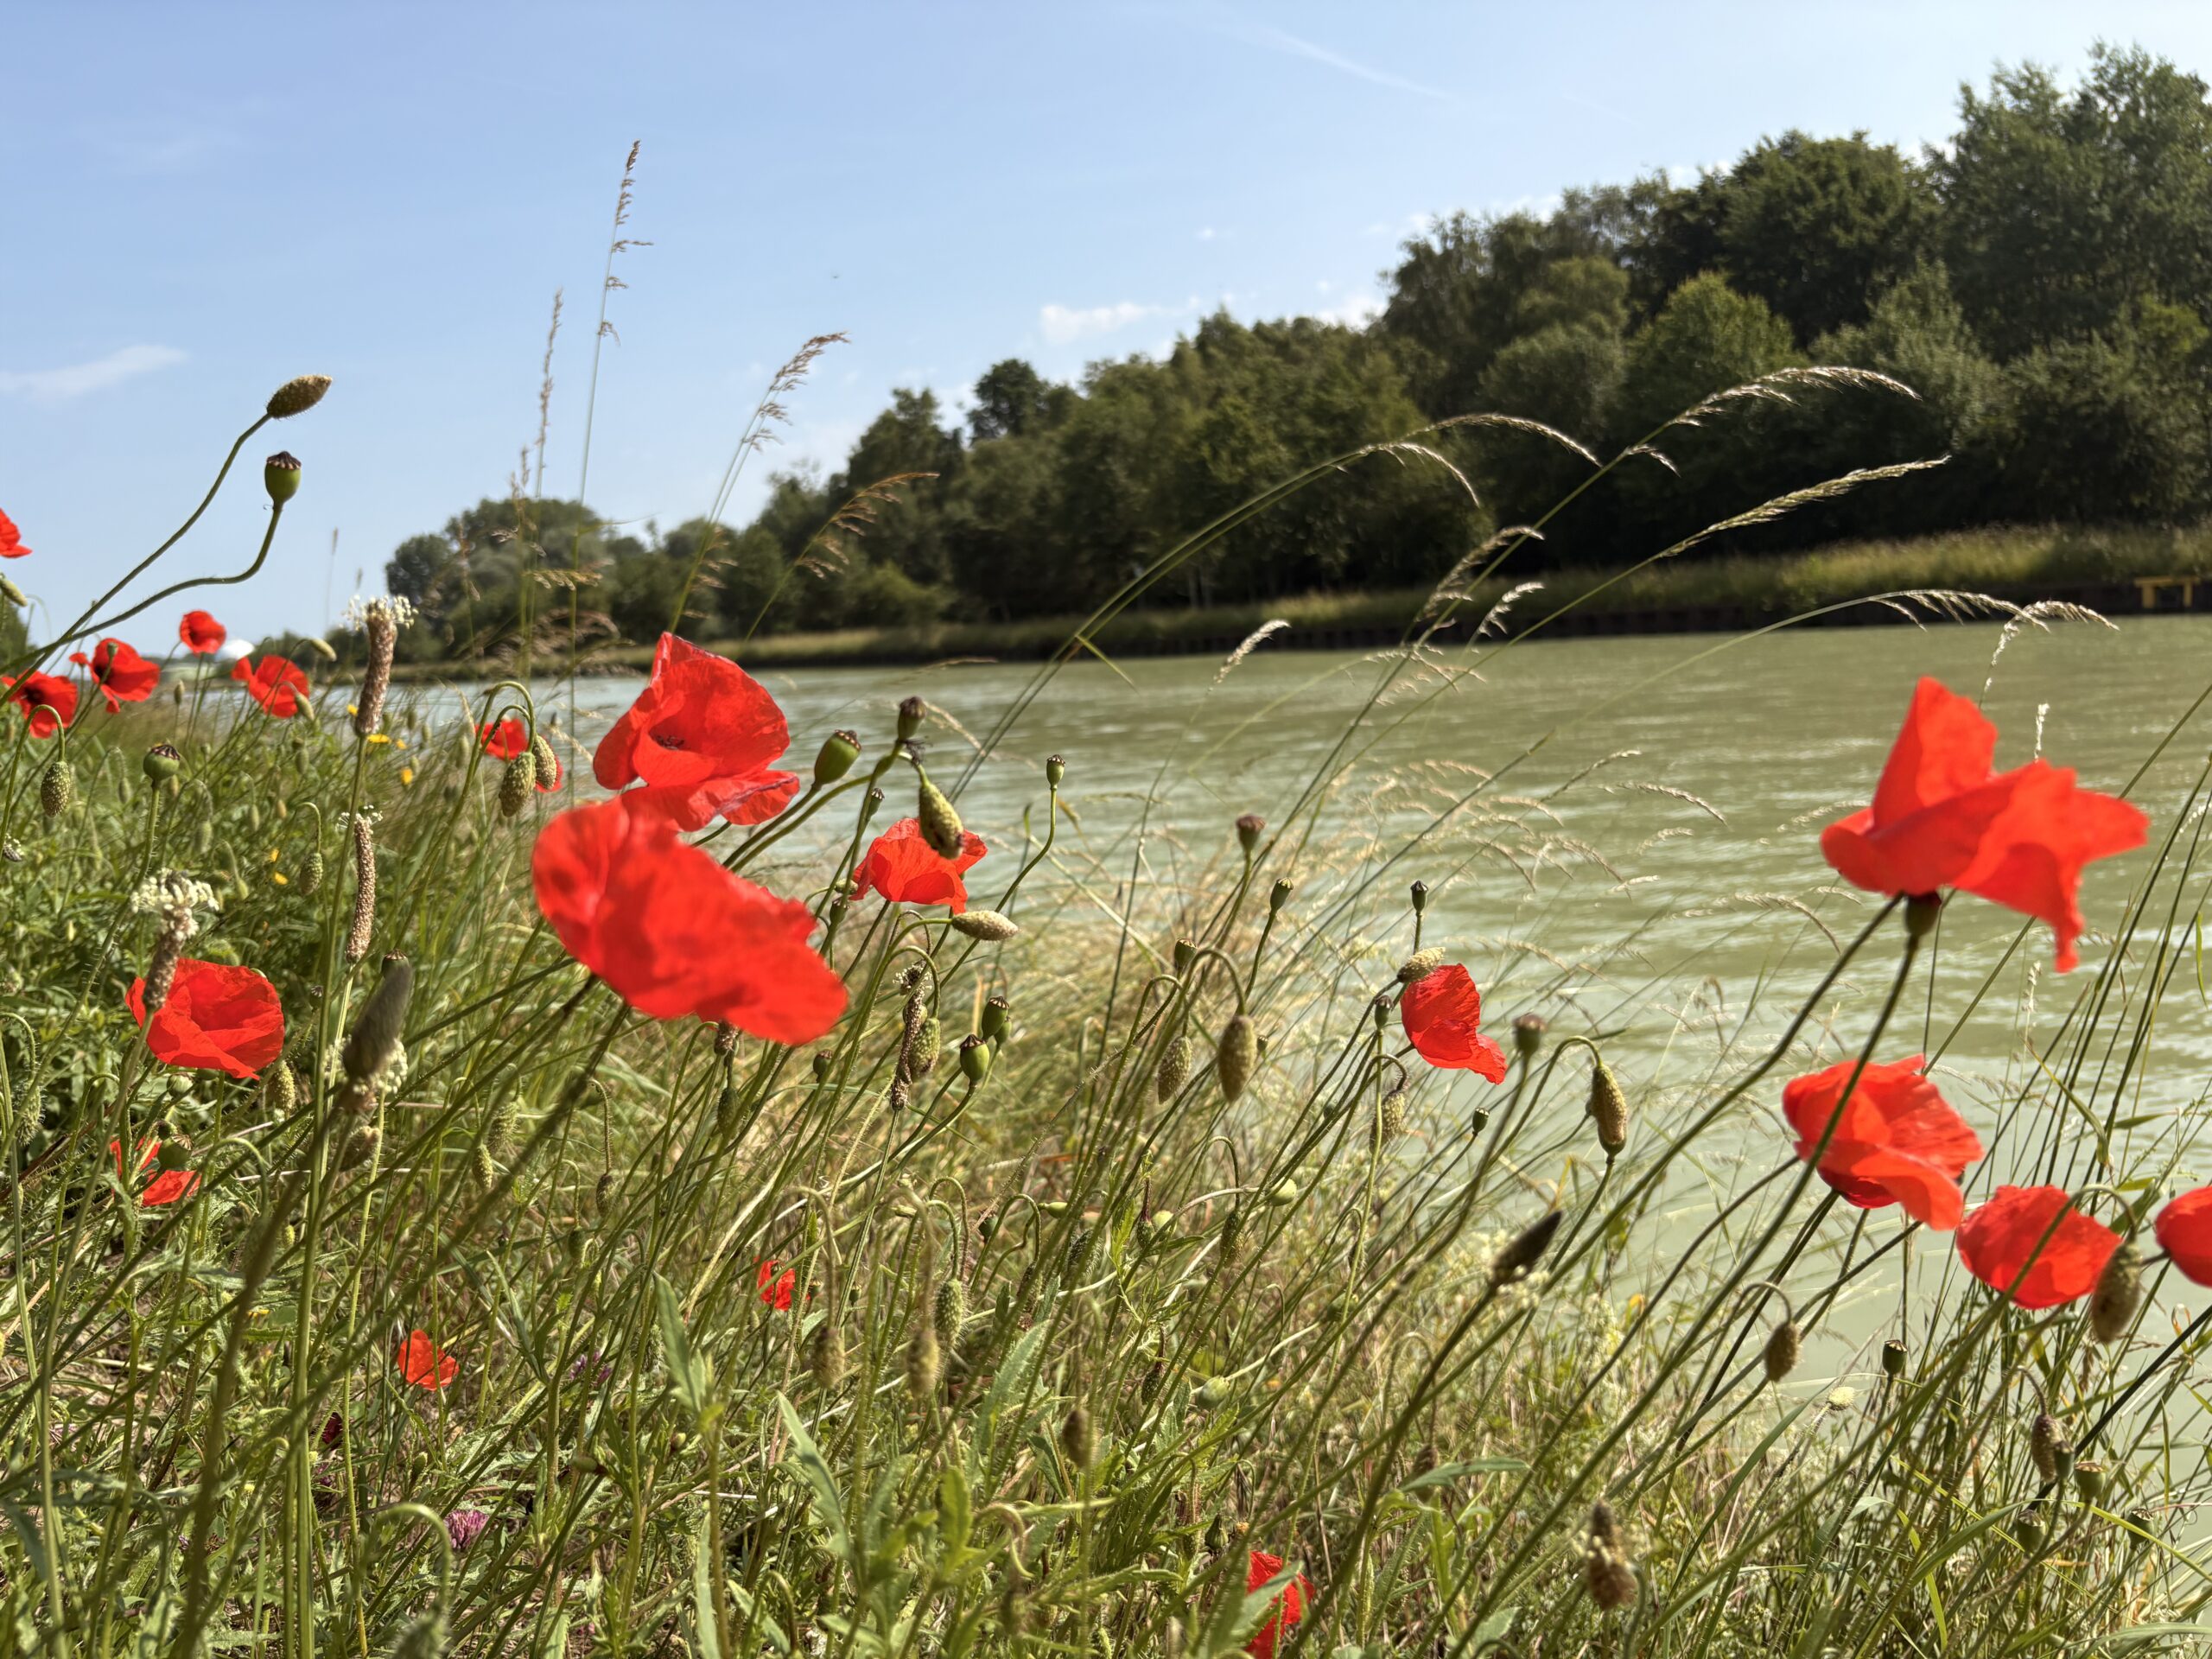
Coquelicots – Canal Dortmund-Ems
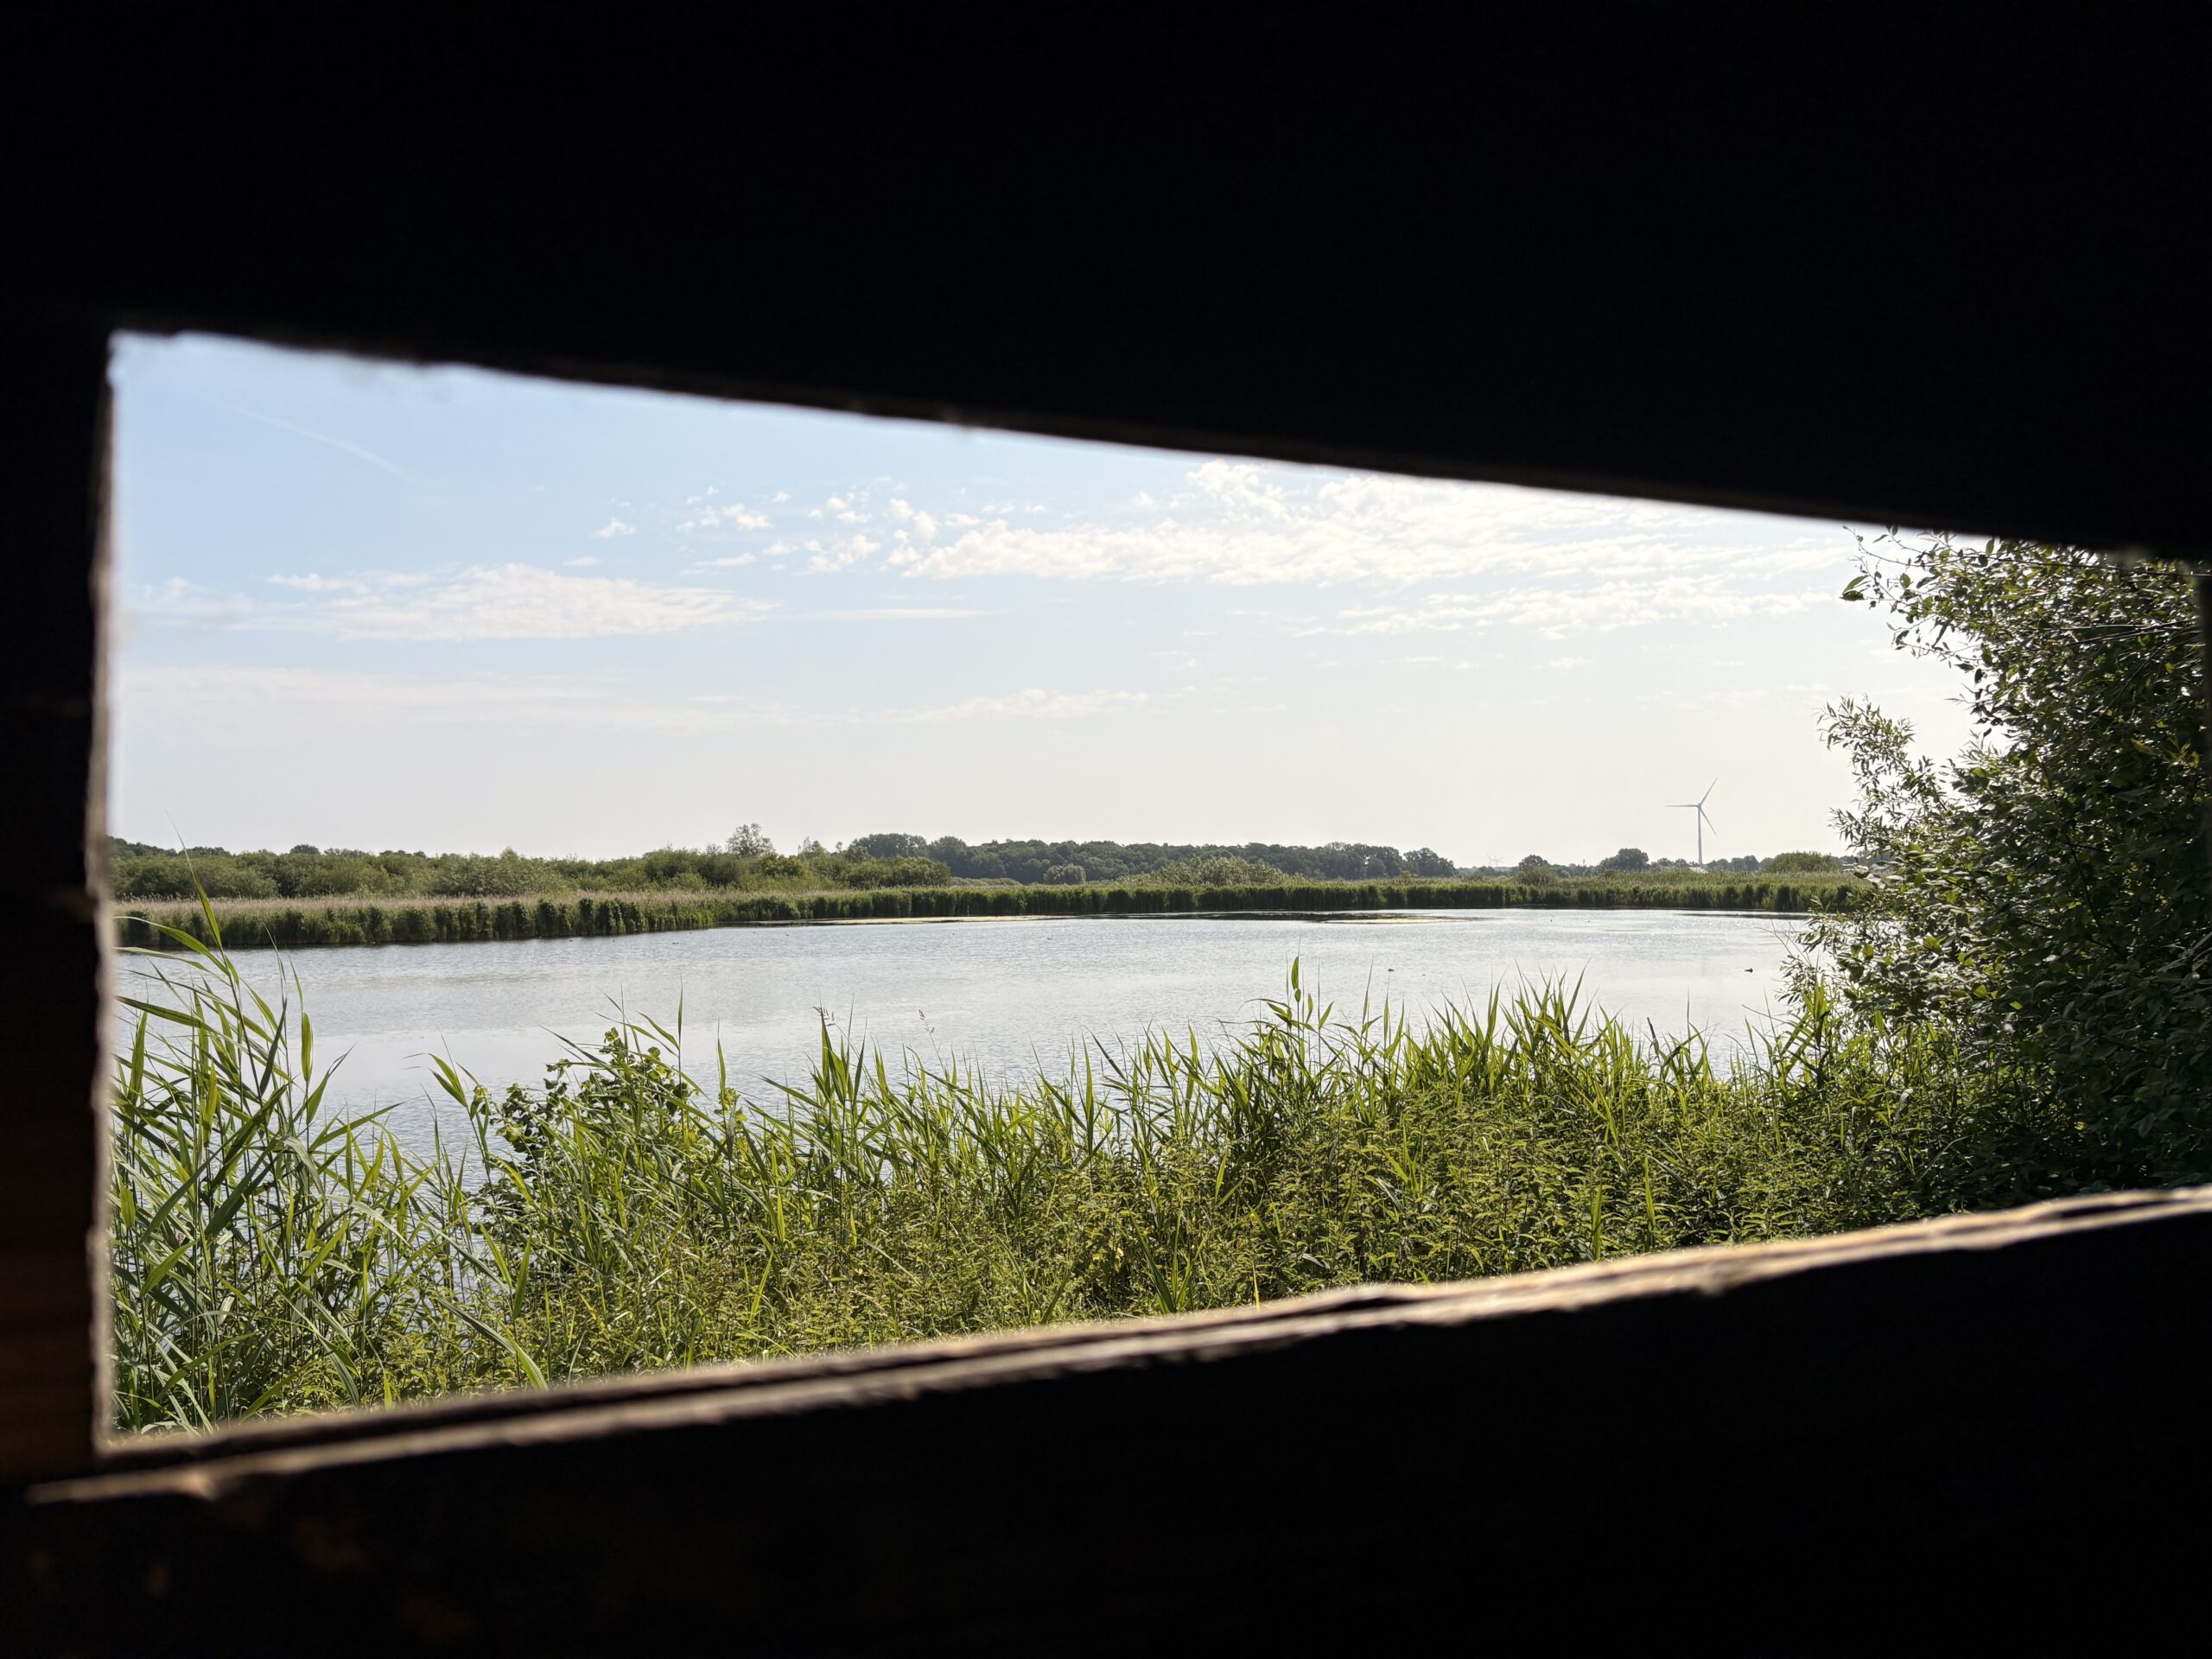
Hutte d’observation – mais où sont les hippopotames ?
J’ai décidé de prendre le temps. Le travail, la vie de famille, une maison, des activités, etc. font partie de ma vie quotidienne, et il arrive souvent que l’on se laisse emporter par le tumulte des flots sans arriver à aller dans la direction que l’on souhaite. On navigue alors pour éviter de s’échoir.
Chi va piano, va sano e lontano.
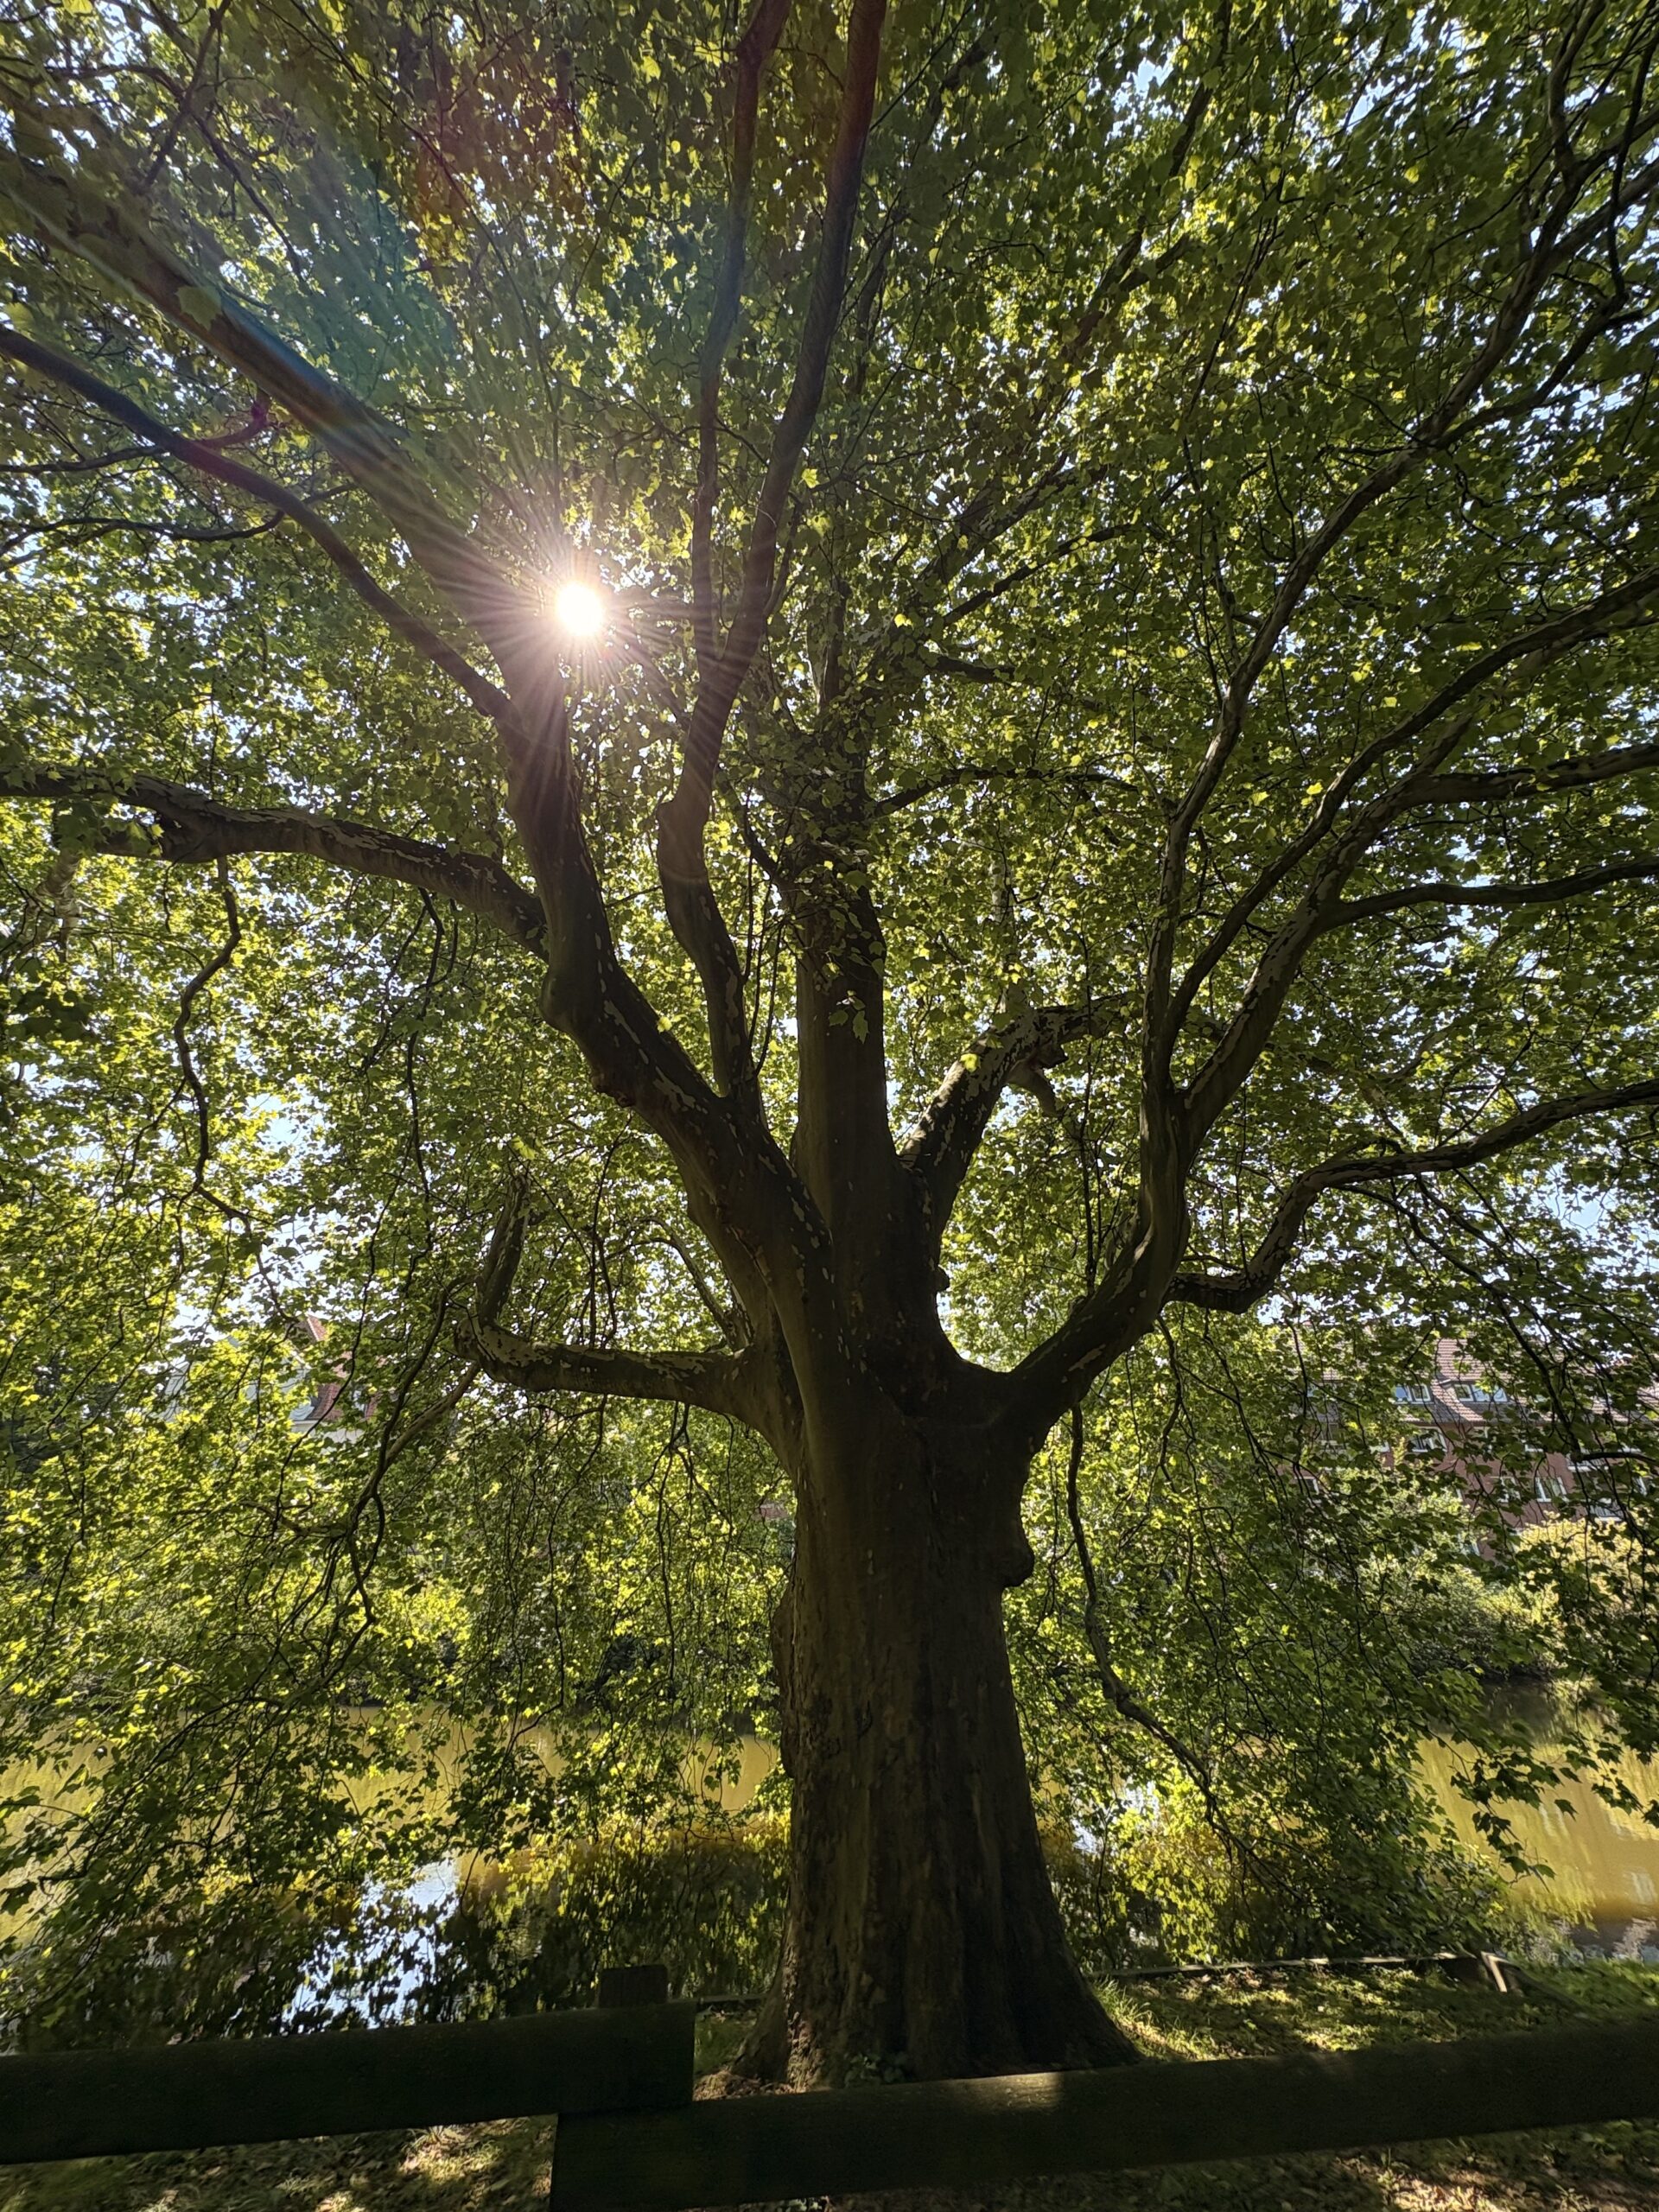
Celui qui sait prendre le temps ira sûrement et longtemps, dit un dicton. C’est pourquoi j’ai décidé de partir pour un court voyage de trois jours à Münster en Rhénanie-du-Nord-Westphalie. Trois jours pour penser, dessiner, écrire et découvrir.
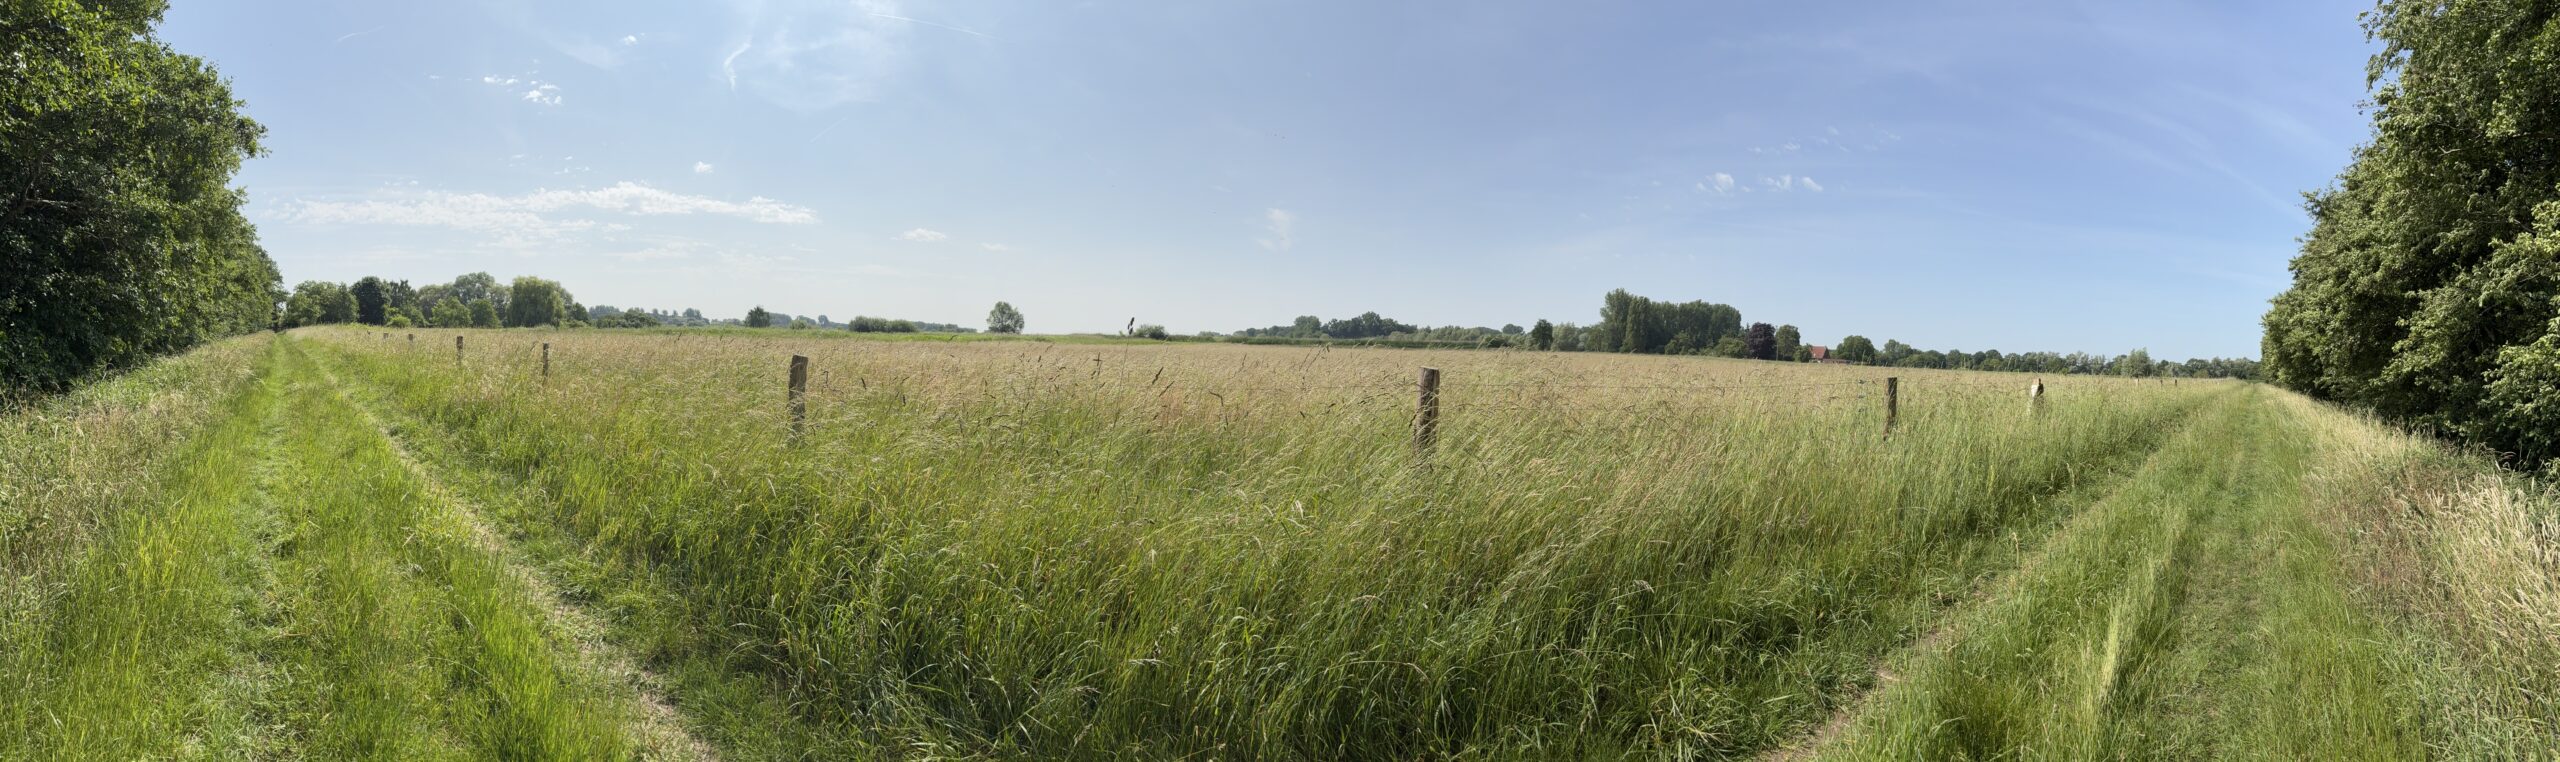
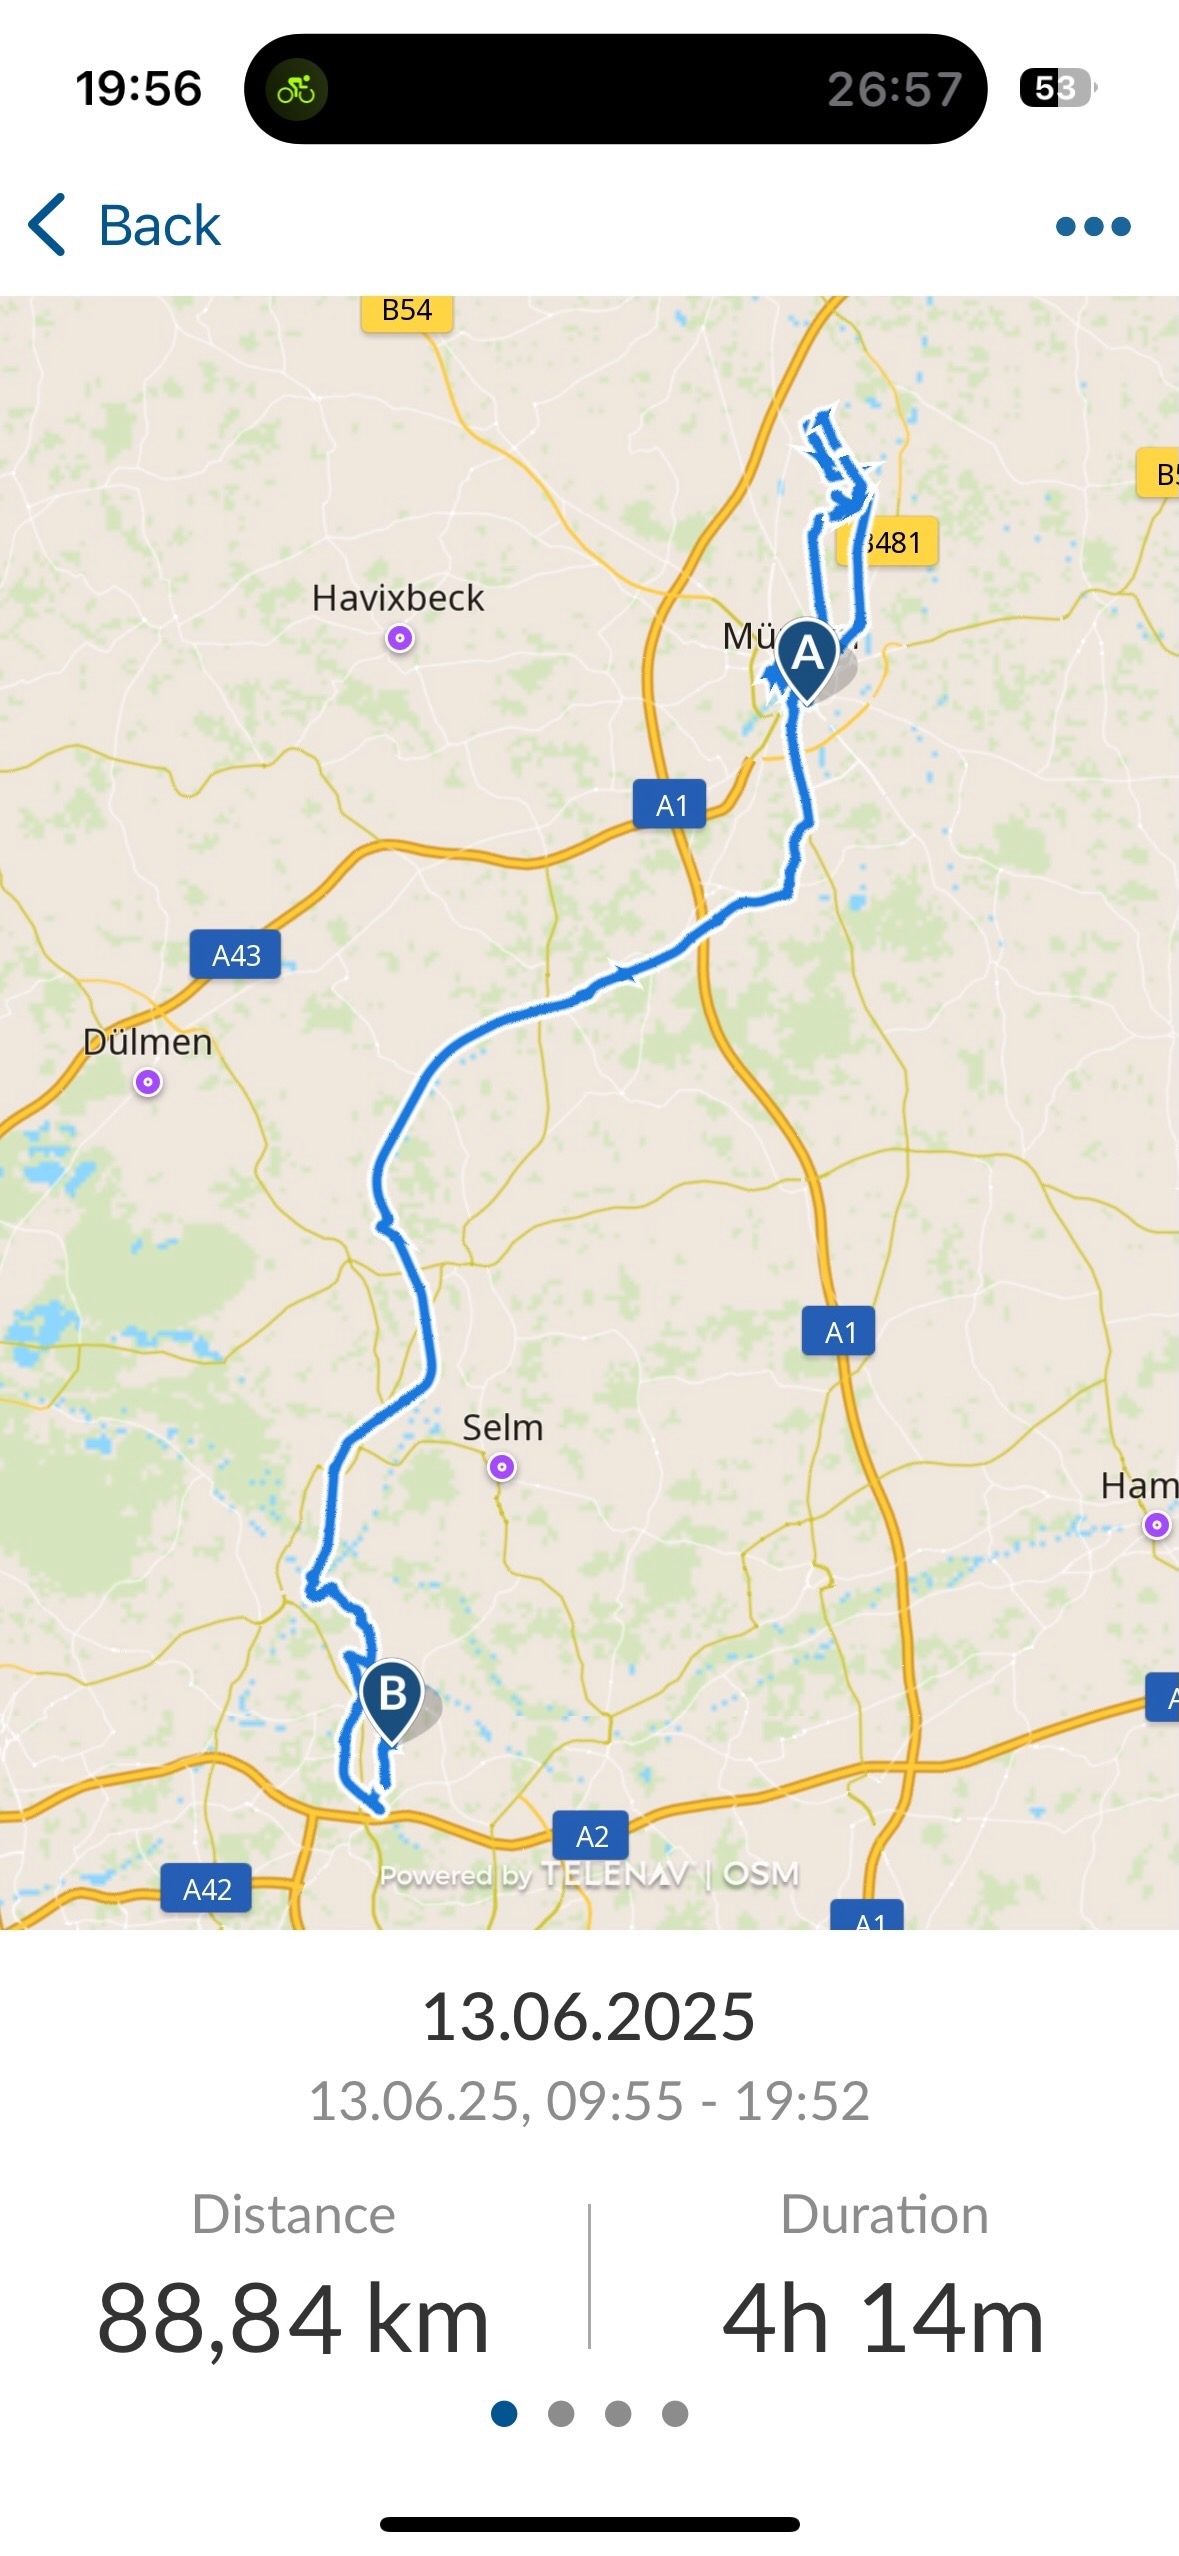
Bien sûr, je n’ai pas pris la voiture pour venir ici, mais bien évidemment le vélo. Soixante-deux kilomètres le long de canaux, de forêts et de champs. J’ai eu de la chance, car il faisait parfaitement beau, avec un petit 20 °C, ce qui est idéal pour le vélo.
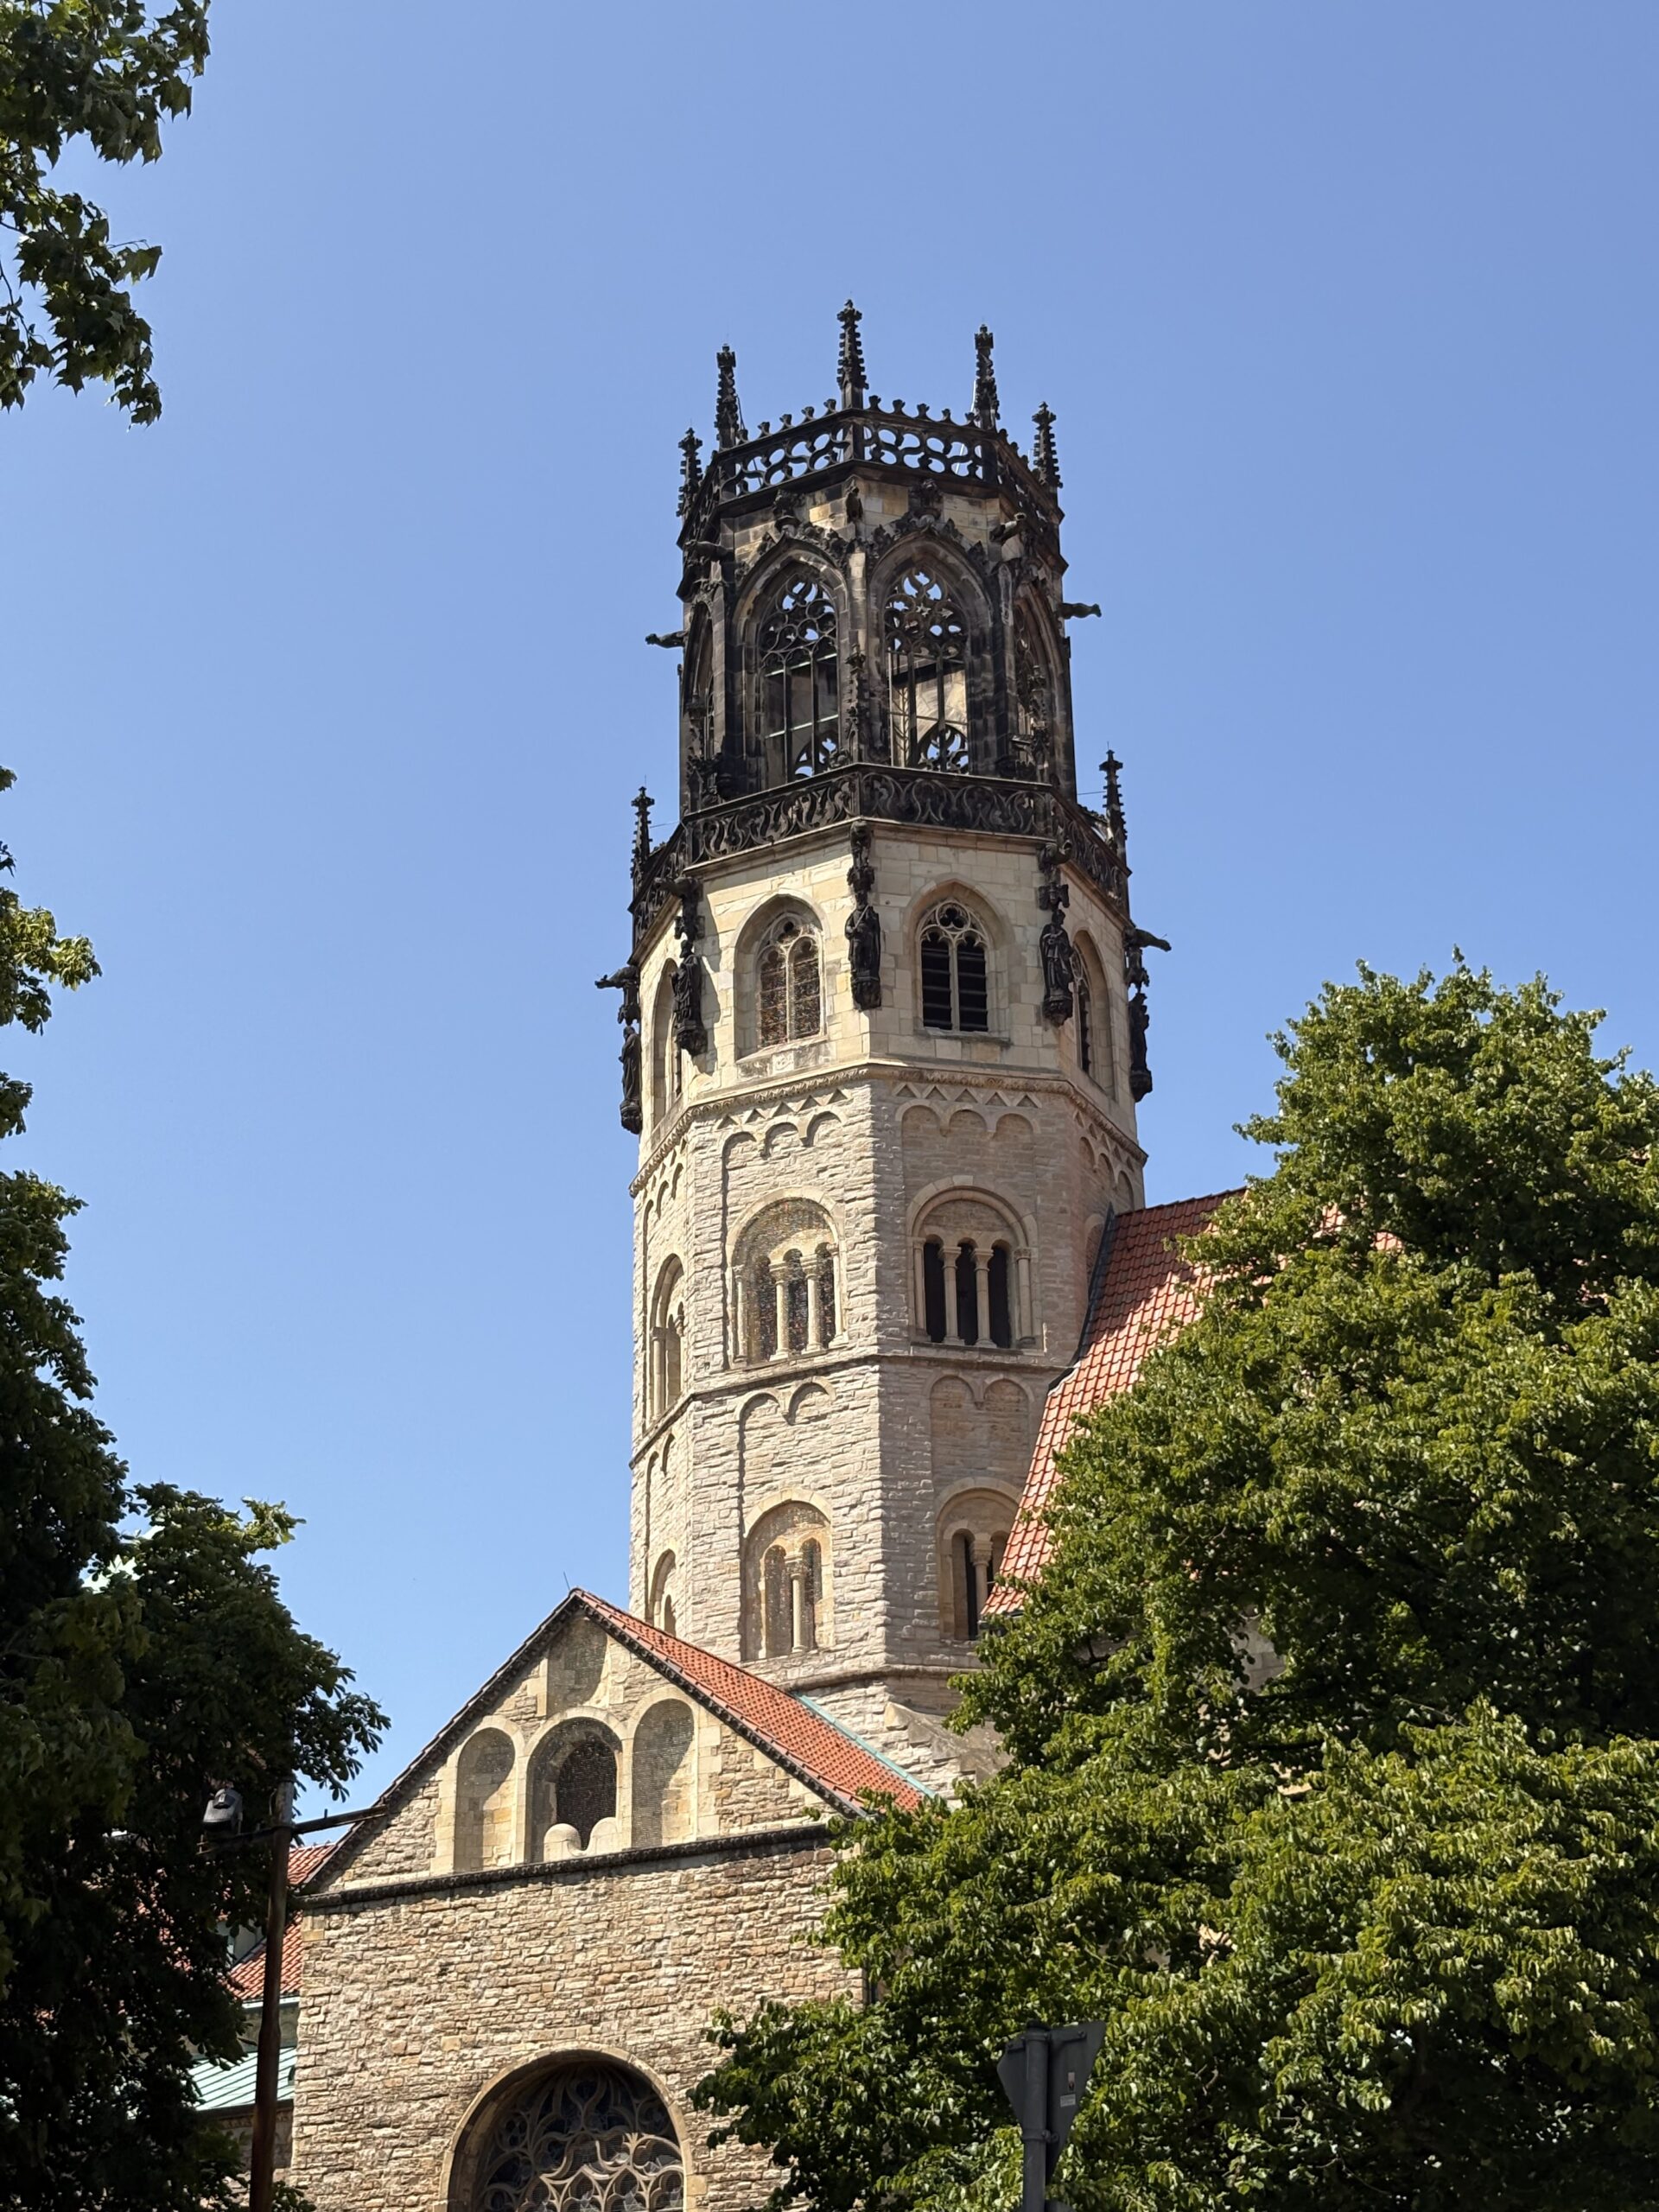
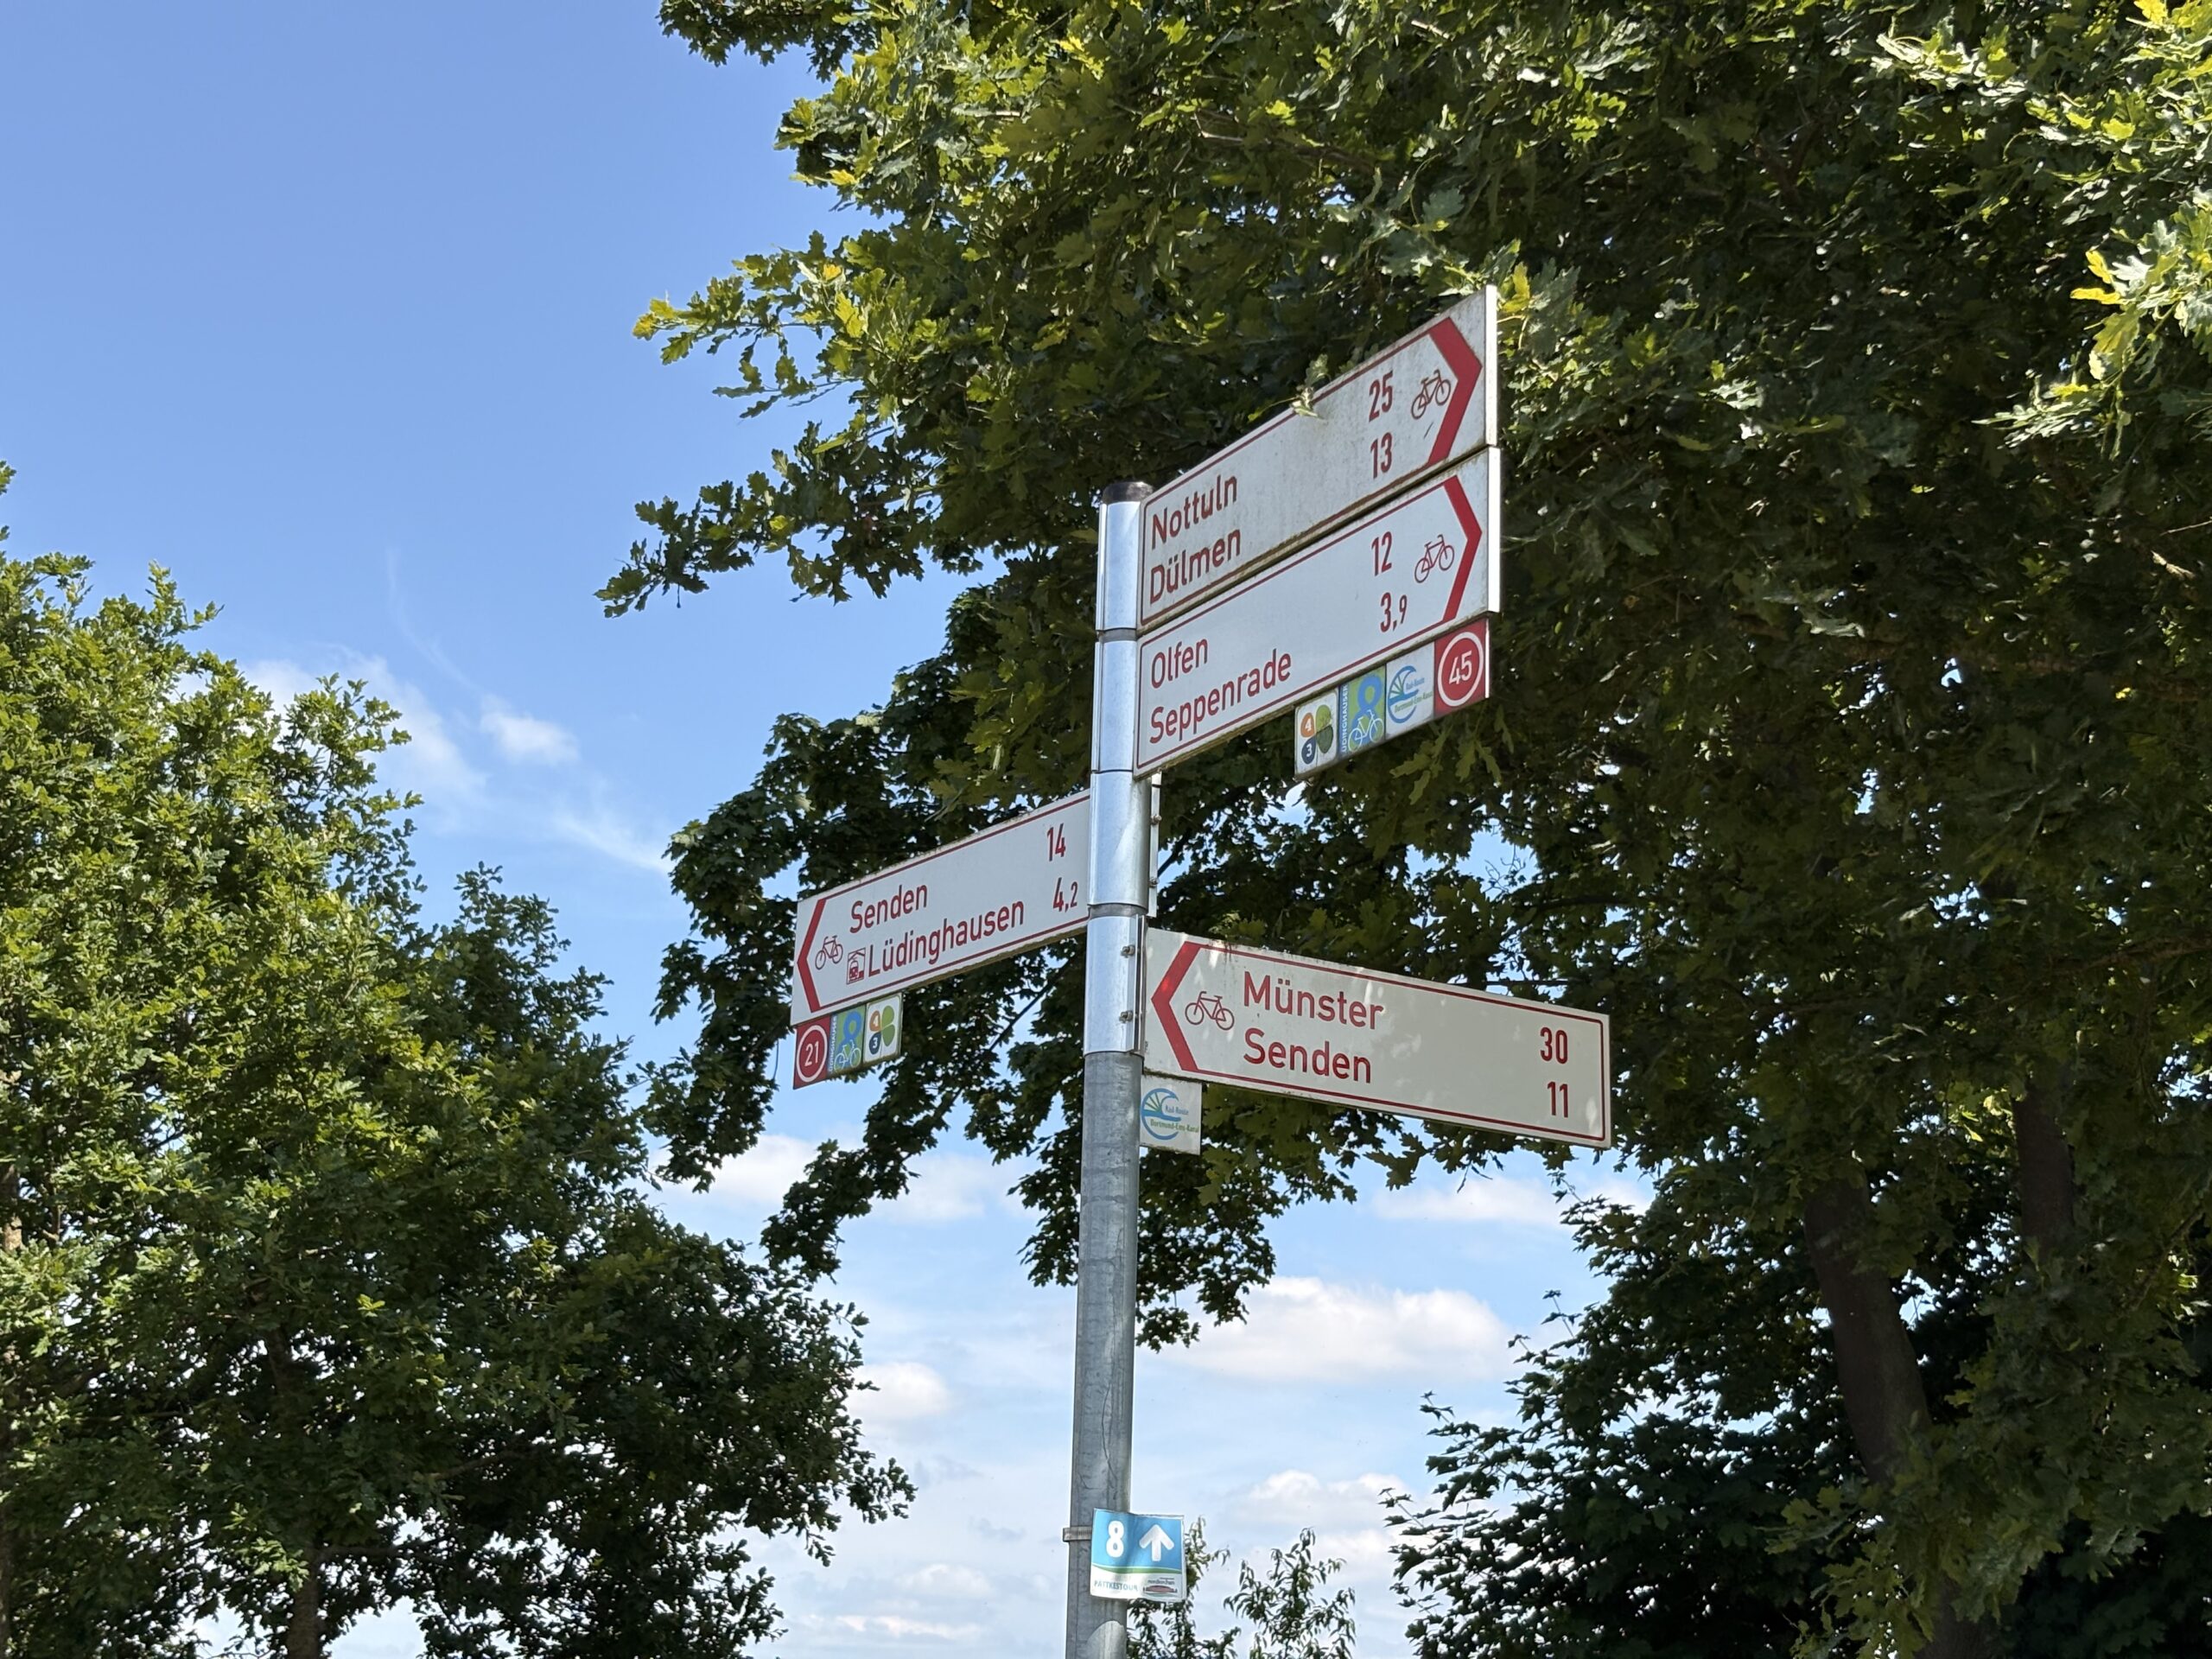
Voici une petite galerie de photos le long de la route.
I am at a new crossroad in my life where I am aspiring to take a new direction. I am still passionate and eager to learn about new technologies, programming, etc. But I have other interests, some old some new, which I want to explore and maybe share.
I have started to learn about calligraphy and even if I am at the very beginning and just exercising, it is reviving some older and buried activities such as writing. I usually write in French, my mother tongue. So there might be more French posts in the future here.
I am not yet sure if I will write regularly. And perhaps, I don’t want to publish anything. It’s more for myself than for anyone.
As for the thoughts, I am appalled by the current situations where intolerance, racism, stupidity and egoism are growing. I am for more diversity in our society, culture, workplace and life; we don’t have a planet B, we need to protect it; I want more tolerance, the fact that we are all so different, think different is just amazing and interesting, we should be opened to others whatever their looks, beliefs or choices. I stopped using Twitter when it was acquired by this mad man and after the election in the US last year, I deleted my account. I have been demonstrating last year and this year for more diversity and tolerance, and will continue doing this. I am passing on these values to my kids.
There are many ways to harden a Docker container, one is to make the container layer read-only.
This might be a marginal improvement to security, first your application should not run as root or has special privileges (e.g. CAP_DAC_OVERRIDE), so there is limited risk that an attacker exploiting a vulnerability of your application can modify sensitive applications. However, if you install your application within a Dockerfile as the application user (e.g. using bundle install) make the base layer read-only might protect it from unwanted modification.
I also like the idea of an immutable base layer and clearly identifying the writing data and if they should be persisted or not. I also relate that to security, because the better you know the behaviour of an application, the better you can adapt a confinement for it.
Setting the base layer read-only is somewhat challenging. Setting a container image to read-only is simple, there is a --read-only flag to the docker run command. But identifying which data is written by the containerised application can be a challenge One task is thus to identify all written data and defining of they should be persisted in a volume or not persisted. In the latter case, one could then use a tmpfs volume or a local volume (in a Swarm cluster).
We are going to use Docker layering approach to identify the written data. How to check the difference varies depending on the storage backend and they are too numerous for me to list each cases, I might complete the article in the future but today I will show how to use the BTRFS and Overlay2 backend.


 car où diable trouver le calme et la ressource dans un lieu de traitement des eaux usées !