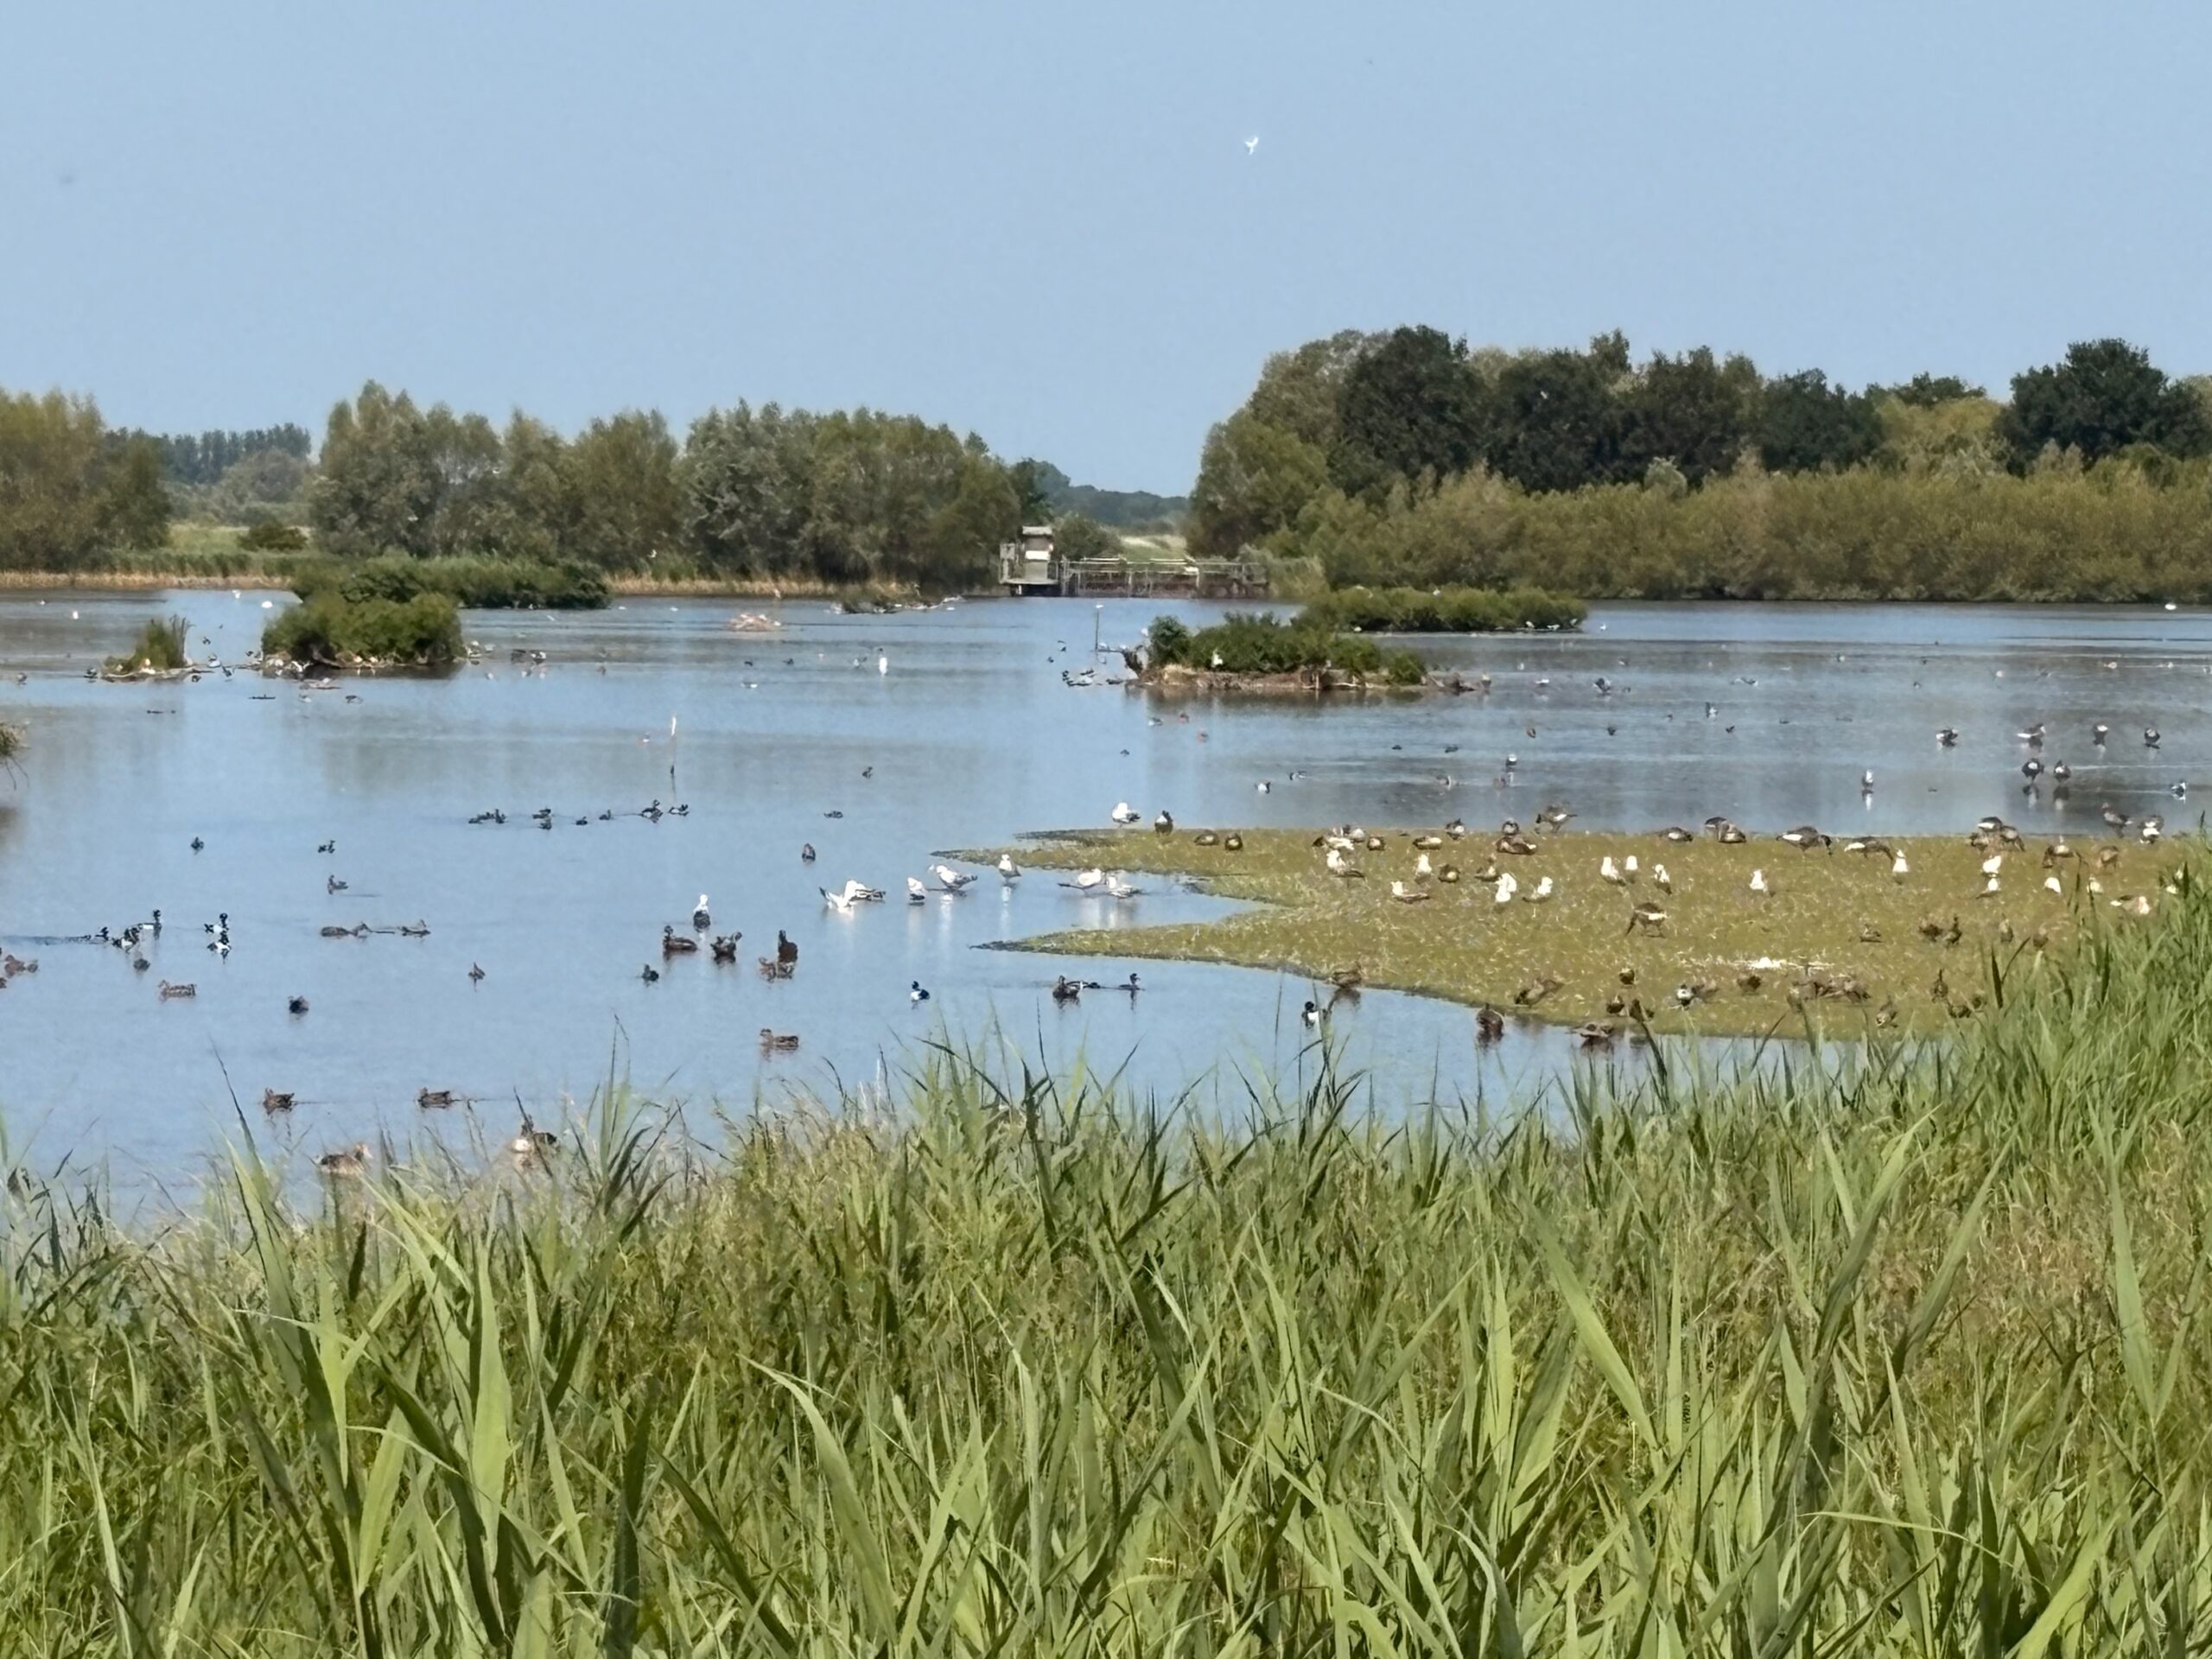
Hier n’était pas la meilleure journée pour profiter du parc naturel de Rieselfelder Münster : il faisait très chaud, sans nuage ni beaucoup d’arbres. Mais c’était très joli et j’y retournerais avec plaisir.
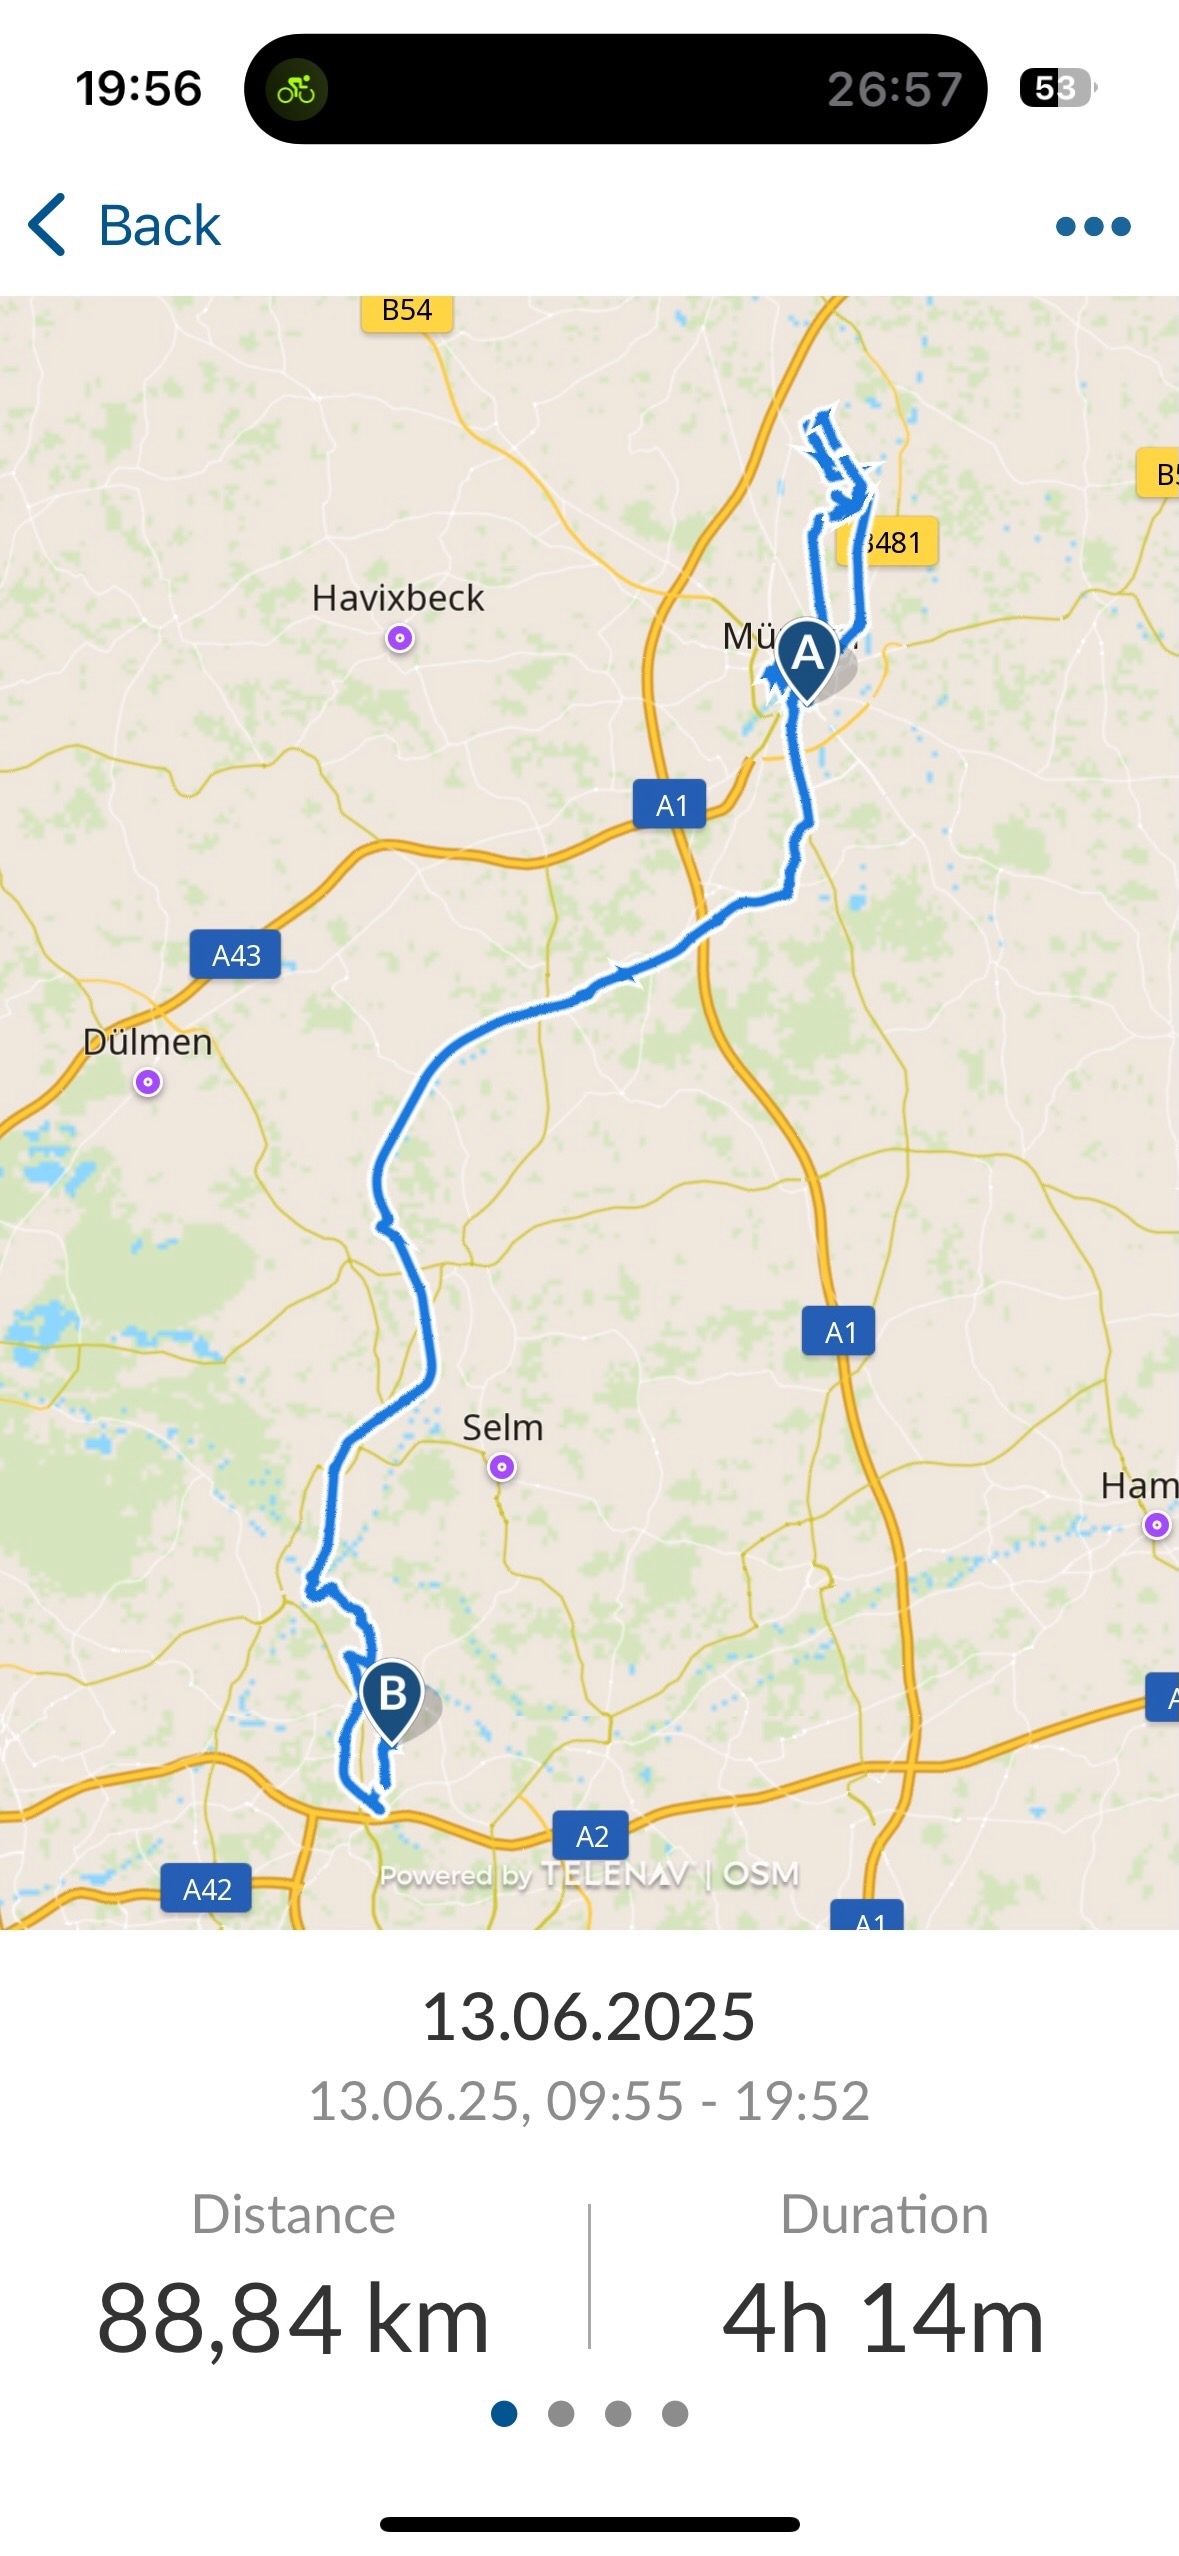
Je suis donc reparti sur la route en direction de la maison. Il faisait très chaud pour faire du vélo, il faut donc s’hydrater régulièrement et j’avais bêtement oublié de prendre de la crème solaire. Ces derniers temps, il faisait frais et il fallait naviguer entre les nuages de pluie. Bref, j’ai légèrement rougi au niveau du nez et dans la nuque, et à mon arrivée, je ne me sentais pas au mieux.
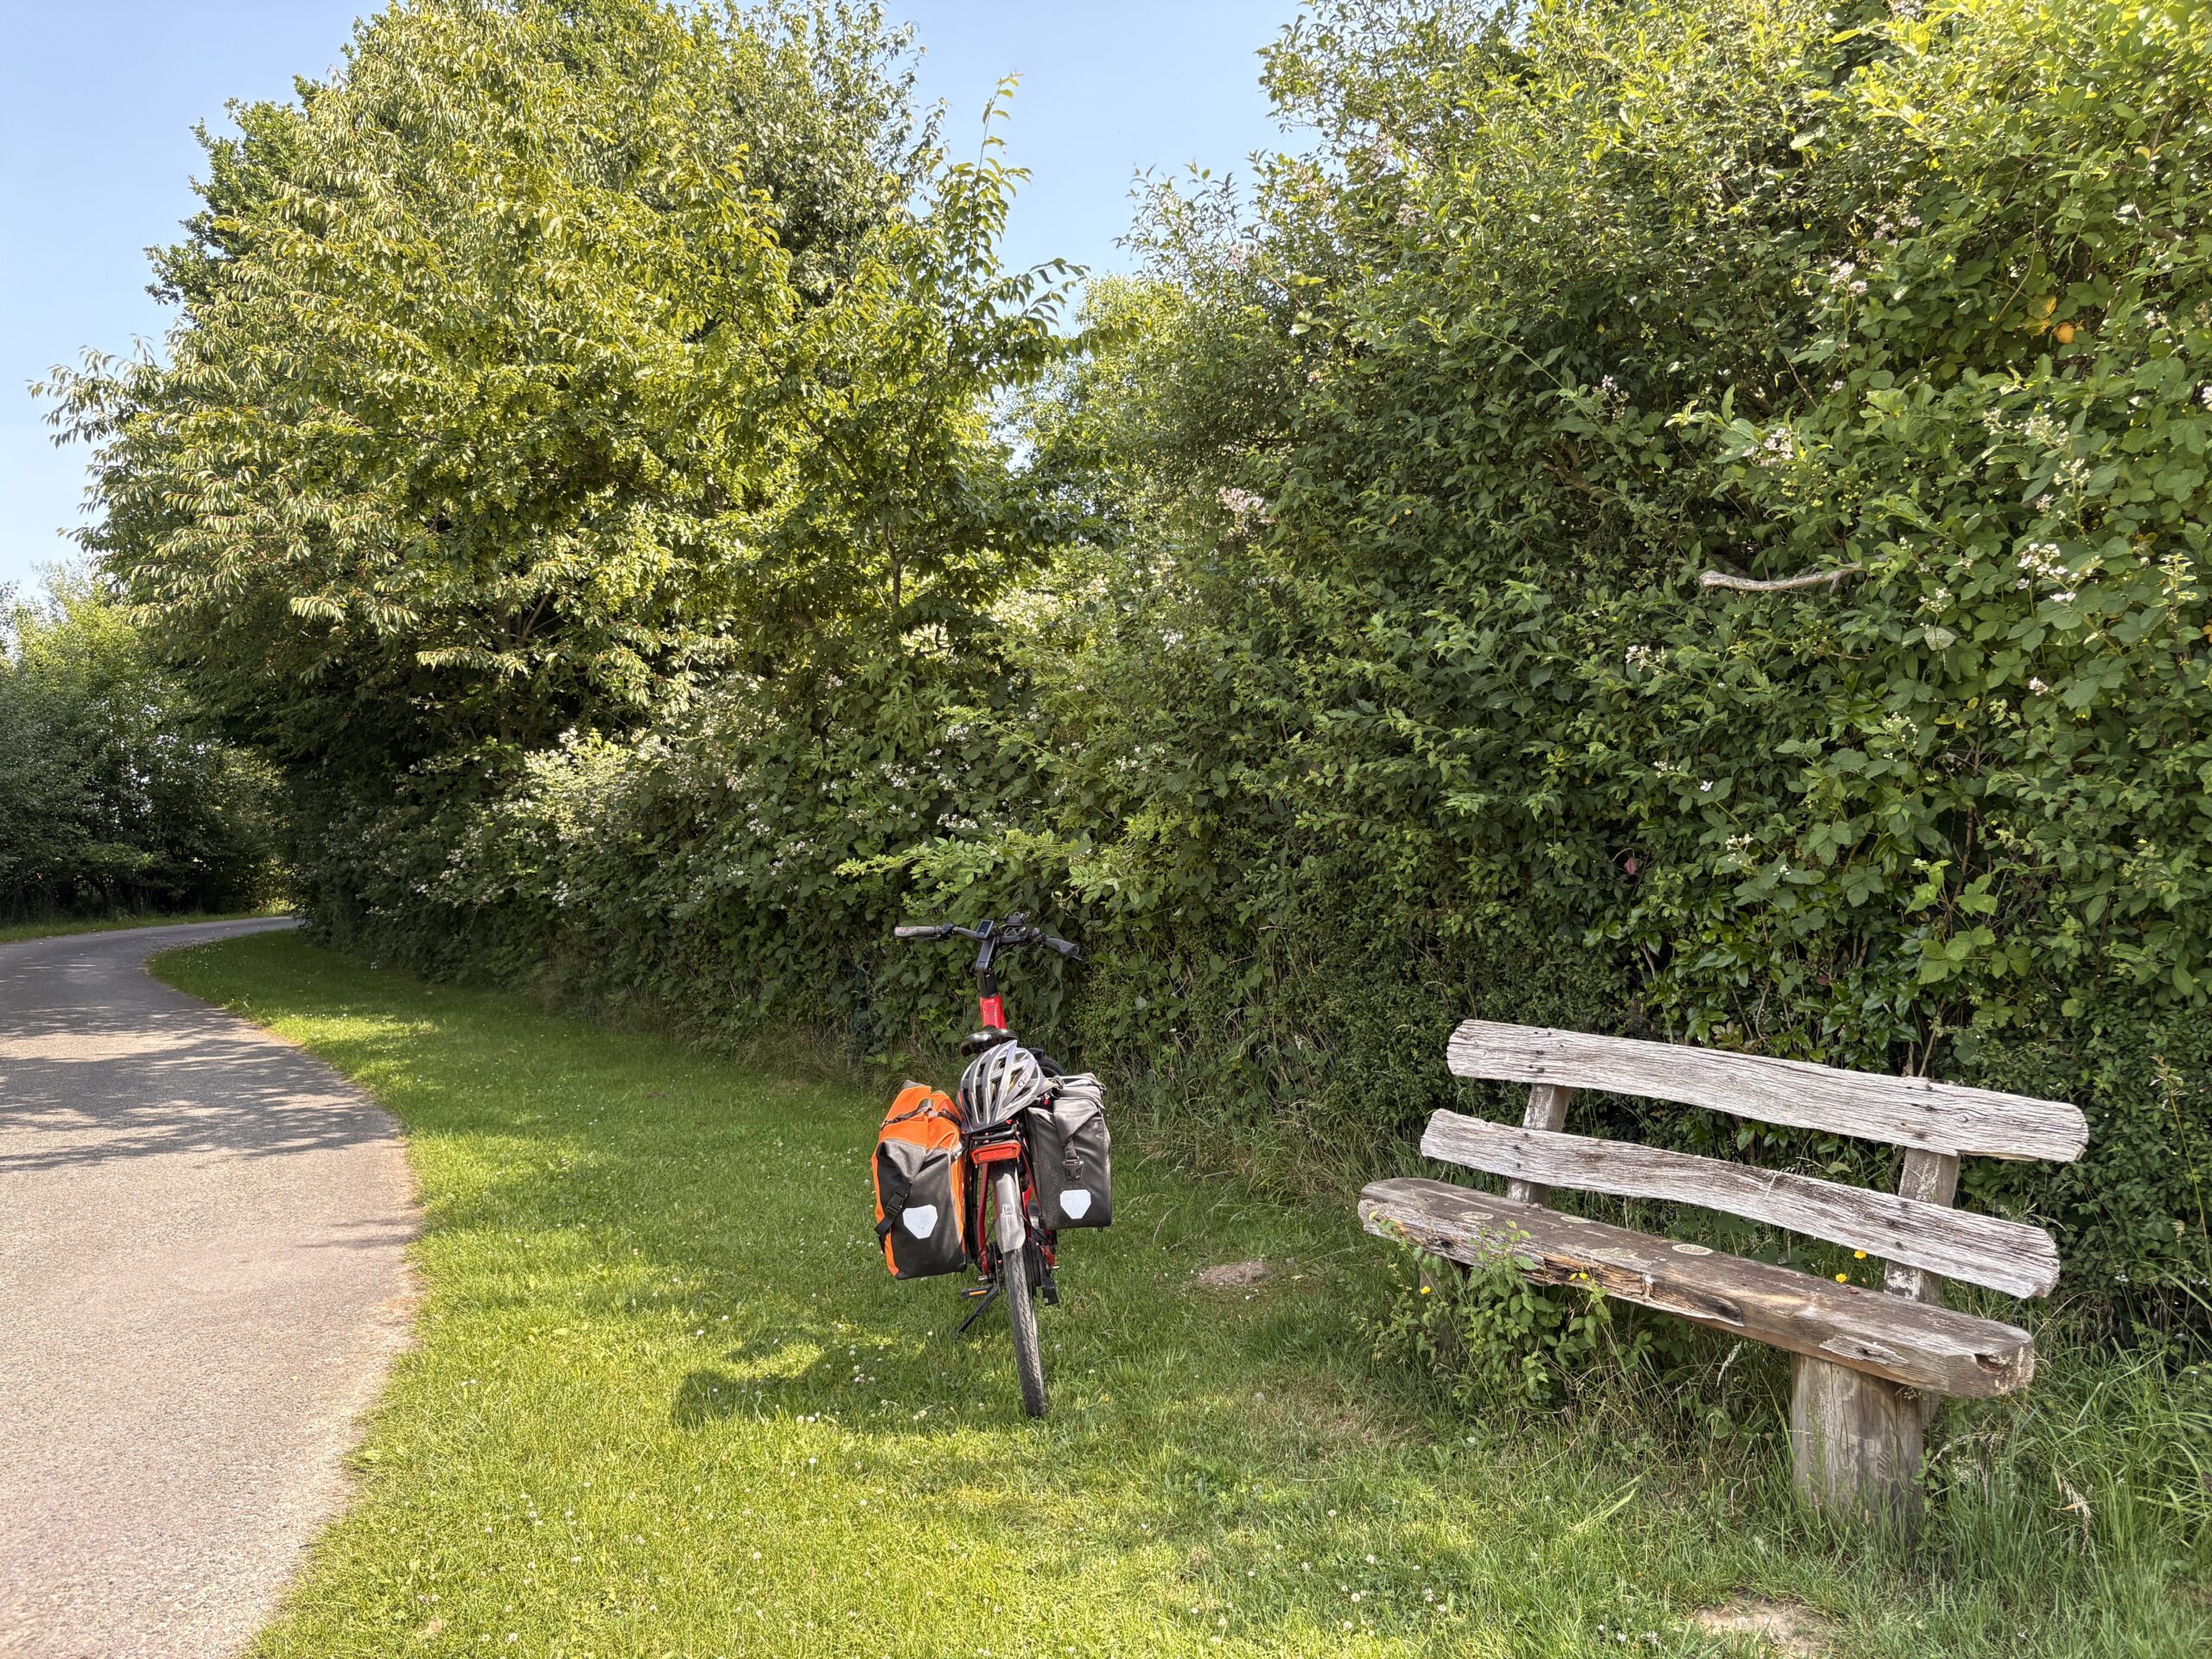
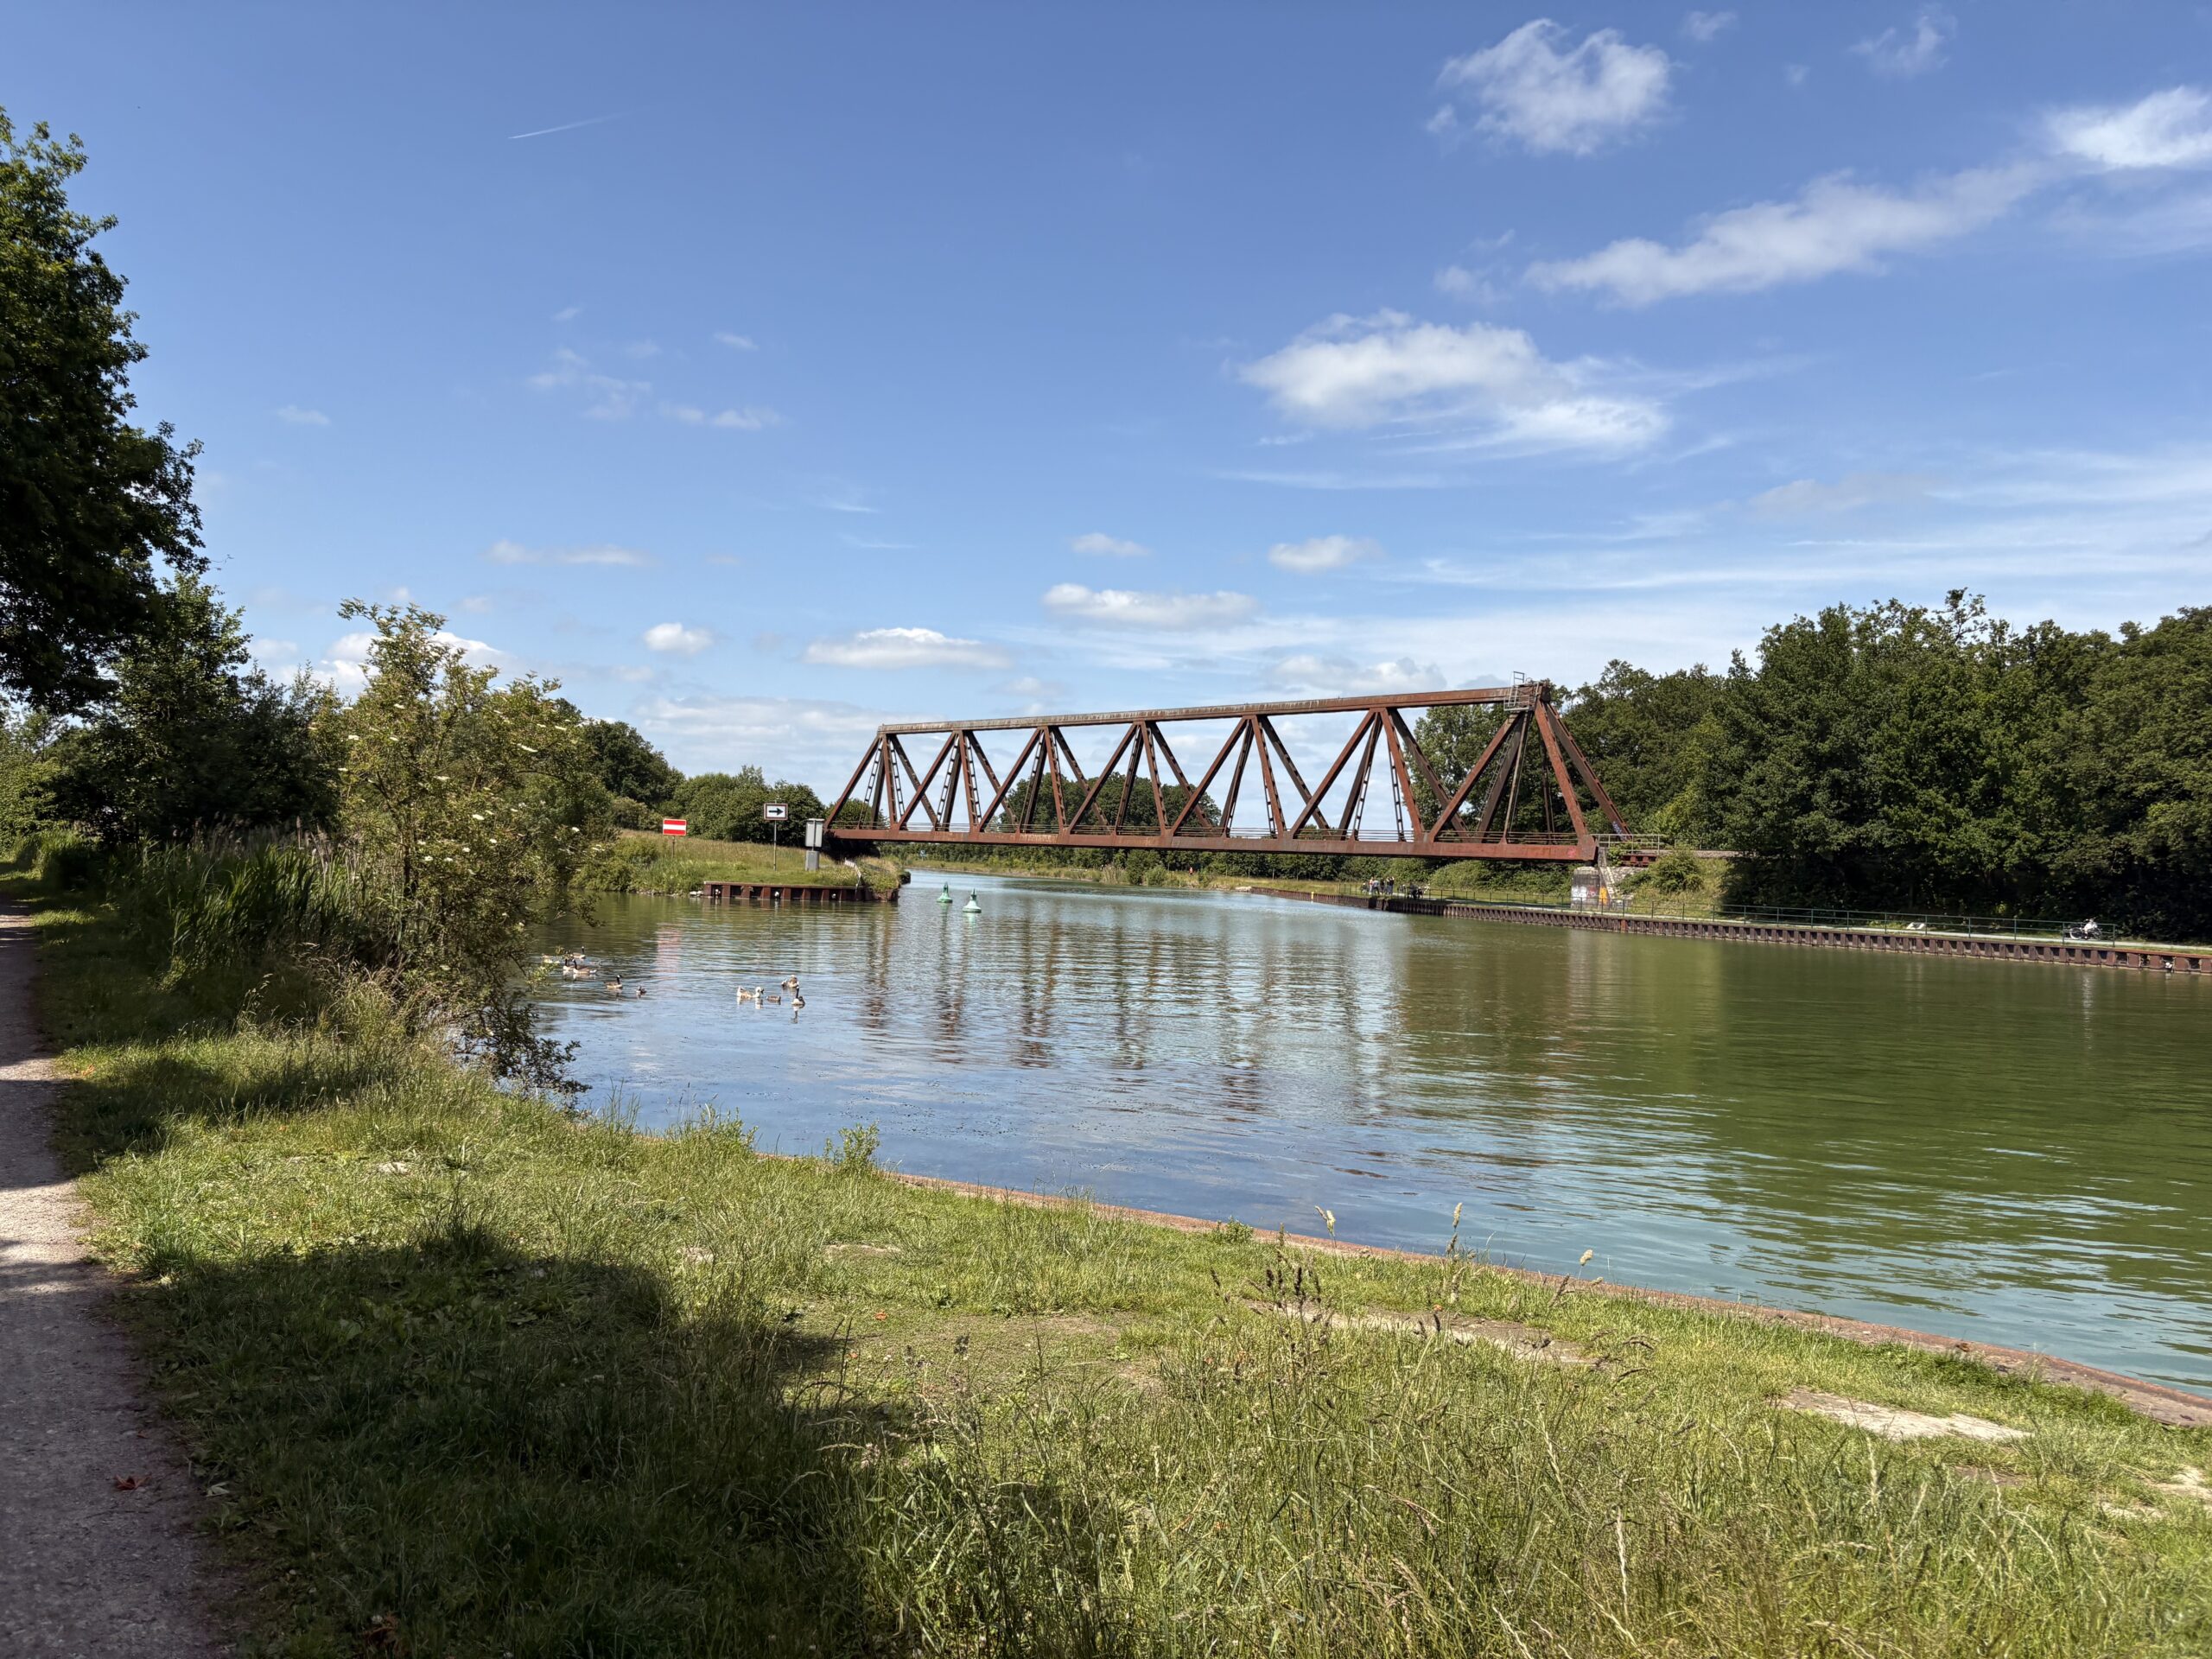
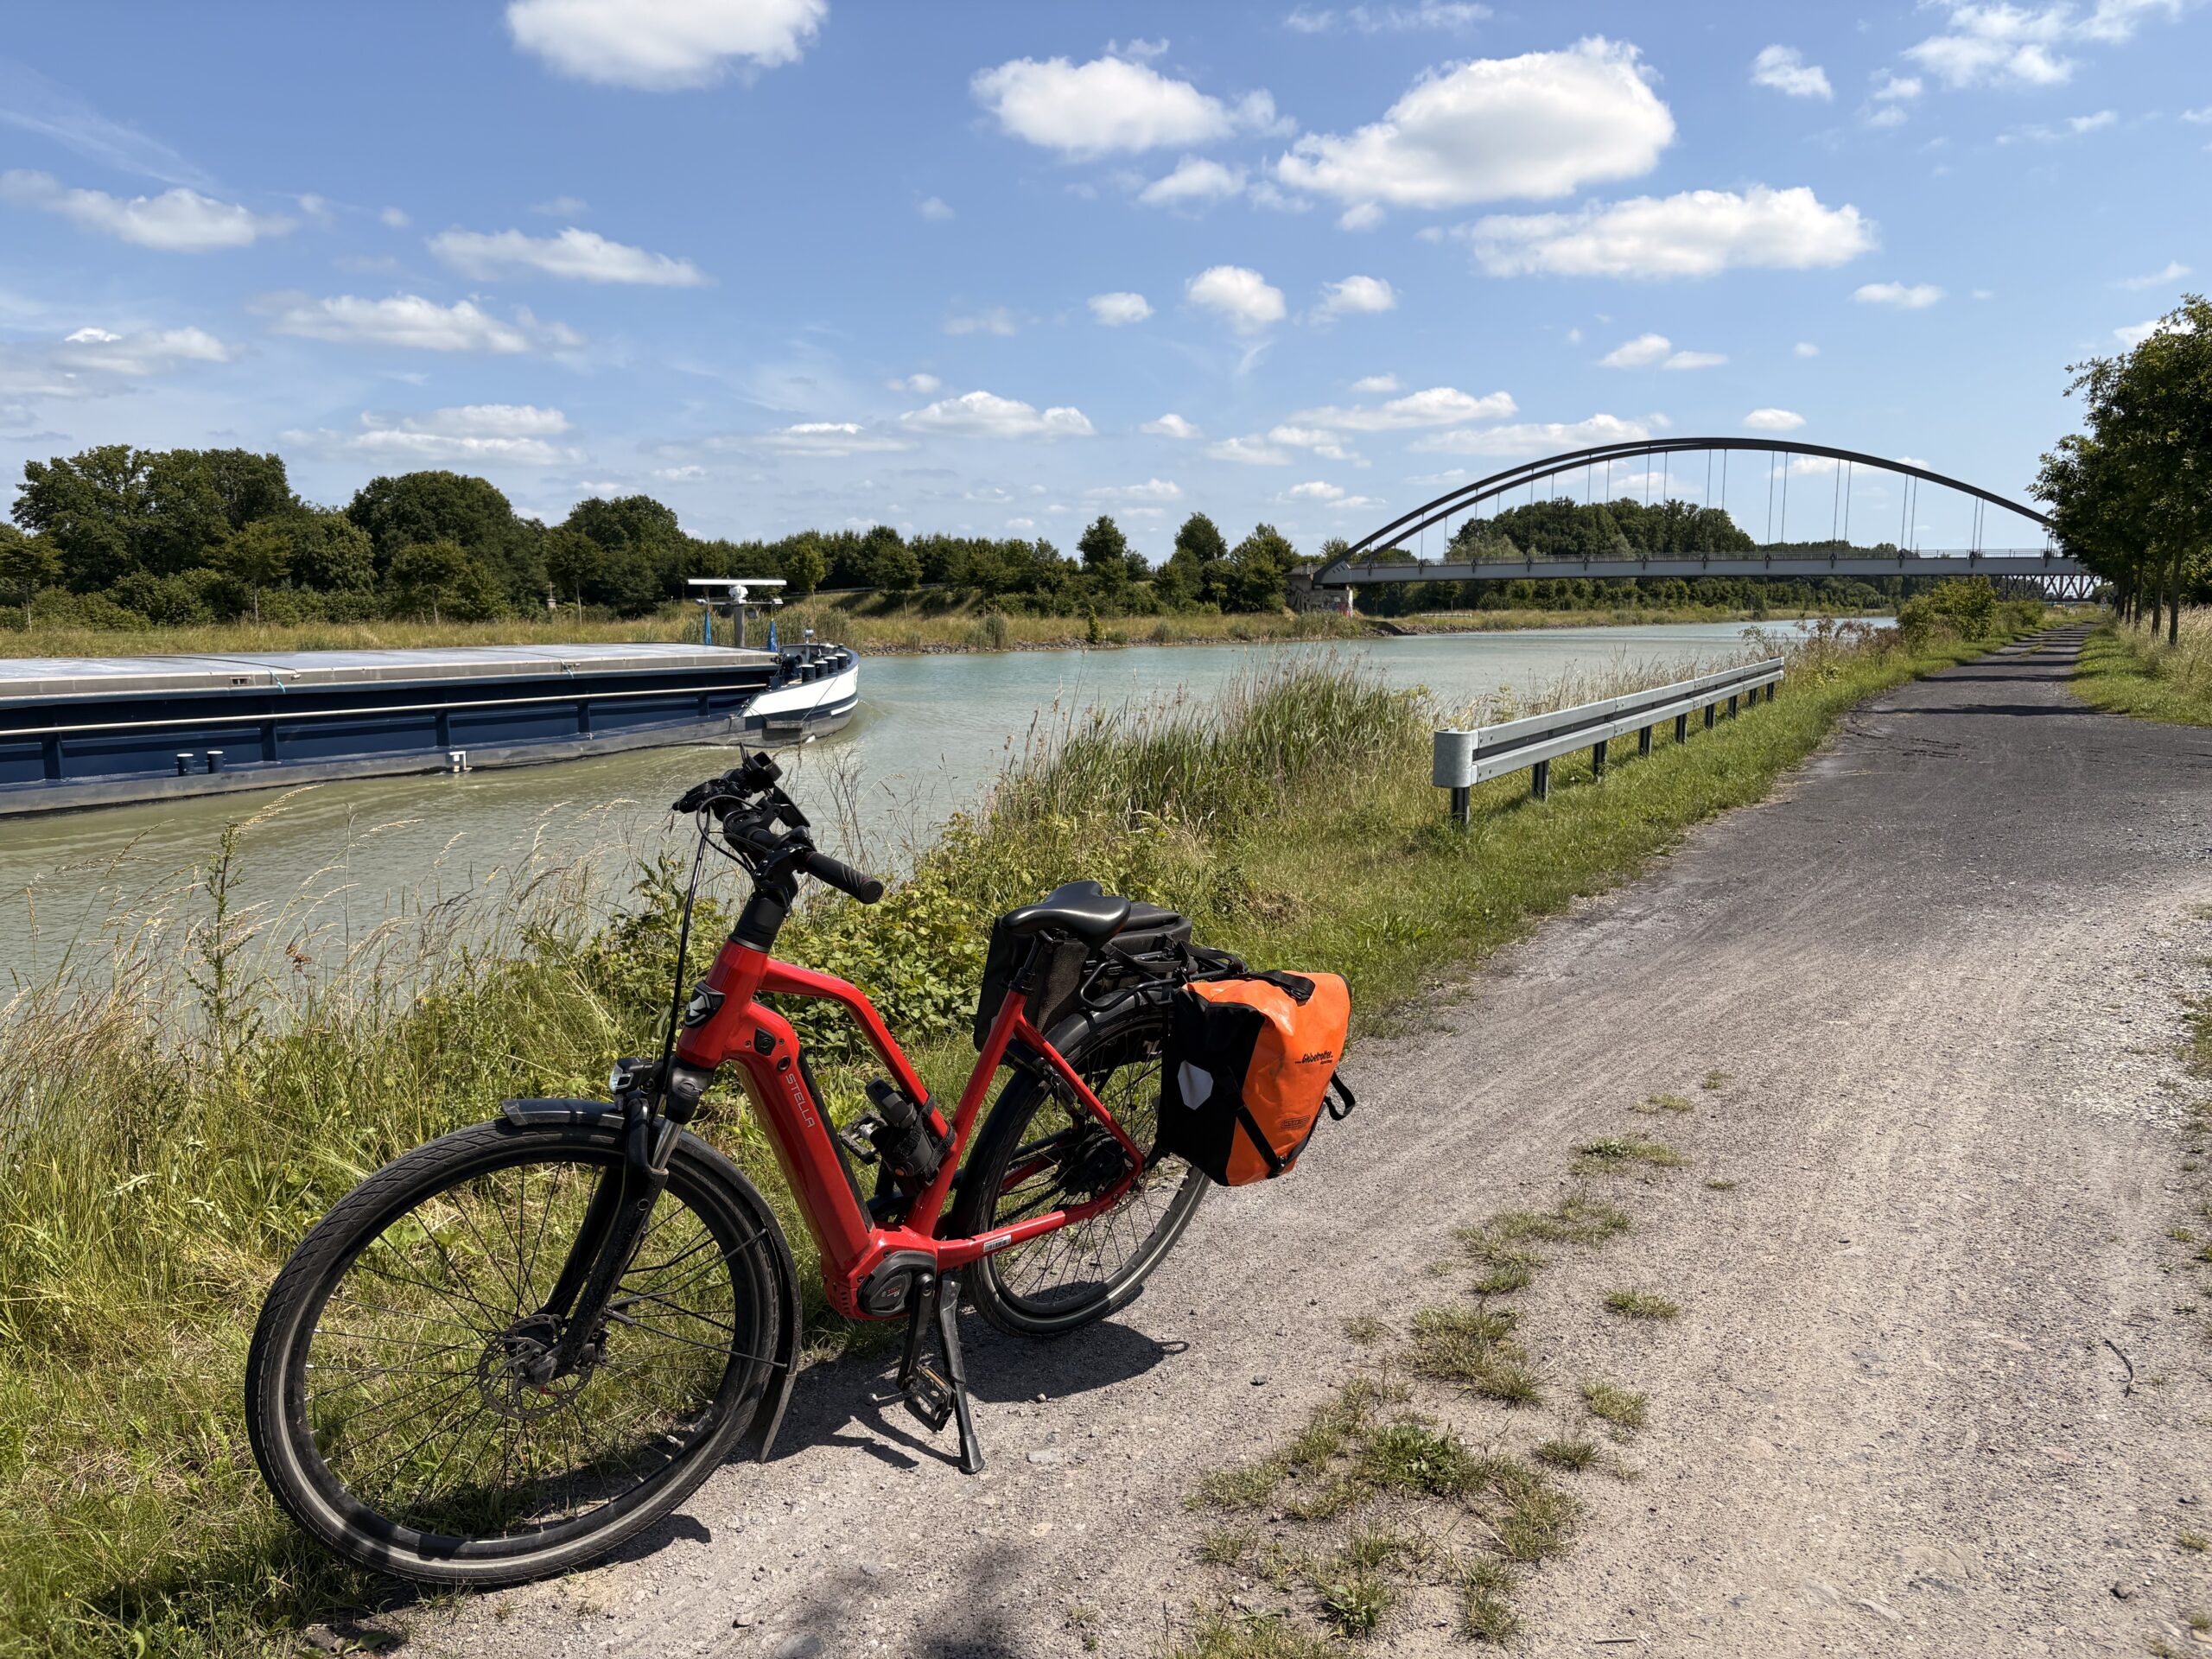
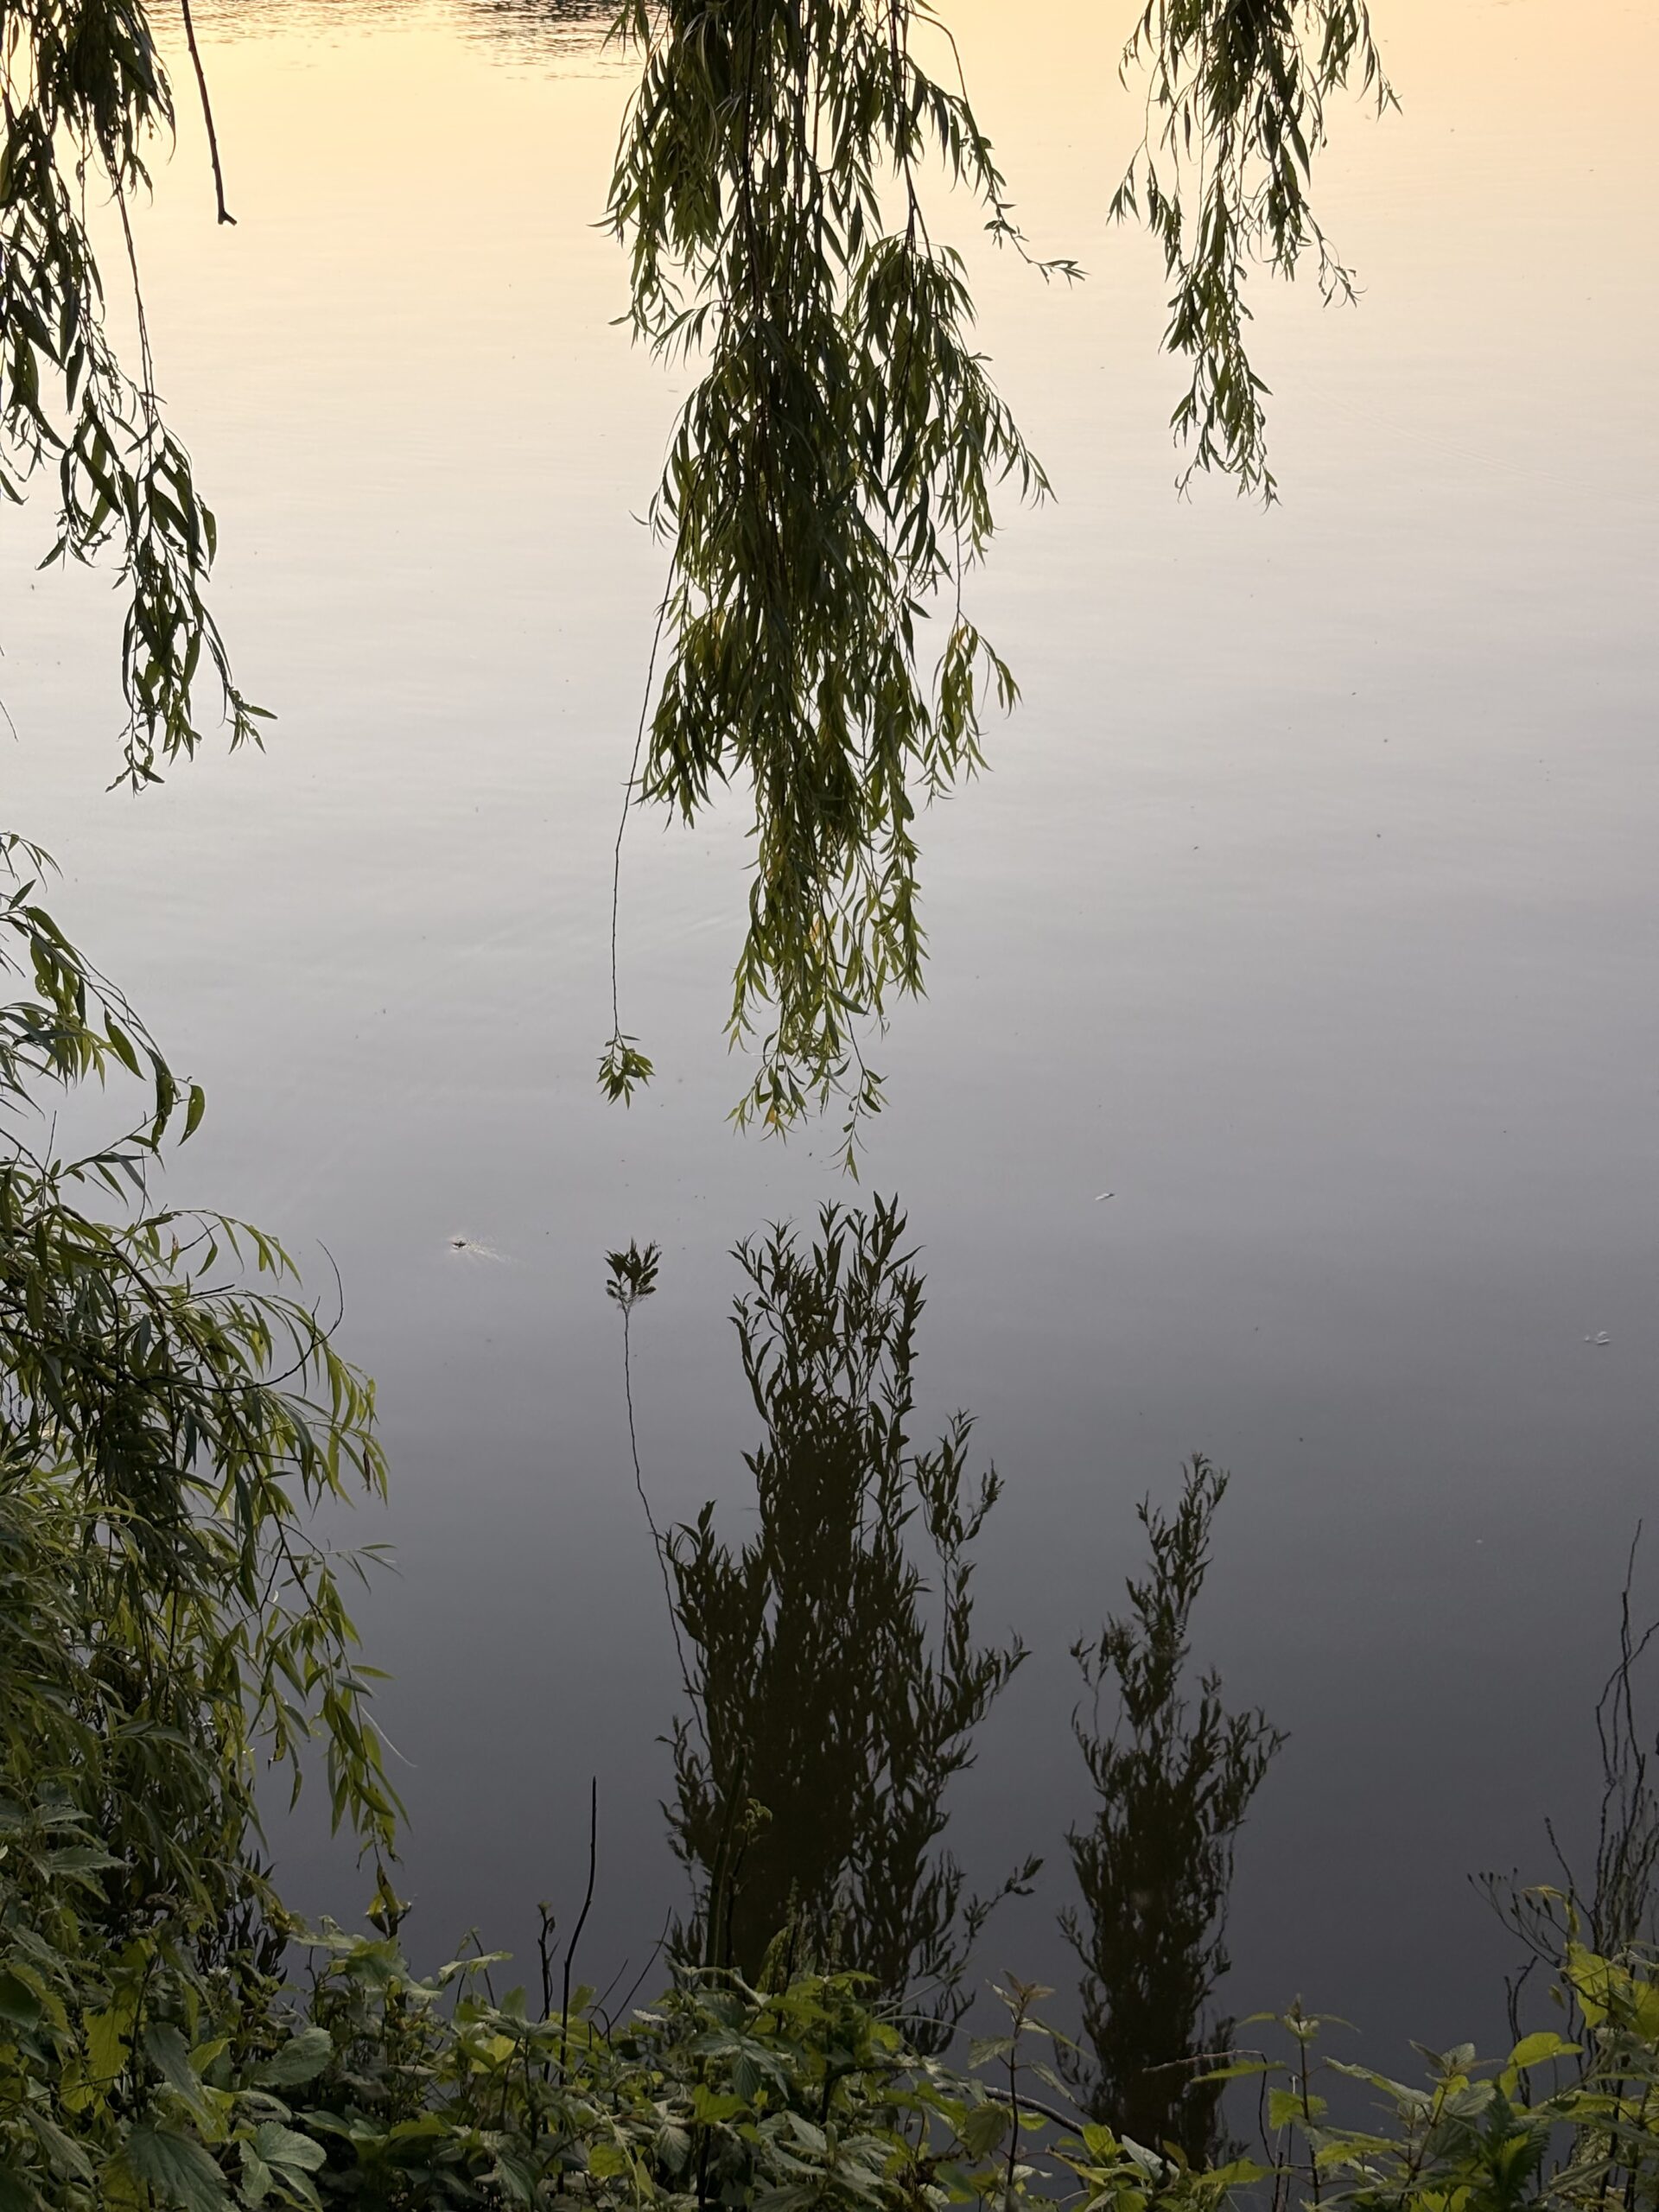
Je n’ai pris que peu de photos sur le retour, car le chemin était le même qu’à l’aller, et je n’ai fait des pauses que pour m’hydrater. Voici tout de même quelques souvenirs jolis glanés le long de mon chemin, dont notamment un bouchon sur la piste cyclable !
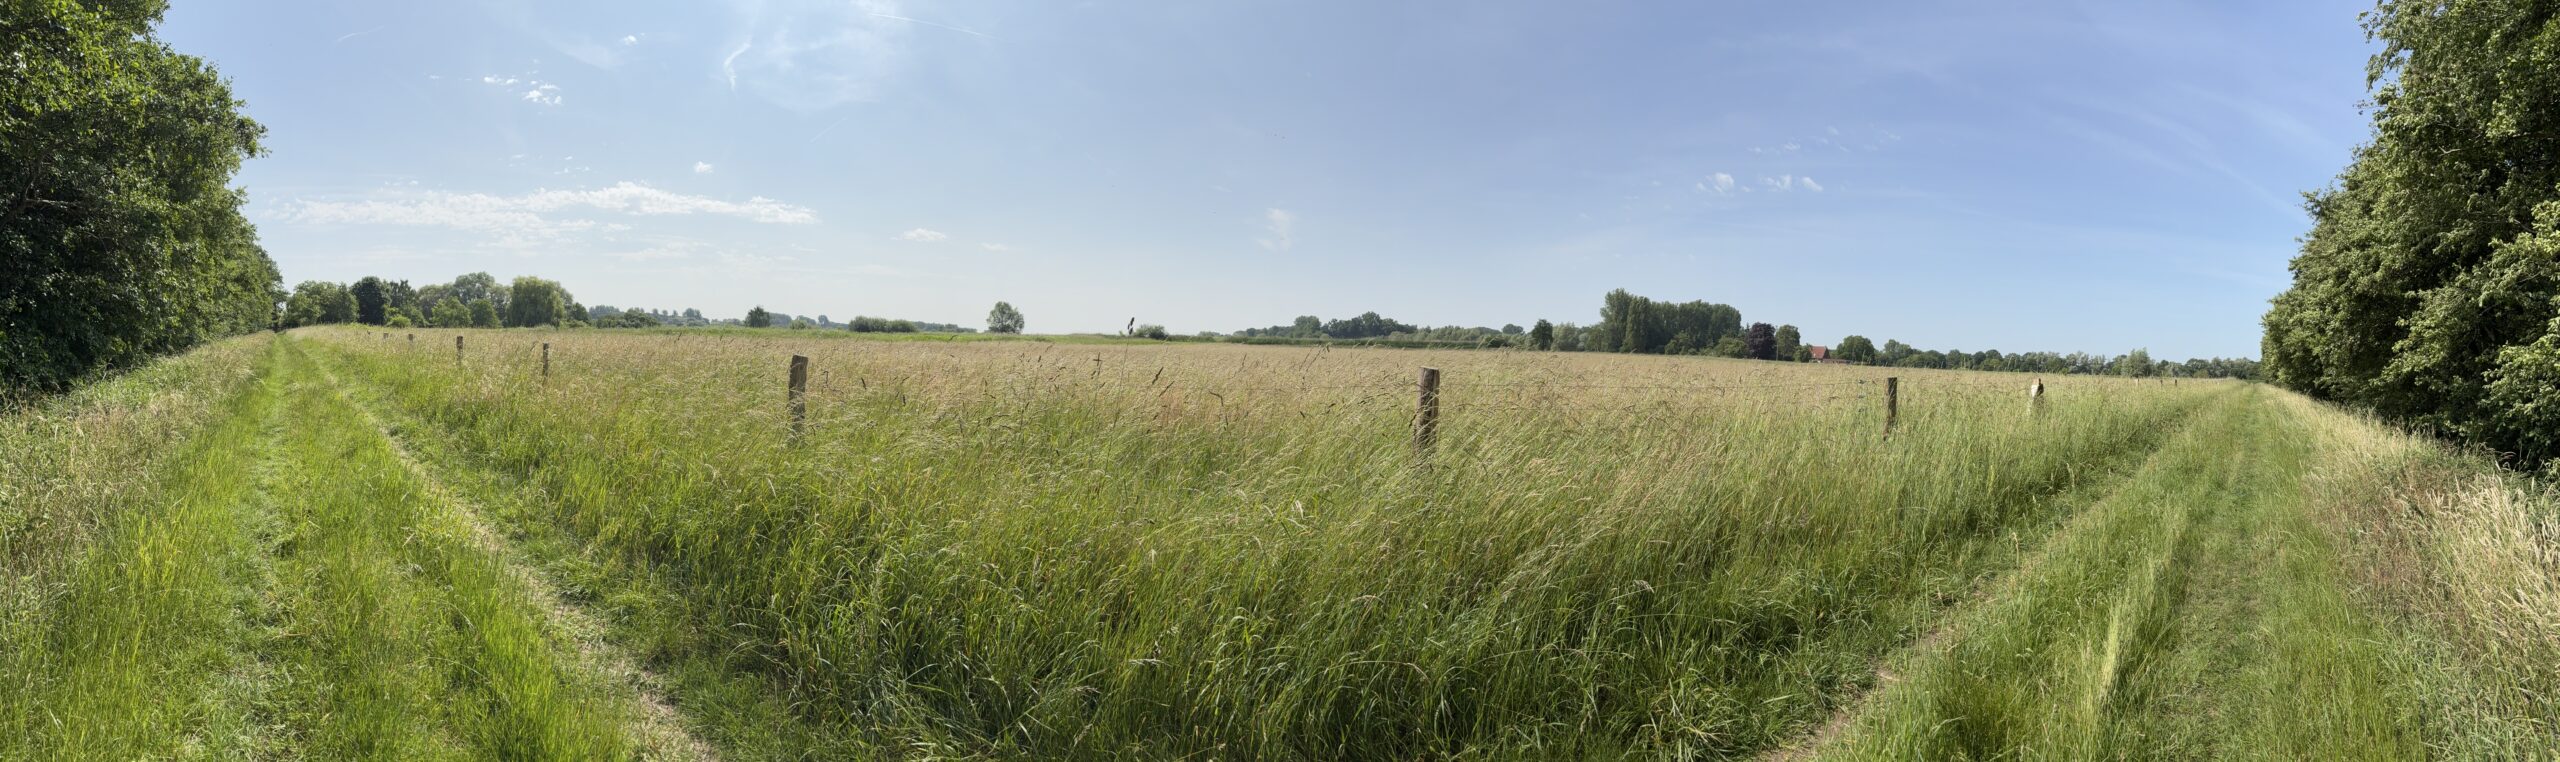
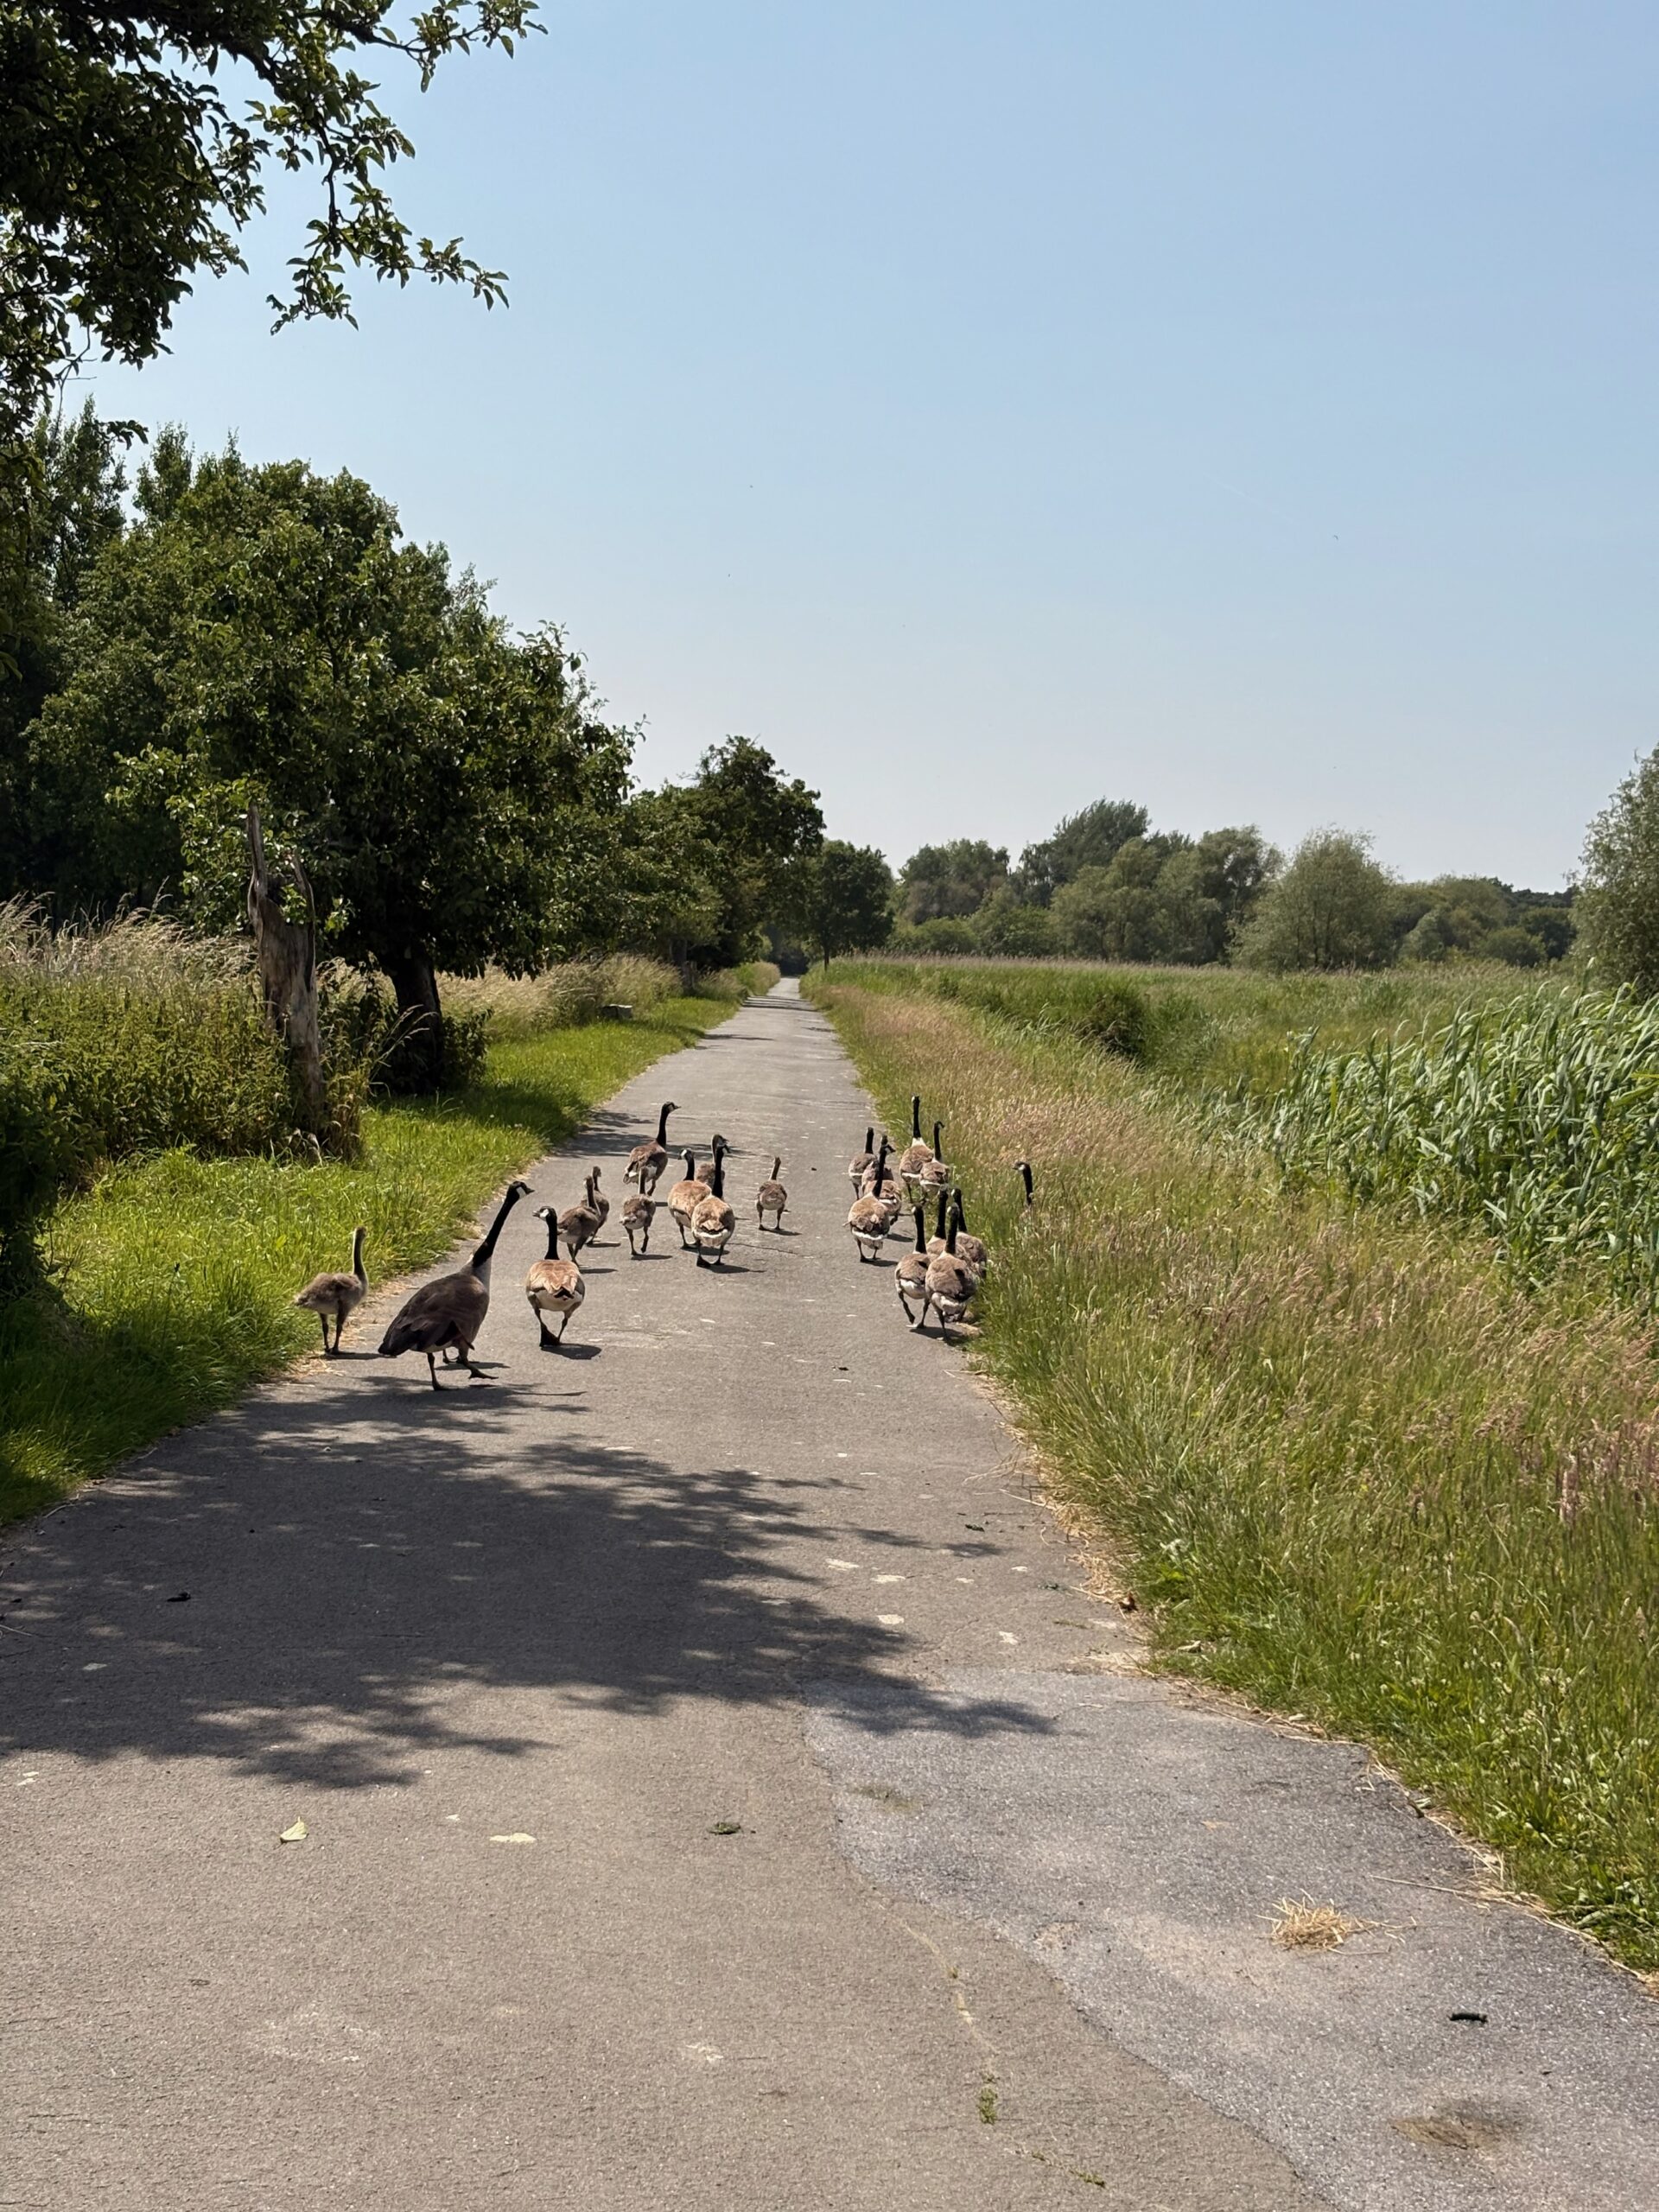
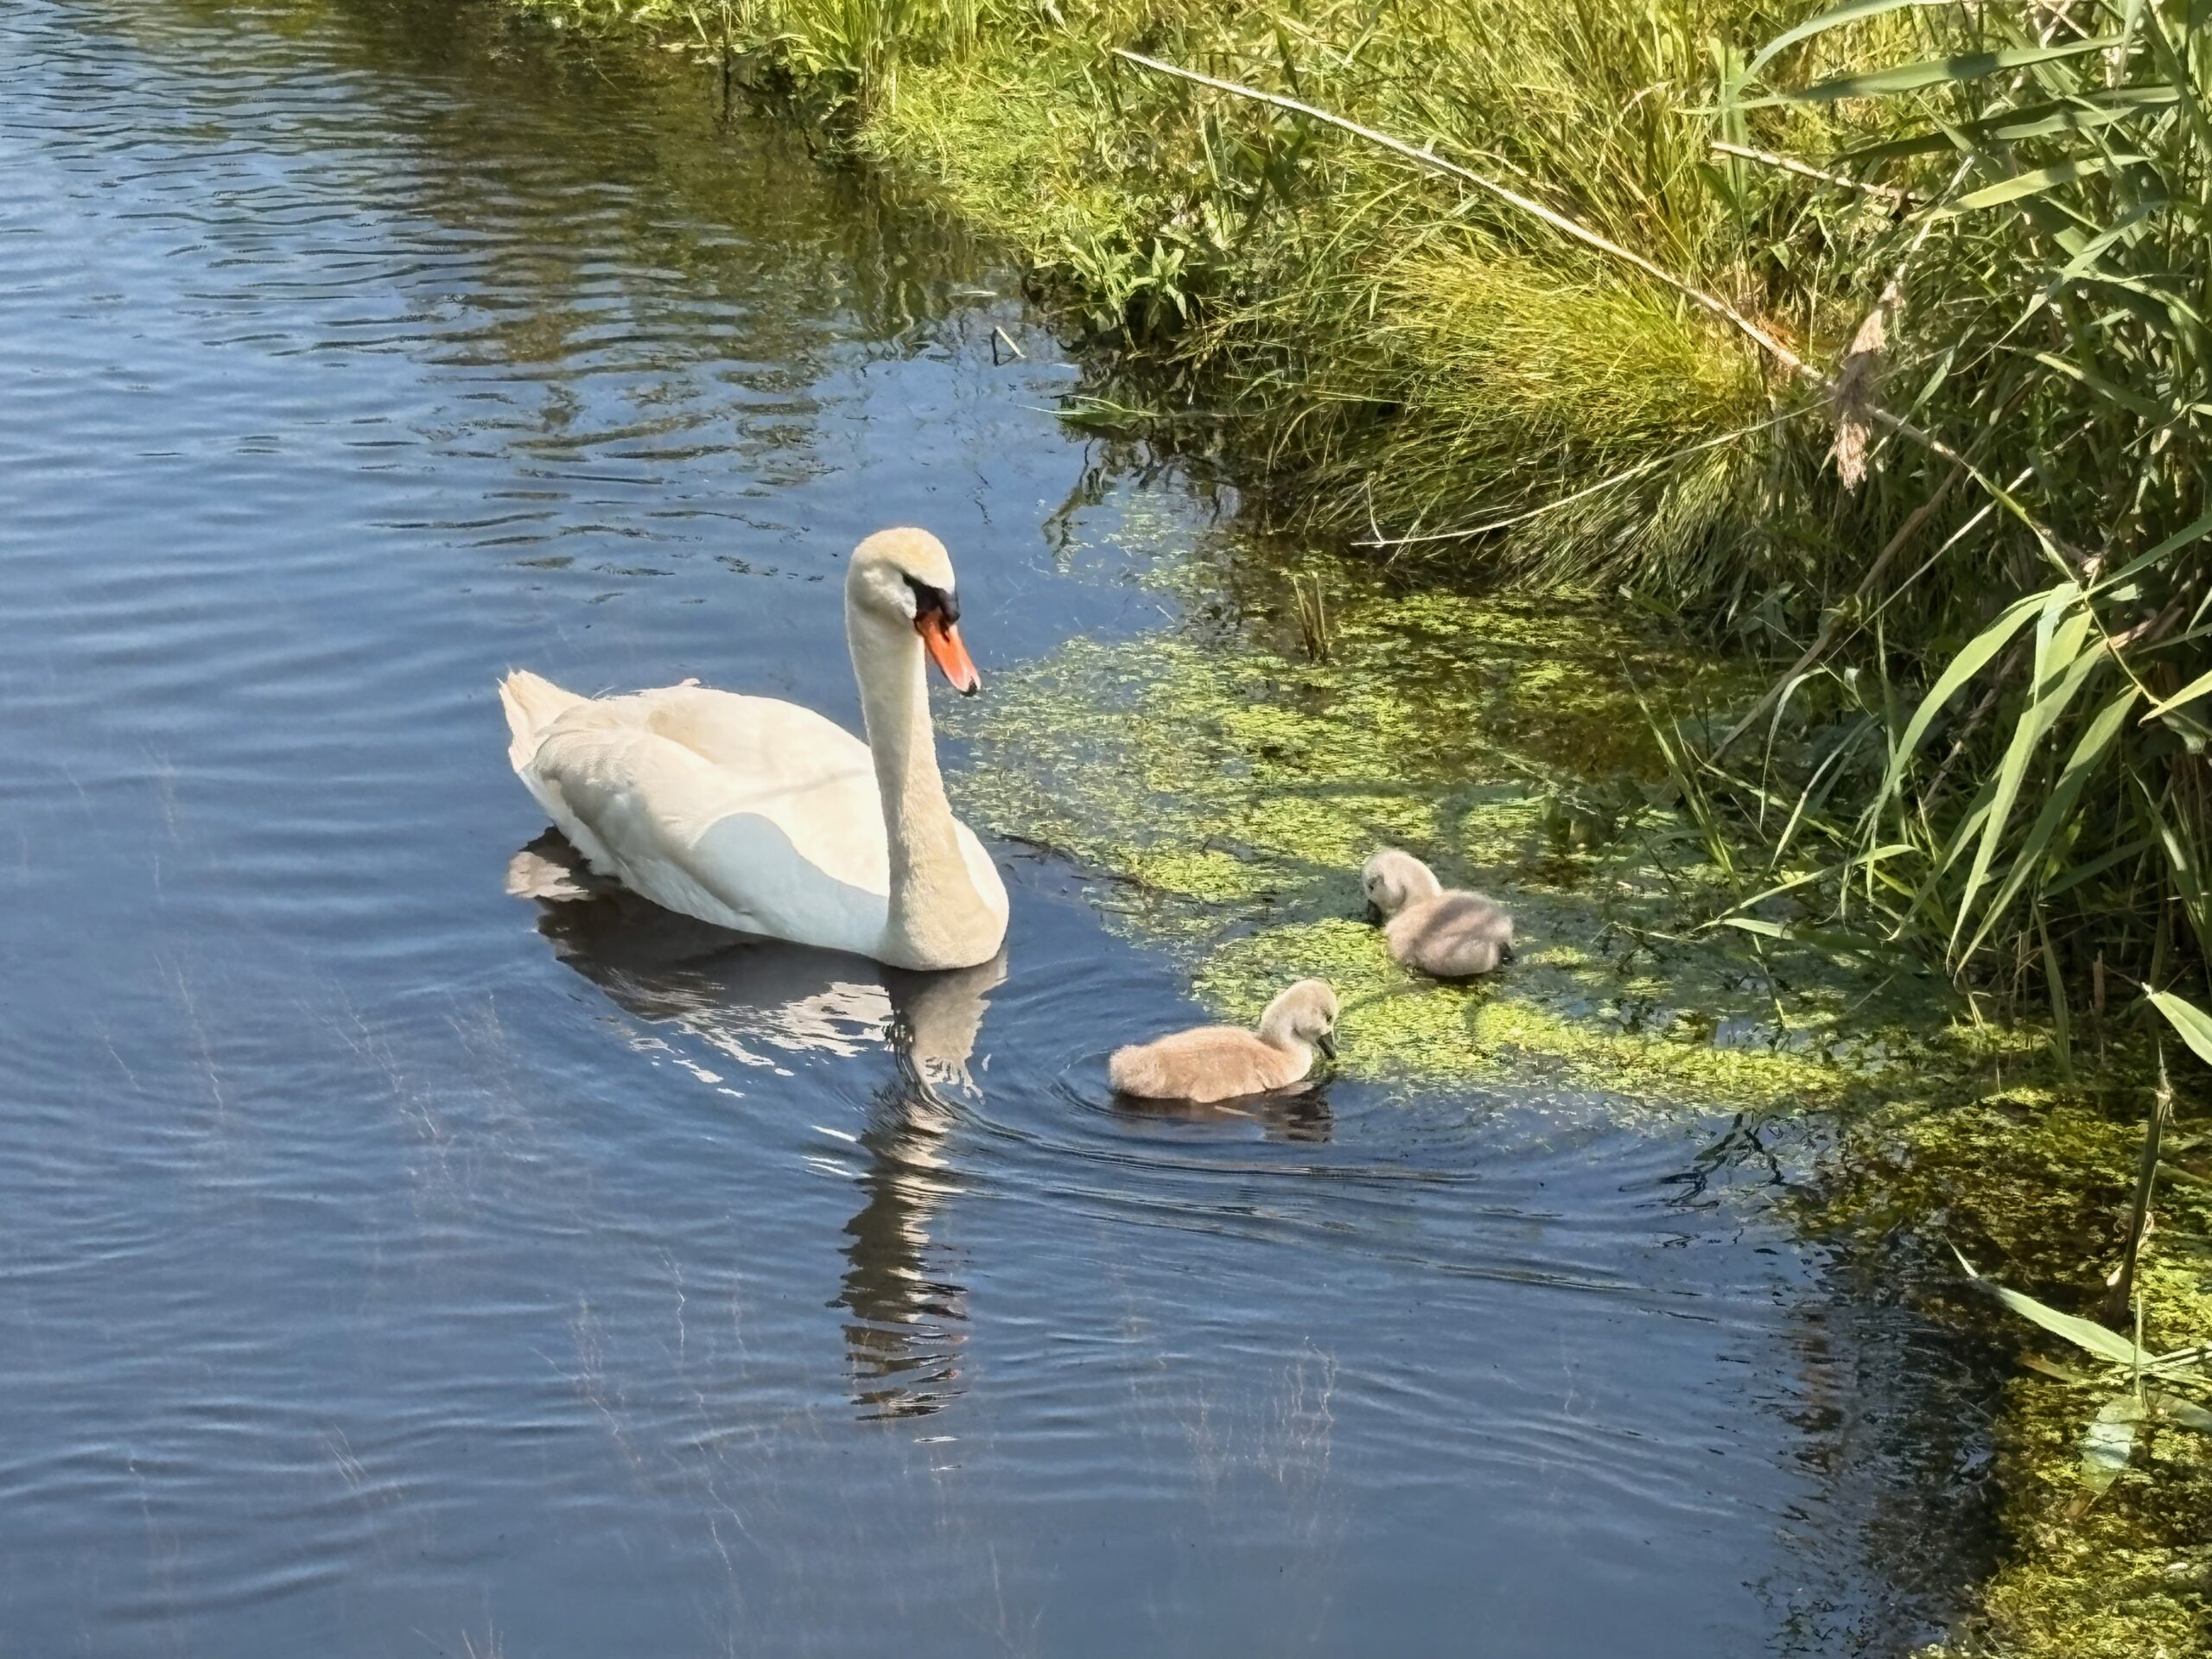
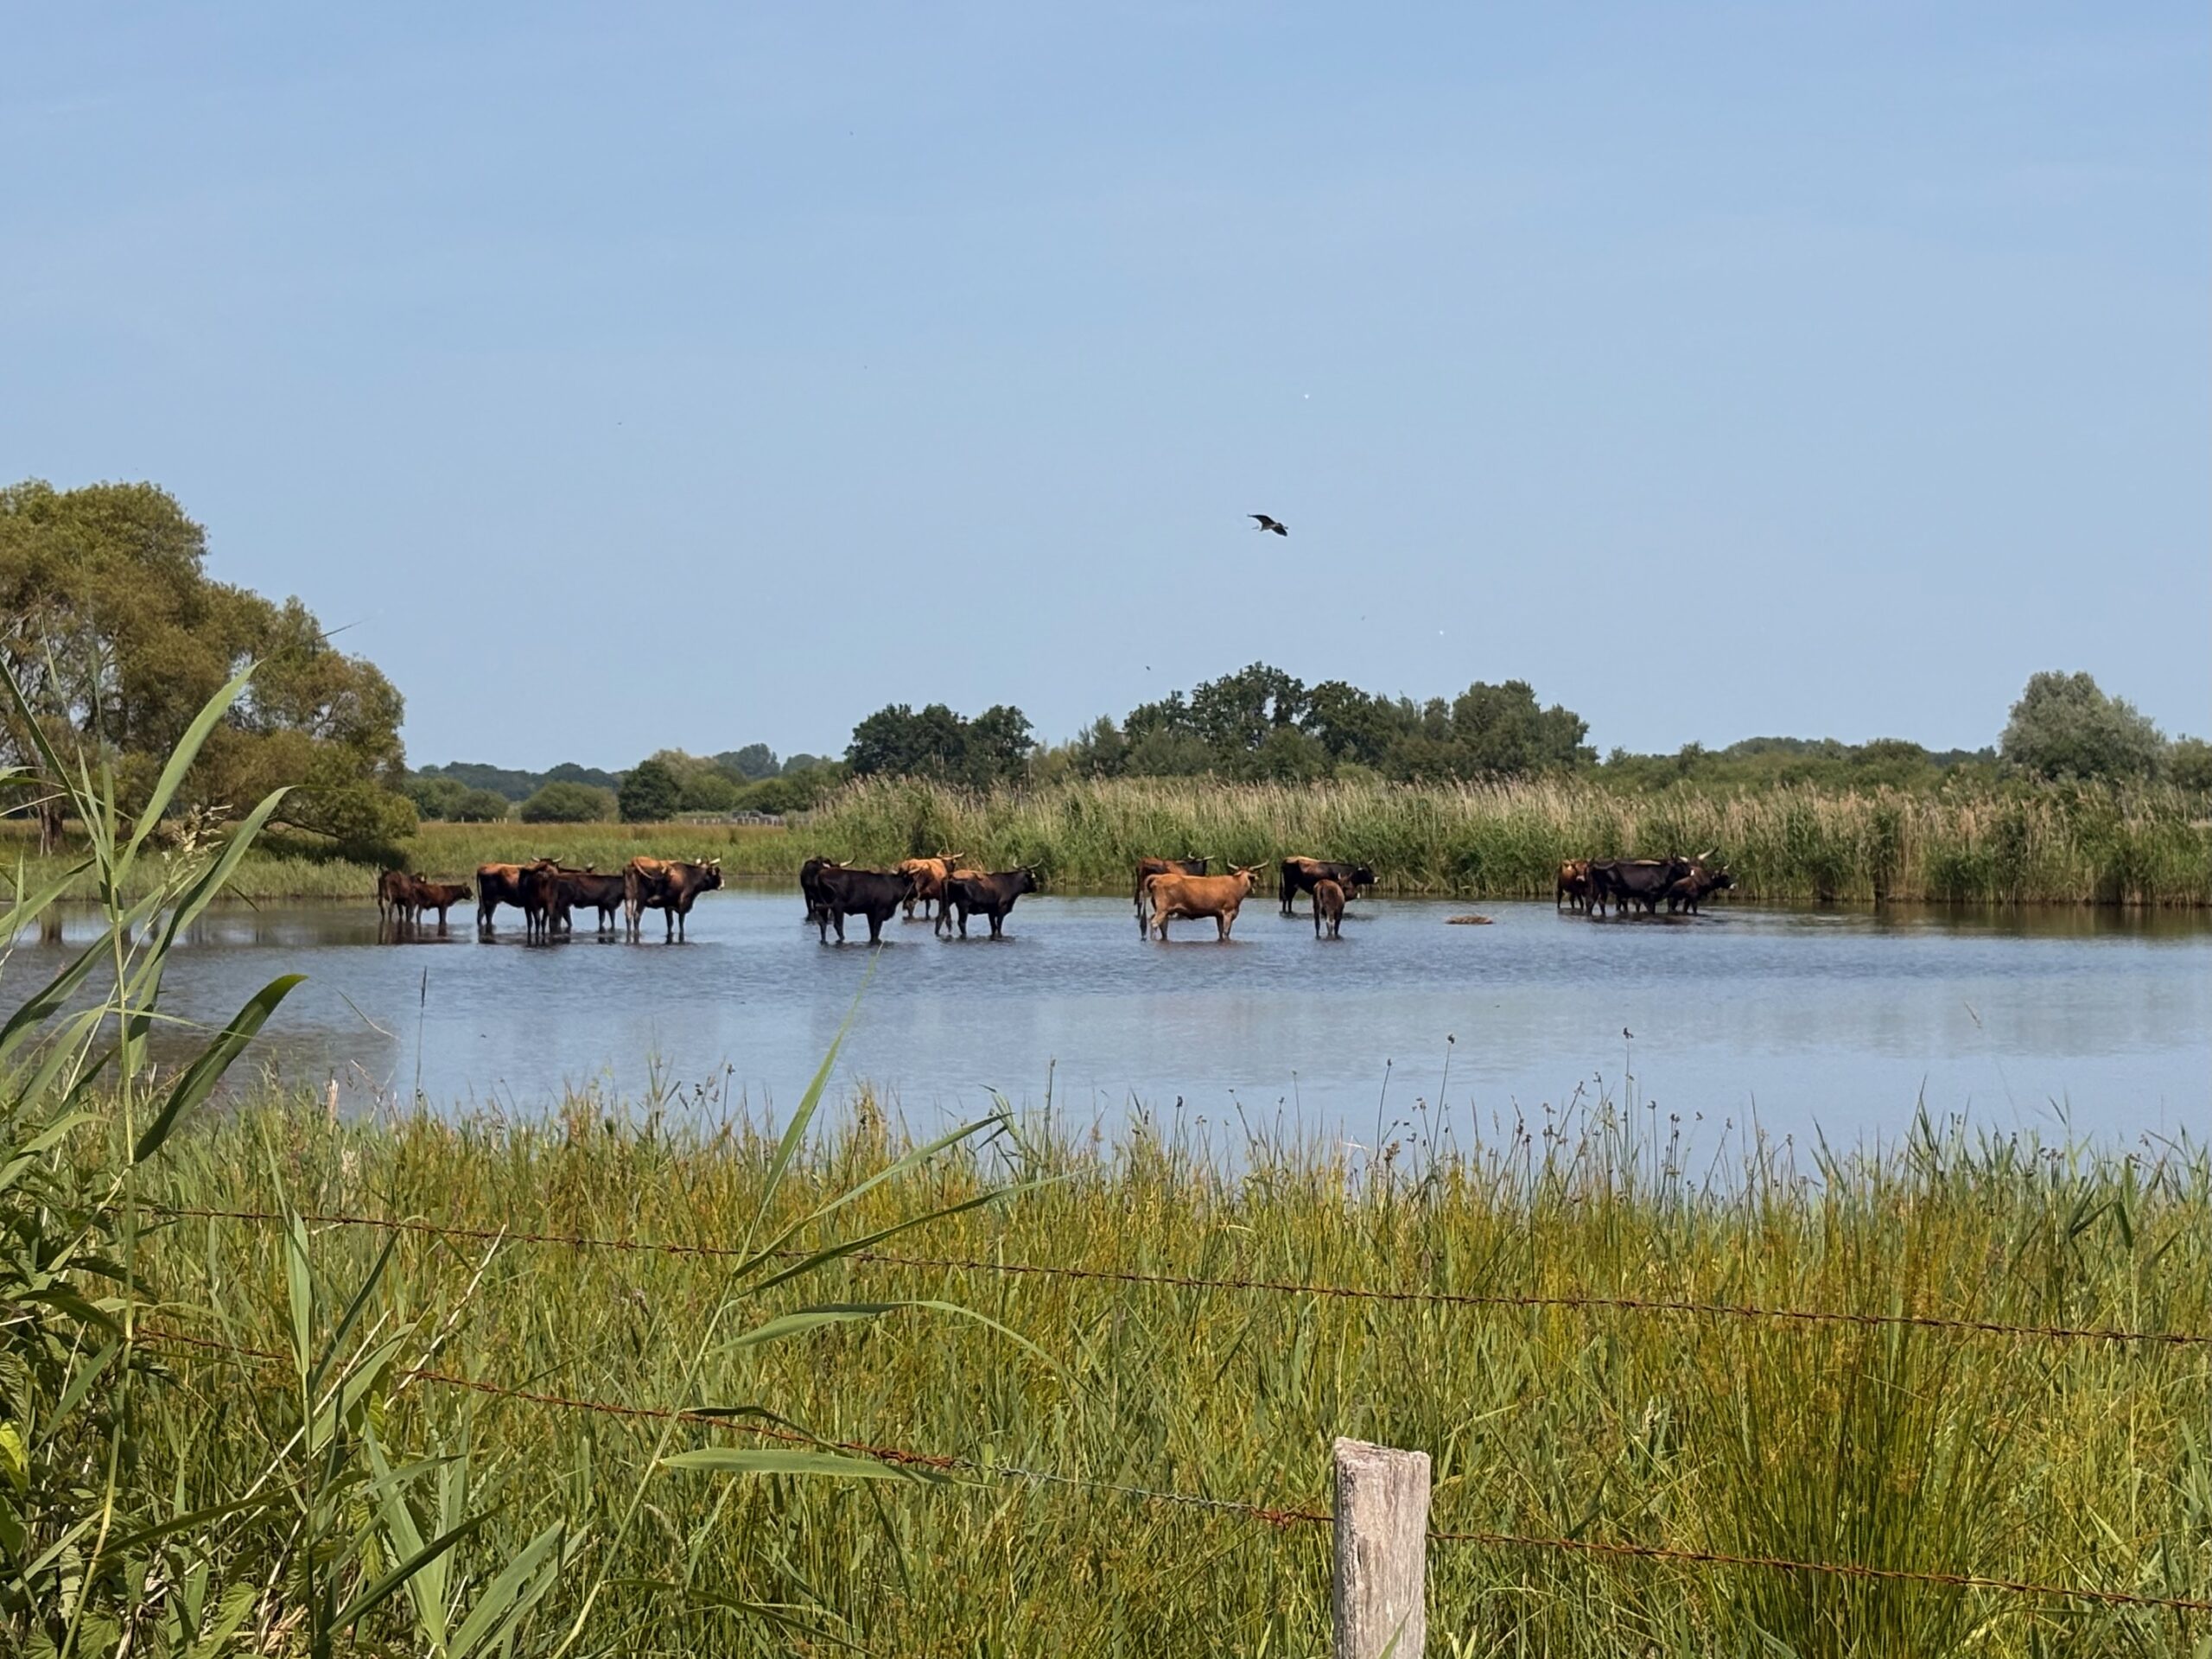
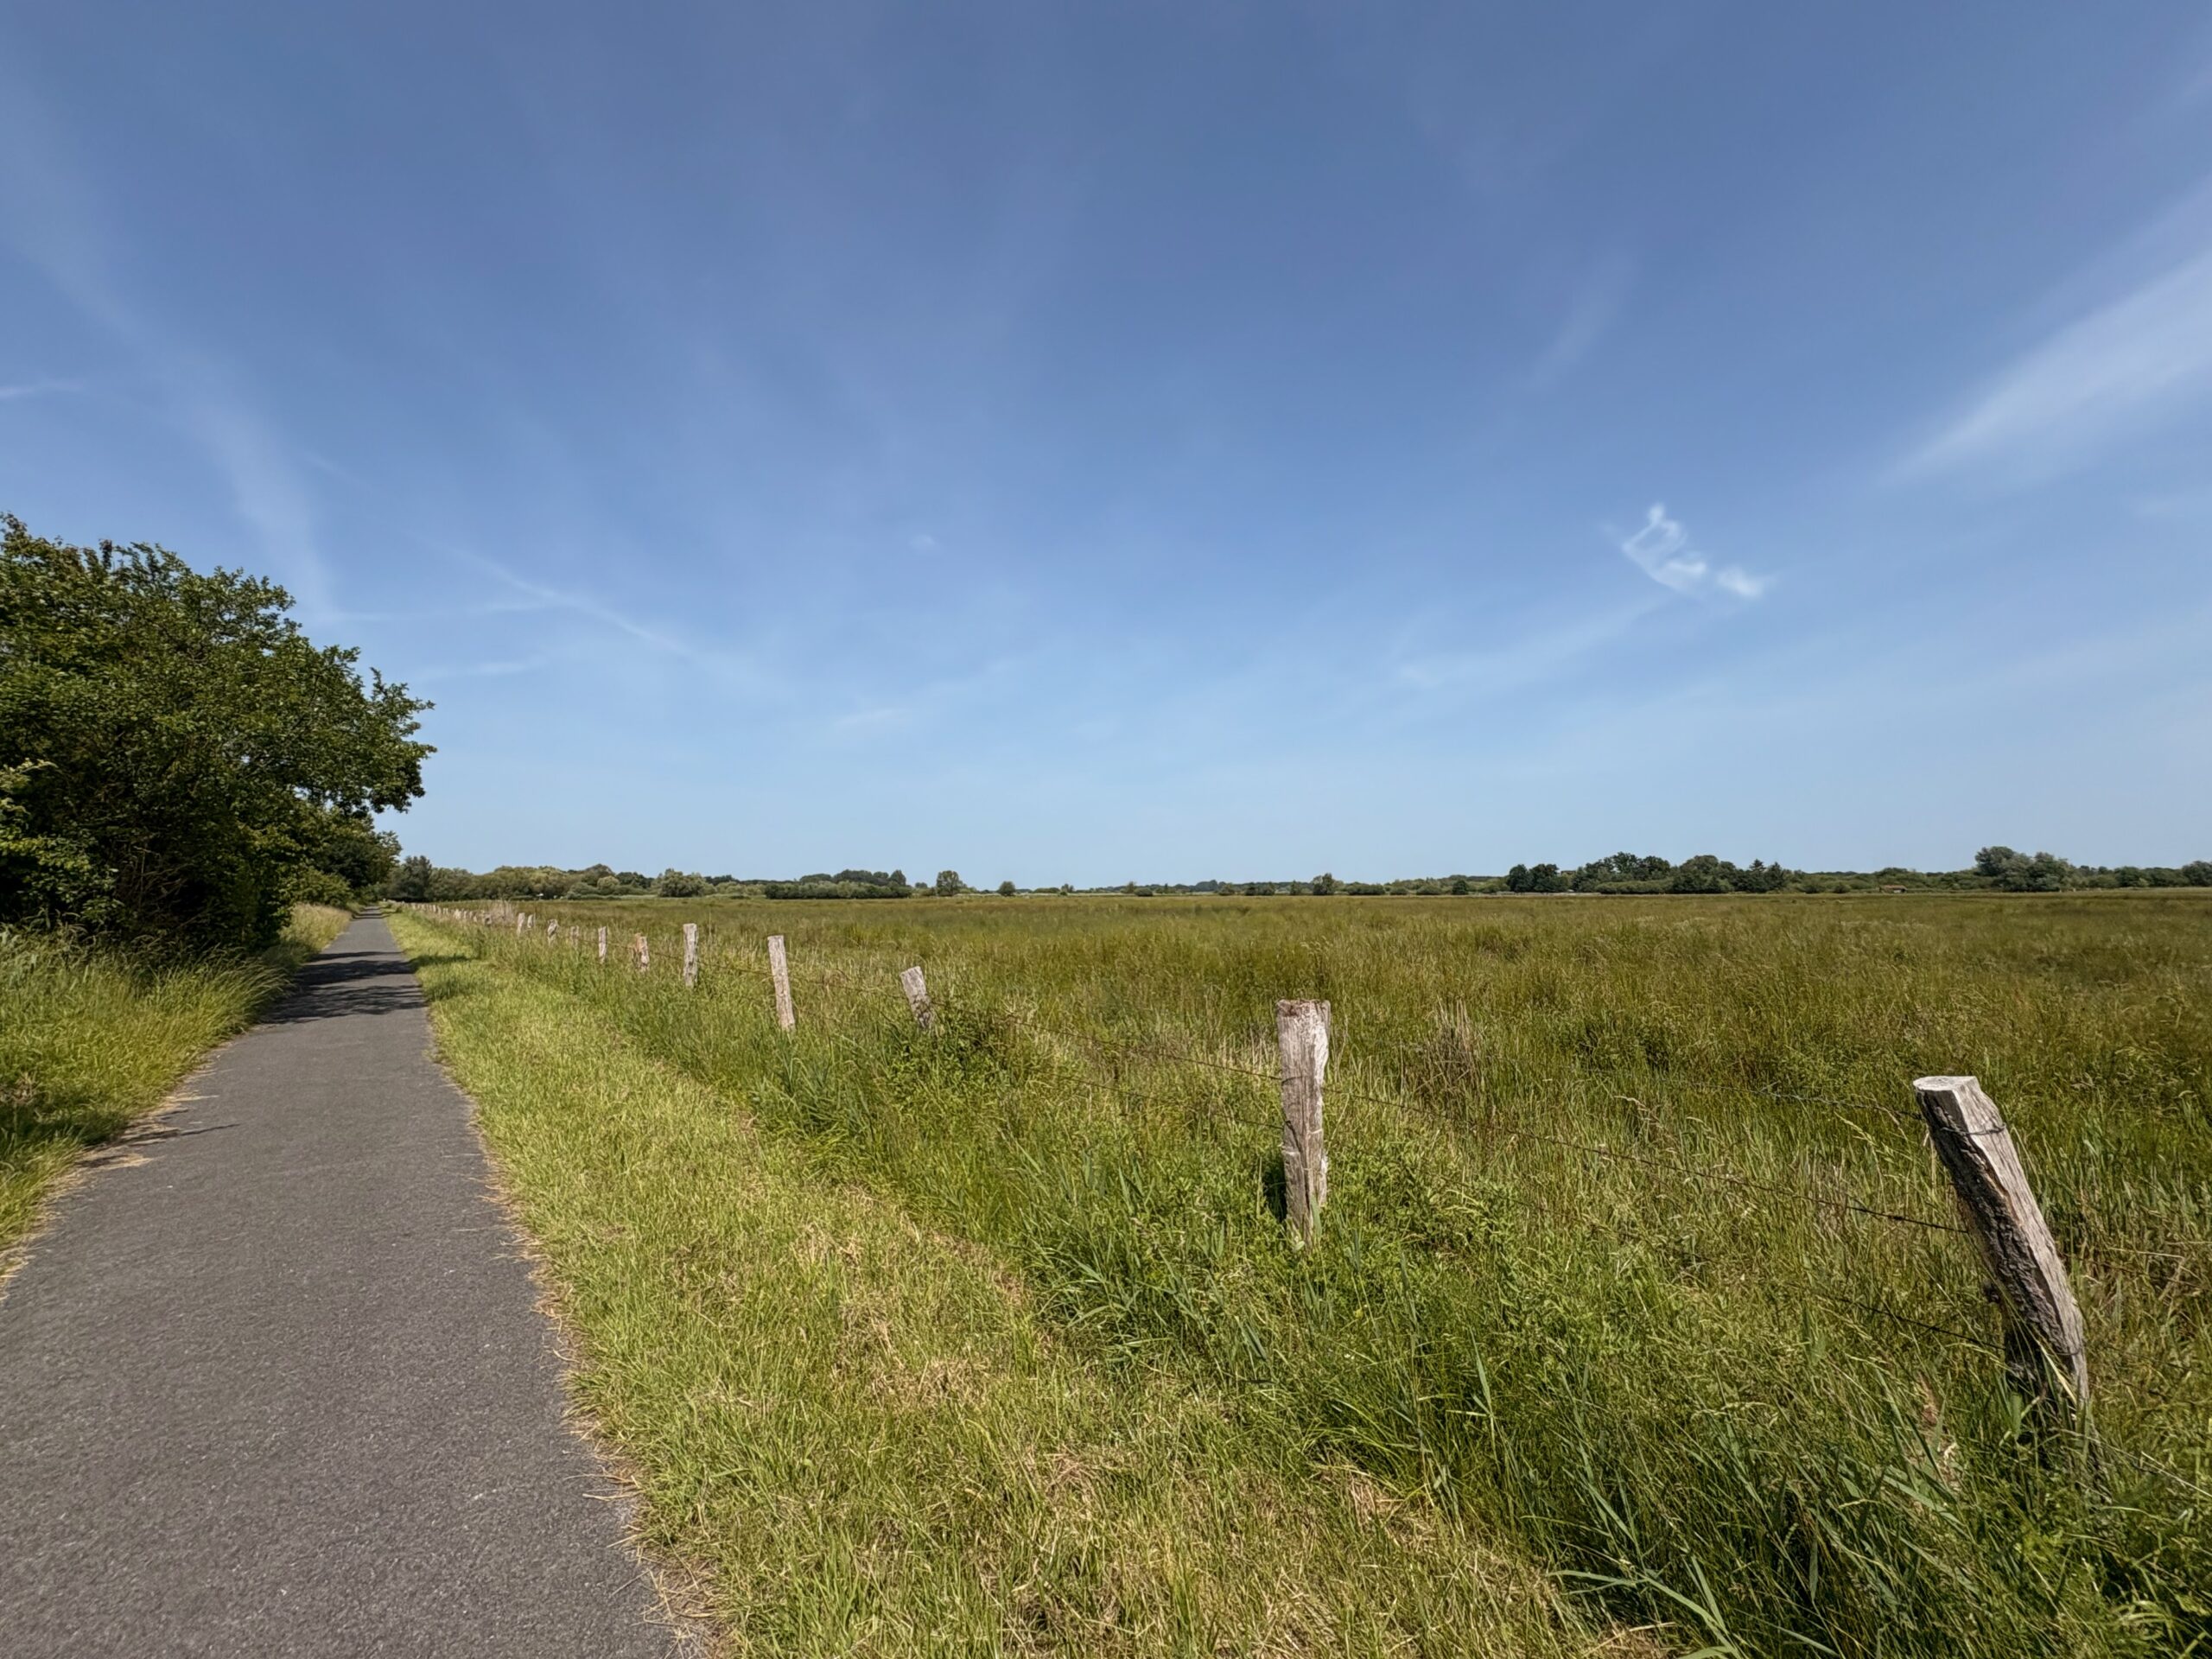
Étang aux oiseaux – Rieselfelder MünsterEmbouteillage sur la piste cyclableLe Villain Petit CanardOn se croirait en CamargueChemin typique à vélo – Liberté
Un Rieselfeld est un lit filtrant ou champ d’épuration. Le mot allemand est très poétique, car il fait référence au ruissellement léger de l’eau dans de vastes champs. C’est une jolie métaphore du temps qui passe, lentement et patiemment. Parfait pour clôturer mon petit périple. Vous vous demandez sûrement si je n’aurais pas pèté un câble car où diable trouver le calme et la ressource dans un lieu de traitement des eaux usées !
Ce site a été transformé en zone naturelle protégée vers 1978. À l’origine, il s’agissait d’une lande qui a été transformée au début du XXe siècle pour filtrer les eaux usées. Mais depuis, elle ne sert plus à cet usage et la nature y a repris ses droits. Ici, le calme règne, les nombreux oiseaux chantent et les insectes vrombissent de plaisir. Un petit paradis du ruissellement lent du temps.
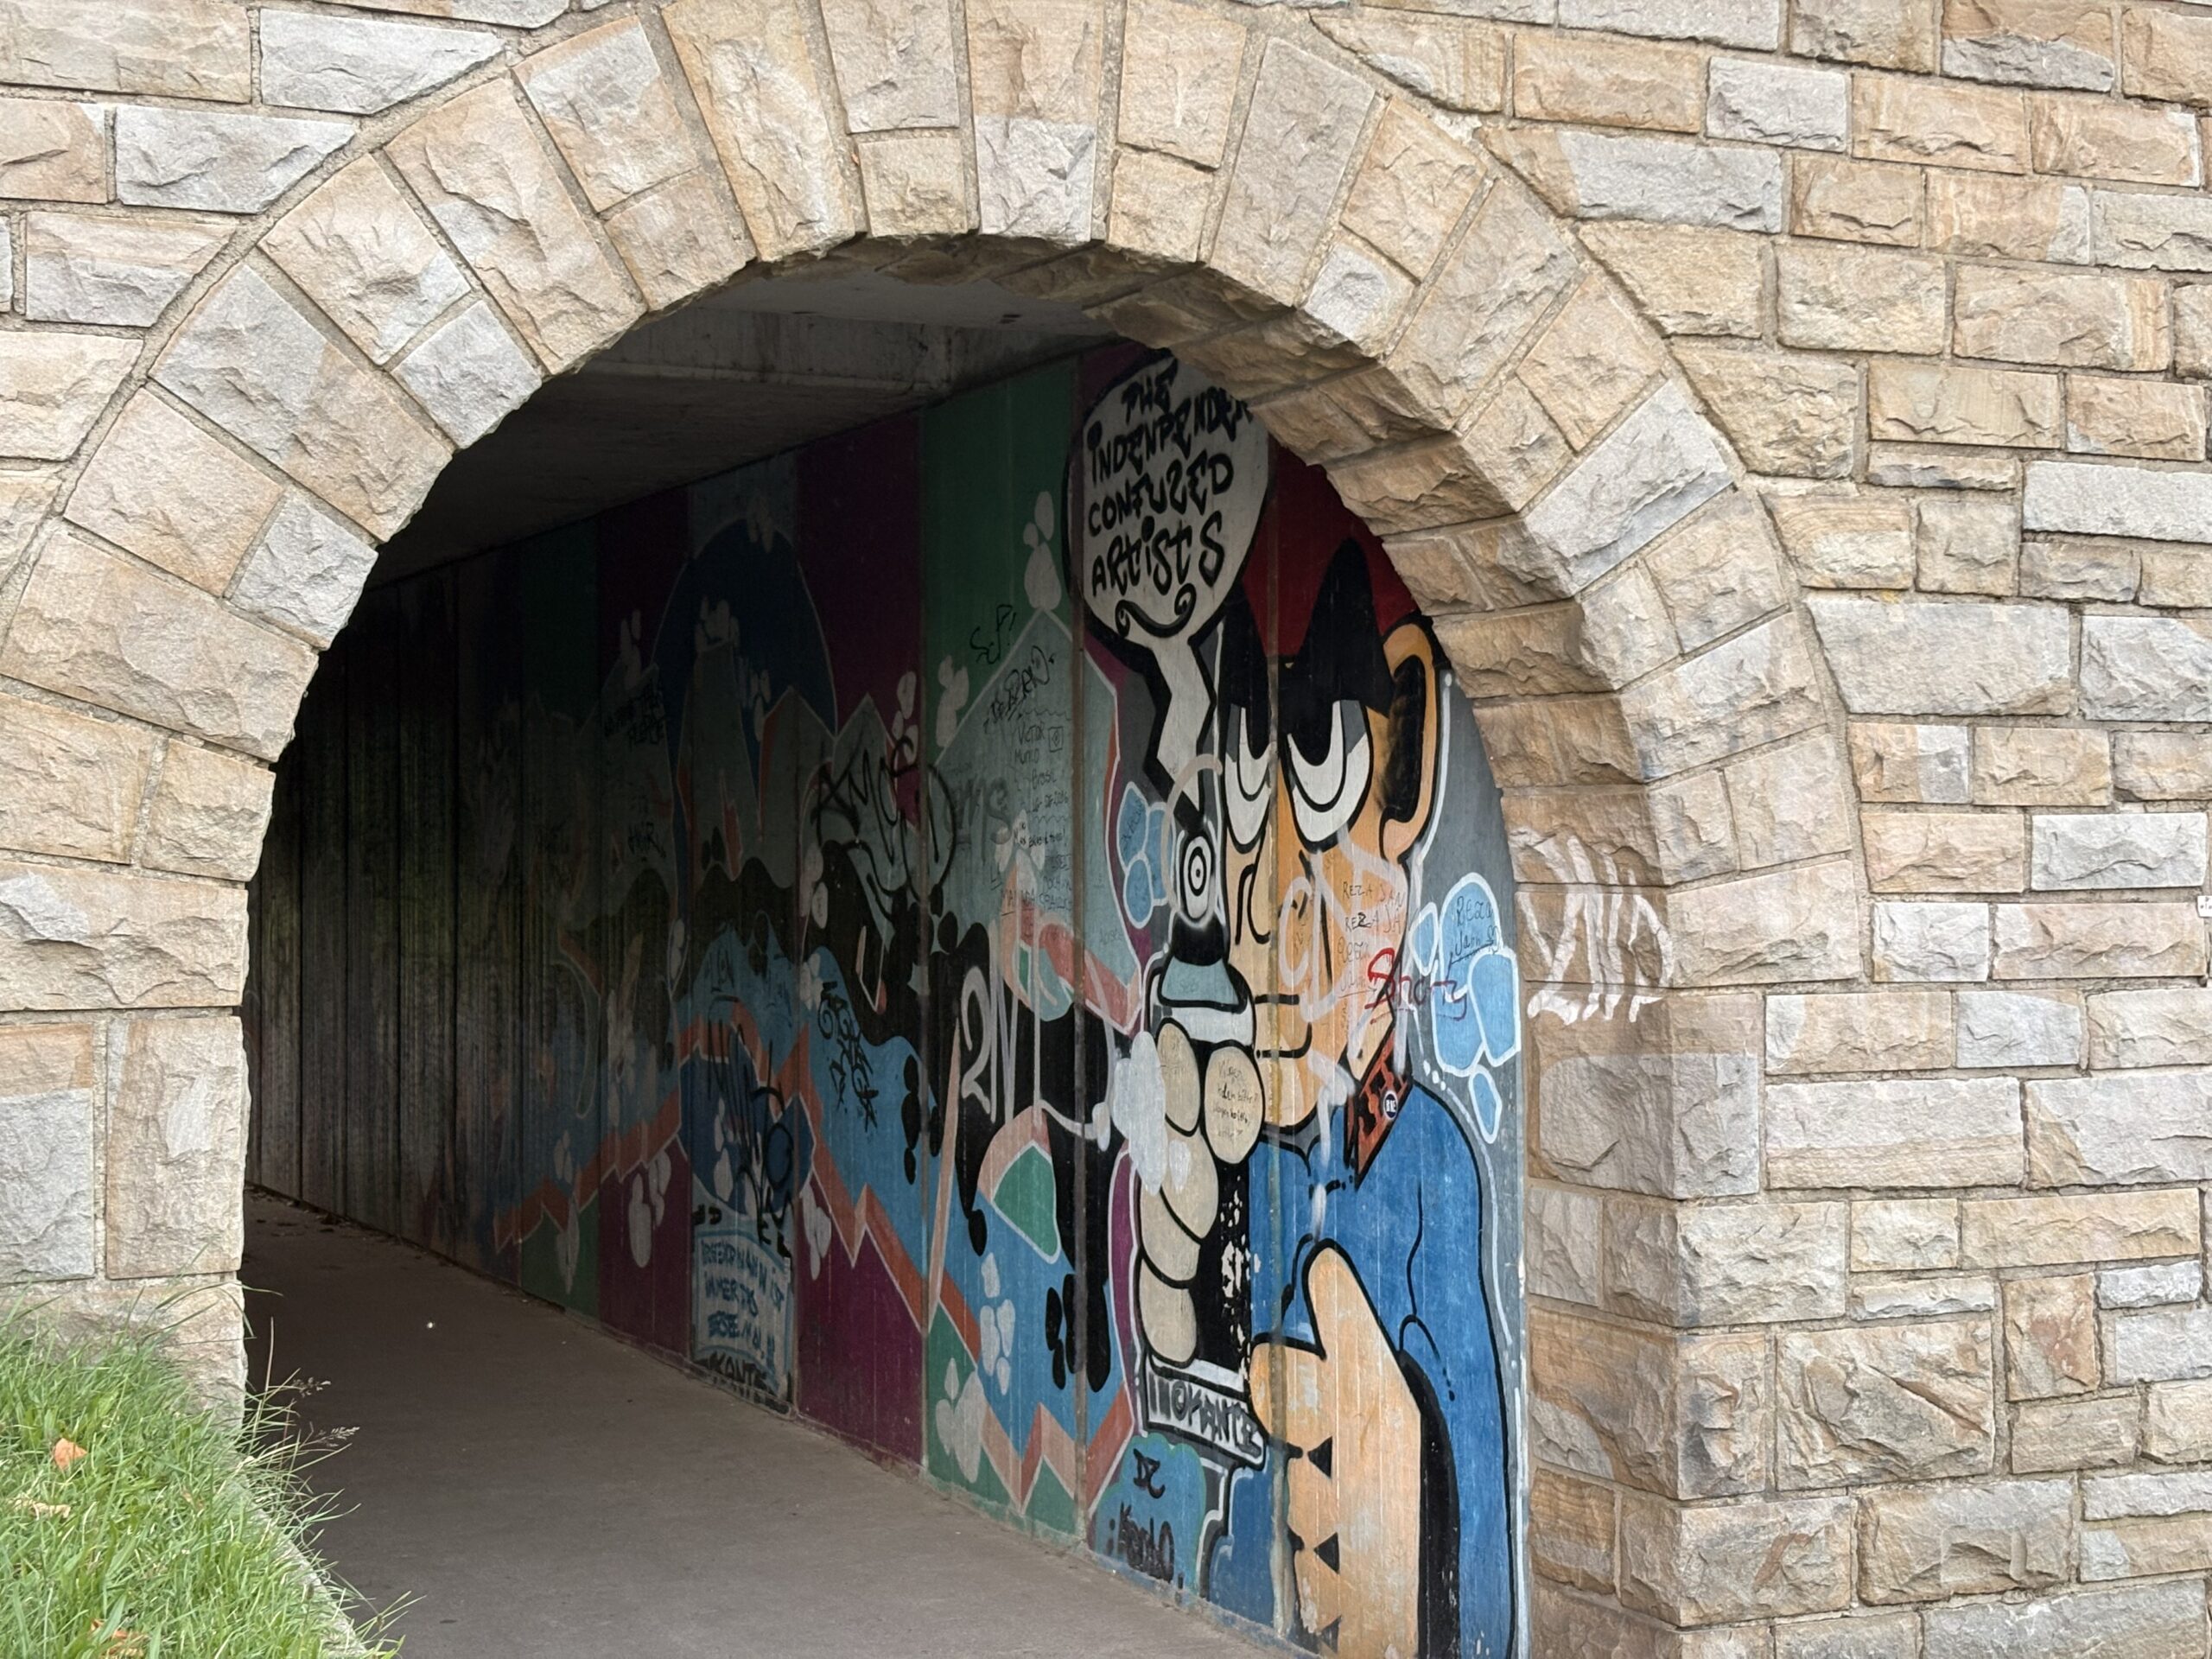
Graffiti – piste cyclable Münster
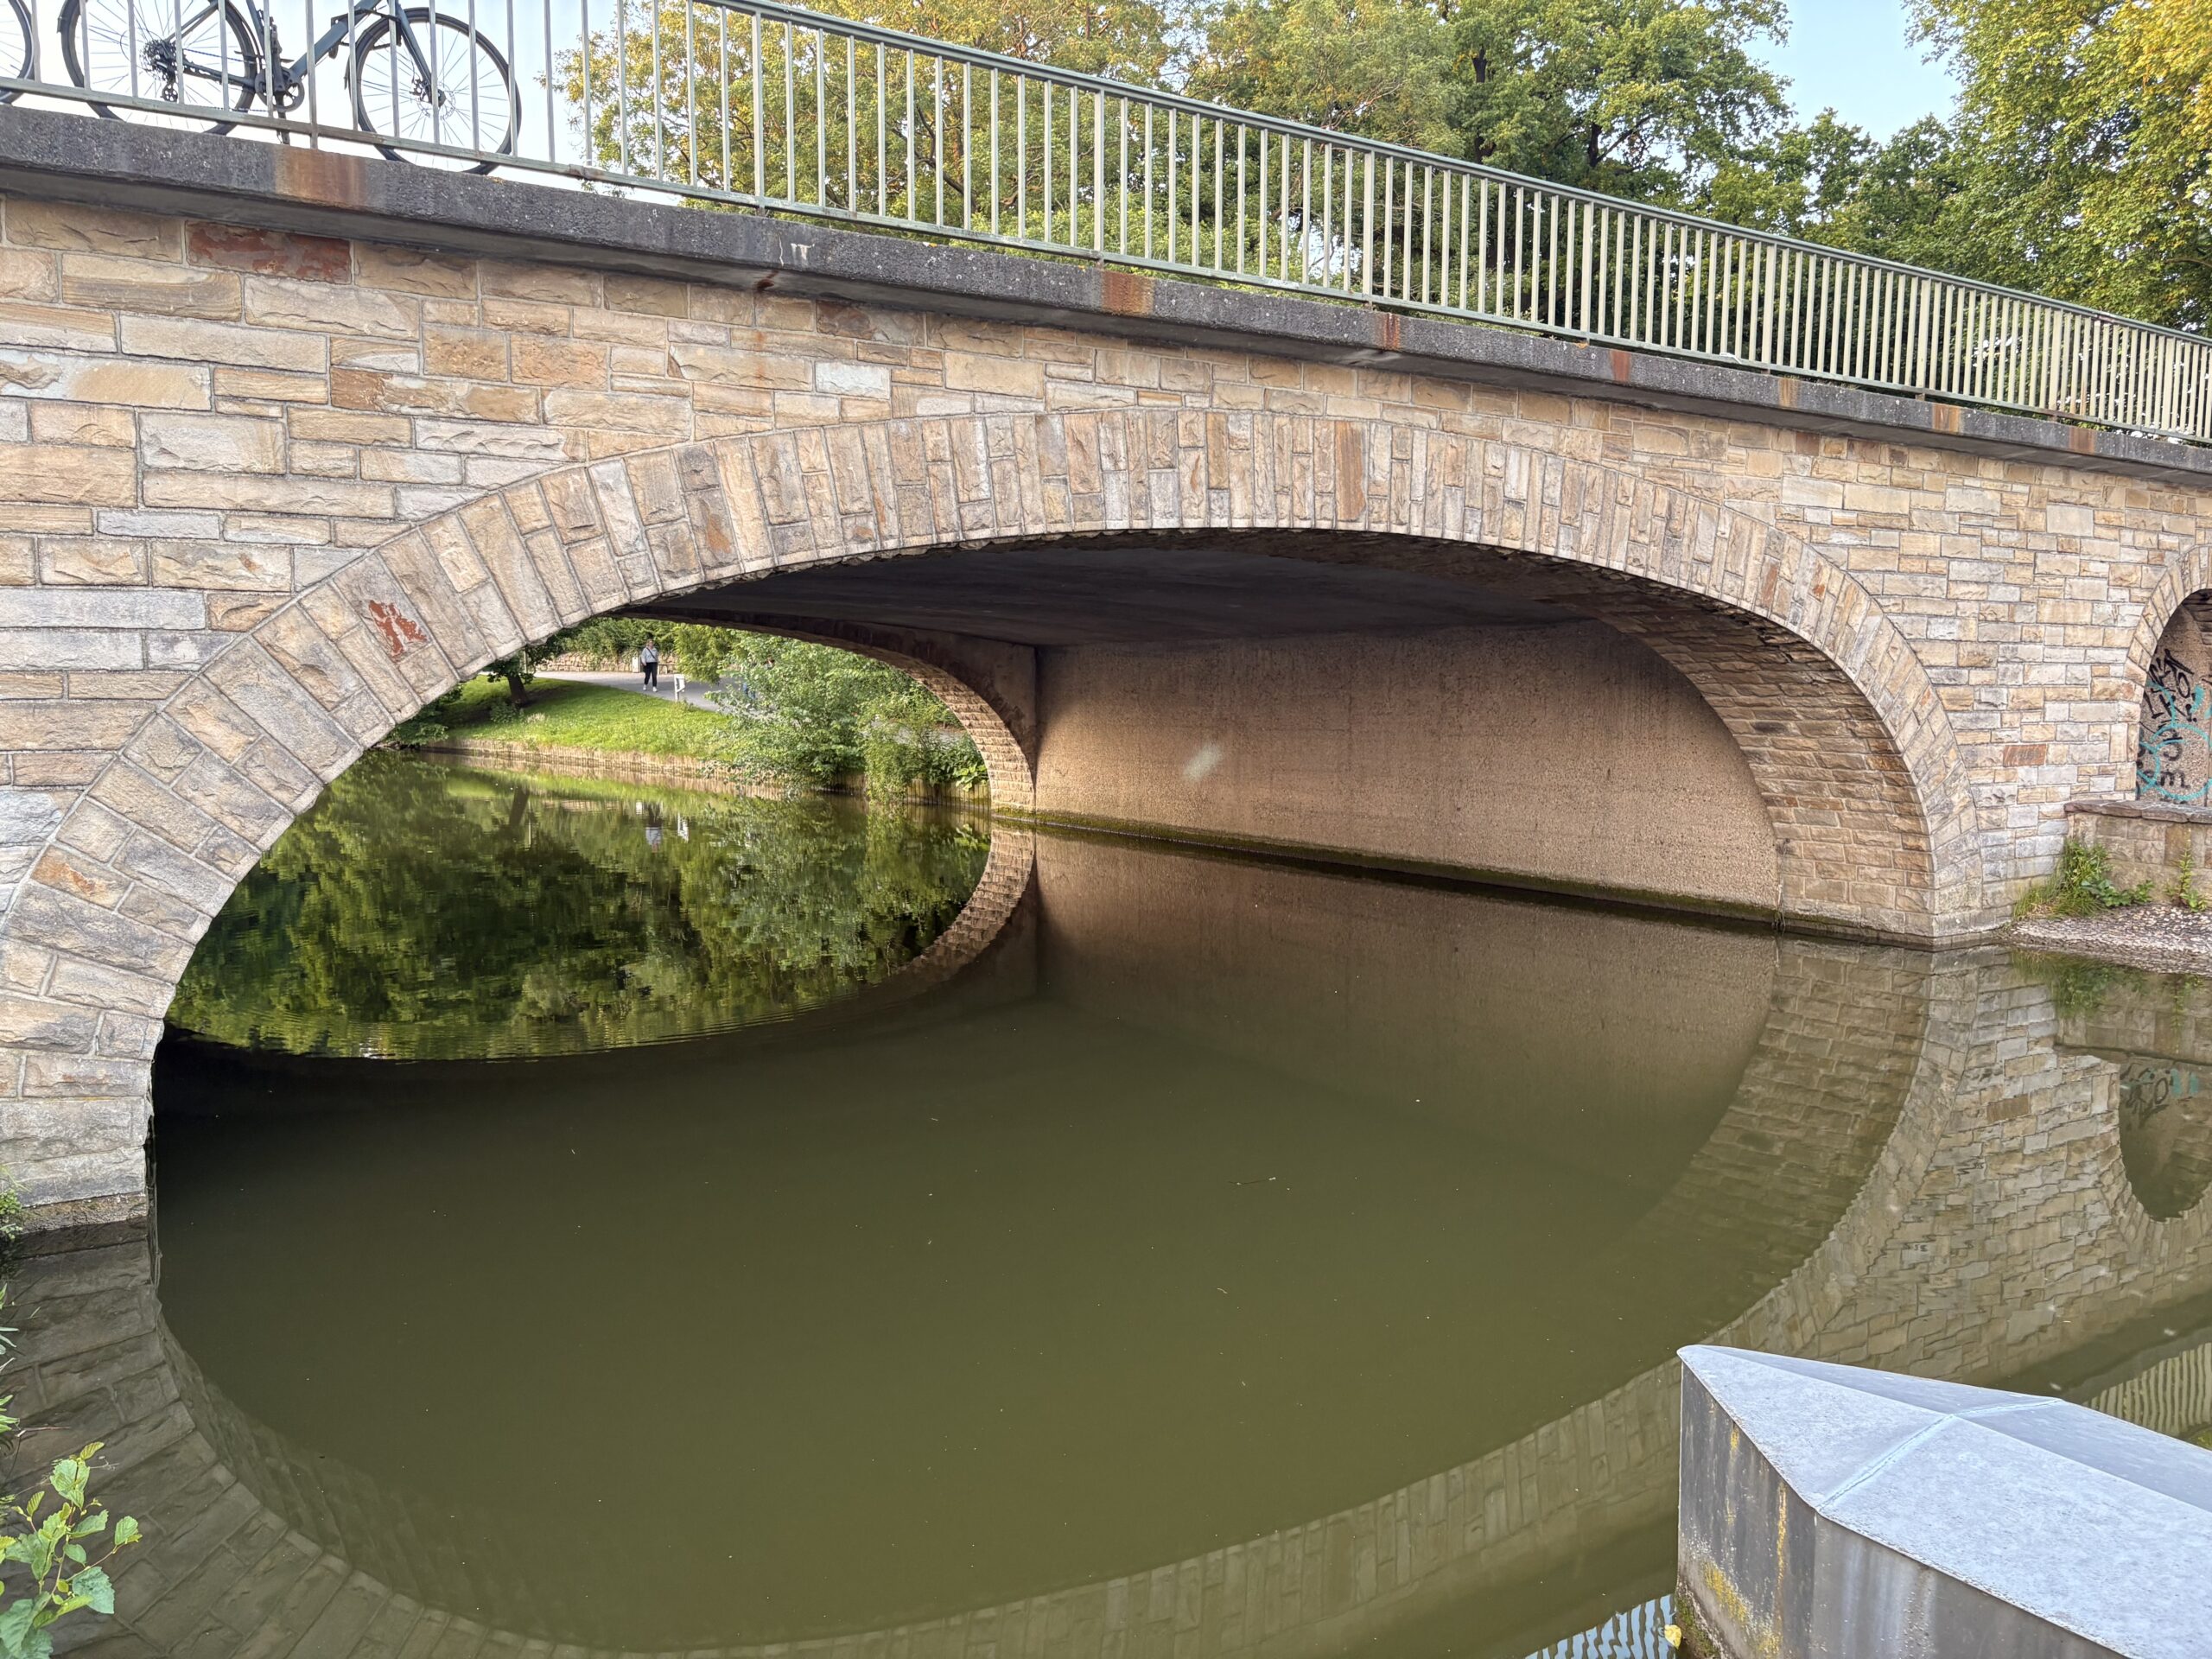
Écluse de Münster – Canal Dortmund-Ems
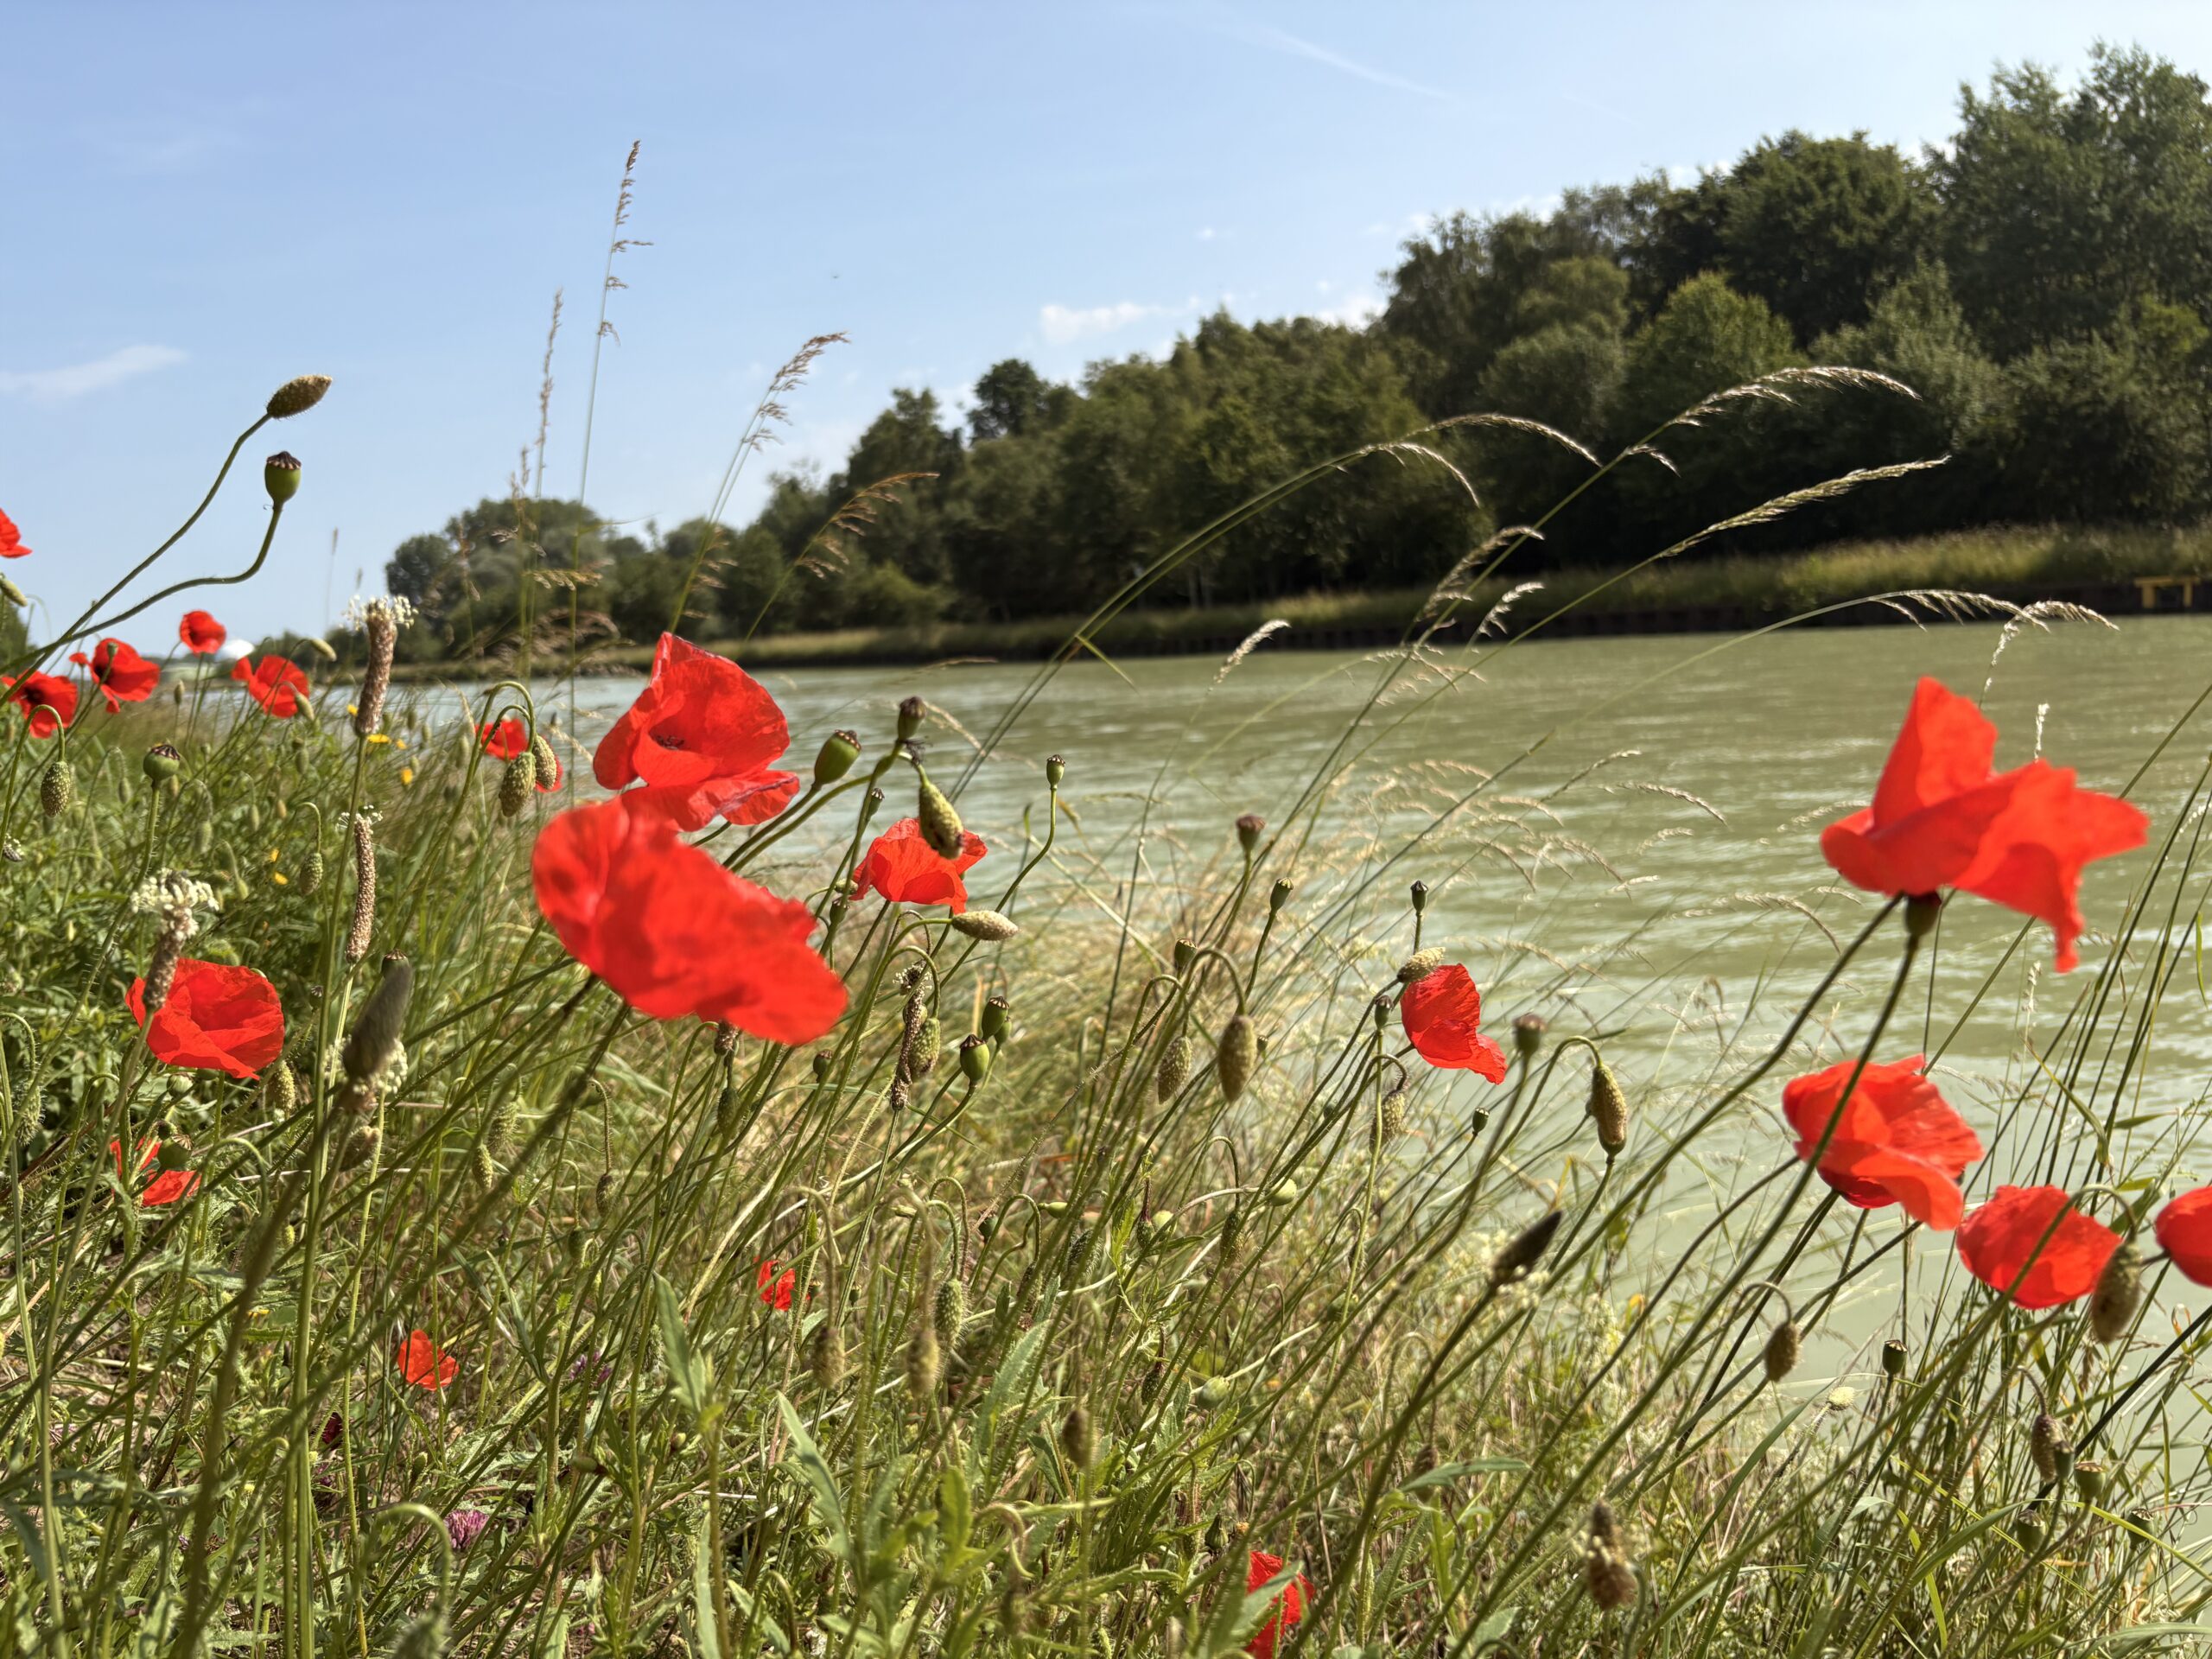
Coquelicots – Canal Dortmund-Ems
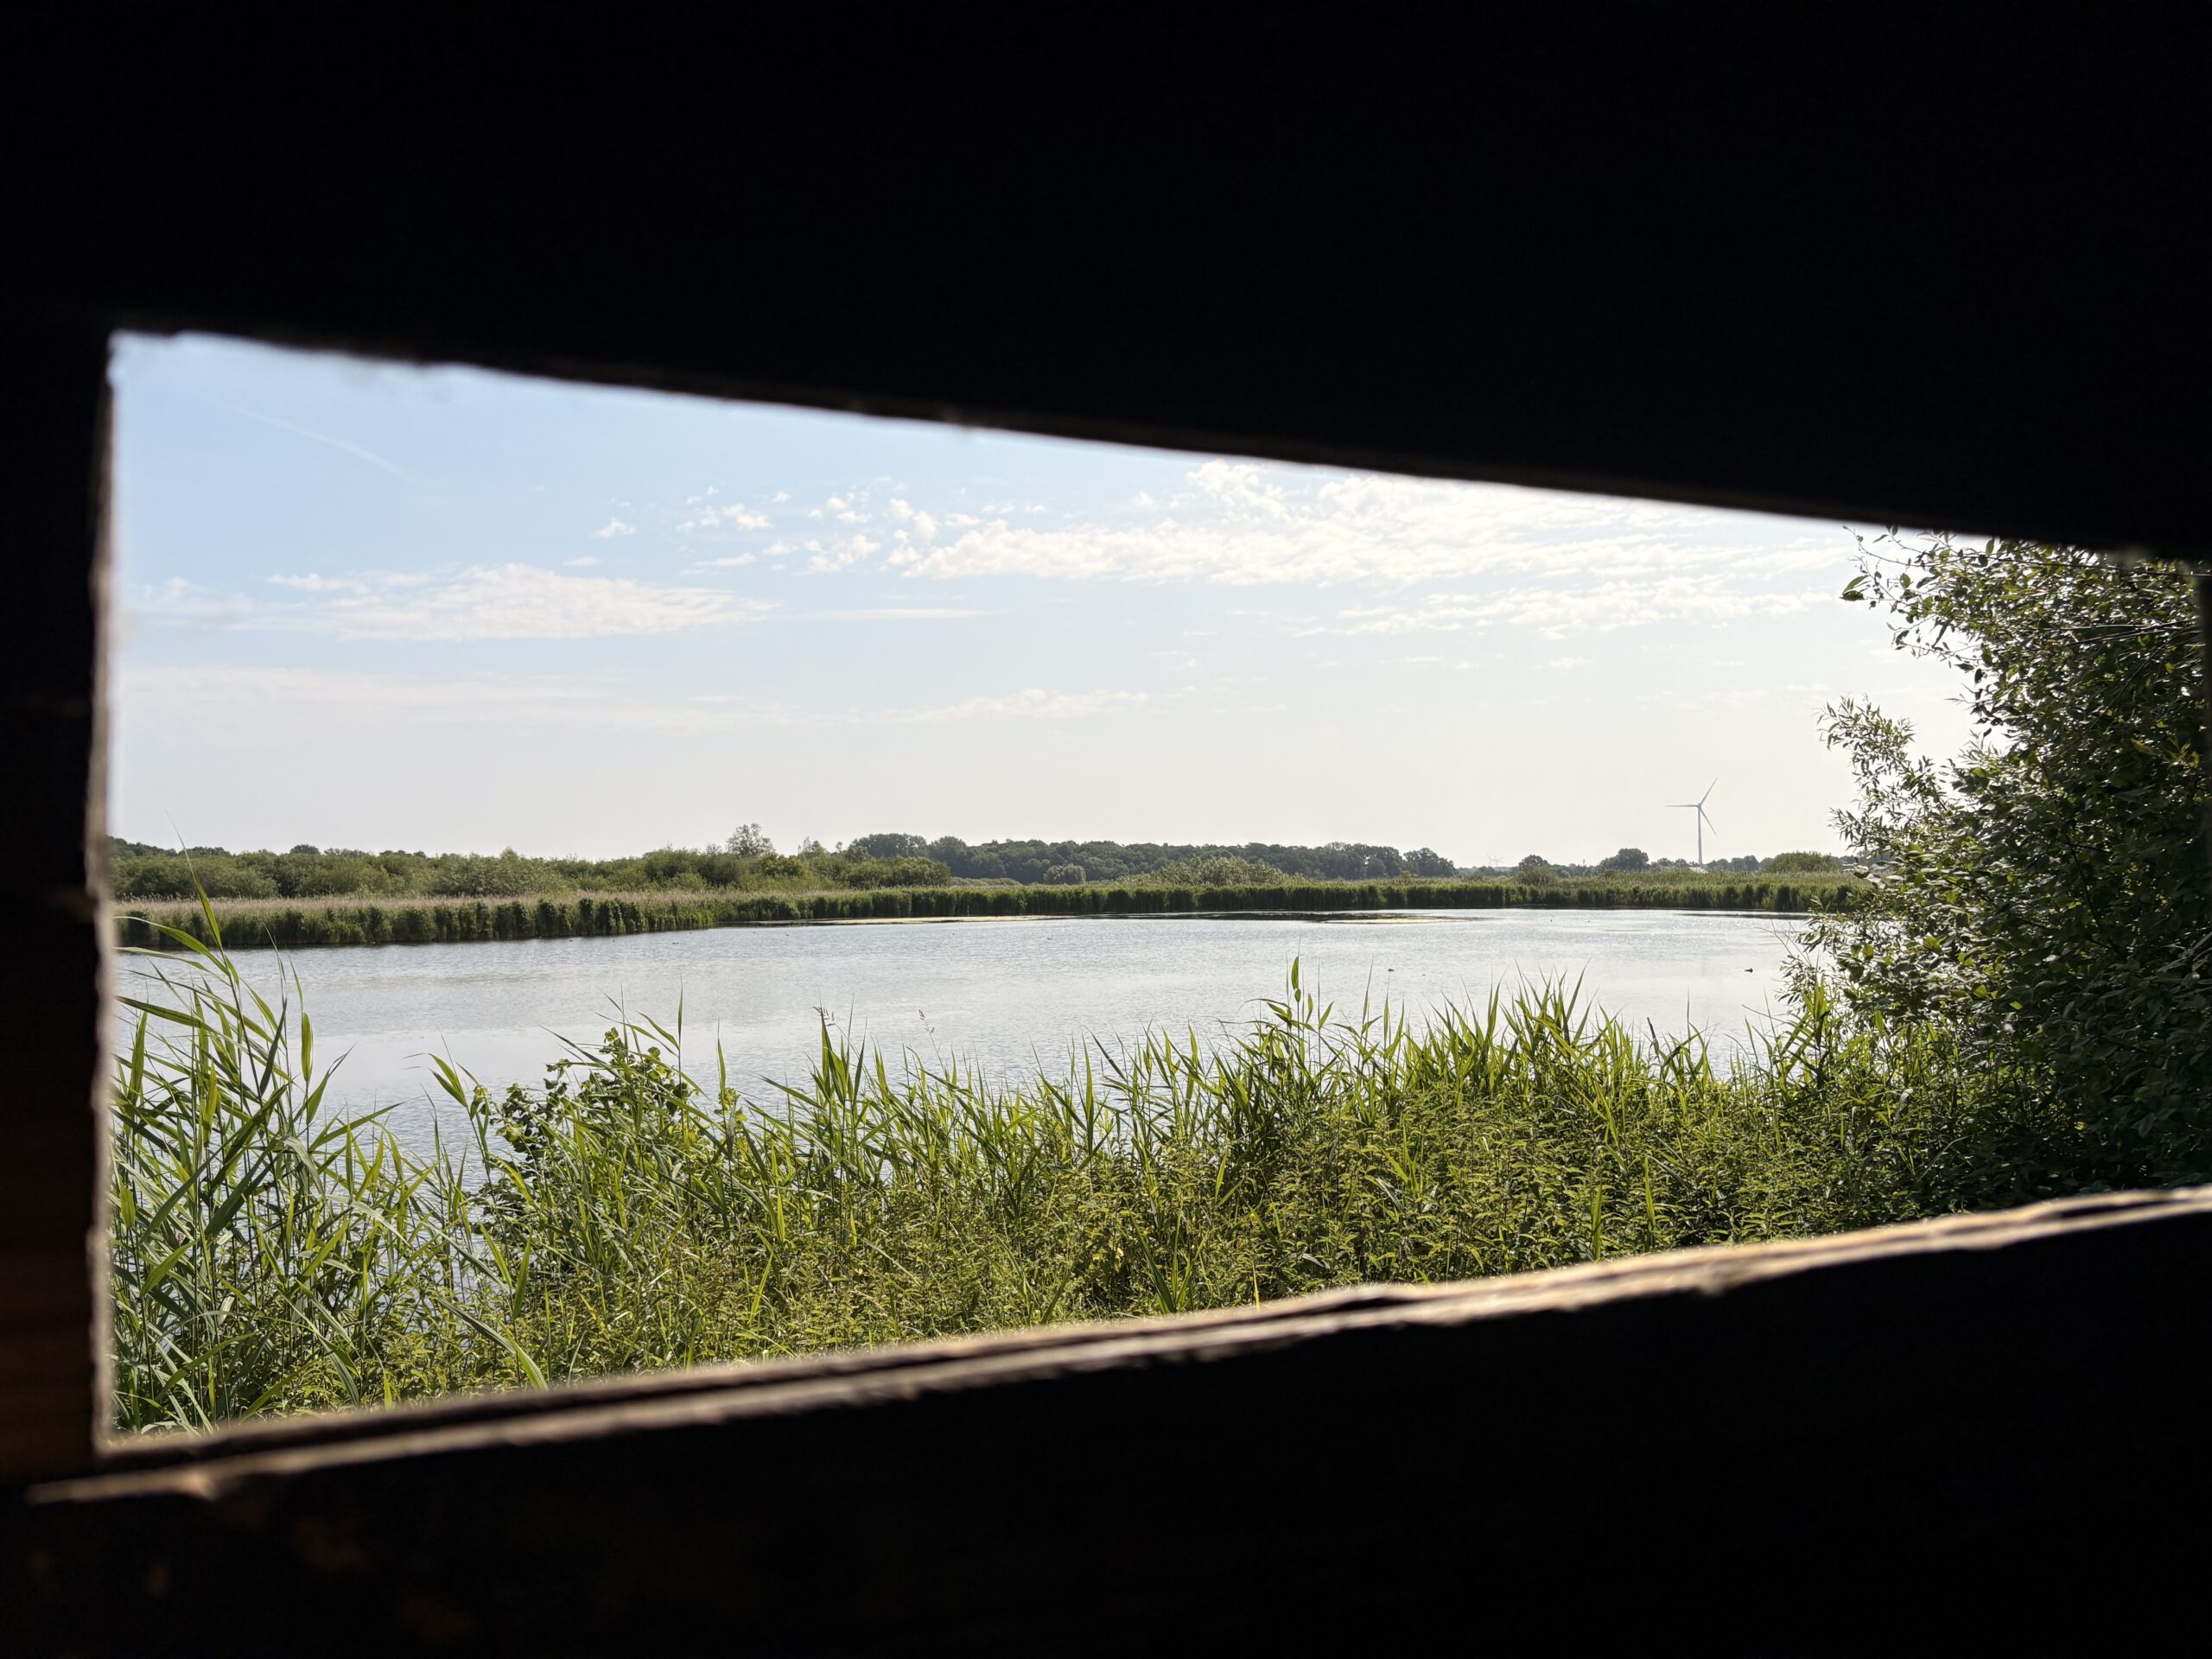
Hutte d’observation – mais où sont les hippopotames ?
J’ai décidé de prendre le temps. Le travail, la vie de famille, une maison, des activités, etc. font partie de ma vie quotidienne, et il arrive souvent que l’on se laisse emporter par le tumulte des flots sans arriver à aller dans la direction que l’on souhaite. On navigue alors pour éviter de s’échoir.
Chi va piano, va sano e lontano.
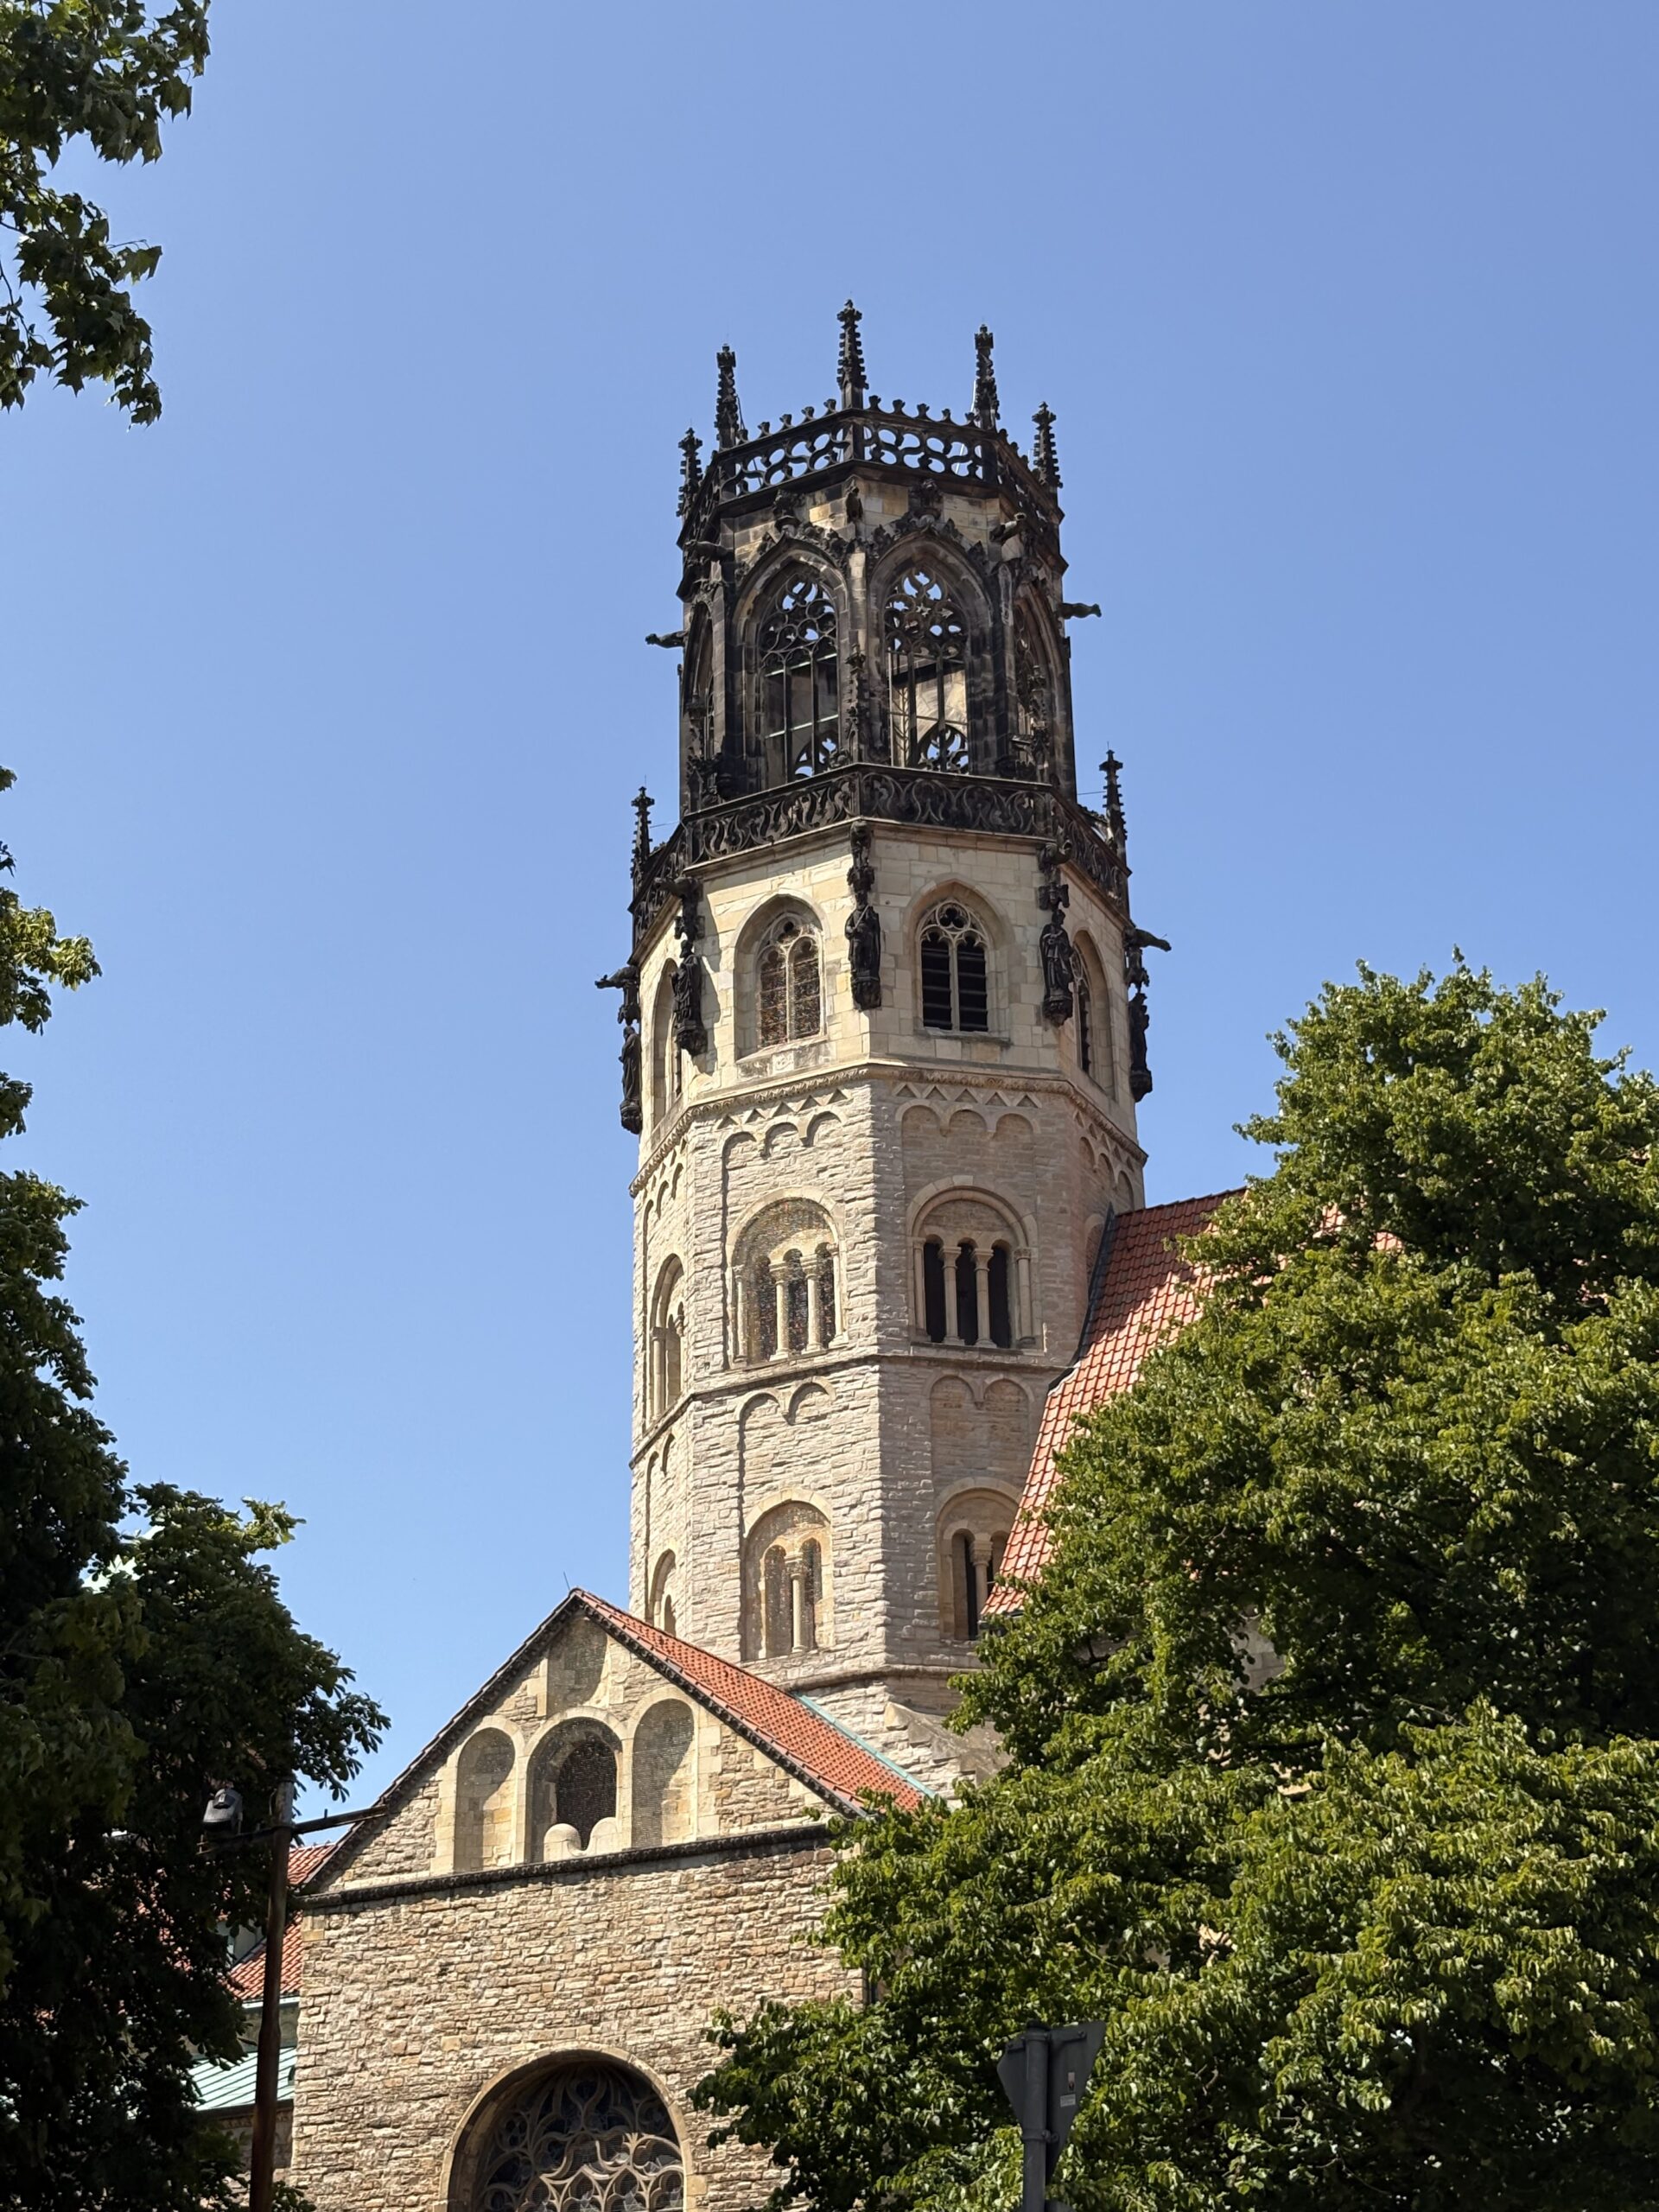
Celui qui sait prendre le temps ira sûrement et longtemps, dit un dicton. C’est pourquoi j’ai décidé de partir pour un court voyage de trois jours à Münster en Rhénanie-du-Nord-Westphalie. Trois jours pour penser, dessiner, écrire et découvrir.
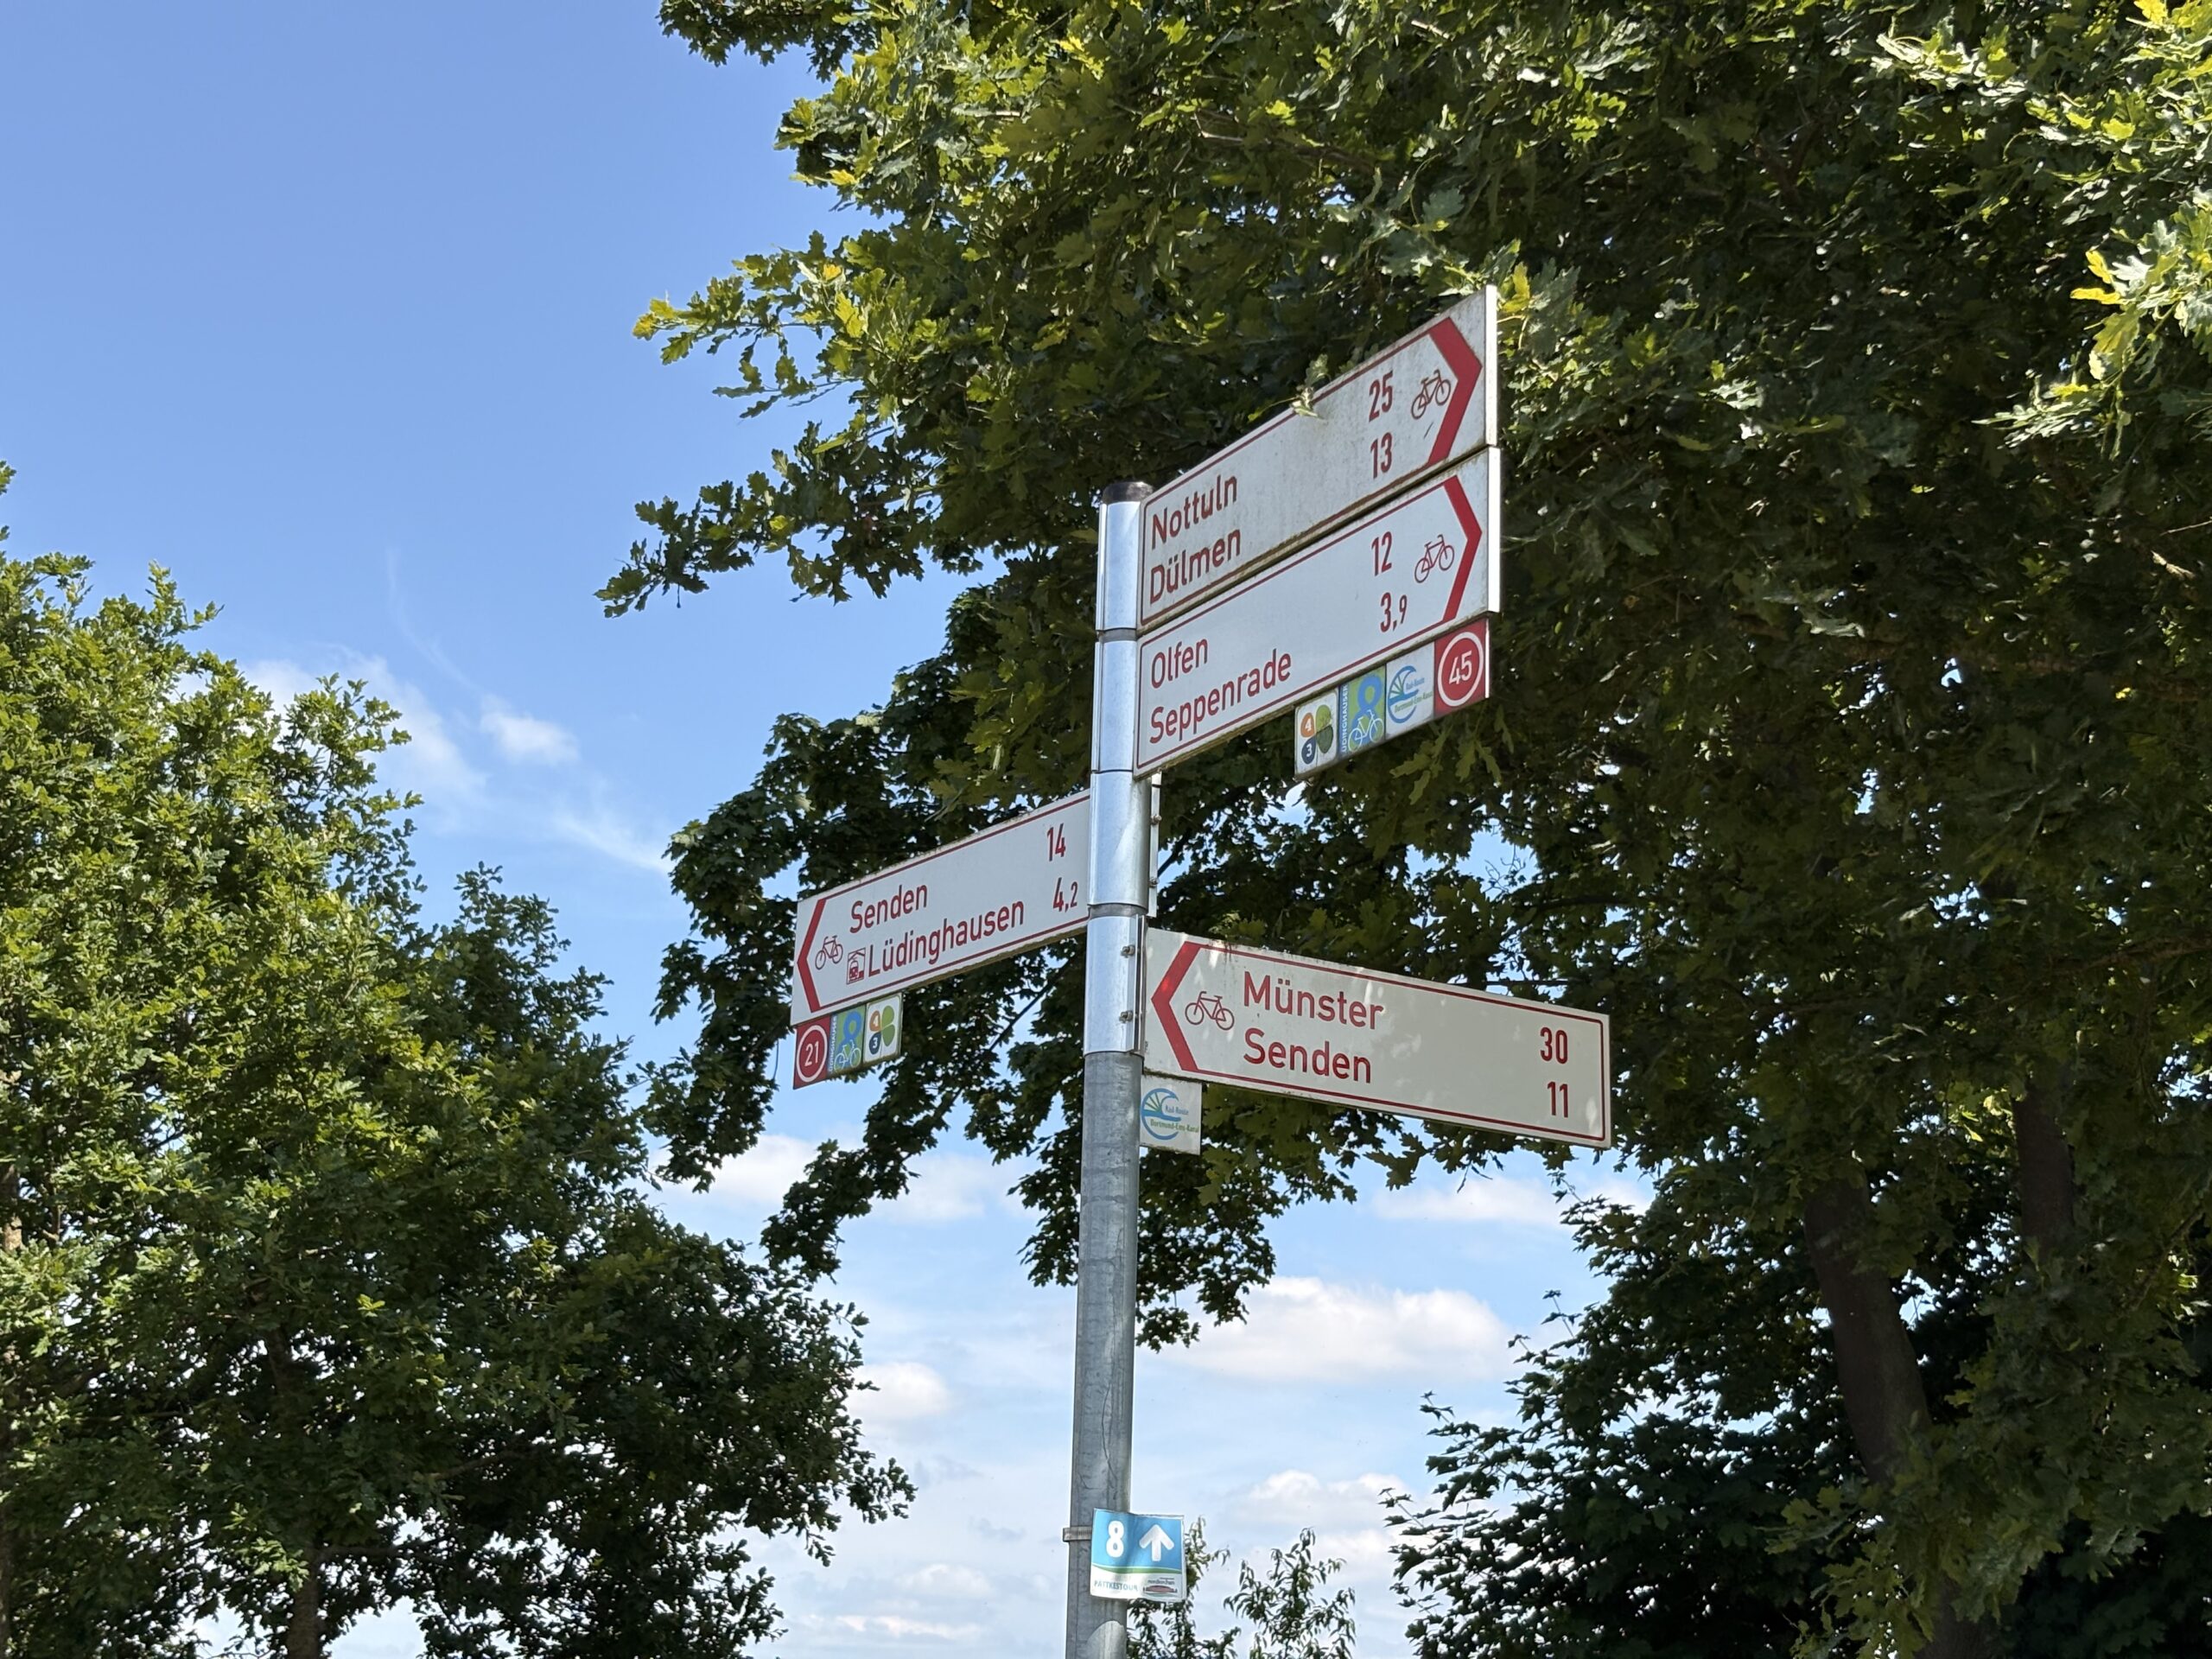
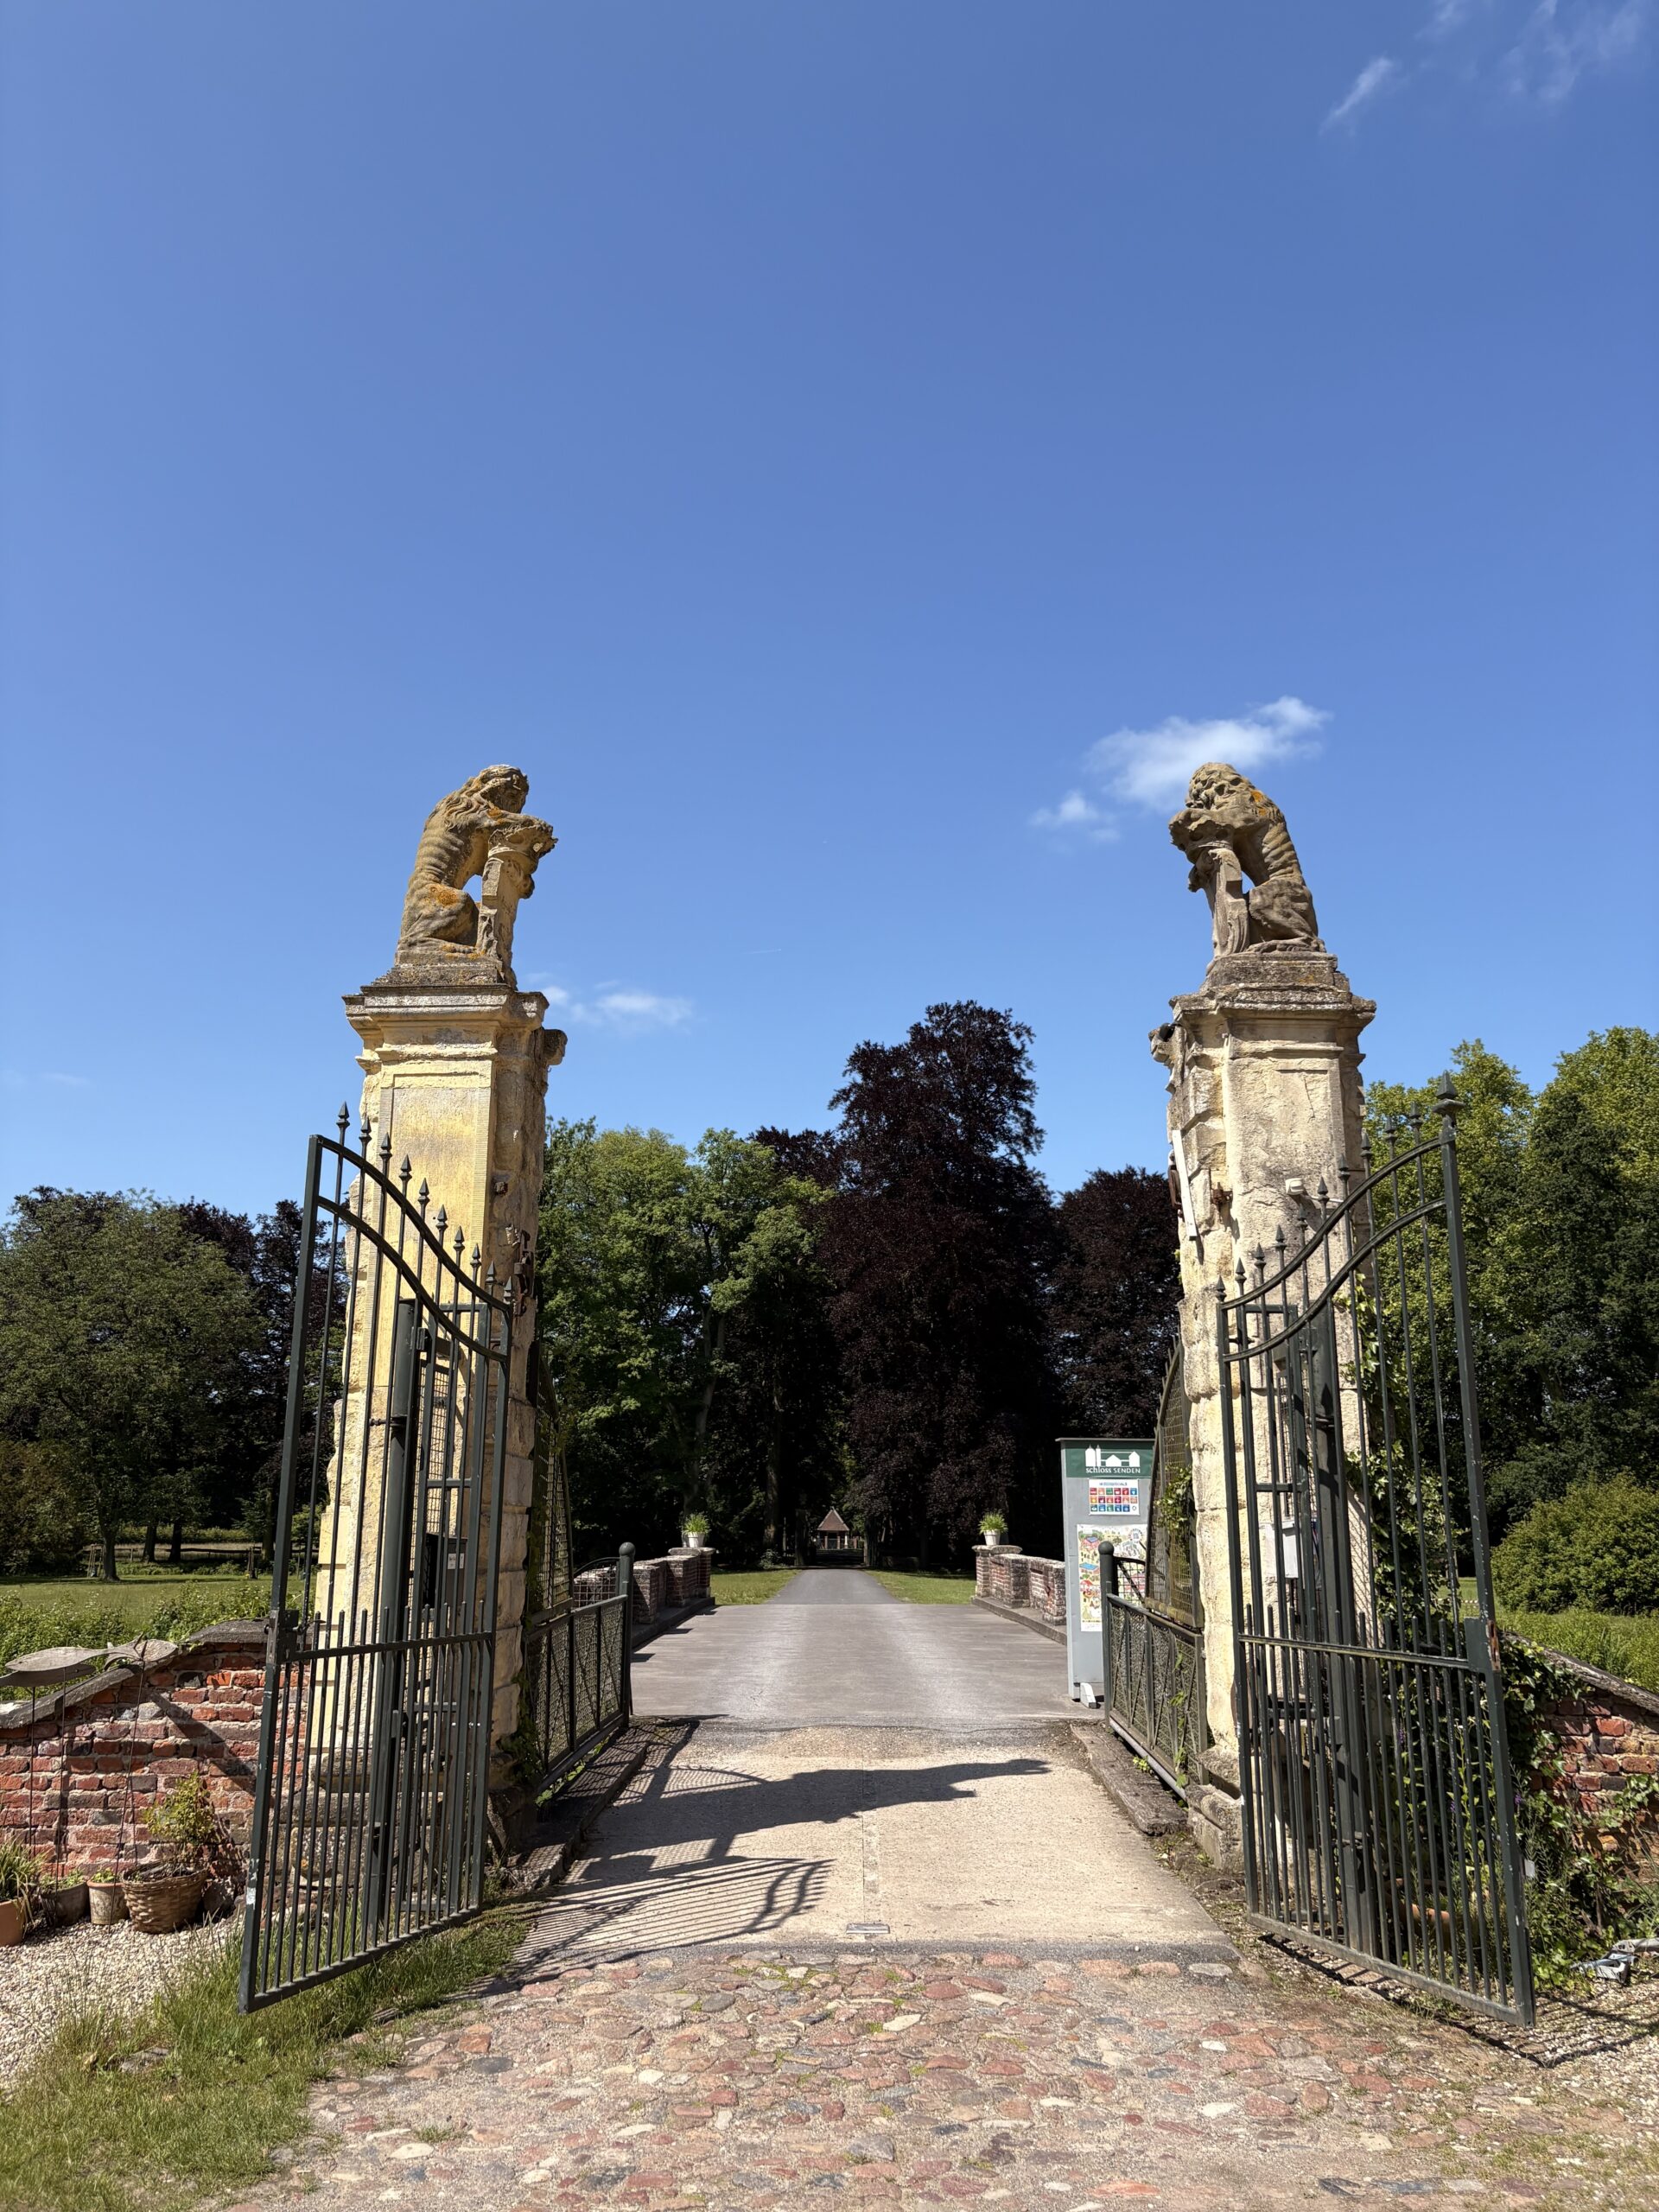
Bien sûr, je n’ai pas pris la voiture pour venir ici, mais bien évidemment le vélo. Soixante-deux kilomètres le long de canaux, de forêts et de champs. J’ai eu de la chance, car il faisait parfaitement beau, avec un petit 20 °C, ce qui est idéal pour le vélo.
Voici une petite galerie de photos le long de la route.
I am at a new crossroad in my life where I am aspiring to take a new direction. I am still passionate and eager to learn about new technologies, programming, etc. But I have other interests, some old some new, which I want to explore and maybe share.
I have started to learn about calligraphy and even if I am at the very beginning and just exercising, it is reviving some older and buried activities such as writing. I usually write in French, my mother tongue. So there might be more French posts in the future here.
I am not yet sure if I will write regularly. And perhaps, I don’t want to publish anything. It’s more for myself than for anyone.
As for the thoughts, I am appalled by the current situations where intolerance, racism, stupidity and egoism are growing. I am for more diversity in our society, culture, workplace and life; we don’t have a planet B, we need to protect it; I want more tolerance, the fact that we are all so different, think different is just amazing and interesting, we should be opened to others whatever their looks, beliefs or choices. I stopped using Twitter when it was acquired by this mad man and after the election in the US last year, I deleted my account. I have been demonstrating last year and this year for more diversity and tolerance, and will continue doing this. I am passing on these values to my kids.
There are many ways to harden a Docker container, one is to make the container layer read-only.
This might be a marginal improvement to security, first your application should not run as root or has special privileges (e.g. CAP_DAC_OVERRIDE), so there is limited risk that an attacker exploiting a vulnerability of your application can modify sensitive applications. However, if you install your application within a Dockerfile as the application user (e.g. using bundle install) make the base layer read-only might protect it from unwanted modification.
I also like the idea of an immutable base layer and clearly identifying the writing data and if they should be persisted or not. I also relate that to security, because the better you know the behaviour of an application, the better you can adapt a confinement for it.
Setting the base layer read-only is somewhat challenging. Setting a container image to read-only is simple, there is a --read-only flag to the docker run command. But identifying which data is written by the containerised application can be a challenge One task is thus to identify all written data and defining of they should be persisted in a volume or not persisted. In the latter case, one could then use a tmpfs volume or a local volume (in a Swarm cluster).
We are going to use Docker layering approach to identify the written data. How to check the difference varies depending on the storage backend and they are too numerous for me to list each cases, I might complete the article in the future but today I will show how to use the BTRFS and Overlay2 backend.
Two years ago I was publishing a post to build docker-compose on an ARM machine. Nowadays, you can find docker-compose on PyPI. However, if you intent to run docker-compose on a platform without Python dependencies, you might still be interested in my guide which generates an ELF binary executable.
My previous guide has worked well until release 1.22.0 after which the Dockerfile.armhf (which was merged) has been upgraded to match the changes for the X86-64 platform but broke my build instructions. The builds seems to work and generate an executable but it fails to run due to missing dependencies:
+ dist/docker-compose-Linux-armv7l version
[446] Failed to execute script docker-compose
 Traceback (most recent call last):
   File "bin/docker-compose", line 5, in
     from compose.cli.main import main
   File "/code/.tox/py36/lib/python3.6/site-packages/PyInstaller/loader/pyimod03_importers.py", line 627, in exec_module
     exec(bytecode, module.dict)
   File "compose/cli/main.py", line 13, in
     from distutils.spawn import find_executable
 ModuleNotFoundError: No module named 'distutils'
I have not found the root-cause of the problem as I am not familiar with tox, but it looks like a configuration problem of that tool. So I decided to simply use Python3 built-in virtualenv.
As in my previous guide, you need to clone the repository and choose a branch. You can take the release branch or a specific version branch (e.g. bump-1.23.2).
The two next shell commands should modify the original build script to use virtualenv and to add the missing dependencies (which are correctly installed in the tox environment but would be missing in ours).
$ sed -i -e 's:^VENV=/code/.tox/py36:VENV=/code/.venv; python3 -m venv $VENV:' script/build/linux-entrypoint
$ sed -i -e '/requirements-build.txt/ i $VENV/bin/pip install -q -r requirements.txt' script/build/linux-entrypoint
Now you can follow the exact same steps as in the previous guide. In summary:
Hard Disk DriveFor one of my Raspberry Pi, I am maintaining myself my own kernel. By that I mean that I’m using the kernel repository from the Raspberry Pi Foundation but I am defining the configuration of the kernel myself. My goal is to make the kernel low latency, hardened and with specific drivers compiled instead of given as modules.
Recently I upgrade it to kernel version 5.0.0-rc8 and now to 5.0.0. At first I thought there was an error in the RC8 because I did not see the CFQ (Complete Fair Queue) or Deadline I/O schedulers (block layer I/O schedulers). But when the stable version was out, there was no longer a doubt, either they had been moved to a new section or removed. The new default scheduler was the mq-deadline Multi-Queue Block scheduler and there are two other alternatives as module: BFQ (Budget Fair Queueing) and Kyber.
Linux kernel 5.0+ is defaulting to blk-mq
I then discovered that Linux kernel 5.0.0 has dropped support for the legacy block schedulers and now only support the multi-queue block (blk mq) schedulers. That is a very interesting move, the multi-queue schedulers should provide better scalability so performances by using parallelism in hardware. On the desktop or a Raspberry Pi, I do not expect to see any improvements, but for servers there could be a win.
This is the fourth blog post about my home network improvements series. I am sorry it is taking me so long to write all those posts, but each takes a lot of hours to write and I am balancing my life more towards family at the moment. I hope you can bear with me until the end.
Walls need to adapt to their environment
In the previous post, we presented installed the OS and set up networking and routing.
We will now see how to add another very important feature the firewall.
Creating a basic router, defining the network and routing (published)
Adding a firewall to our router (this post)
Providing basic network services, DHCP and DNS (to be published)
Testing the firewall (to be published)
Extra services (to be published, could be splitted in more than one post)
So today’s post will present a simple but secure firewall installation.
As I have said in a previous article, I want to try out nftables instead of using iptables. But we will continue iterating on the previous post and use iptables instead one more time. I want to have a working router and then I can think of switching to nftables and solving integration with other tools.
A Basic Firewall
Firewall
We will use iptables command line to populate the firewall rules. As changing those rules from the command line is not persistent, a simple reboot will restore your OS in the previous configuration so if things do not workout or if we get locked out by a wrong rule, just reboot and restart to setup your firewall. Once we will be happy with the firewall, we will save the rule set and make it permanent.
For rules, we obviously do not want any traffic coming from the WAN to establish new connections inside our LAN or on our router. Only established connections should be allowed through, e.g. an HTTP response is allowed through the firewall so that we can browse the internet. We want some network services to still function, like ICMP or DNS messages to pass through the firewall. We do not want to filter the outgoing traffic for the moment, so everything from the LAN is allowed to reach the WAN.
I like to set default policies for the different iptables chains instead of relying on the last rule to do the policy for me. However, in order to avoid getting locked out, we will set those policies at the very end and always start by defining what is allowed. In order to define our firewall, we will work first with the main chains of the filter table (the default one). Mostly caring of incoming packets and IP forwarding rules.
I had a good laugh today at yet another phishing attempt.
The phisher behind this campaign must be philosophers or fans of Shakespeare. The phishing domain name used is – no kidding – goodorbad.email!
Phishing – Good or Bad?
Bad luck also for our phisher, for once I was using Apple Mail on my wife’s laptop to check my daily email, and with a Retina screen the fake link was all blurry.
This is interesting because it is the first time I see an attack trying to obfuscate the link using an image. Frankly I do not see the advantages, it has the risk of being blurry on hidpi or retina displays, it has the risk that it won’t be displayed if the image is remote (in that case, the image is provided as attachment so it was autoloaded).
Anyway, the domain should have been probably goodorbad.phishing or simply bad.phishing!


 car où diable trouver le calme et la ressource dans un lieu de traitement des eaux usées !